
I have been inspired by my banner-making friends at Made on Maple and thought I'd try out a paper banner since I'm not too talented with sewing.
My little guy loves trains and reading the letters in his name, so this was what we came up with today.
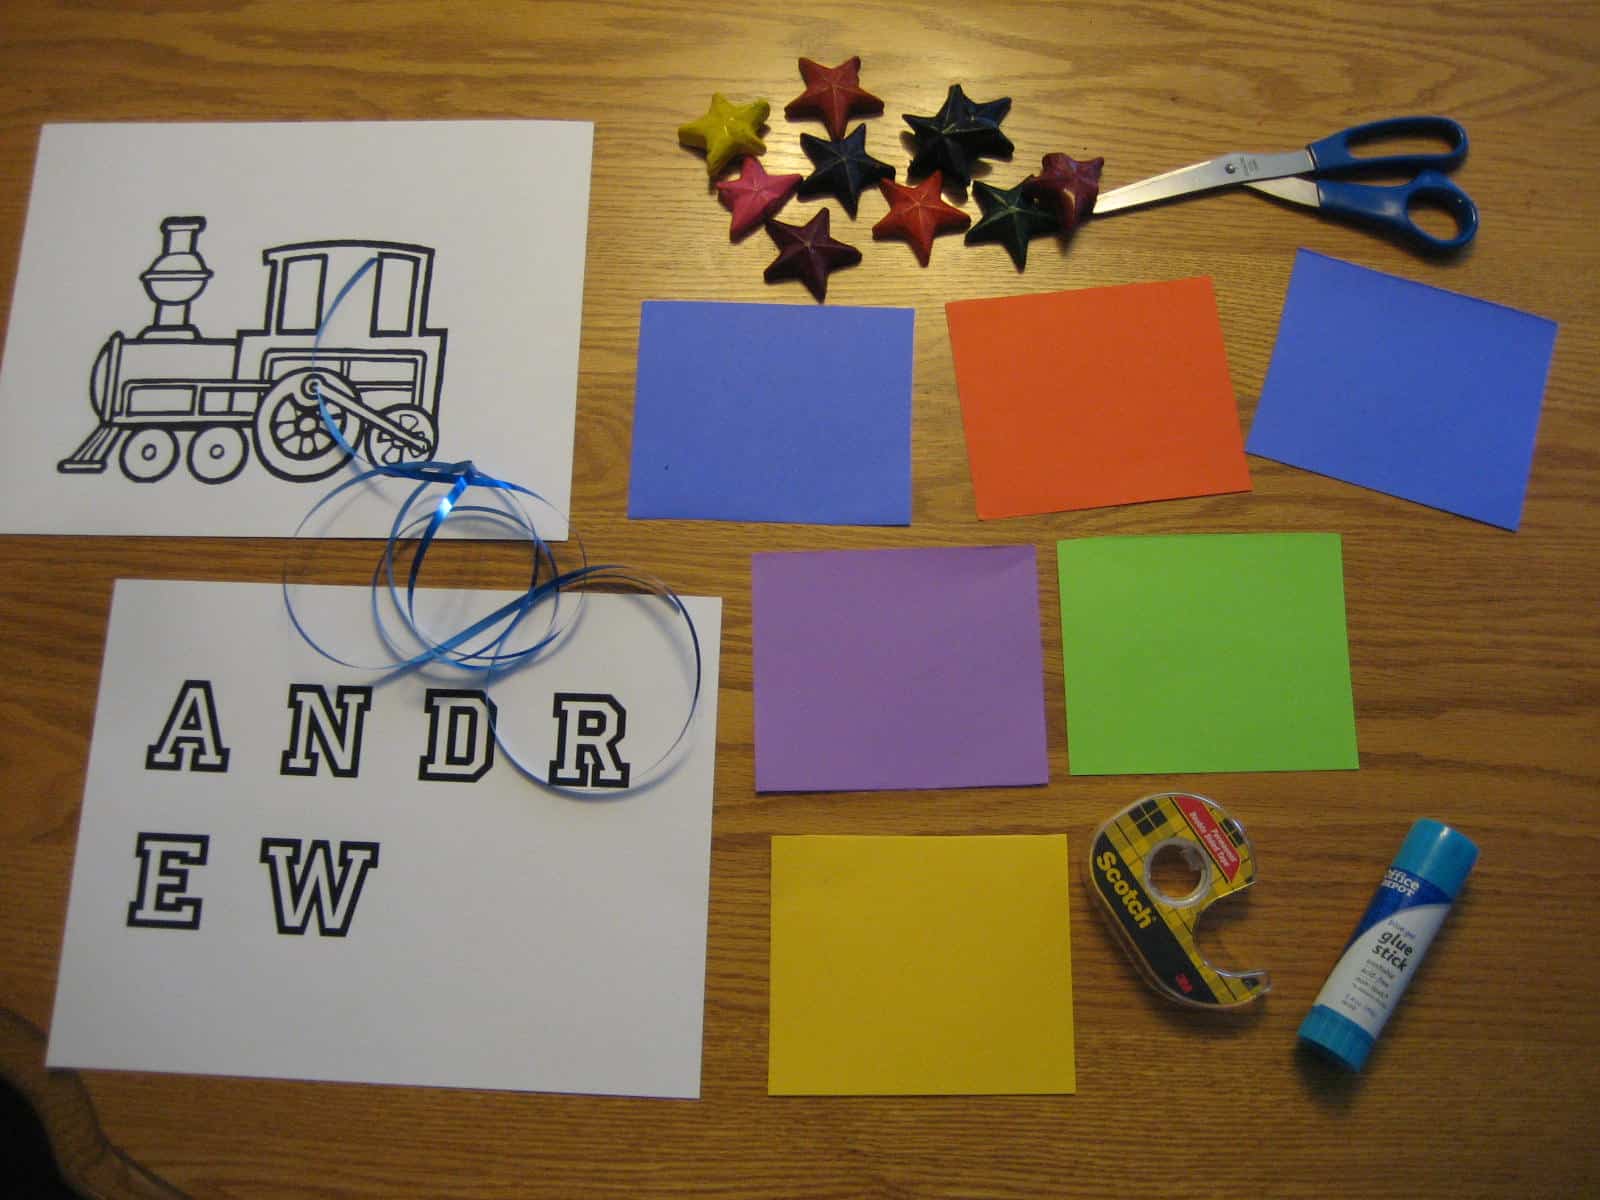
Materials Needed: crayons, markers, scissors, tape, ribbon, glue, lots of colored paper, black paper (for wheels), train engine coloring page, and a printout of the letters in your child's name (we made ours in Microsoft Word).
Directions:
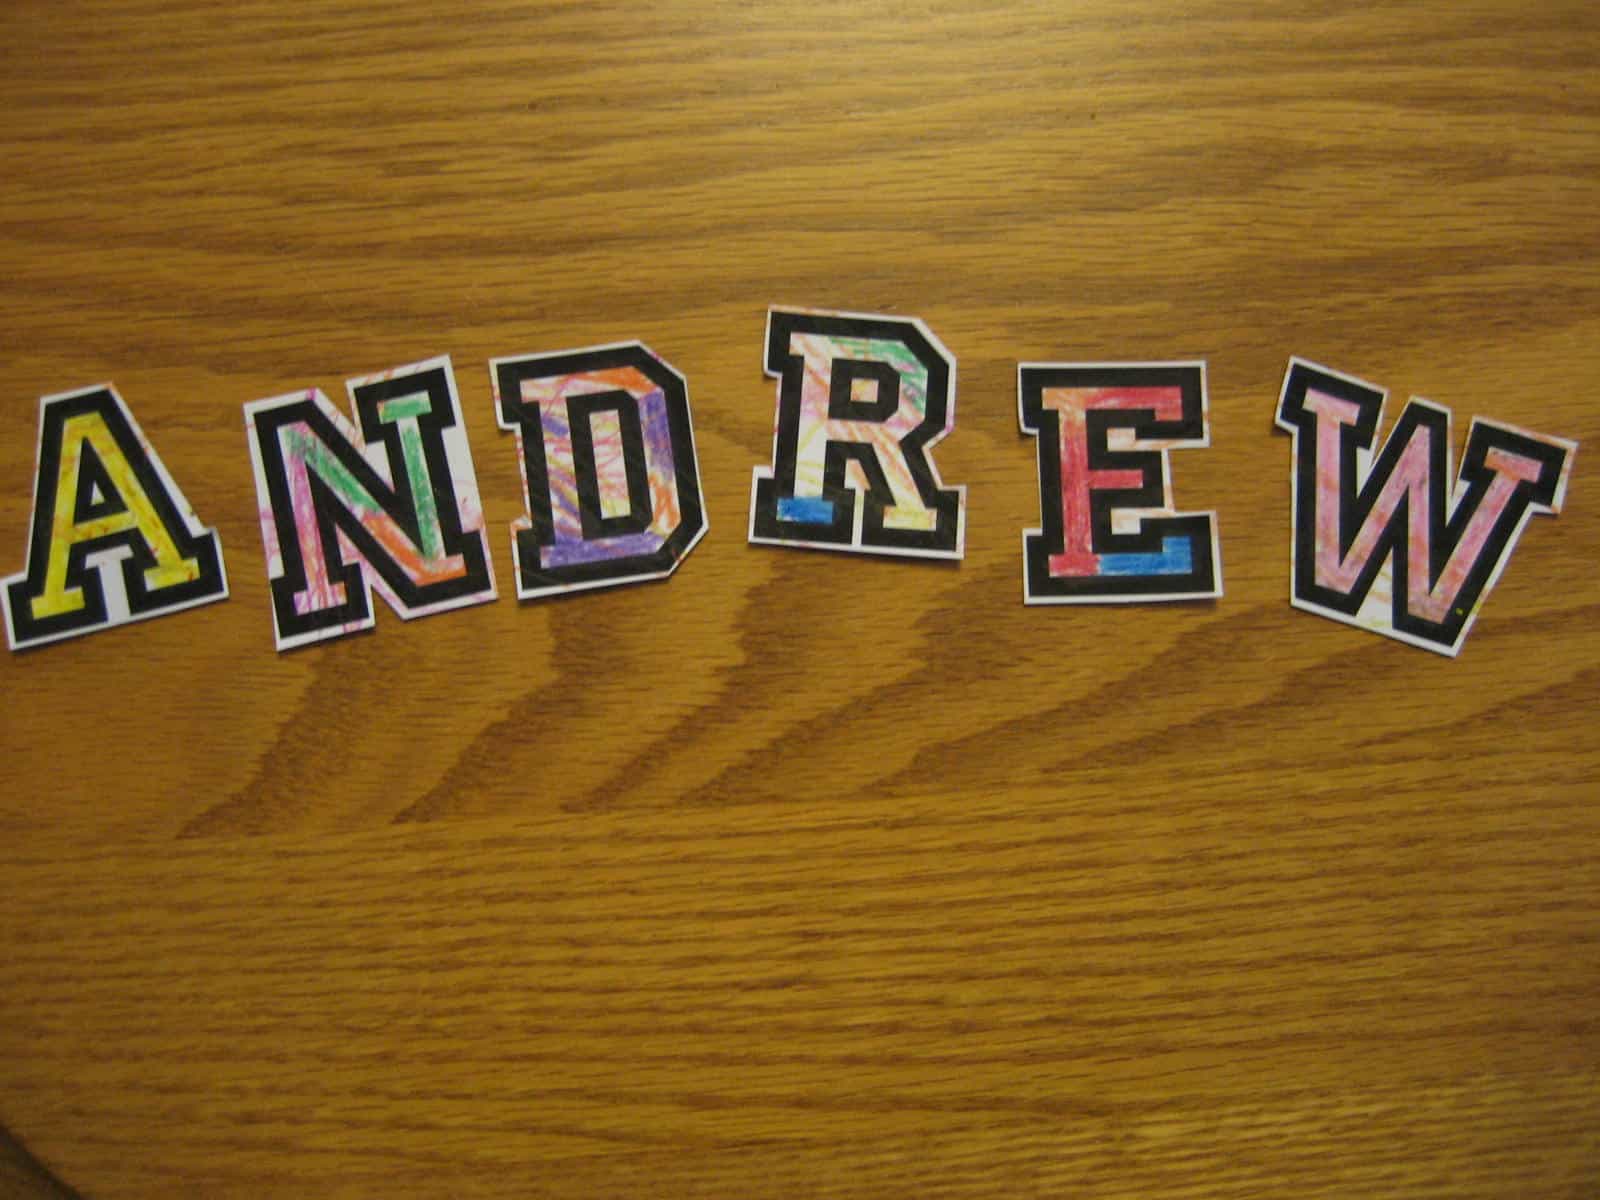
1. First, we colored the letters in my son's name with crayons. While he colored, I pre-cut six rectangles out of colored paper. You need one rectangle for each letter in your child's name.
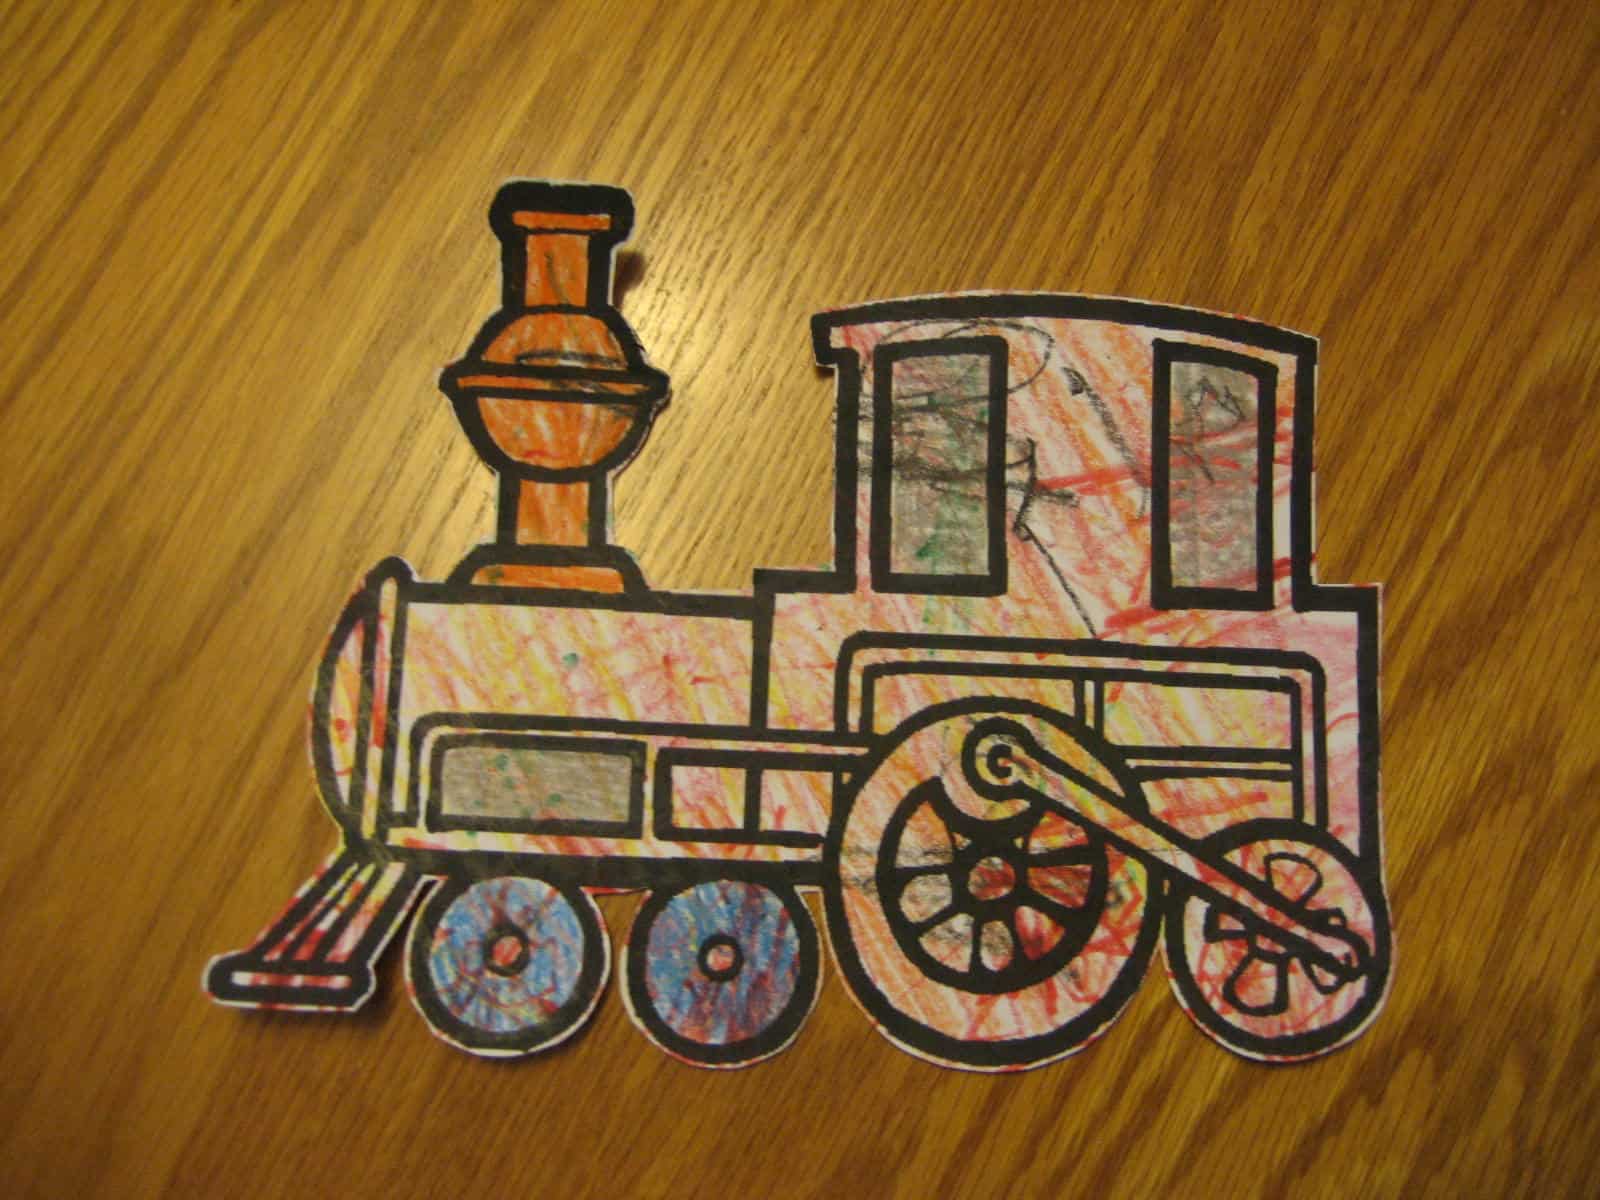
2. While I cut the letters out, he colored the train engine coloring page with crayons and markers.
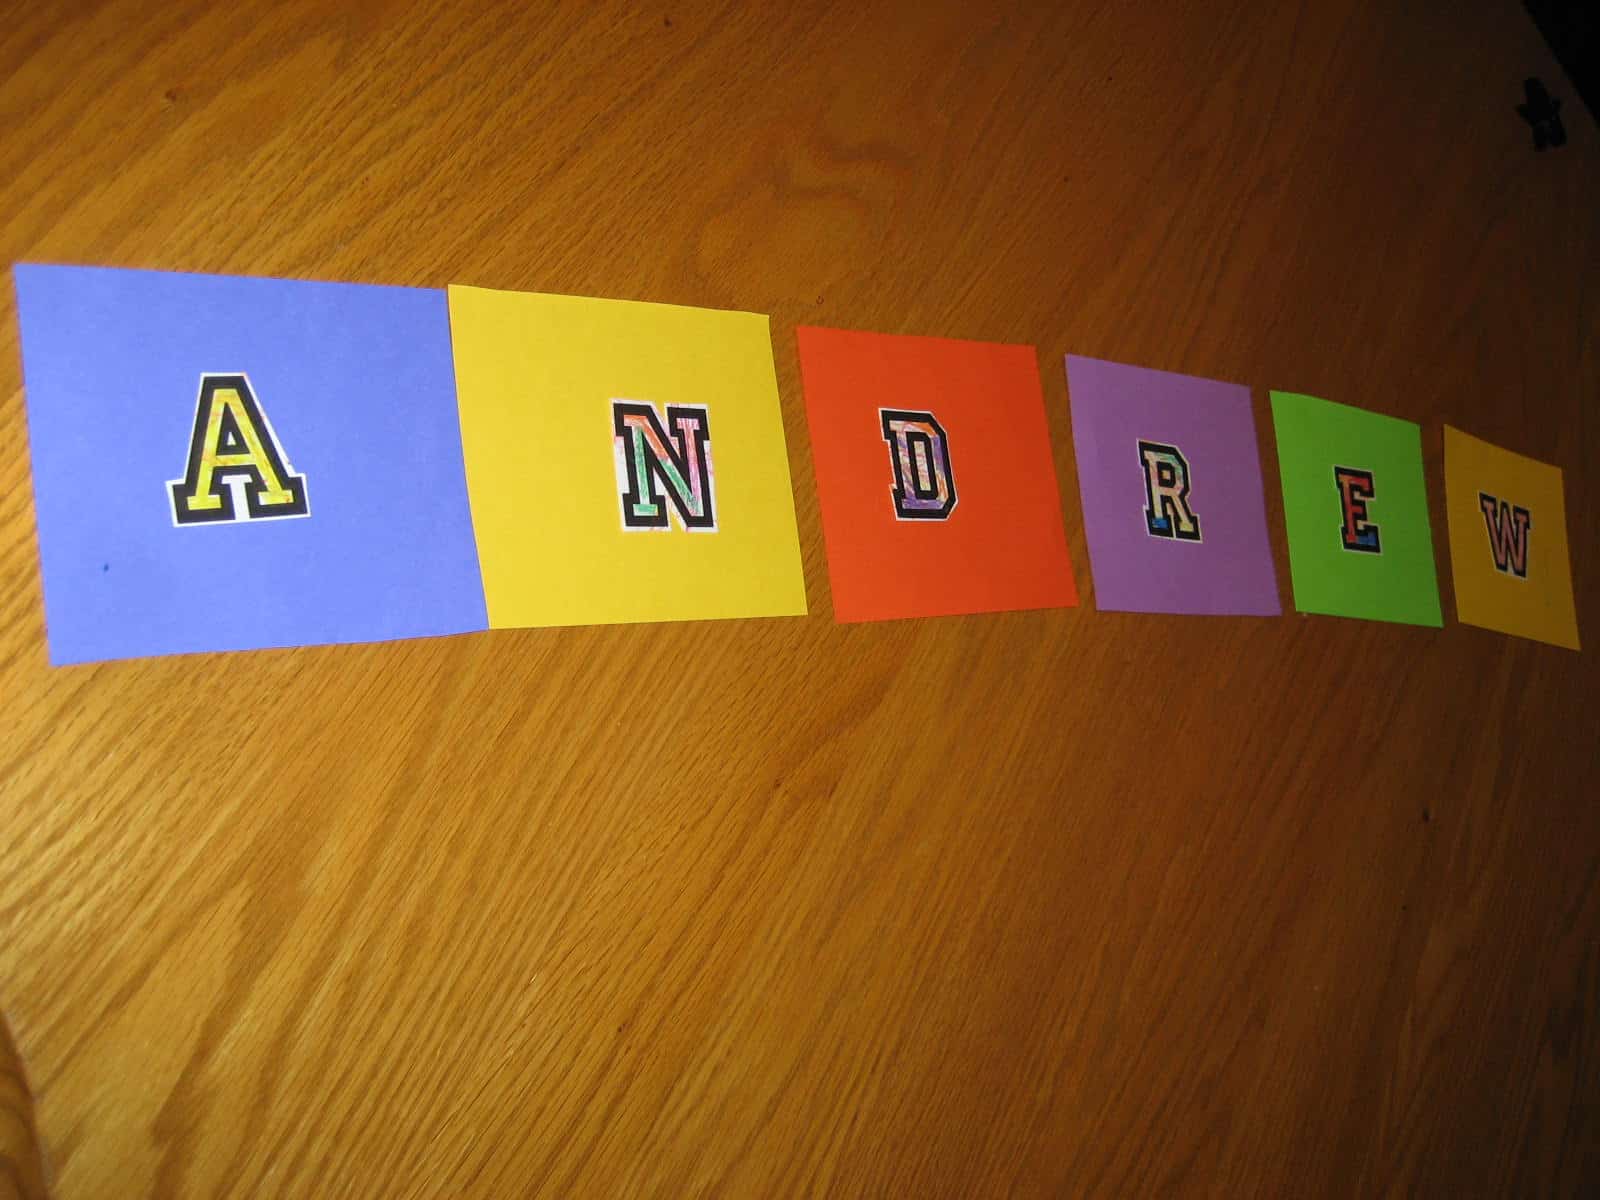
3. Then I wrote a letter on each rectangle (each rectangle had one letter from his name).
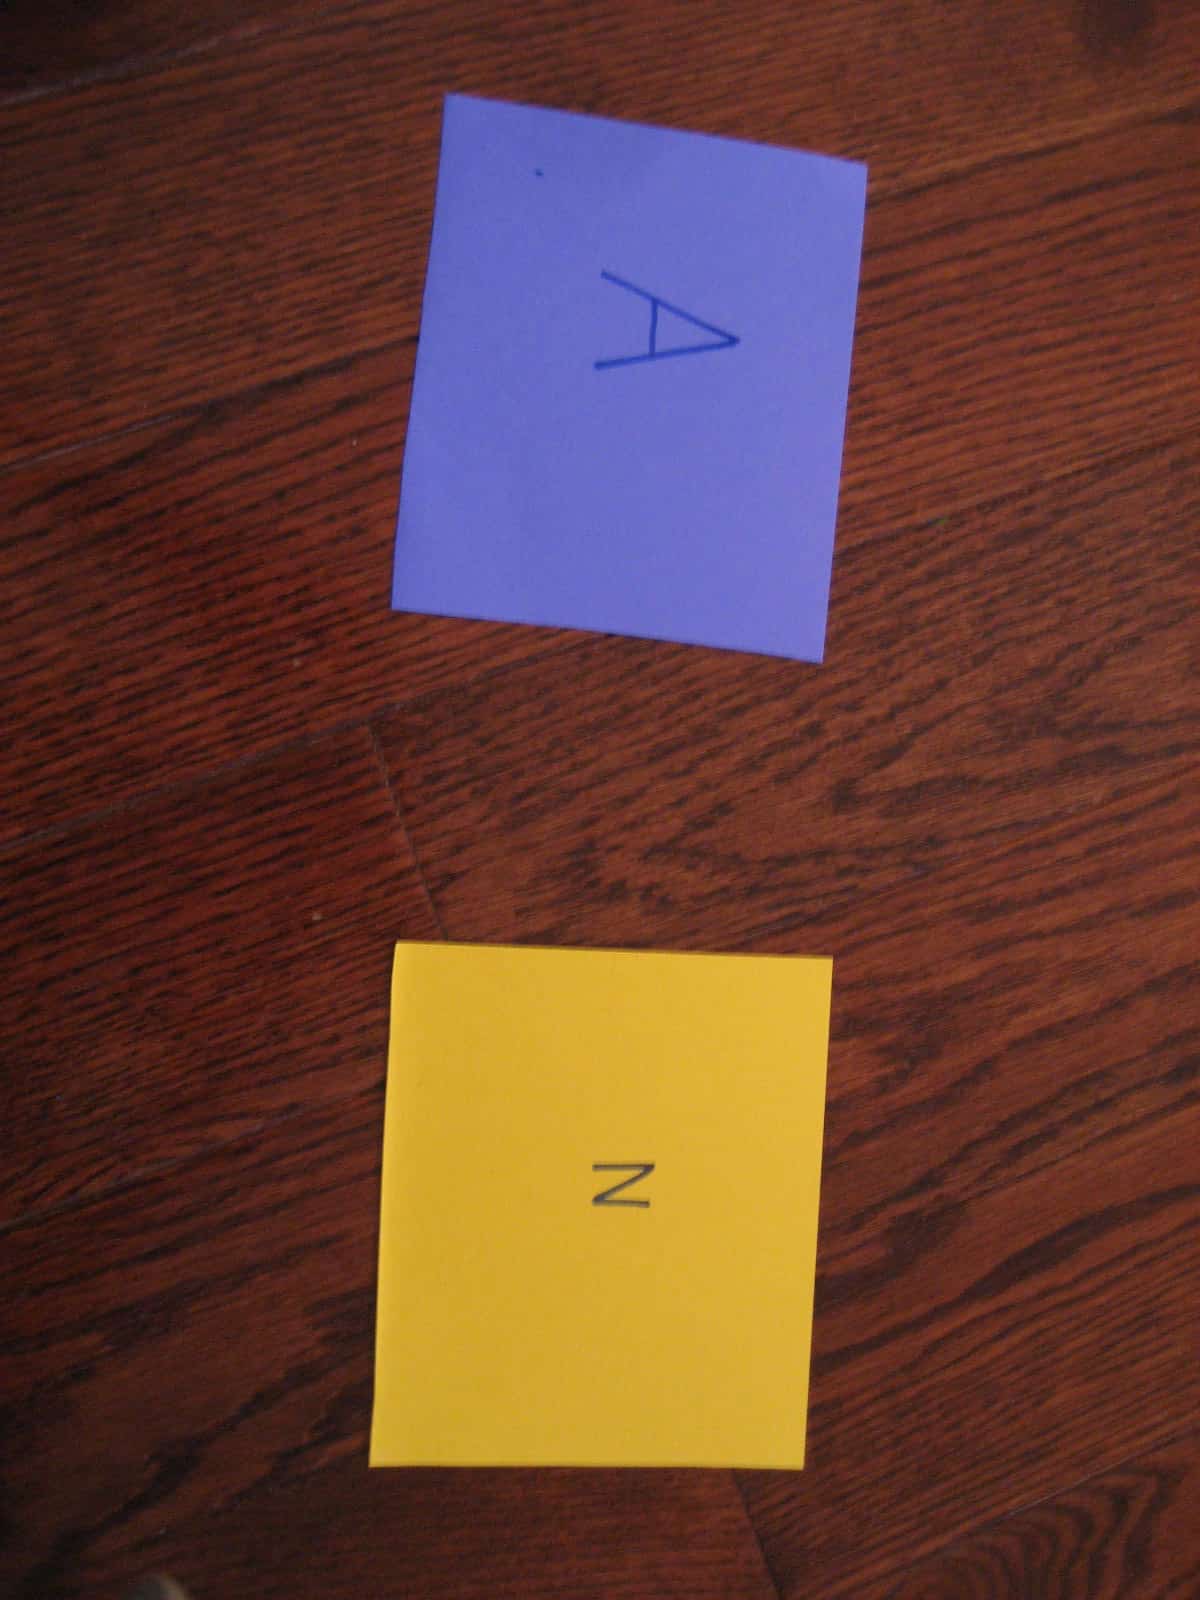
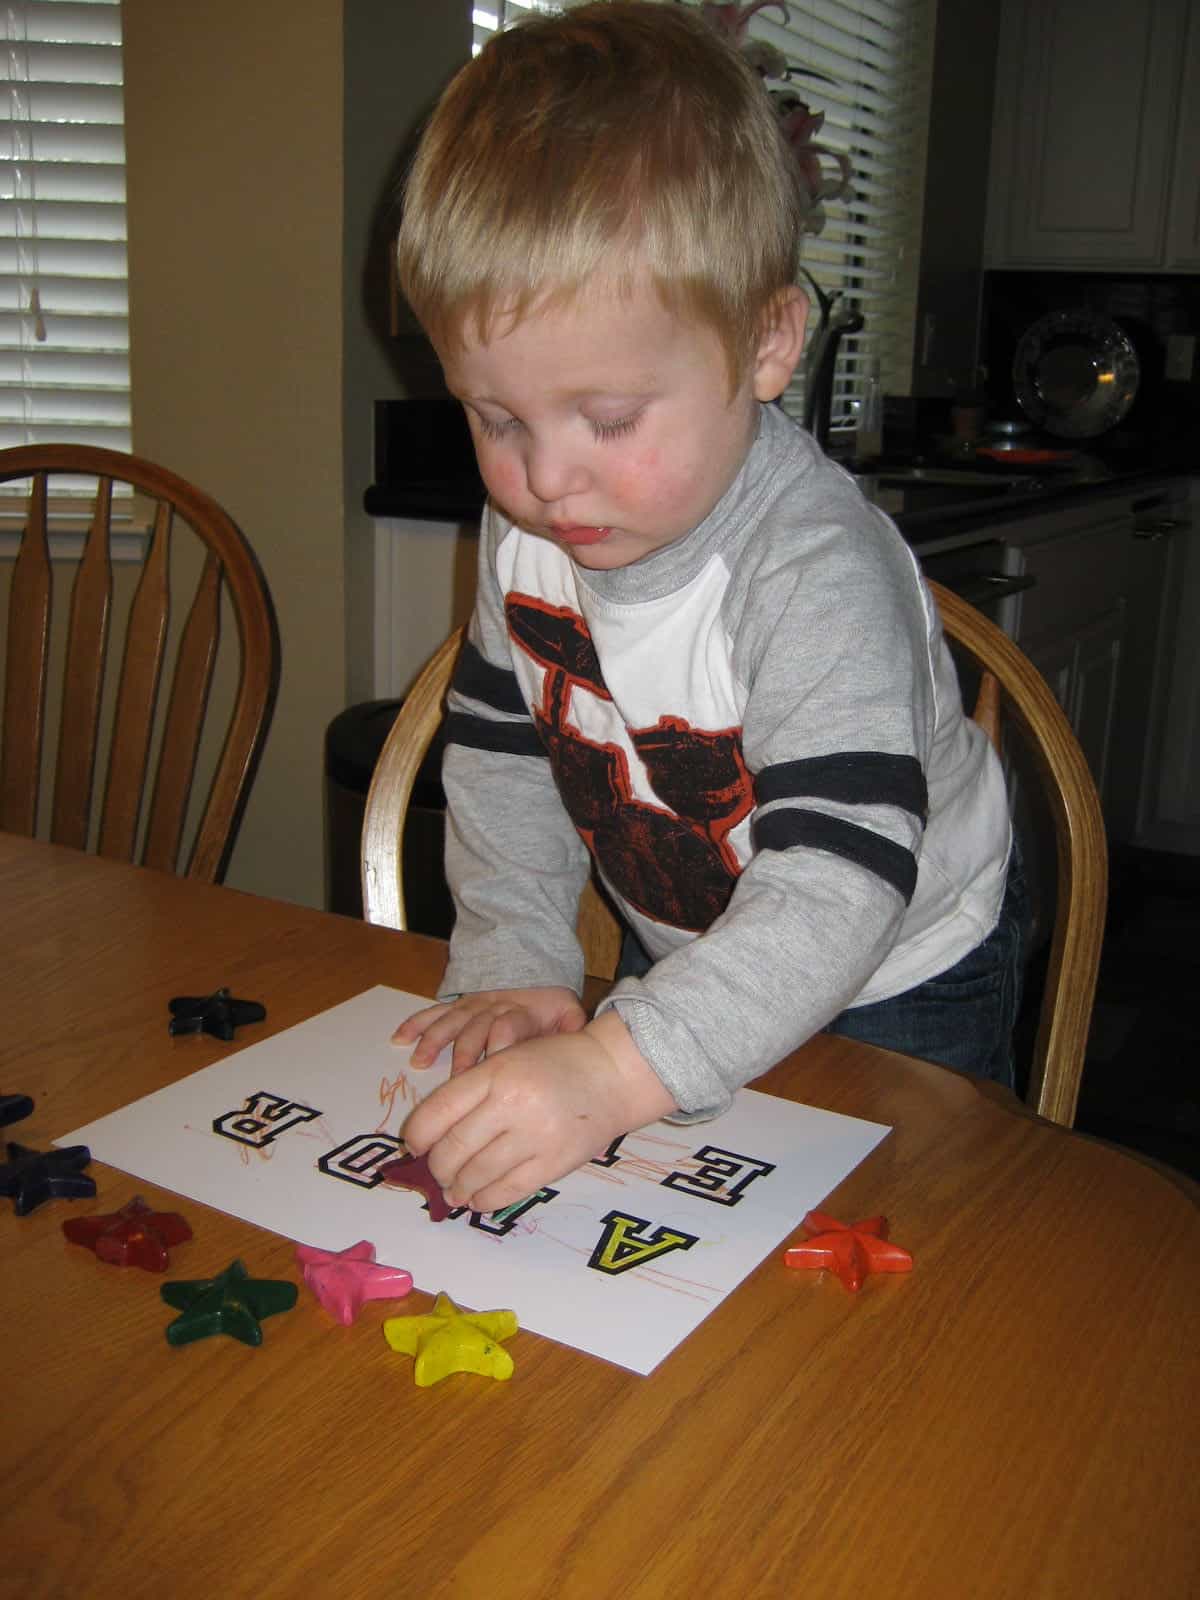
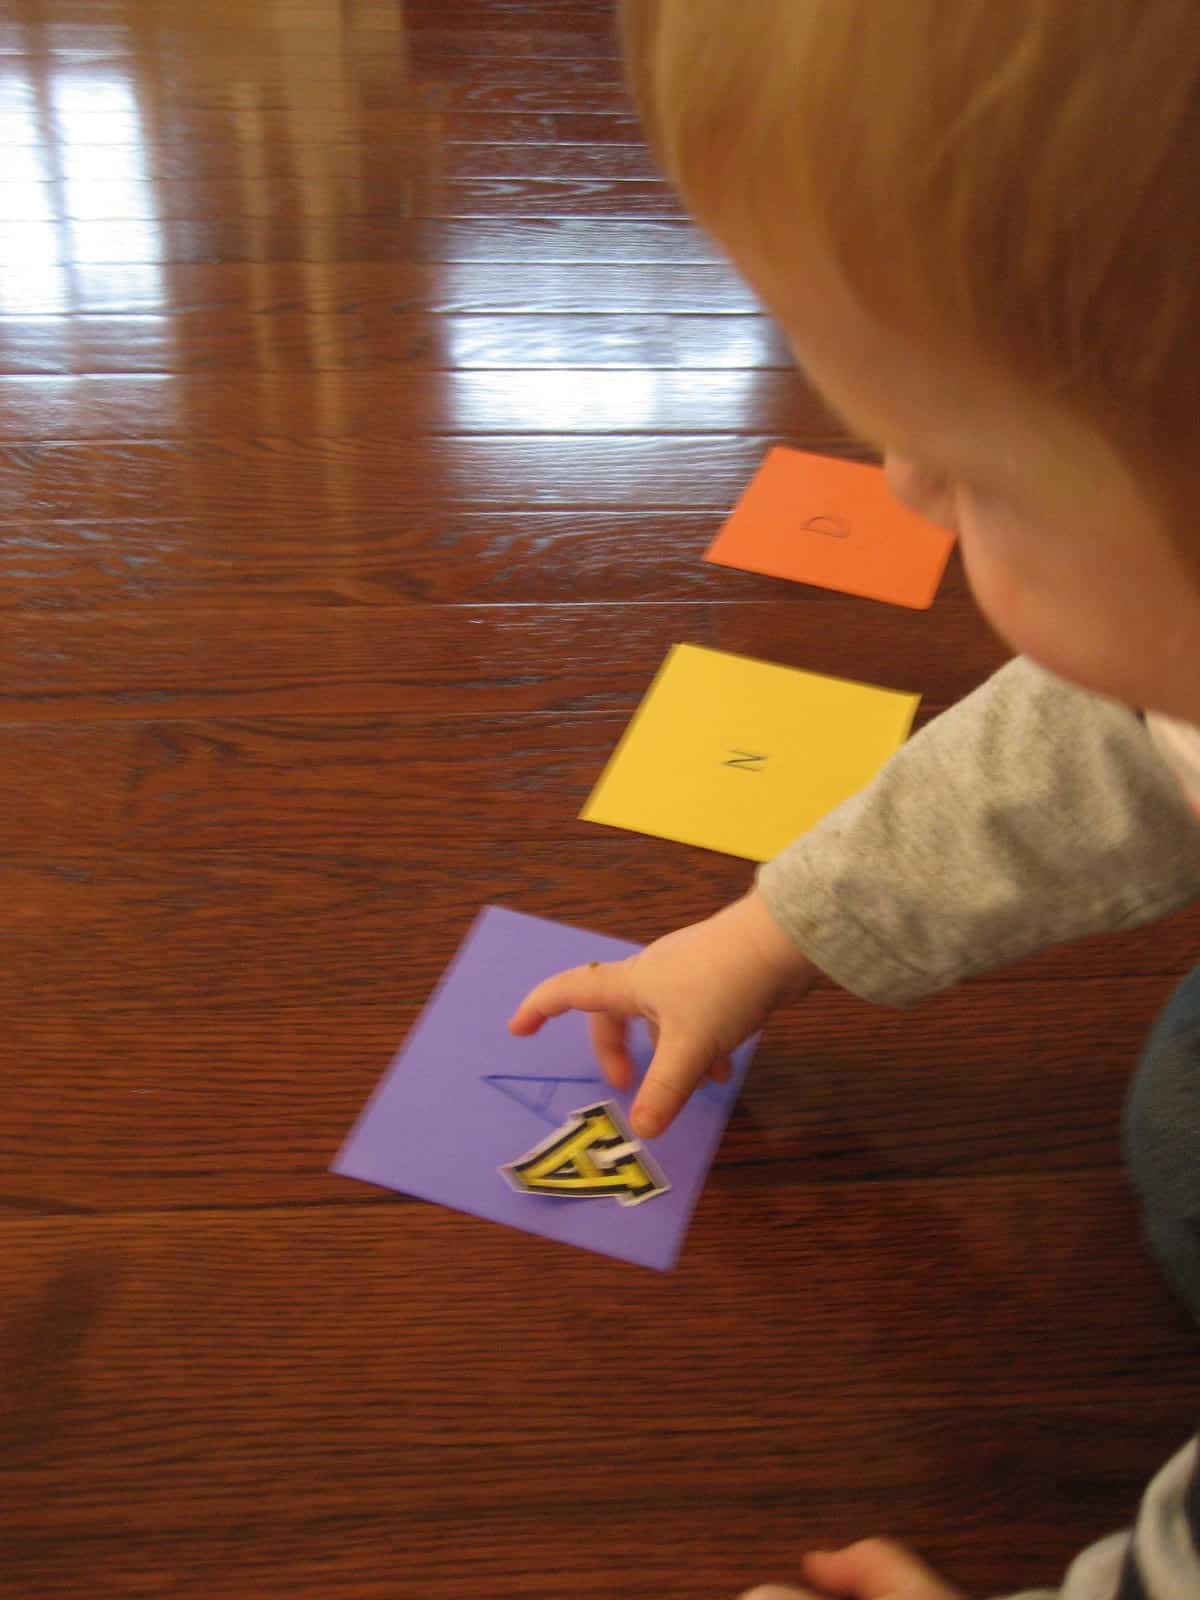
4. We spread out all the rectangles on the floor and I gave him one cut out letter at a time and he tried to match the letter with the same letter on the rectangle.
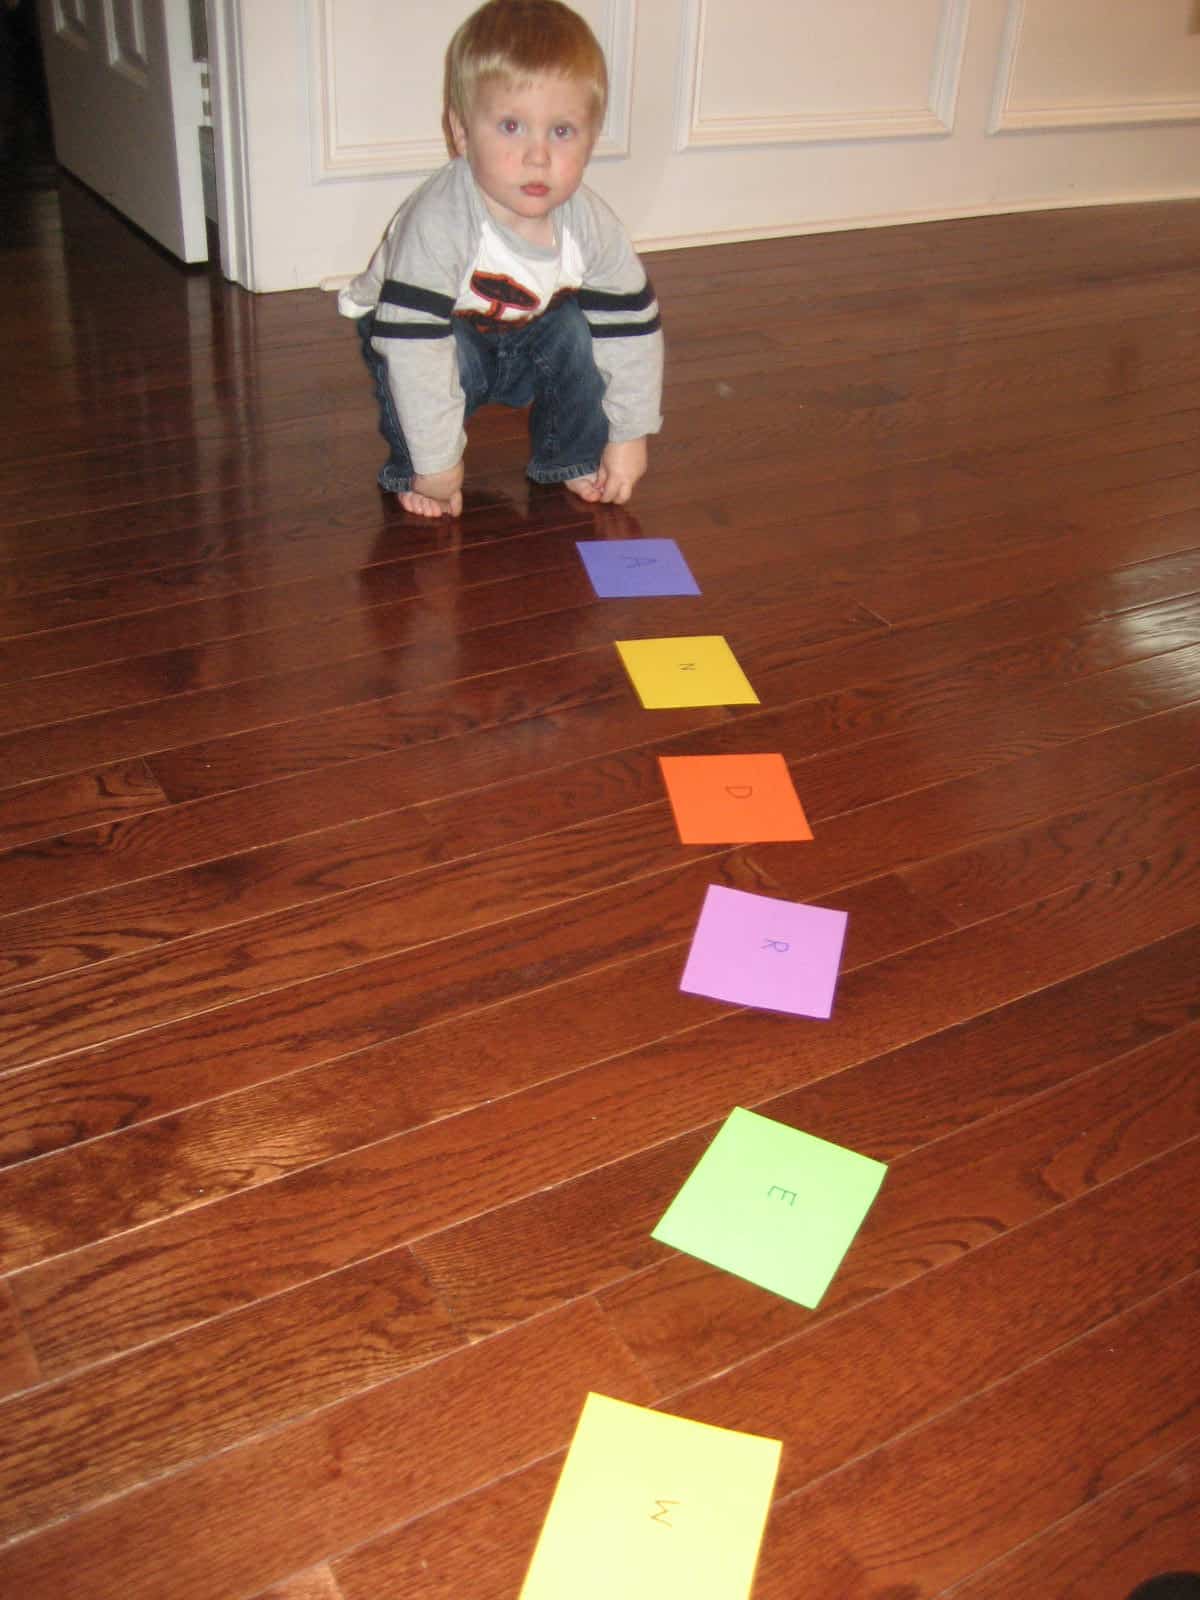
Here's an example of what we did (until he started revolting :))
5. After playing this matching game two times, we went back and glued the letters to the correct rectangles.
(I like to glue on top of old scrap paper so we don't get our table all sticky)
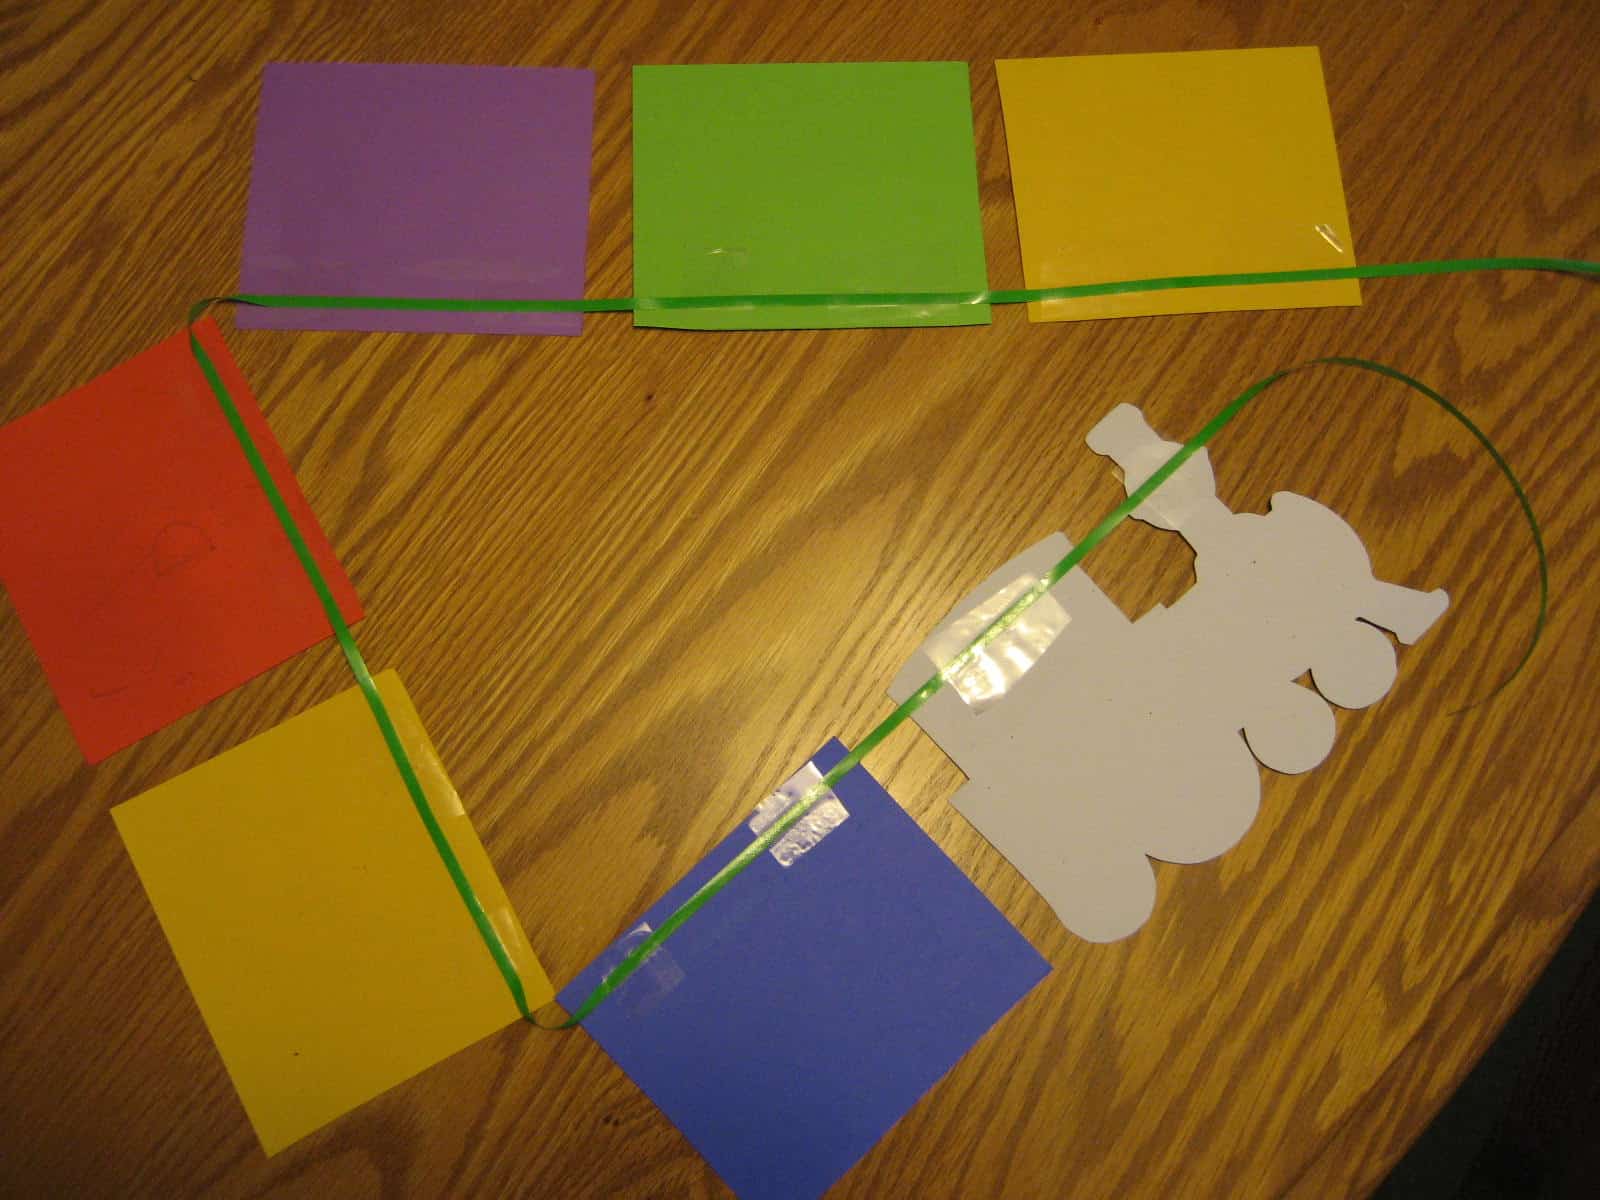
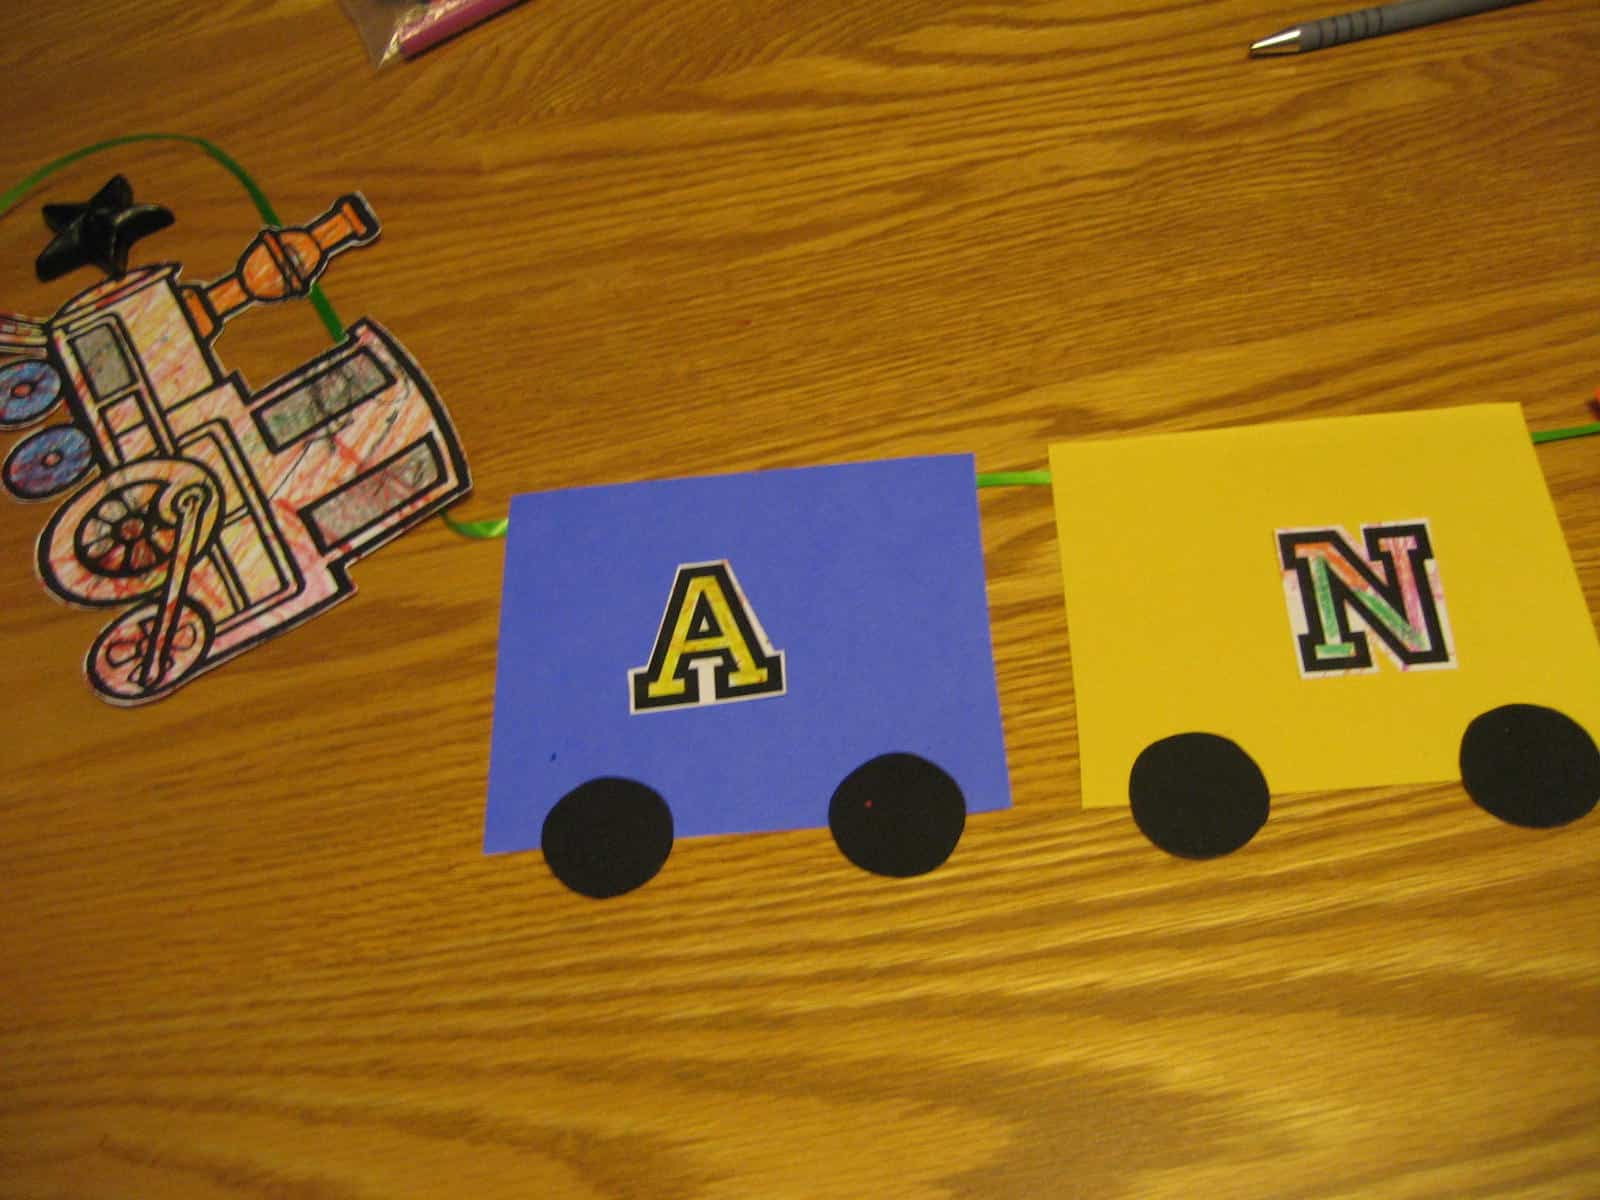
6. Once we glued everything on, we laid all the letters out.
7. I cut out the colored train.
8. Then I taped ribbon to the back of the train engine and cars. Make sure you look at which way your letters are so that you don't do what I did and tape everything backwards the first time!
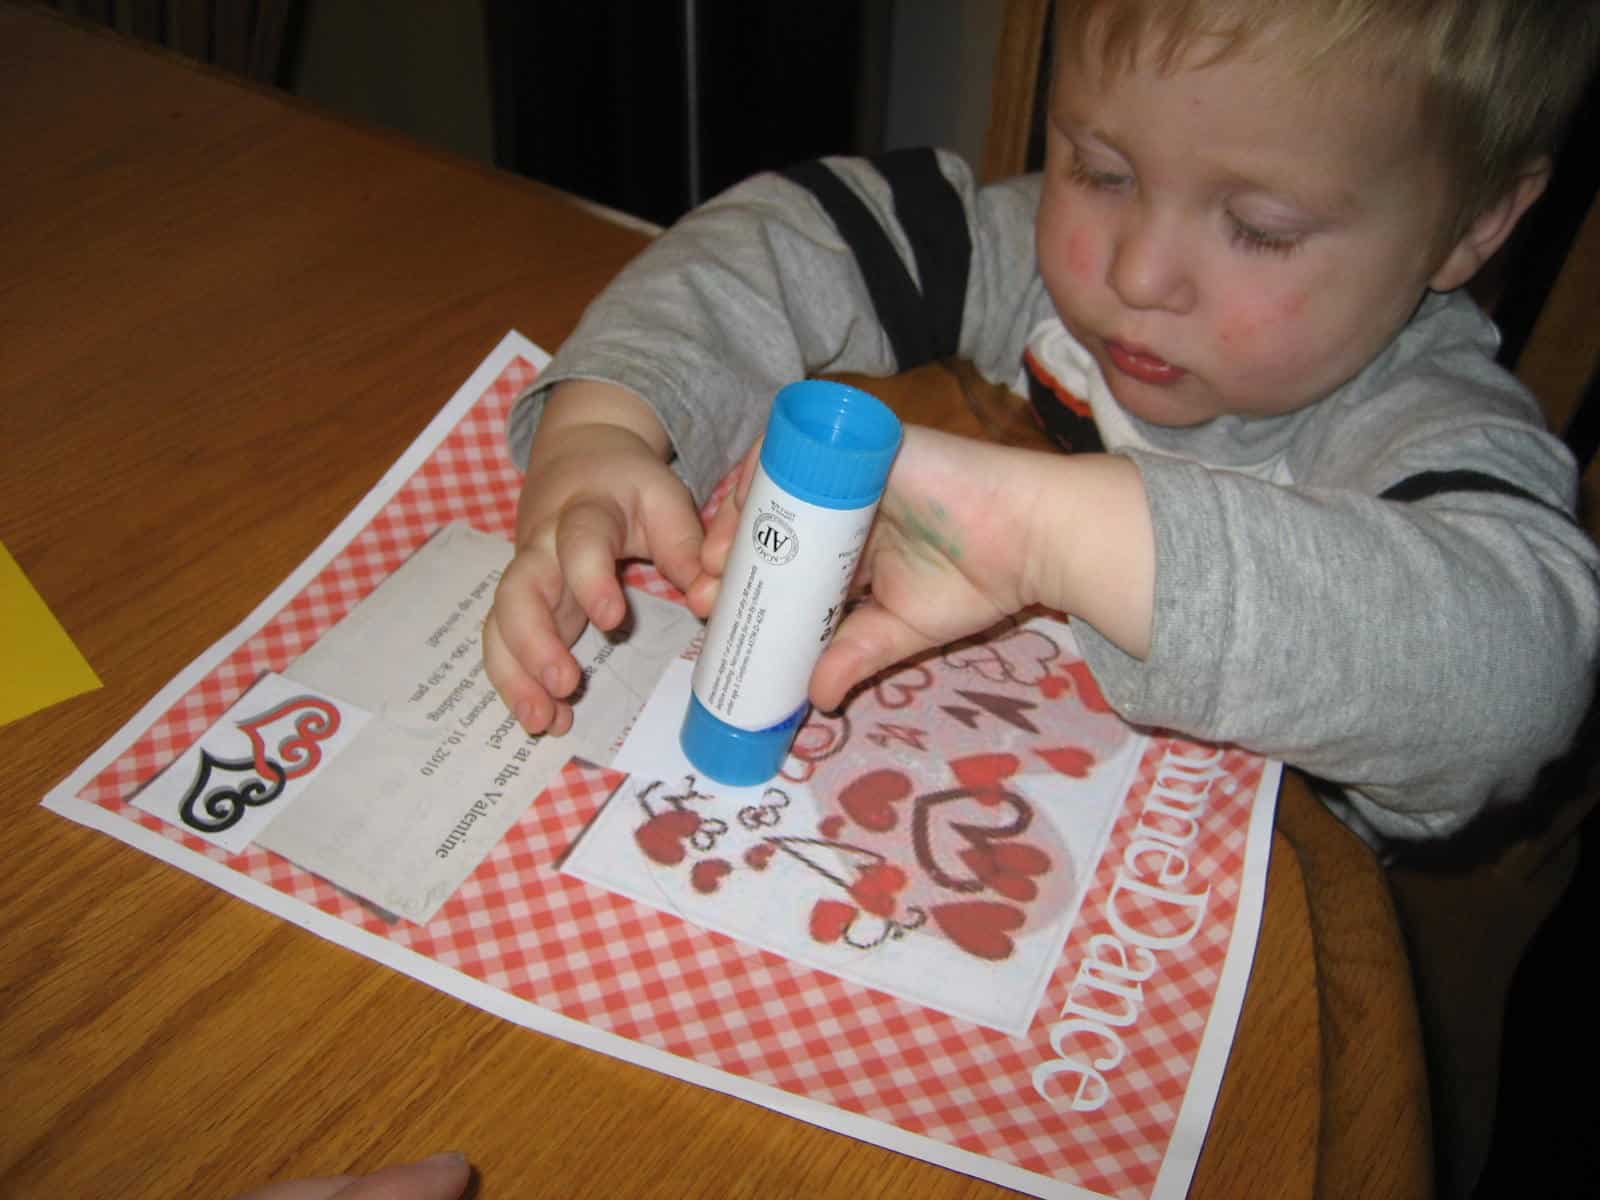
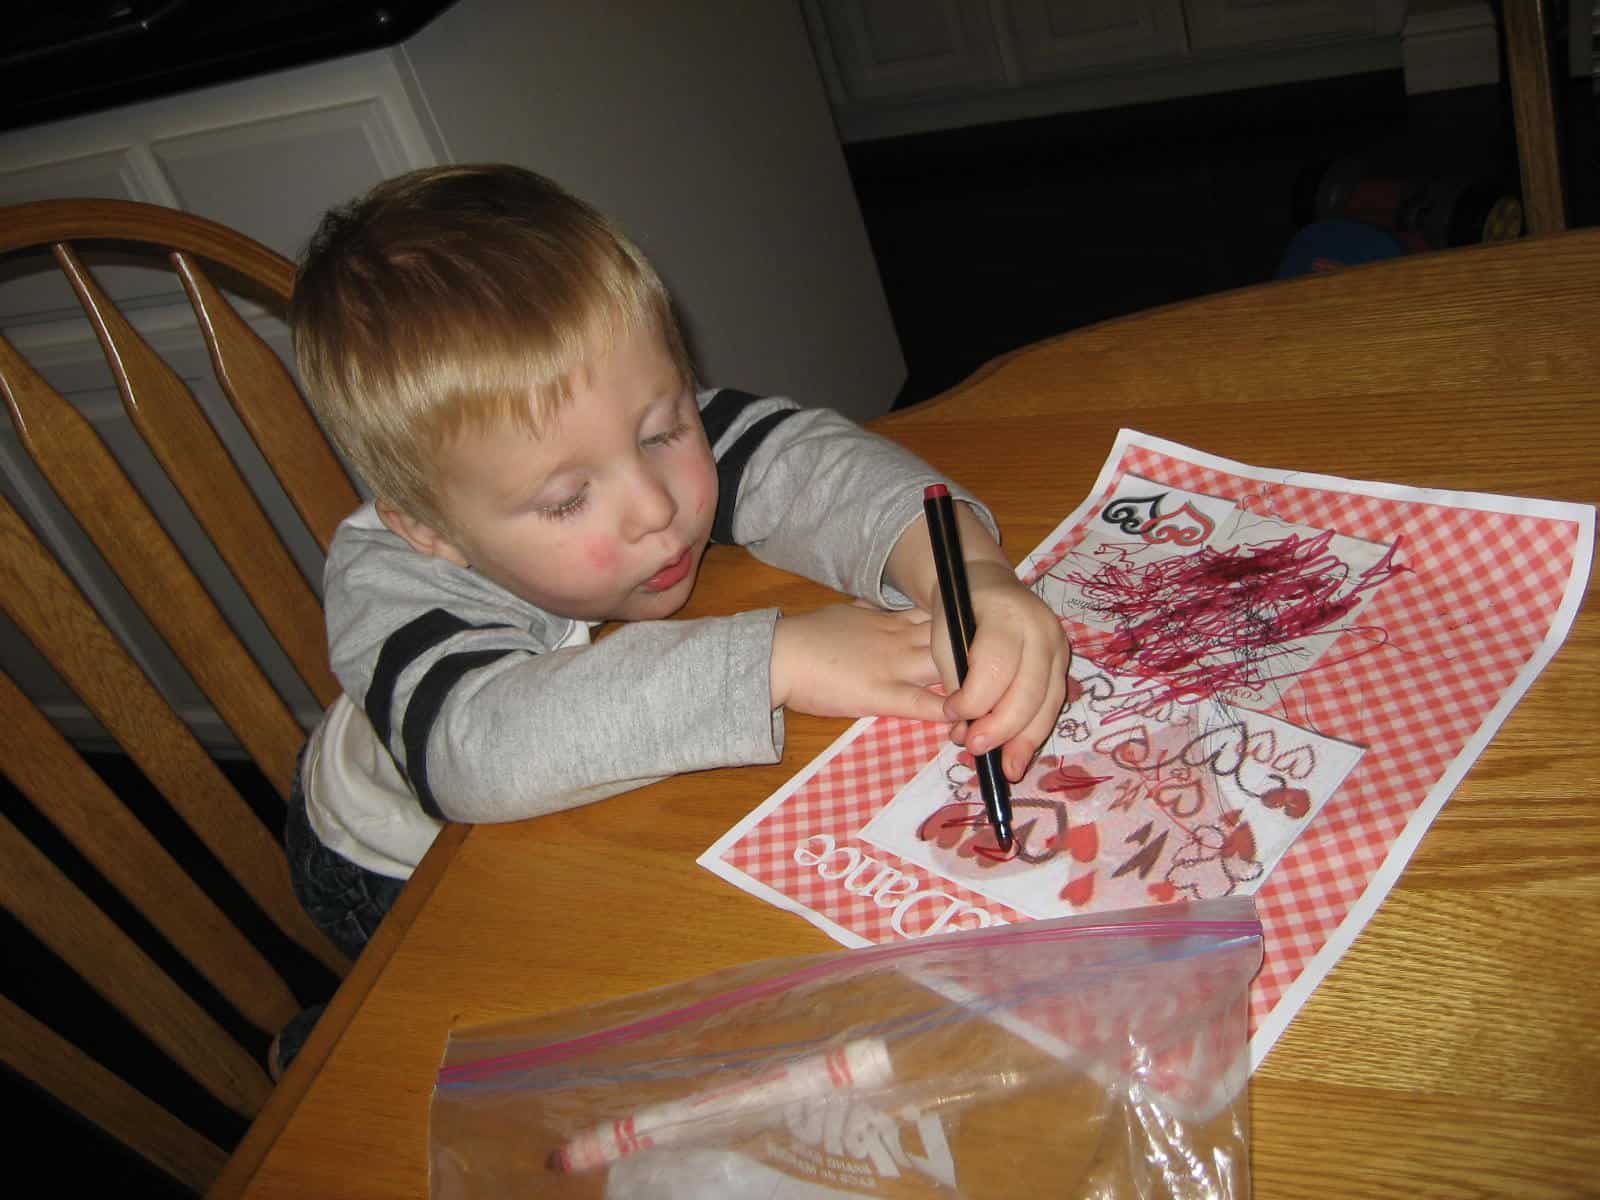
8. While you do all the assembling, give your toddler something else to do. My son was enthralled with coloring this flier for about 20 minutes... mostly because I let him use markers instead of crayons.
9. Cut out enough wheels so that each train car can have two wheels. This was the most tedious and time consuming part of this project.
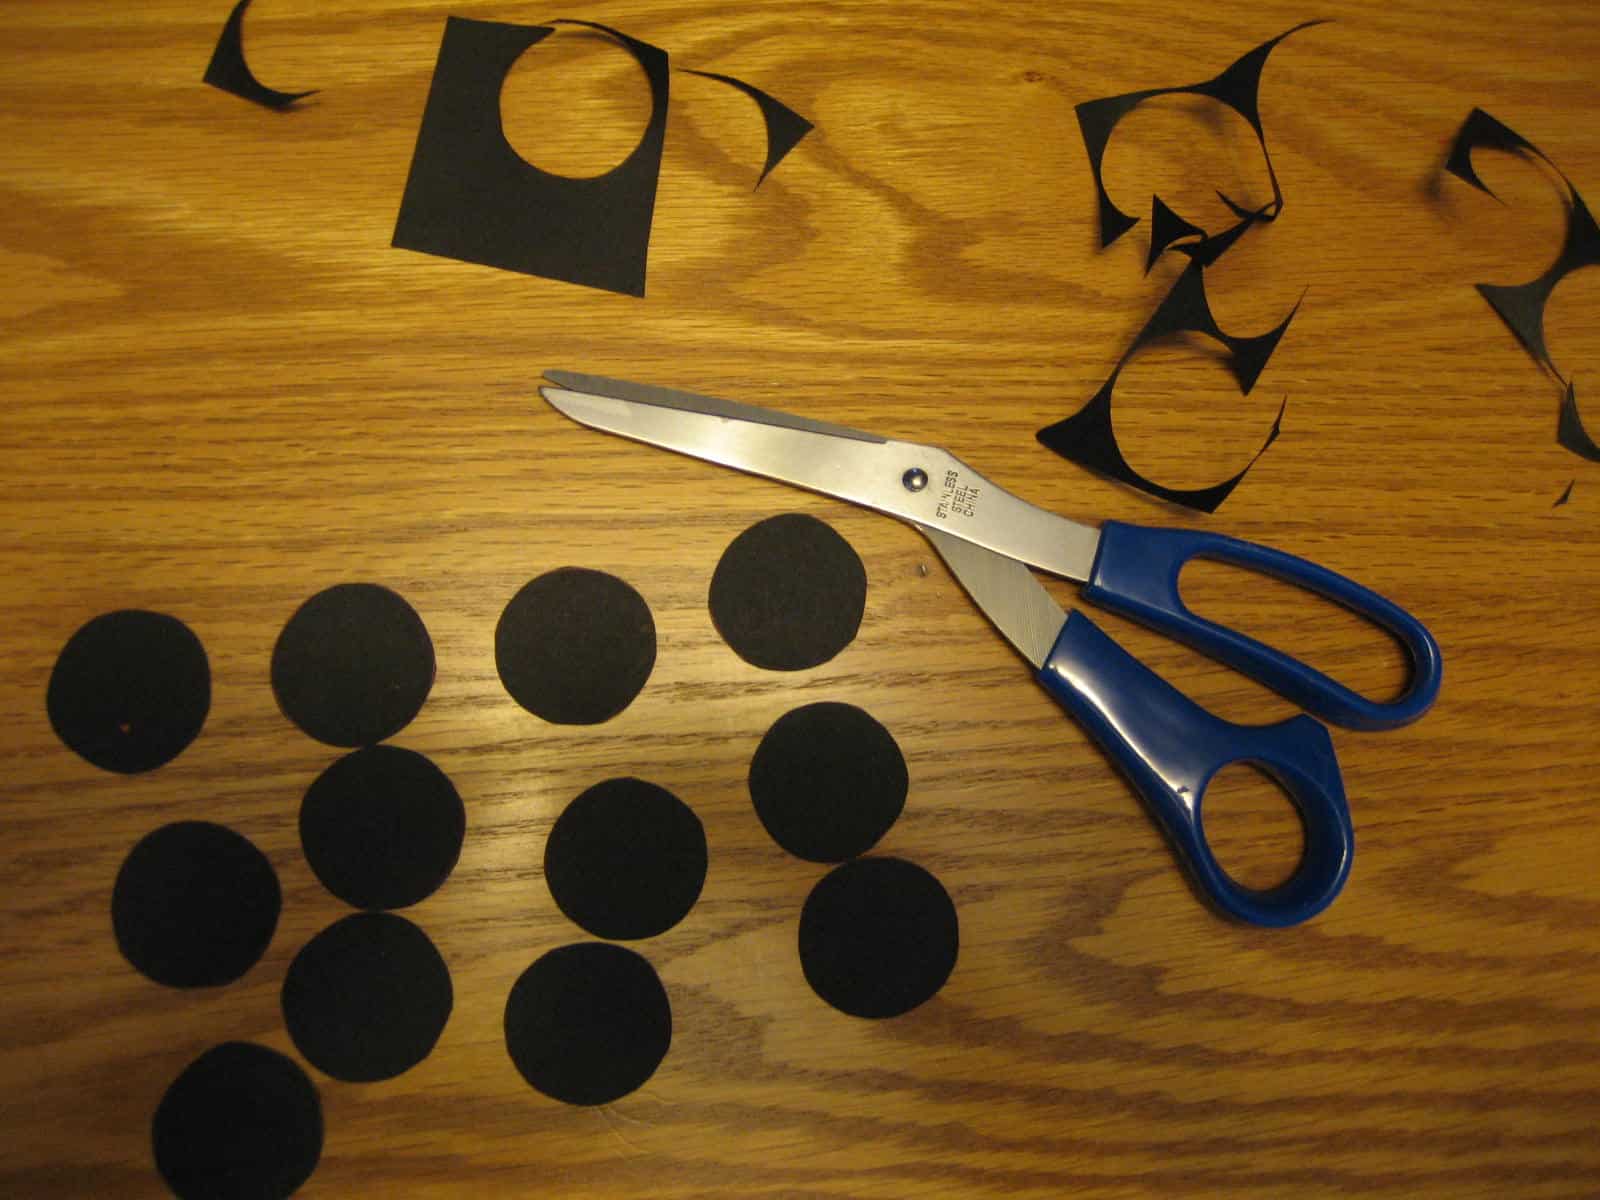
10. Tape the wheels to the cars.
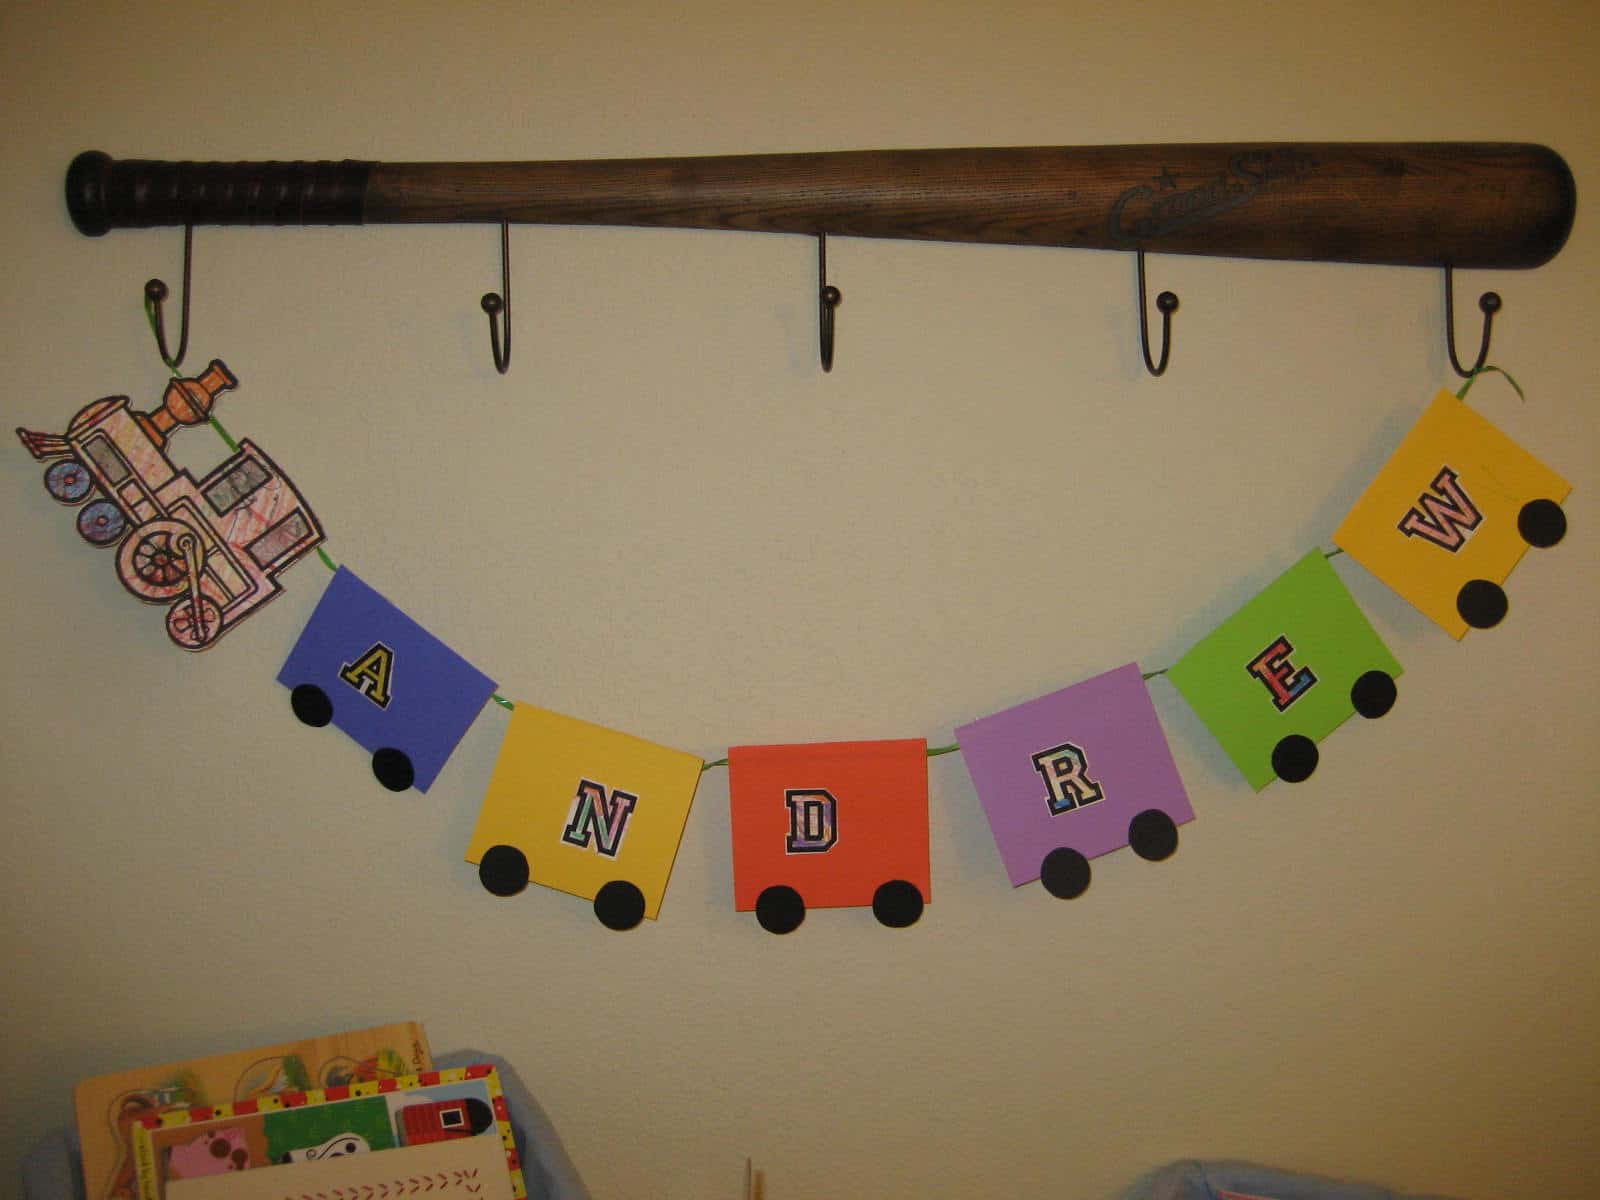
11. Hang the name train banner where it can be seen and read regularly (this one is across from my son's crib and he is loving it!).
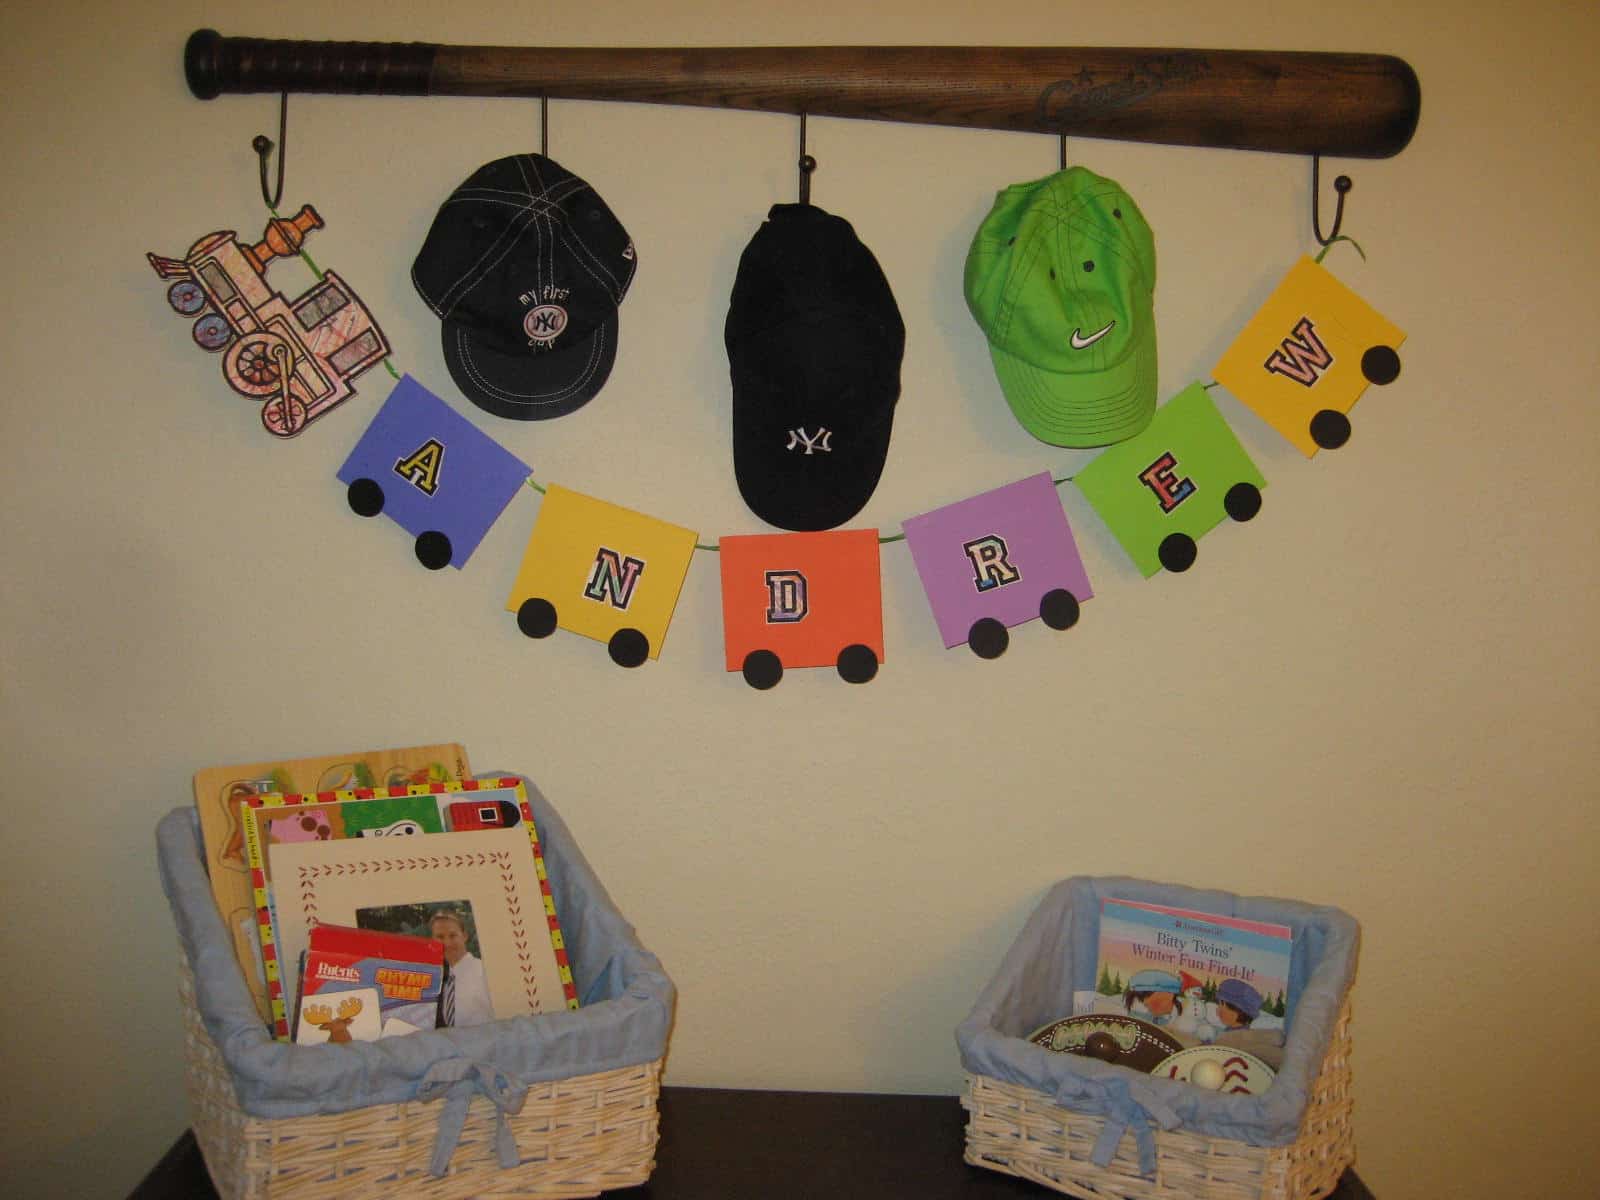
This was probably my favorite activity we've done so far because there were so many learning and language activities embedded and it ended up looking really cute too!


Leave a Comment