
This is another fun activity for your little rock star.
Materials:
- cardboard
- colored paper
- pencil
- markers
- scissors
- colored ribbon or string
- tape and glue
Directions:
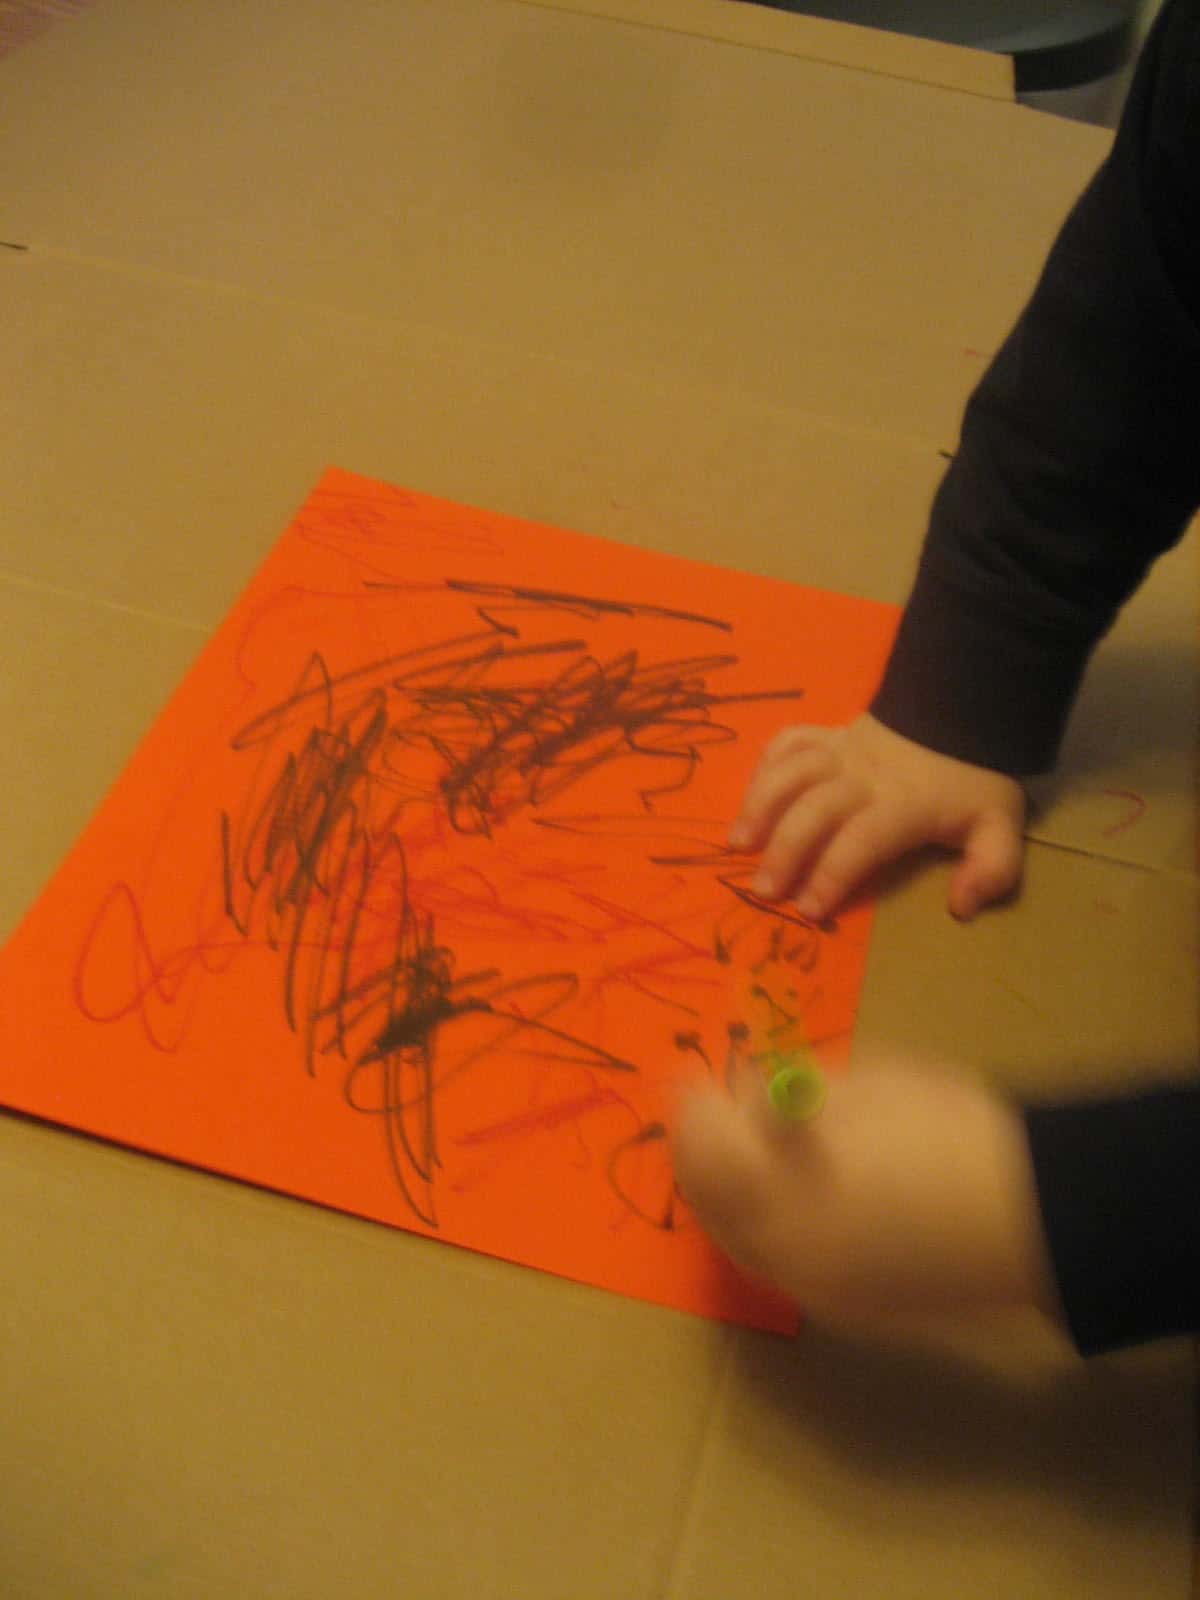
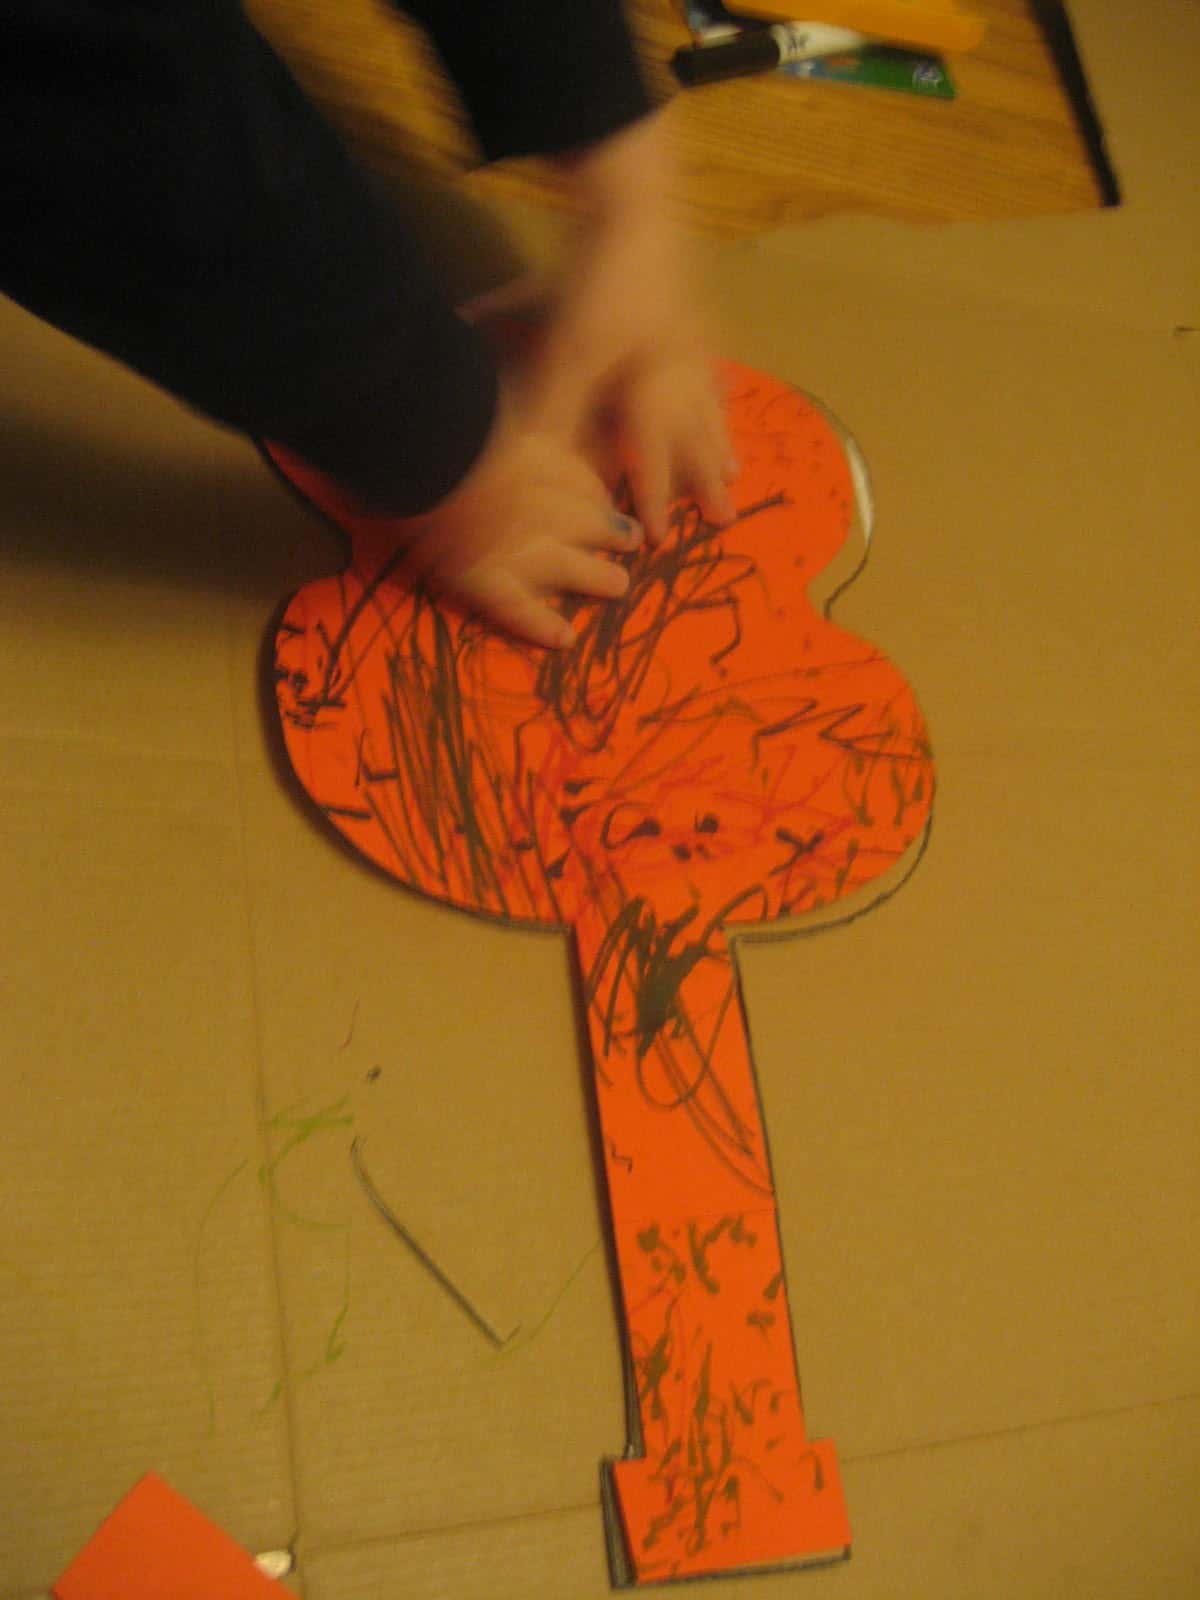
1. Have your child color a piece or two of colored paper (depending on how big of a guitar you want to make)
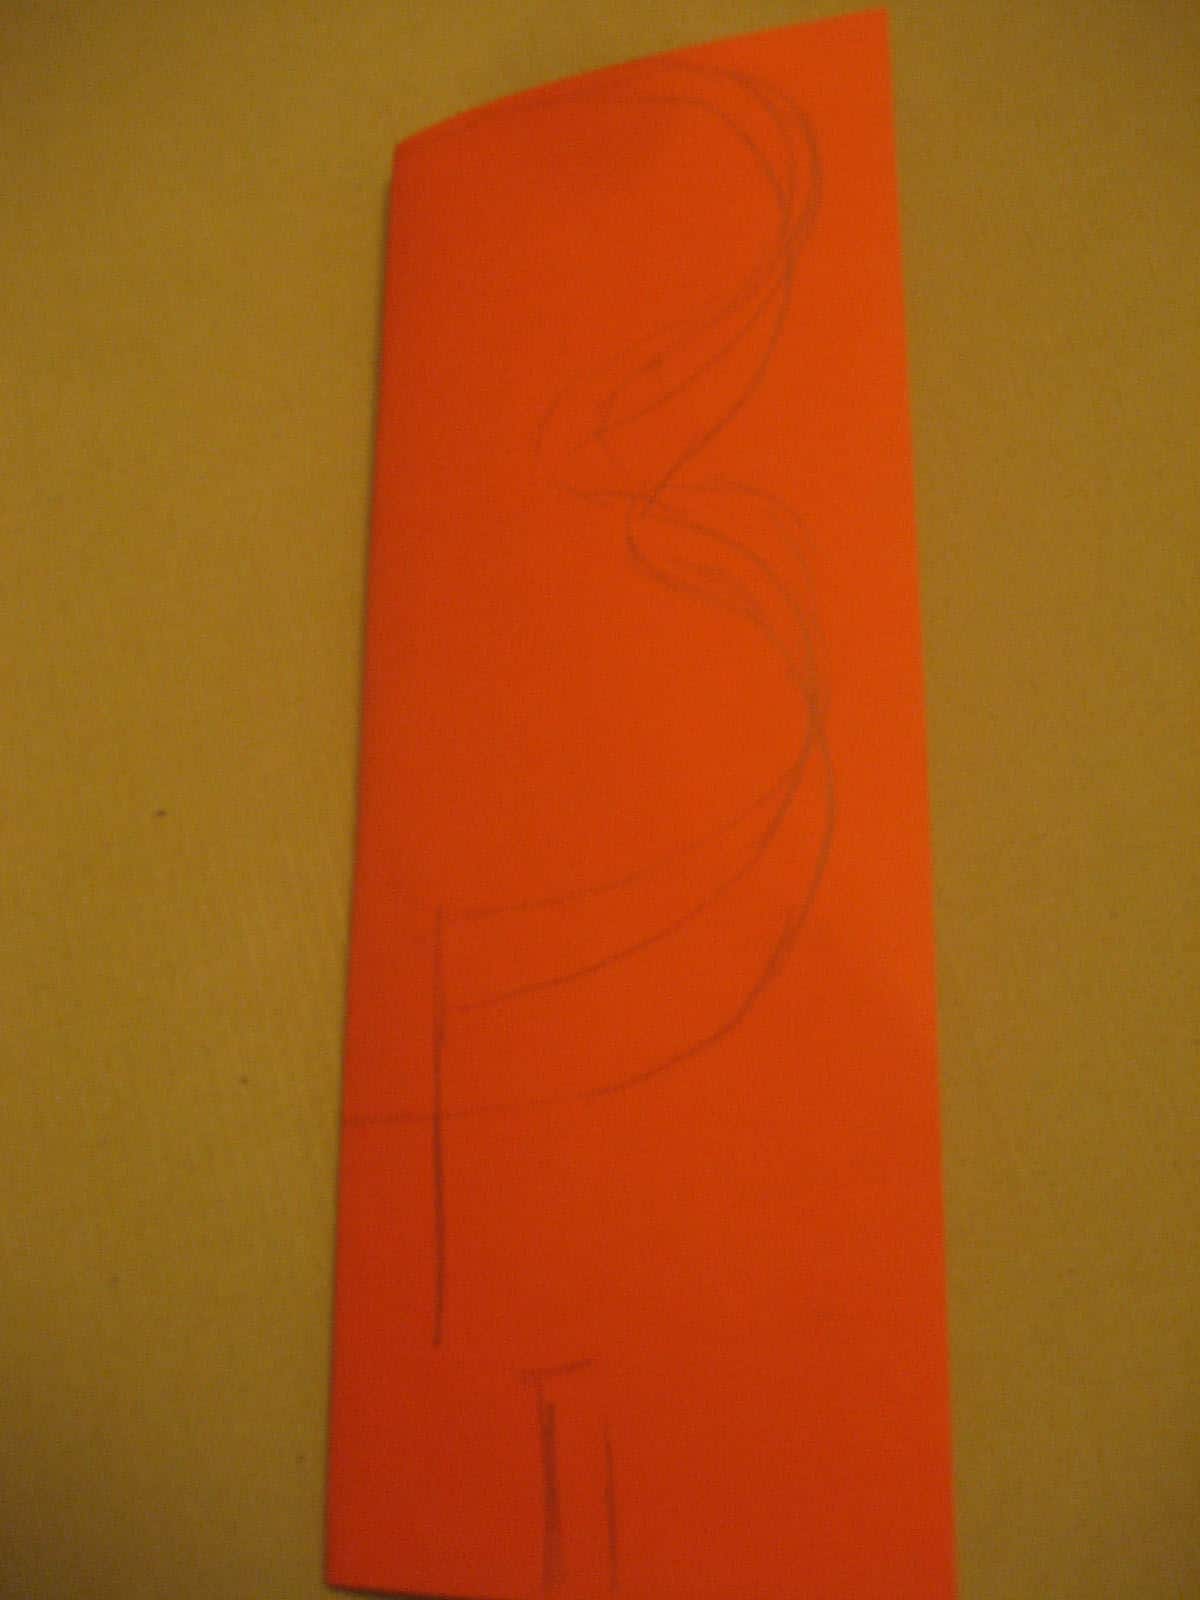
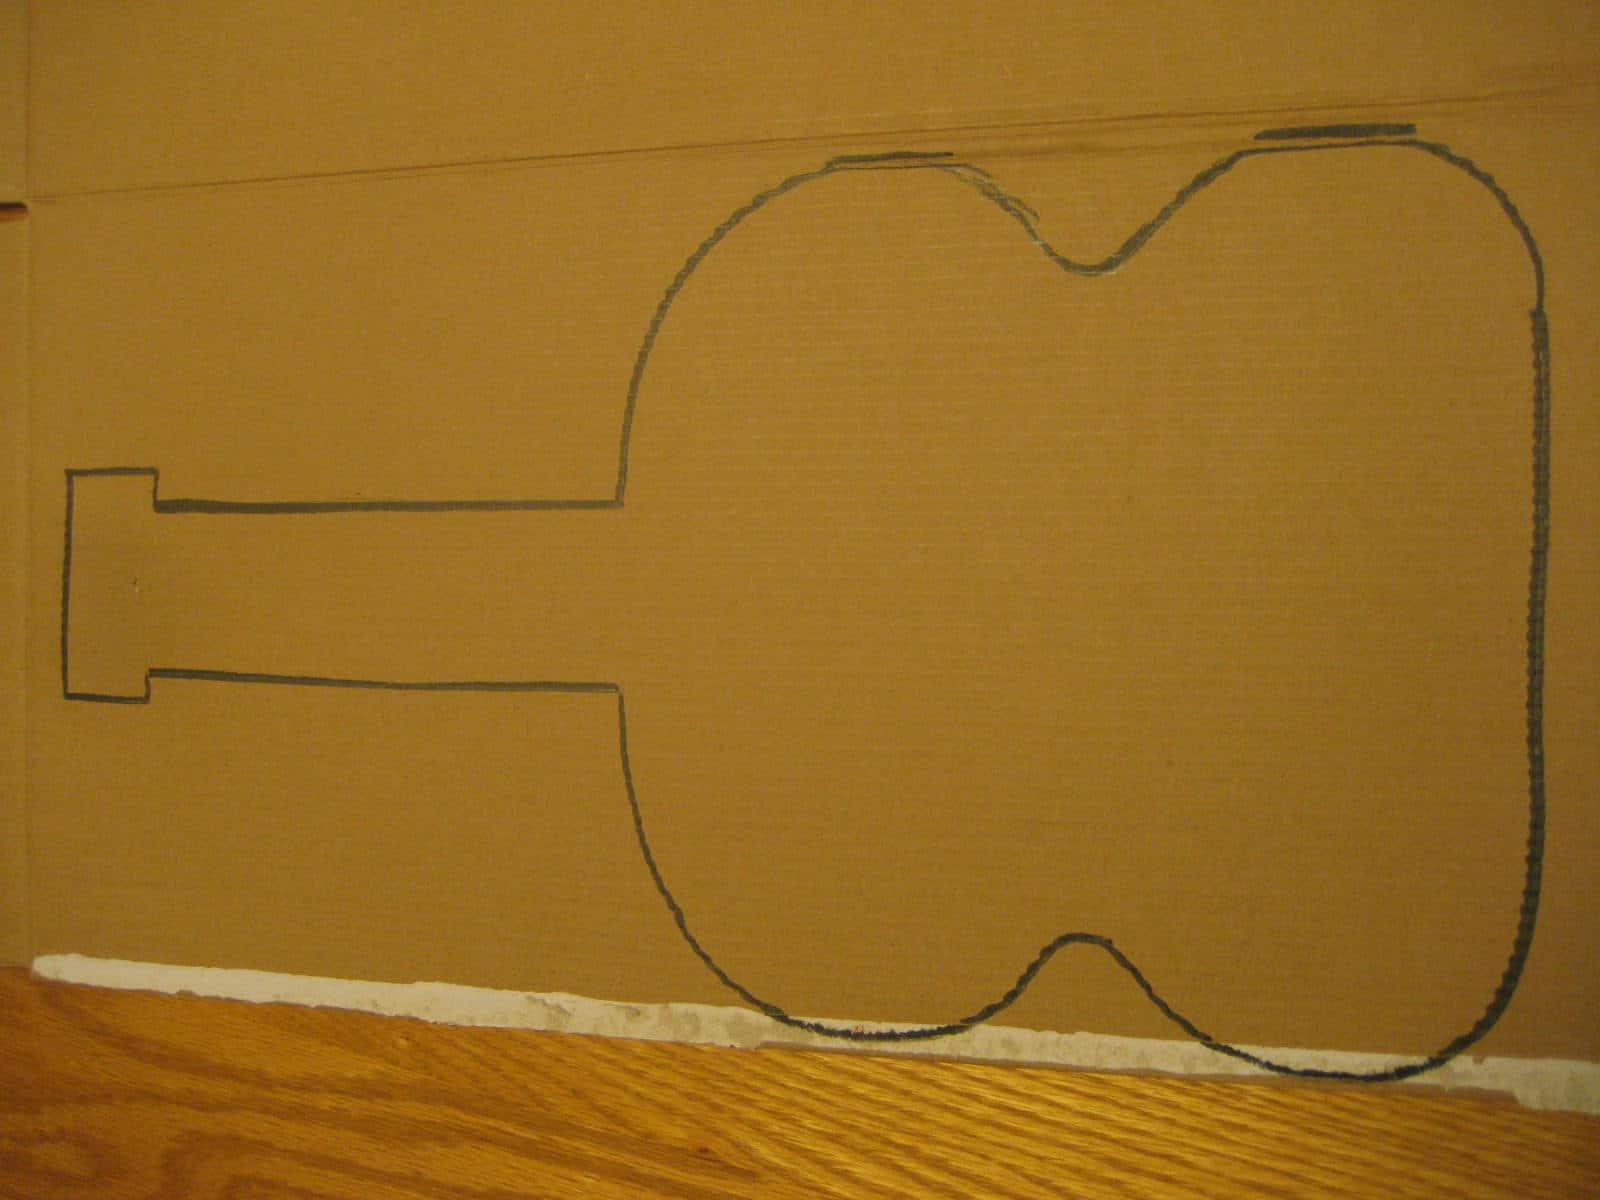
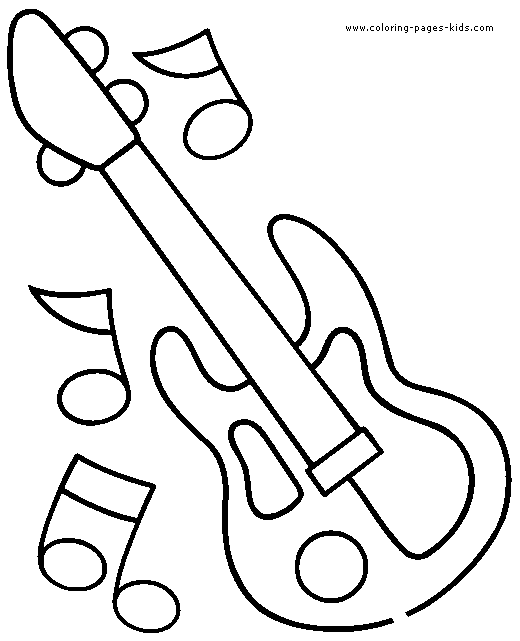
2. Draw a guitar on the back of your child's picture (or cut out and trace one from here or here.)
3. Trace your child's guitar onto a piece of cardboard and cut it out.
4. Cover the face of the guitar with glue
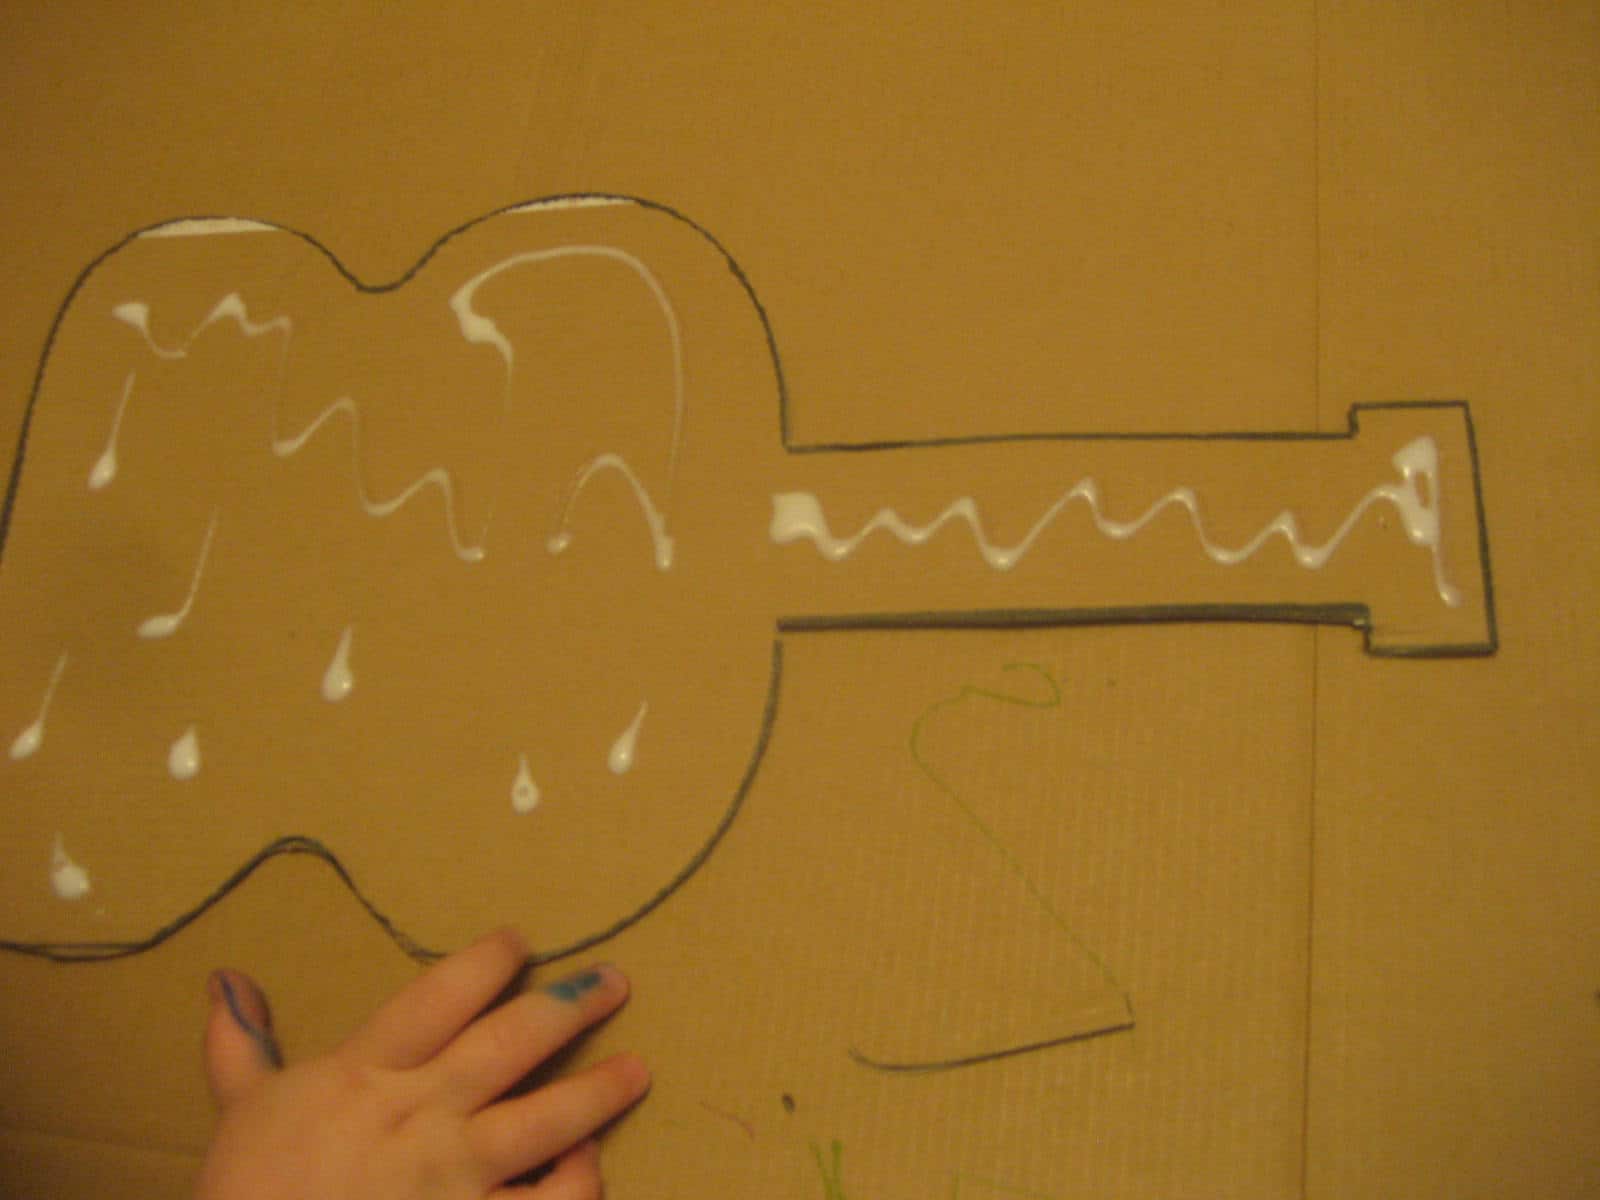
5. Attach the paper guitar to the cardboard and press down. Let the glue dry.
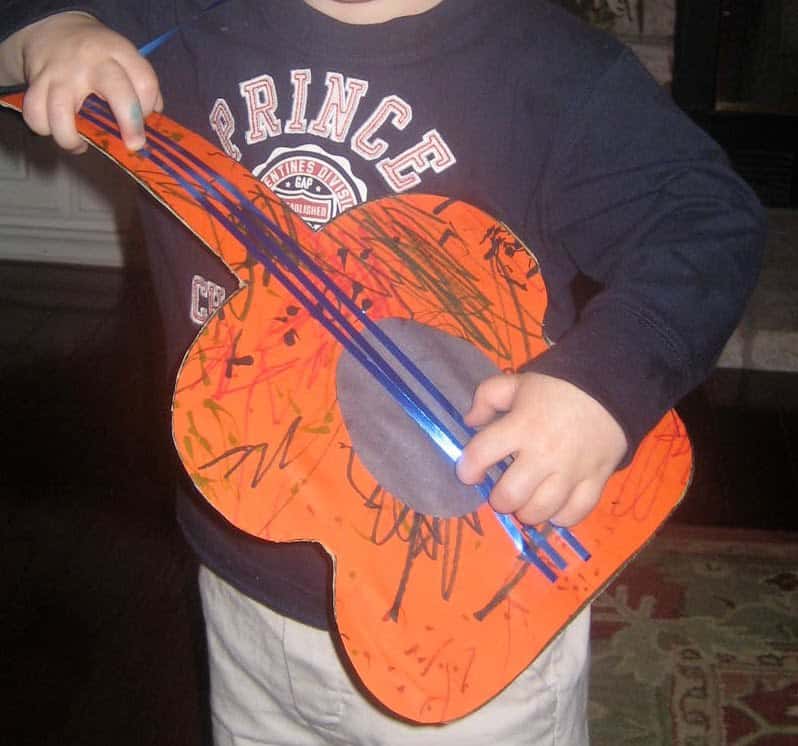
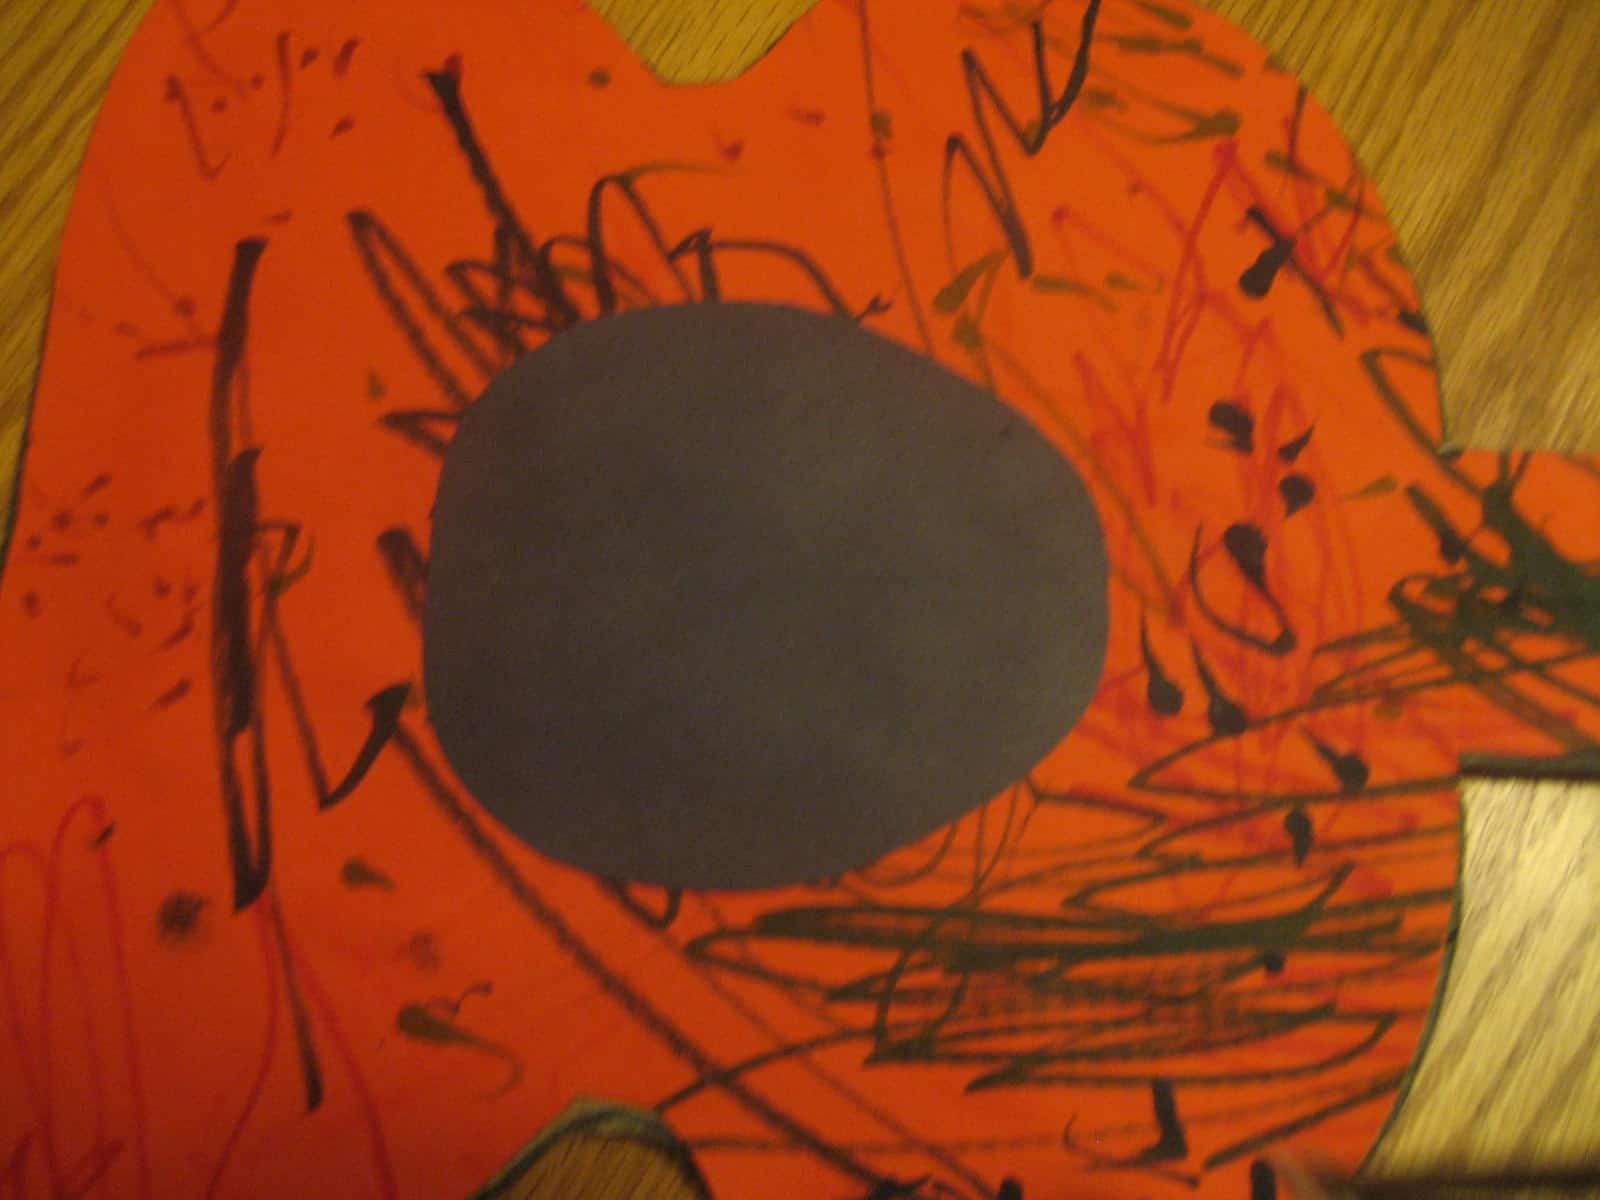
6. Cut out an oval and glue it to the guitar to make a sound hole.
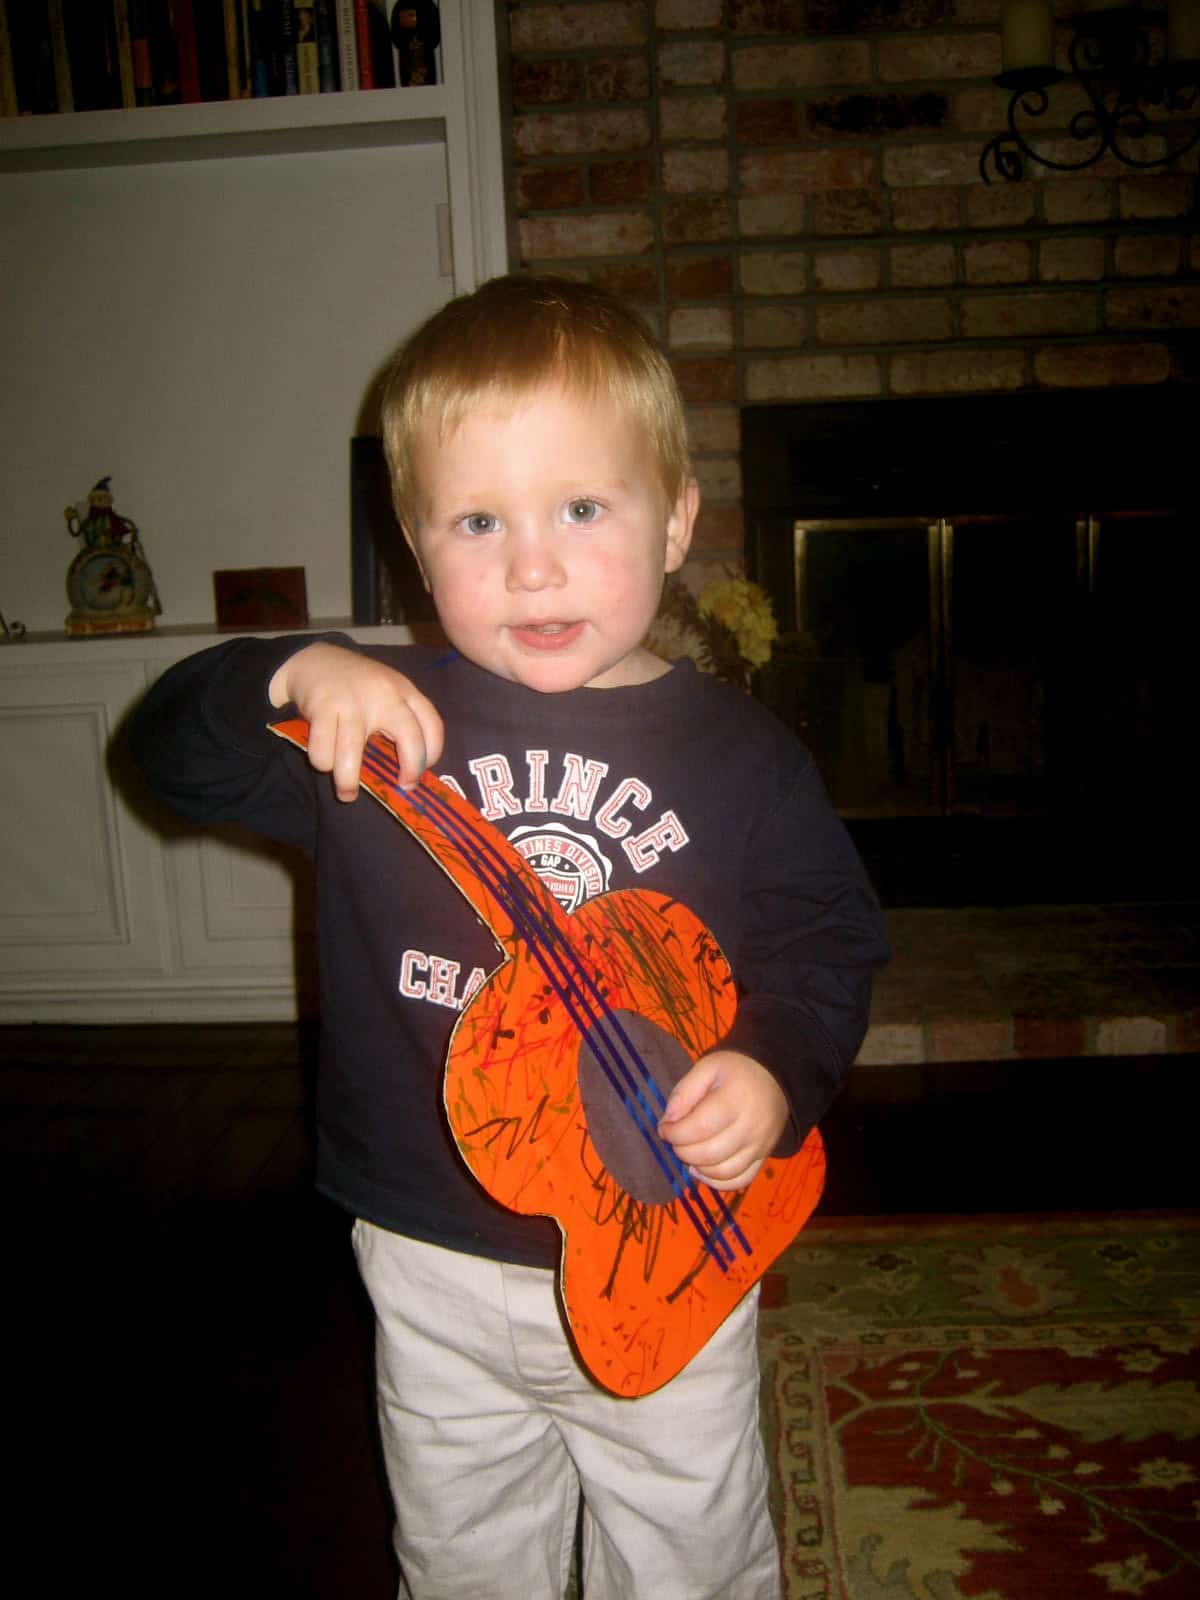
7. Attach string or ribbon to the guitar with tape. Use a lot of tape so that the strings don't fall off the second your child plays with the guitar.
8. Cut one hole in each end of the guitar (neck and base) and string ribbon through to make a strap so that your child can wear the guitar around his neck/shoulders as he walks around.

Your little one won't want to put this down until it's destroyed. 🙂
Comments:
My little guy kept trying to grab this and take off with it during every step. He loved coloring the front of the guitar and helping with the gluing. His favorite thing to do was make lots of dots with the markers on the guitar.
Language Development:
During this activity we talked about the different basic parts of a guitar- the body, the sound hole, the neck, and the strings. We also talked about different ways to draw lines or make marks while we colored: squiggly, straight, dots, short, long. Once you've made the guitar, you can teach your child a few simple songs and practice saying the words while you strum the guitar. Our favorites are "Row Row Row Your Boat," "Wheels on the Bus," and "If You're Happy and You Know It." You can even make up your own words to go along with the tune. Singing is an awesome way enrich language development.
We got this great guitar idea from one of my new favorite websites, No Time for Flashcards.


Looking amazing honey, well done!!