
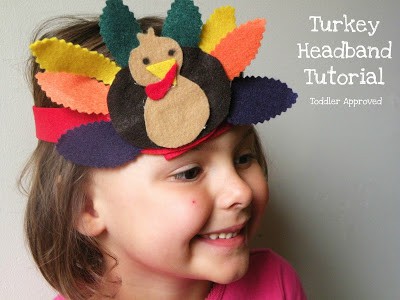
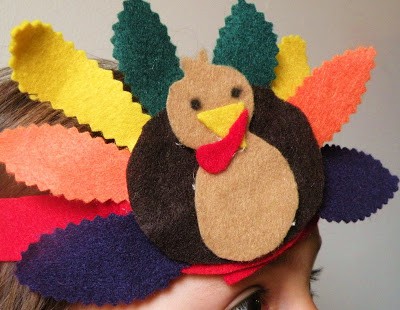
Can you believe Thanksgiving is less than a week away? I've seen these turkey headbands and figured I could make my own using my stockpile of scrap felt. Would you like to make one too?
Items Needed
Scissors
Black Marker
Glue Gun or Craft/Fabric Glue
Sticky Back Velcro
Felt: 1 Sheet (9x12) of Red, small pieces of Dark Brown, Light Brown, Yellow, and 2 other Colors (I just used scraps from leftover projects - you wouldn't need more than 4"x4" pieces)
[I had my daughter (age 4) help with this project - and would only recommend doing this with your child under direct supervision and with advance preparation. I used a glue gun (low heat) for assembly - but set it up away from where we were assembling the headband, and did not allow my daughter to operate it or touch the glue.]
Instructions
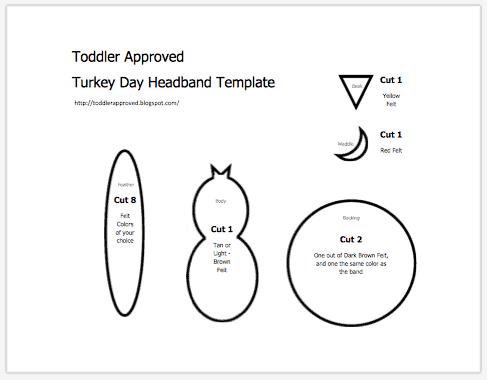
Print the template and cut out the pieces (or you could easily eyeball the shapes).
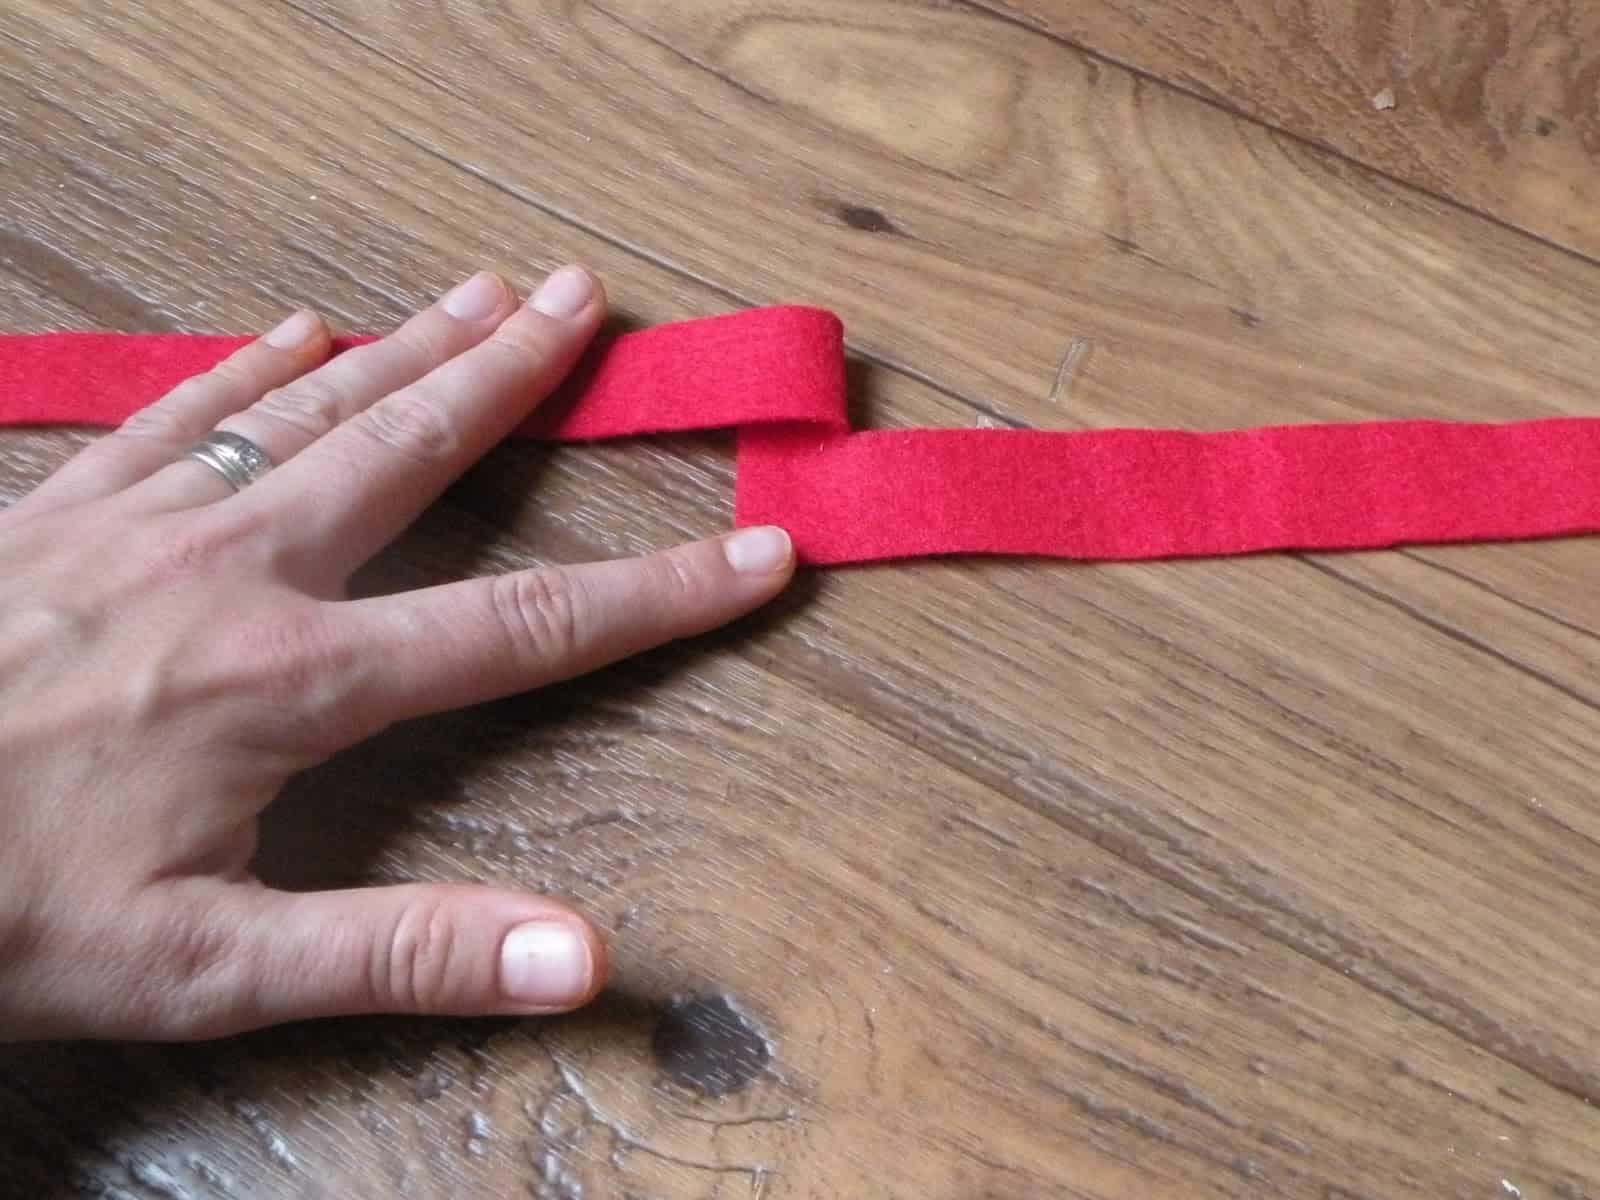
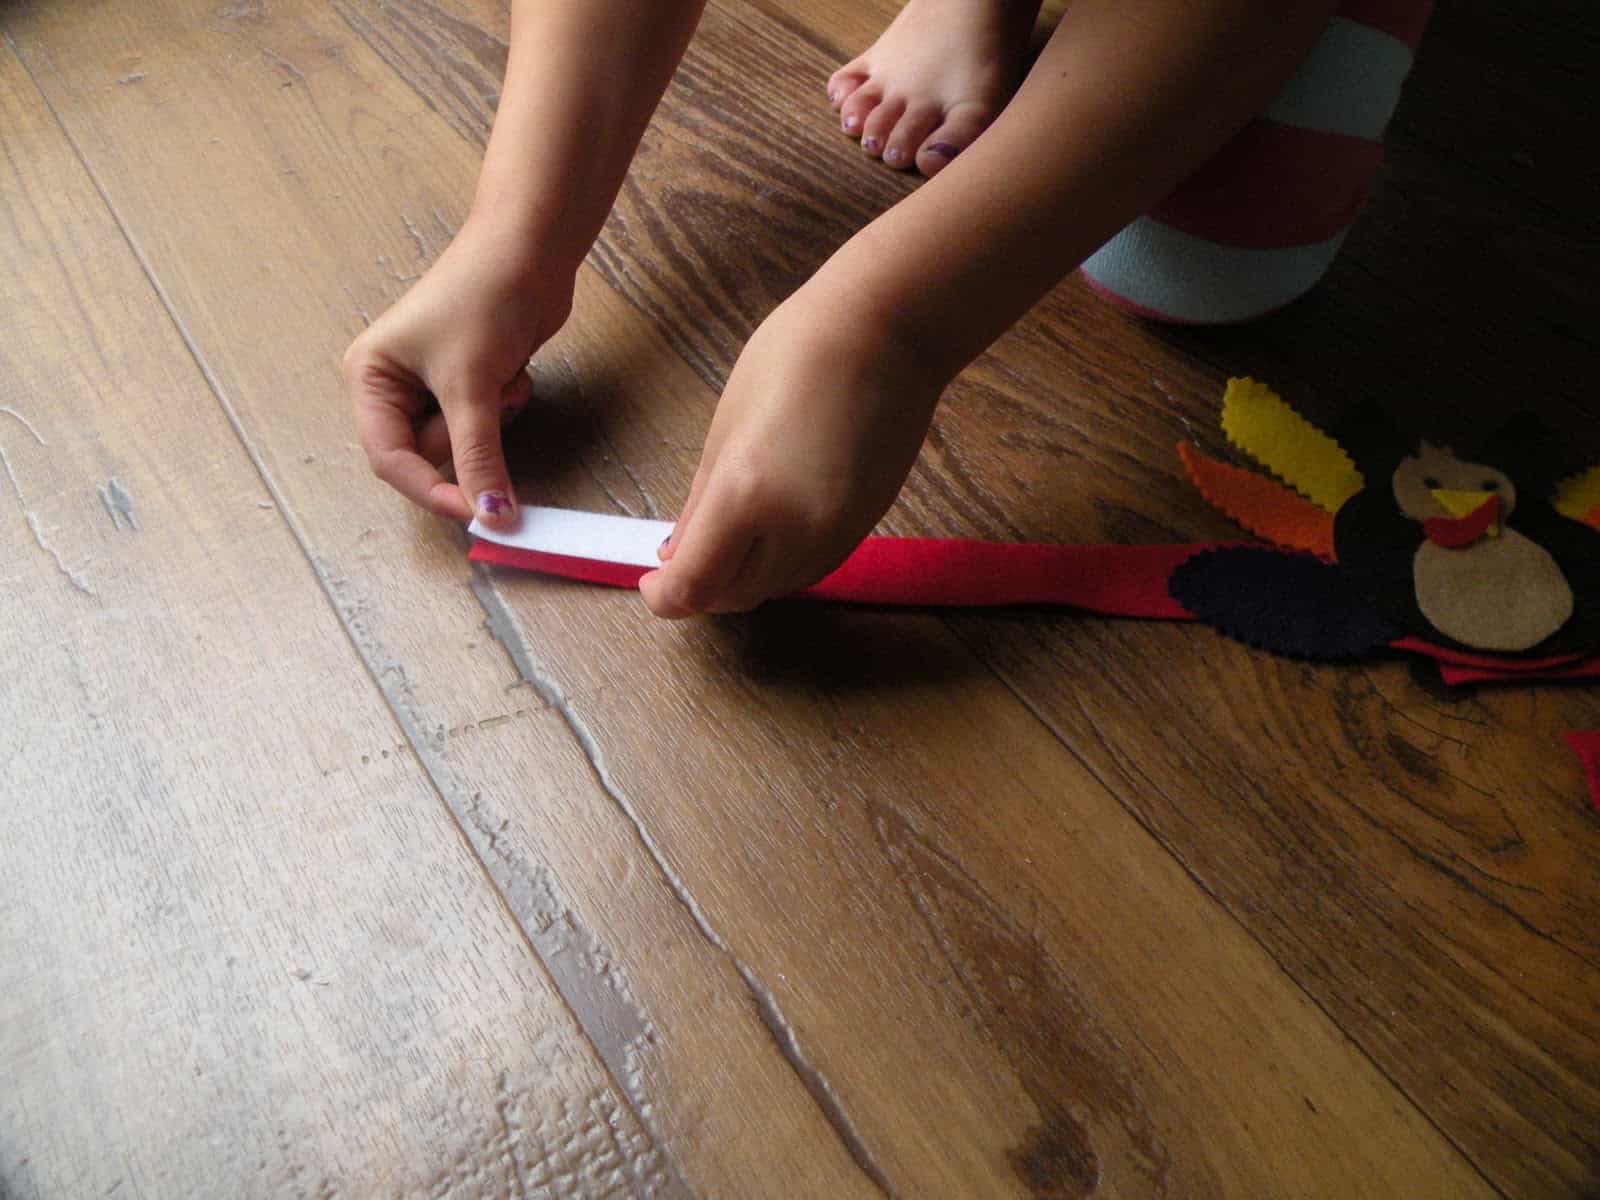
For the band: cut a rectangle (from your red felt) 1 1/2" x 12". Next, cut the rectangle "almost" in half (see picture below) leaving about 1/2 - 3/4" attached.
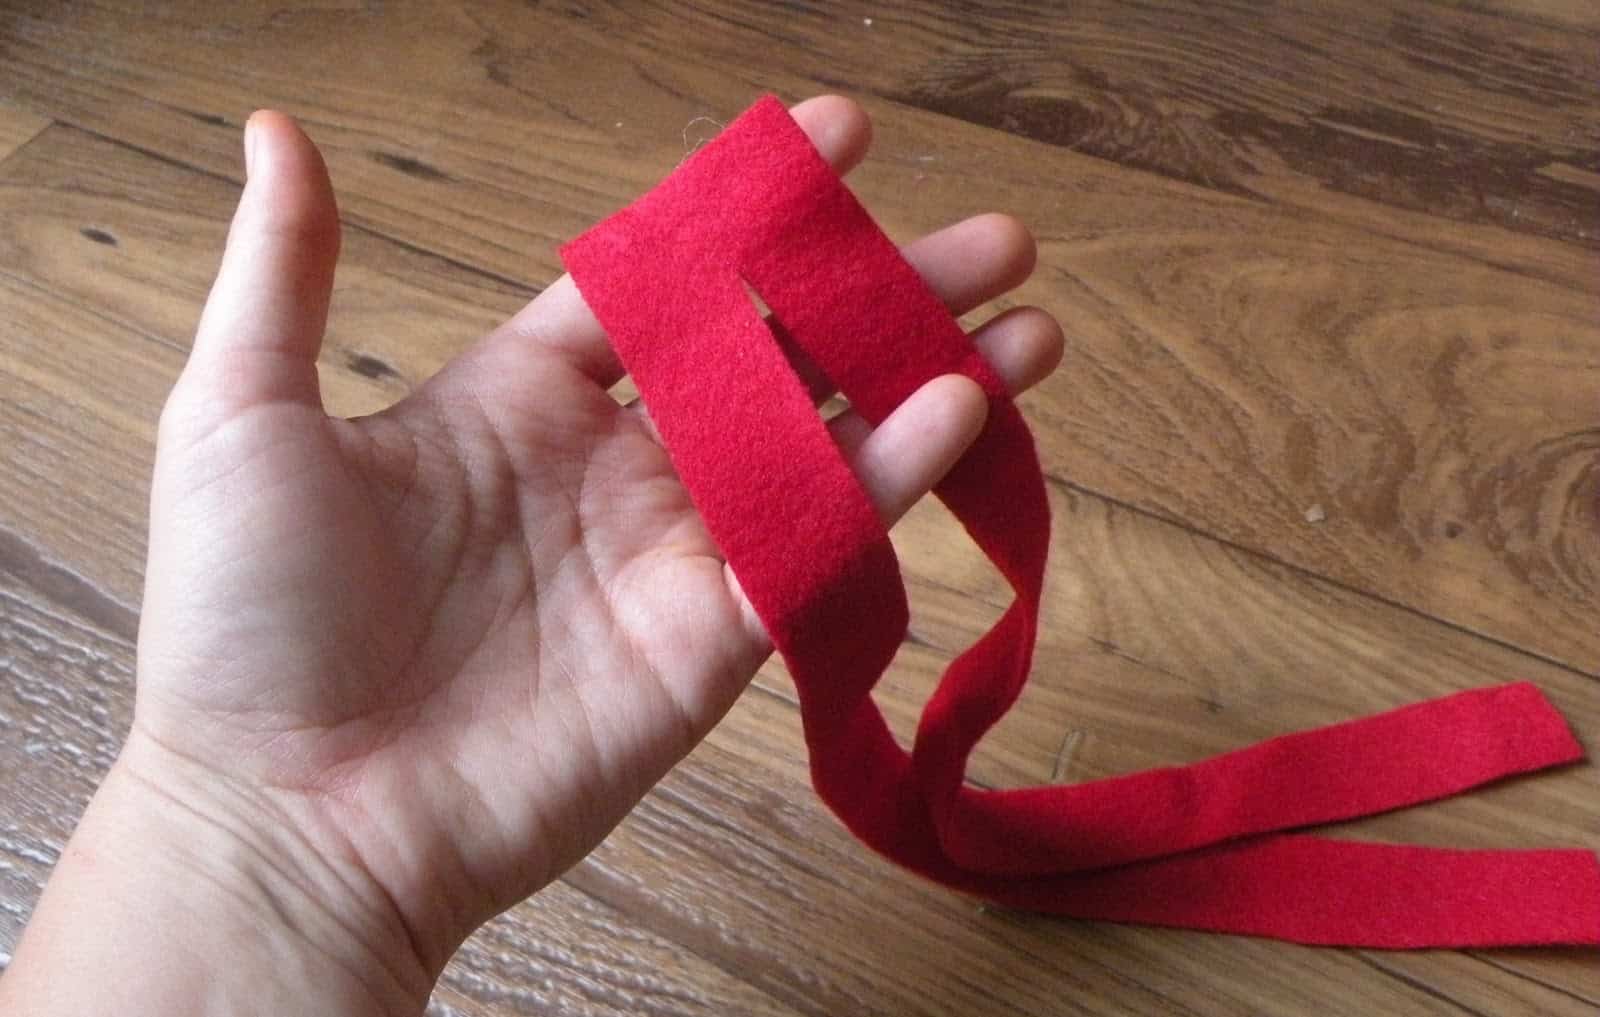
Fold in half.
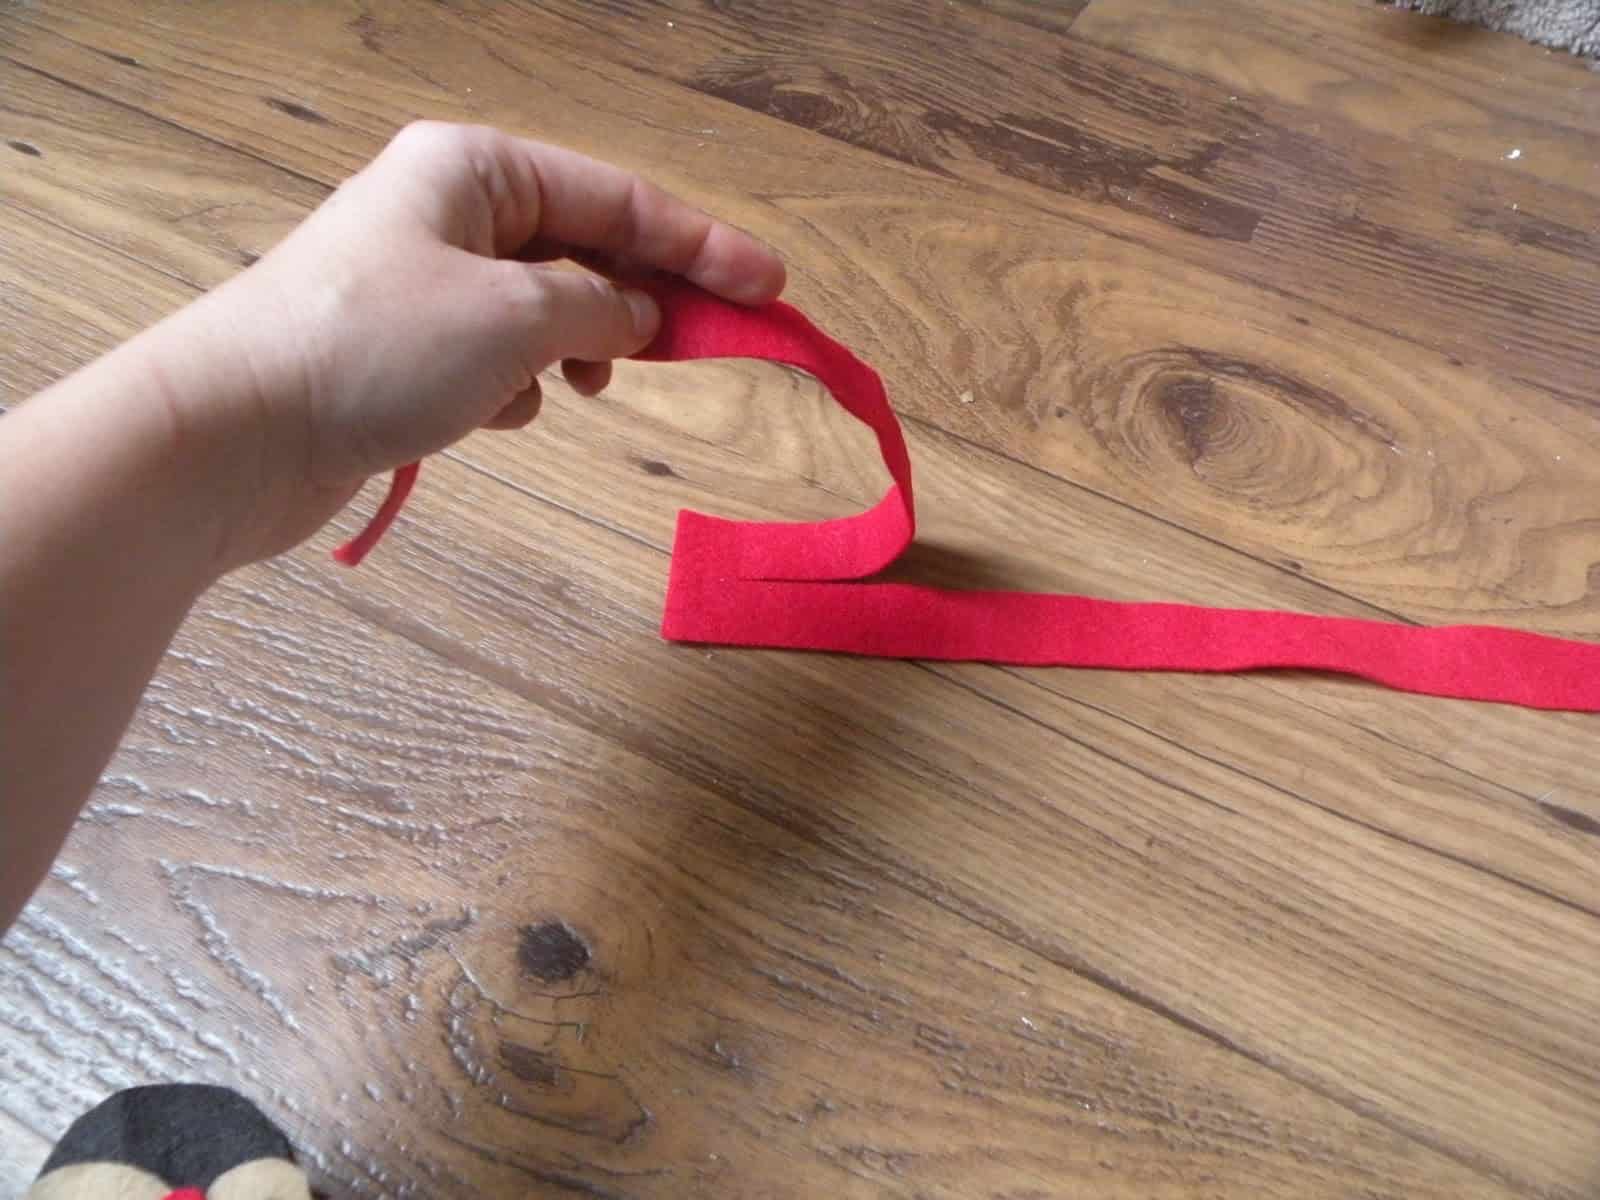
Glue down.
We will center the turkey on top of this fold in a later step.
Trace the template pieces onto the remaining felt and cut (as directed below):
Red - 1 Backing Piece, 1 Waddle and 2 Feathers
Light Brown/Tan - 1 Body Piece
Dark Brown - 1 Backing Piece
Yellow - 1 Beak and 2 Feathers
2 Other Colors - 4 Feathers (2 of each color)
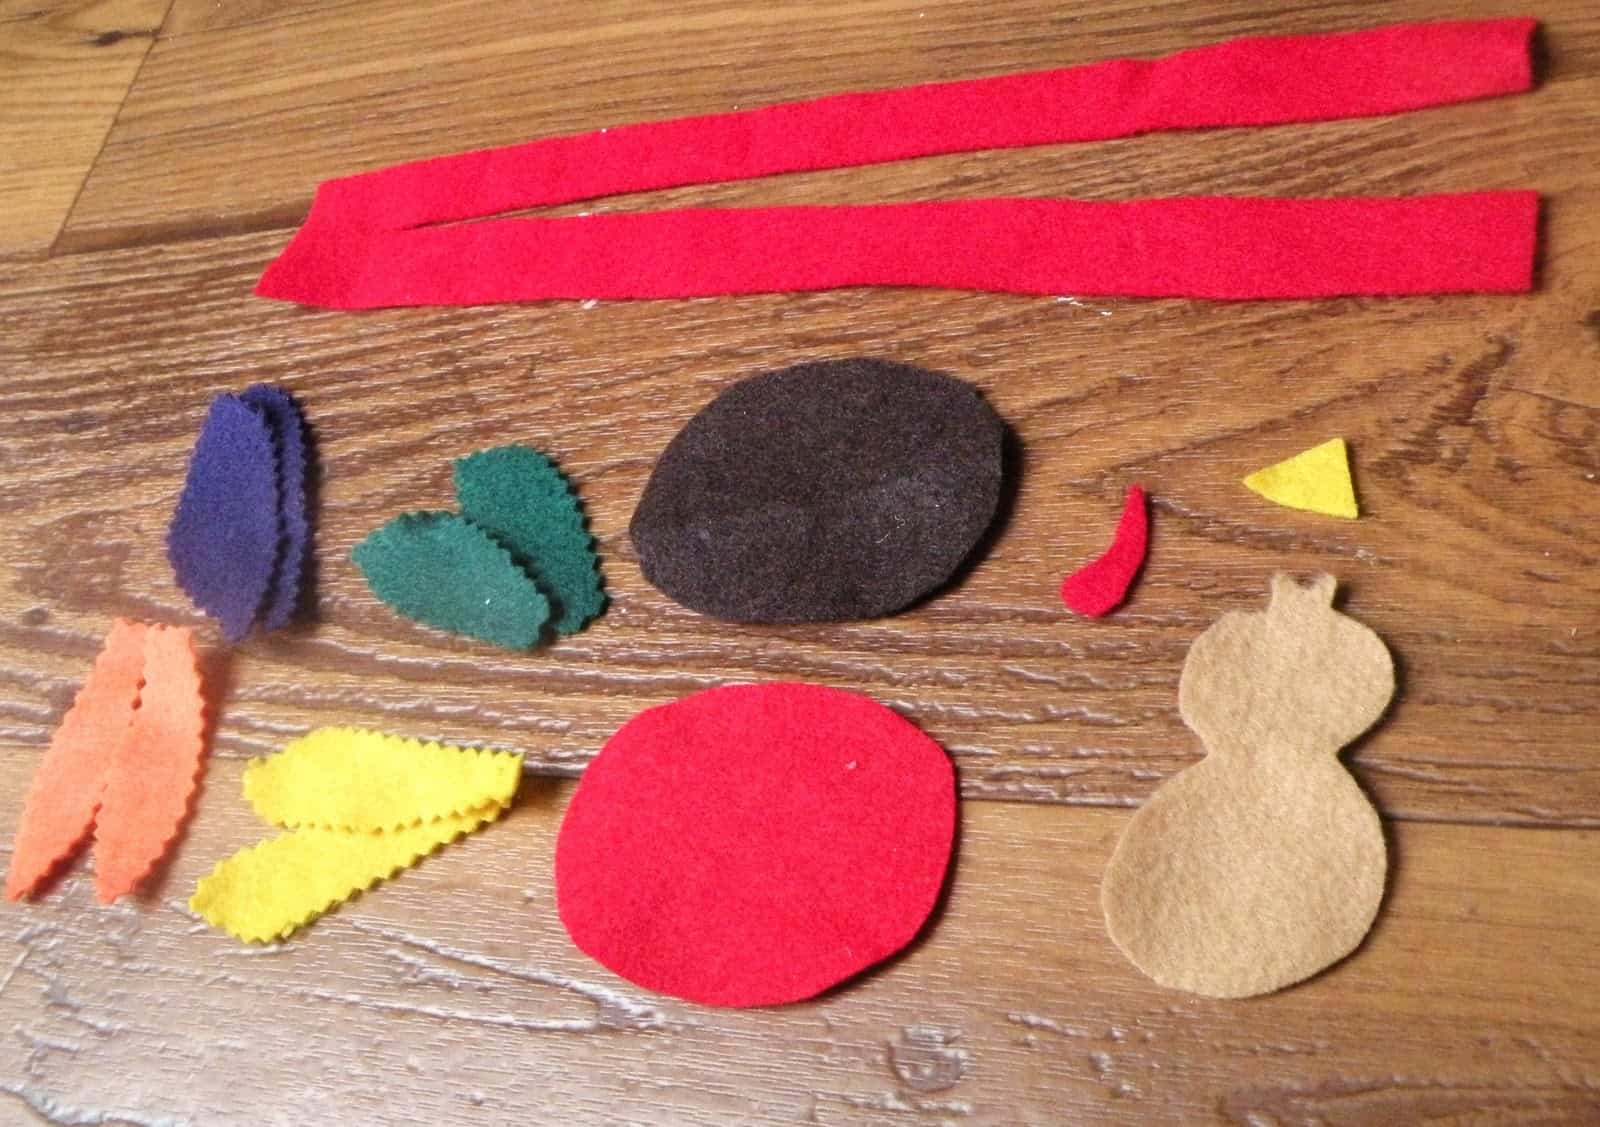
I used pinking shears to cut the feathers (to add dimension) and varied the sizes of each - optional, but adds a nice touch.
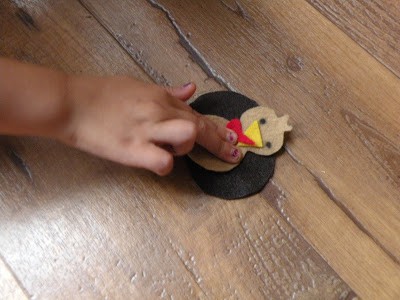
Glue Beak and Waddle on Turkey Body, add eyes using black markers - then glue body onto Dark Brown Backing.
Step 5: Arrange feathers on top of red backing piece (you'll want to place about 1/2" of each feather onto the backing, otherwise the feathers will not stand up).
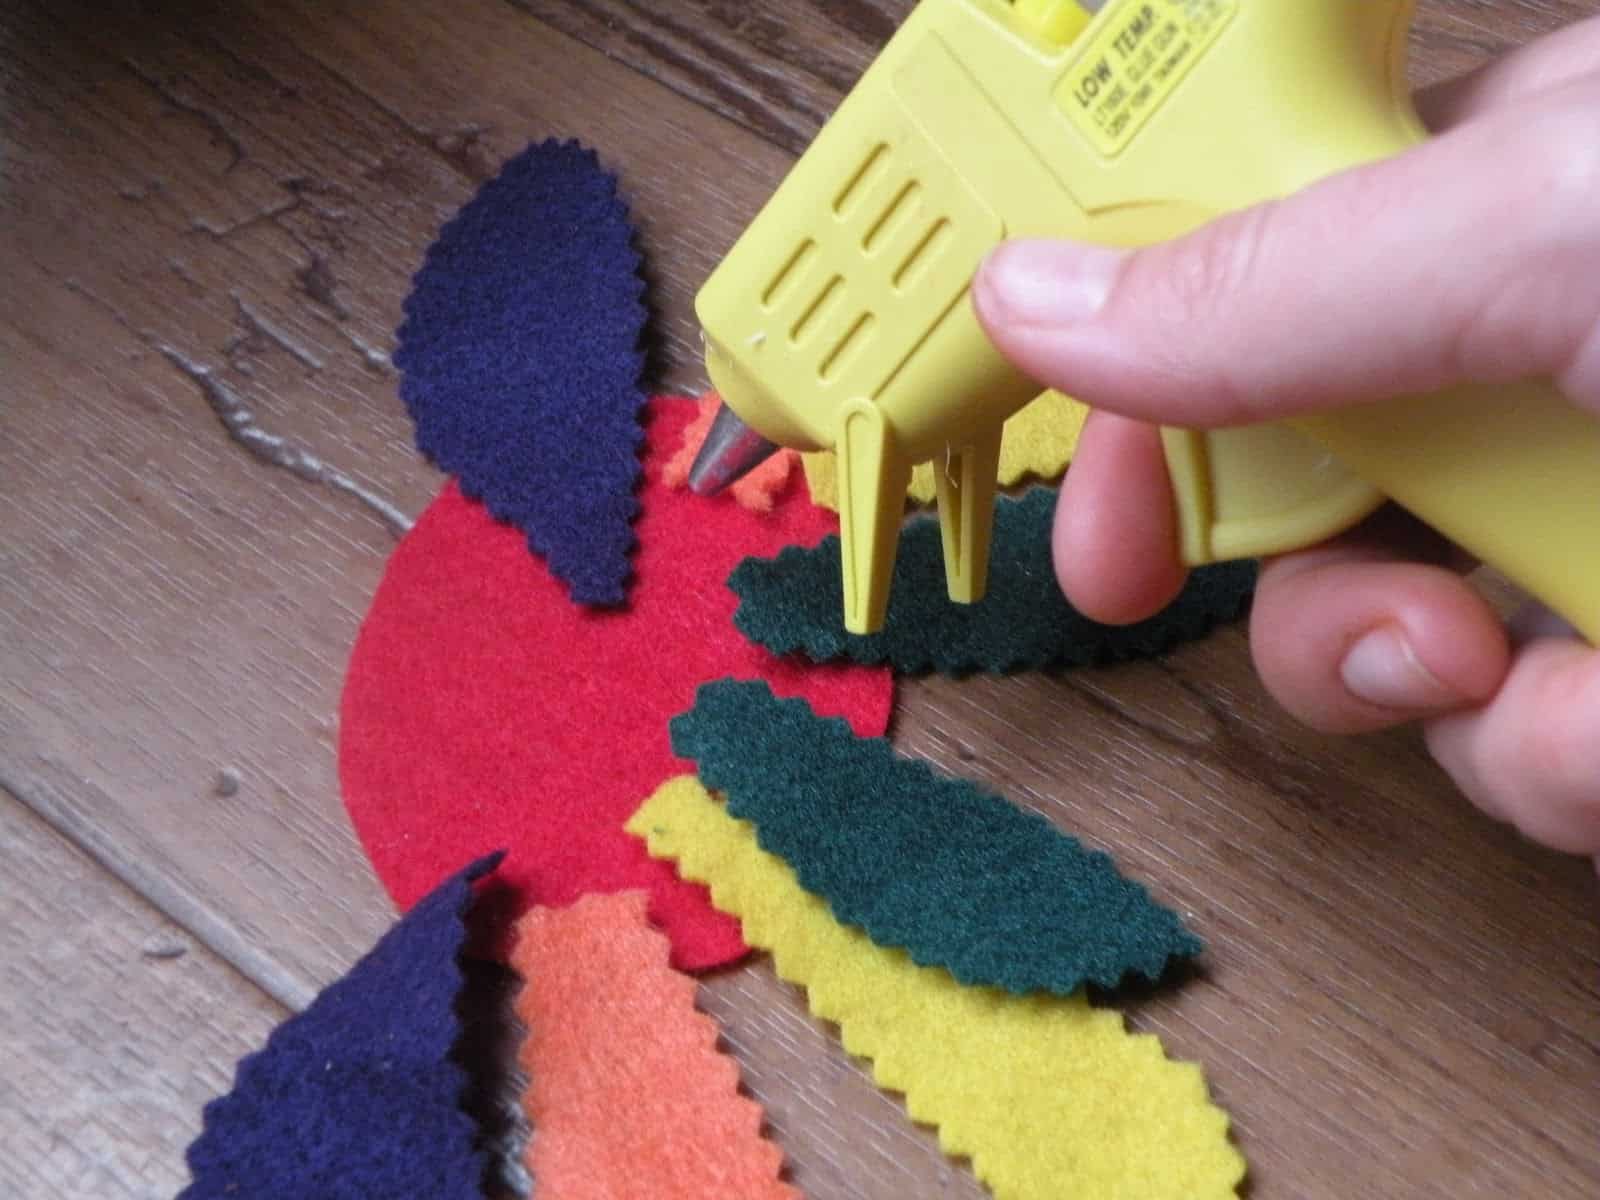
Sandwich feathers (using glue) between red backing and Turkey Body/Backing.
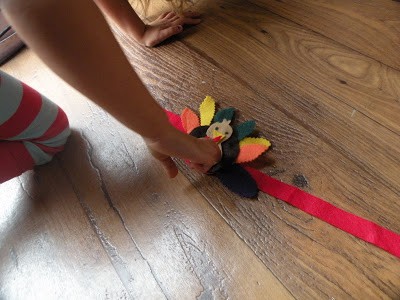
Step 6: Glue Finished Turkey to band. Measure headband on child's head and mark placement of Velcro.
Add Velcro and you're done!
Remember if you haven't shared in our Best of November link up yet... head on over!

Also, the Mrs. Fields Giveaway is open for a few more days. Go and enter to win a $25 gift certificate!!!
Have a great Friday!


Why do you cut the red rectangle almost in half? Is that just for making the headband big enough when working from a 9×12 square?
Going to feature you tomorrow!If you drop by enter a giveaway I am having & grab a free printable game! Thanks for the fun no sew inspiration! Theresa
(*I am linking back to your tutorial)
So cute! What a fun band!
My Molly would LOVE this! She has been wearing her turkey hat from this week's Mommy and Me ALL DAY EVERY DAY! It is more than a little pitiful now. I am not sure her paper one will make it to Thanksgiving dinner!
This came out really cute! I've been wanting to make my girls something like this but as a necklace-I better get a move on!
I will be trying this with my class for sure!