
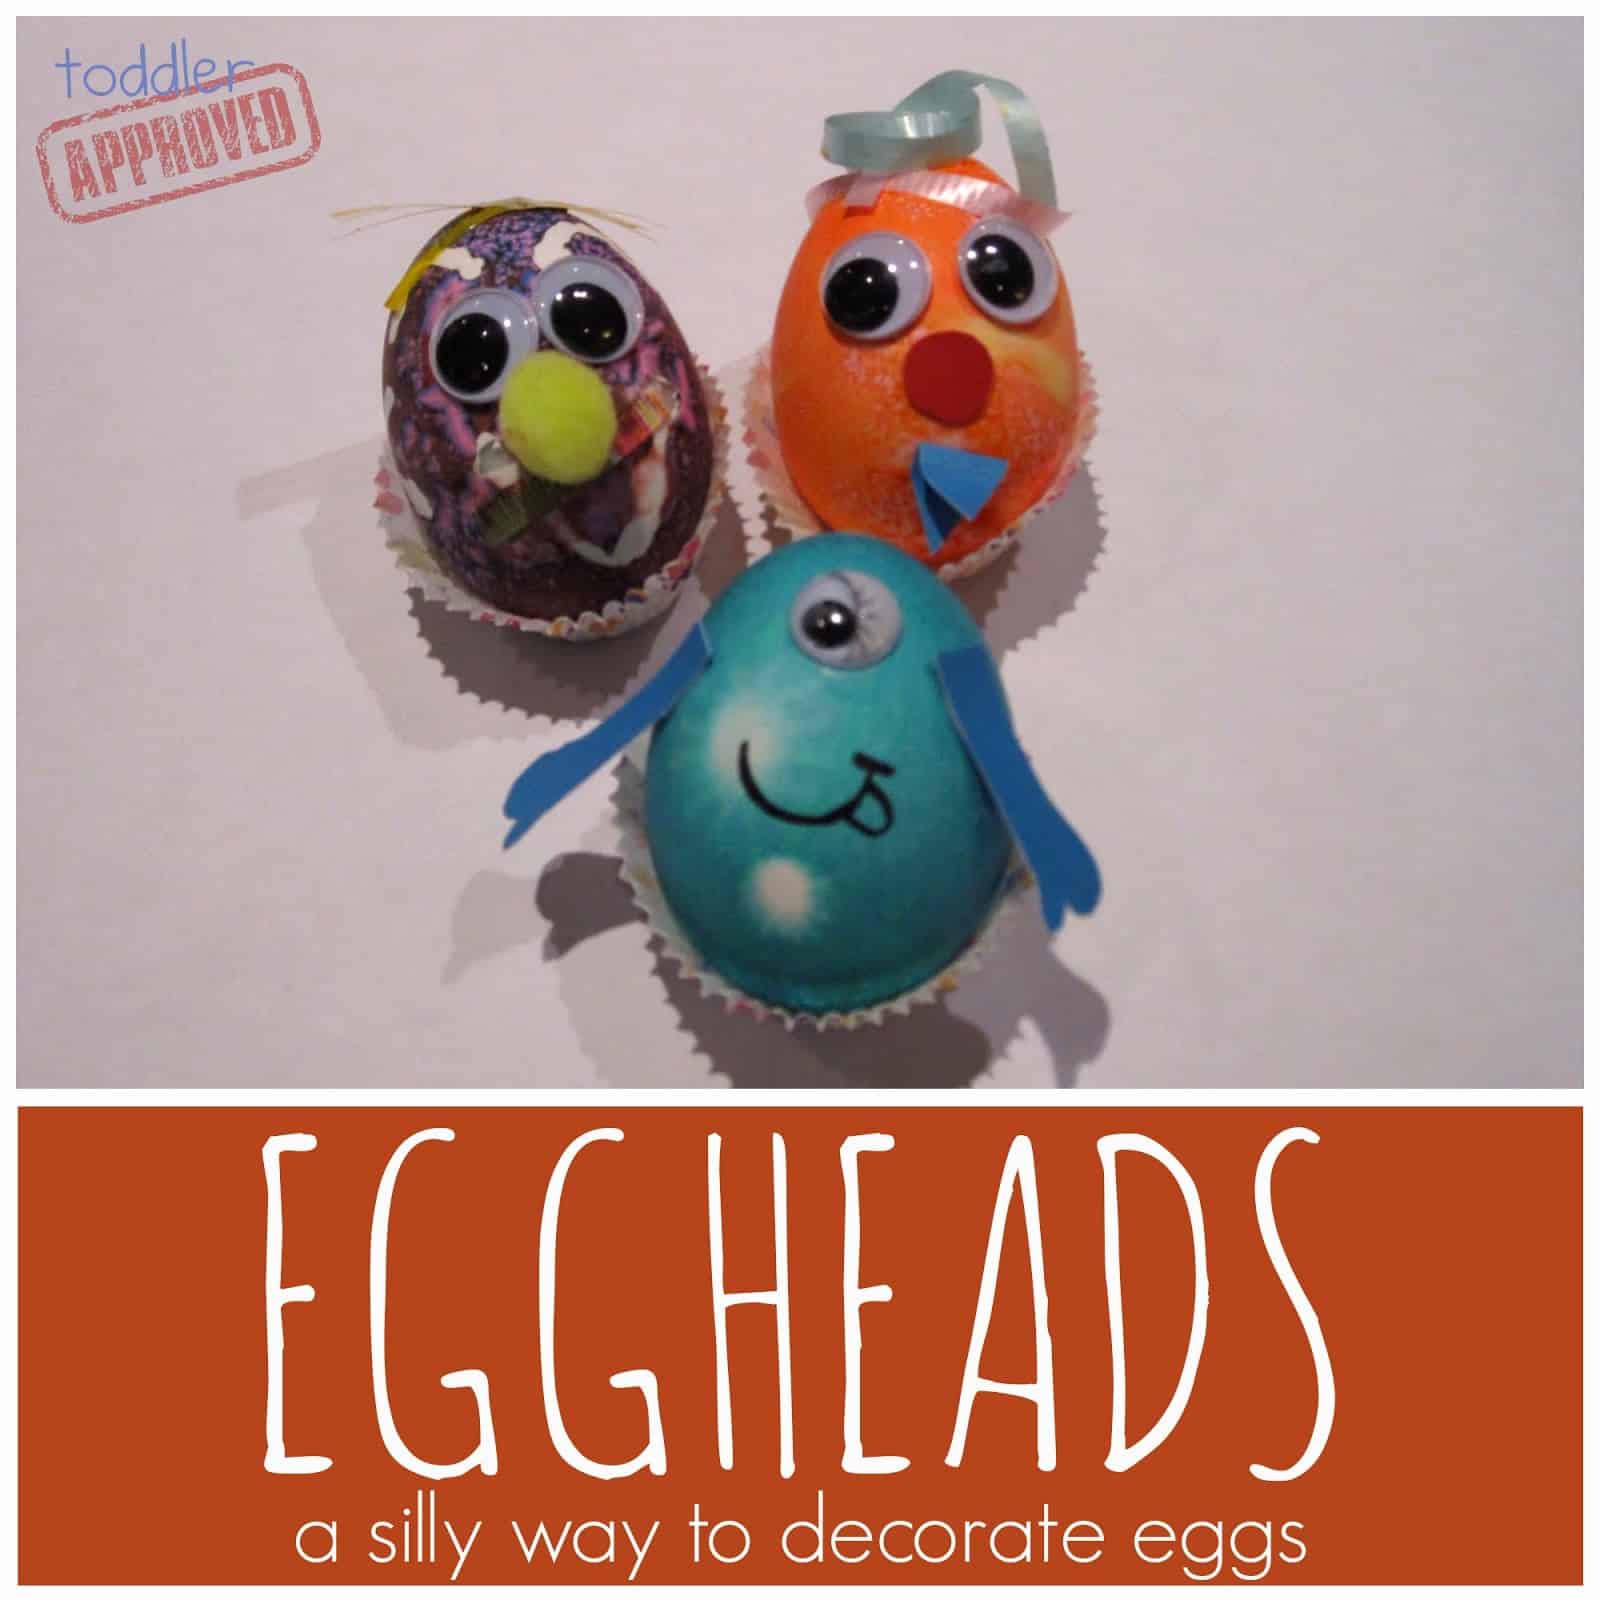
I have no recollection of when I last actually dyed Easter eggs. For some reason I recall it being painfully hard (and messy)... so I haven't tried it in a long time. Today we were bored, so we attempted to dye eggs using some simple tools. We also read I Love You Stinky Face by Lisa Mccourt (love this book!)... so we had to make some crazy stinky face eggheads out of our dyed eggs. Faces only a mother could love, right? 🙂
Tools we used:
- glue gun
- rubber bands (this one was an epic fail for us!)
- star stickers
- circle smiley stickers (bombed!)
Materials We Used: Tools listed above, pack of food coloring (next time I am buying neon food coloring too), white vinegar, measuring cups and small plastic containers (for dyeing), tongs, hard boiled eggs, saucepan with just boiled water... and probably some other things I have forgotten!
Directions:
1. Hard boil your eggs. Yes, it has been so long since I have done this that I actually had to Google how to do it. I could not believe it! I am not a huge egg eater.
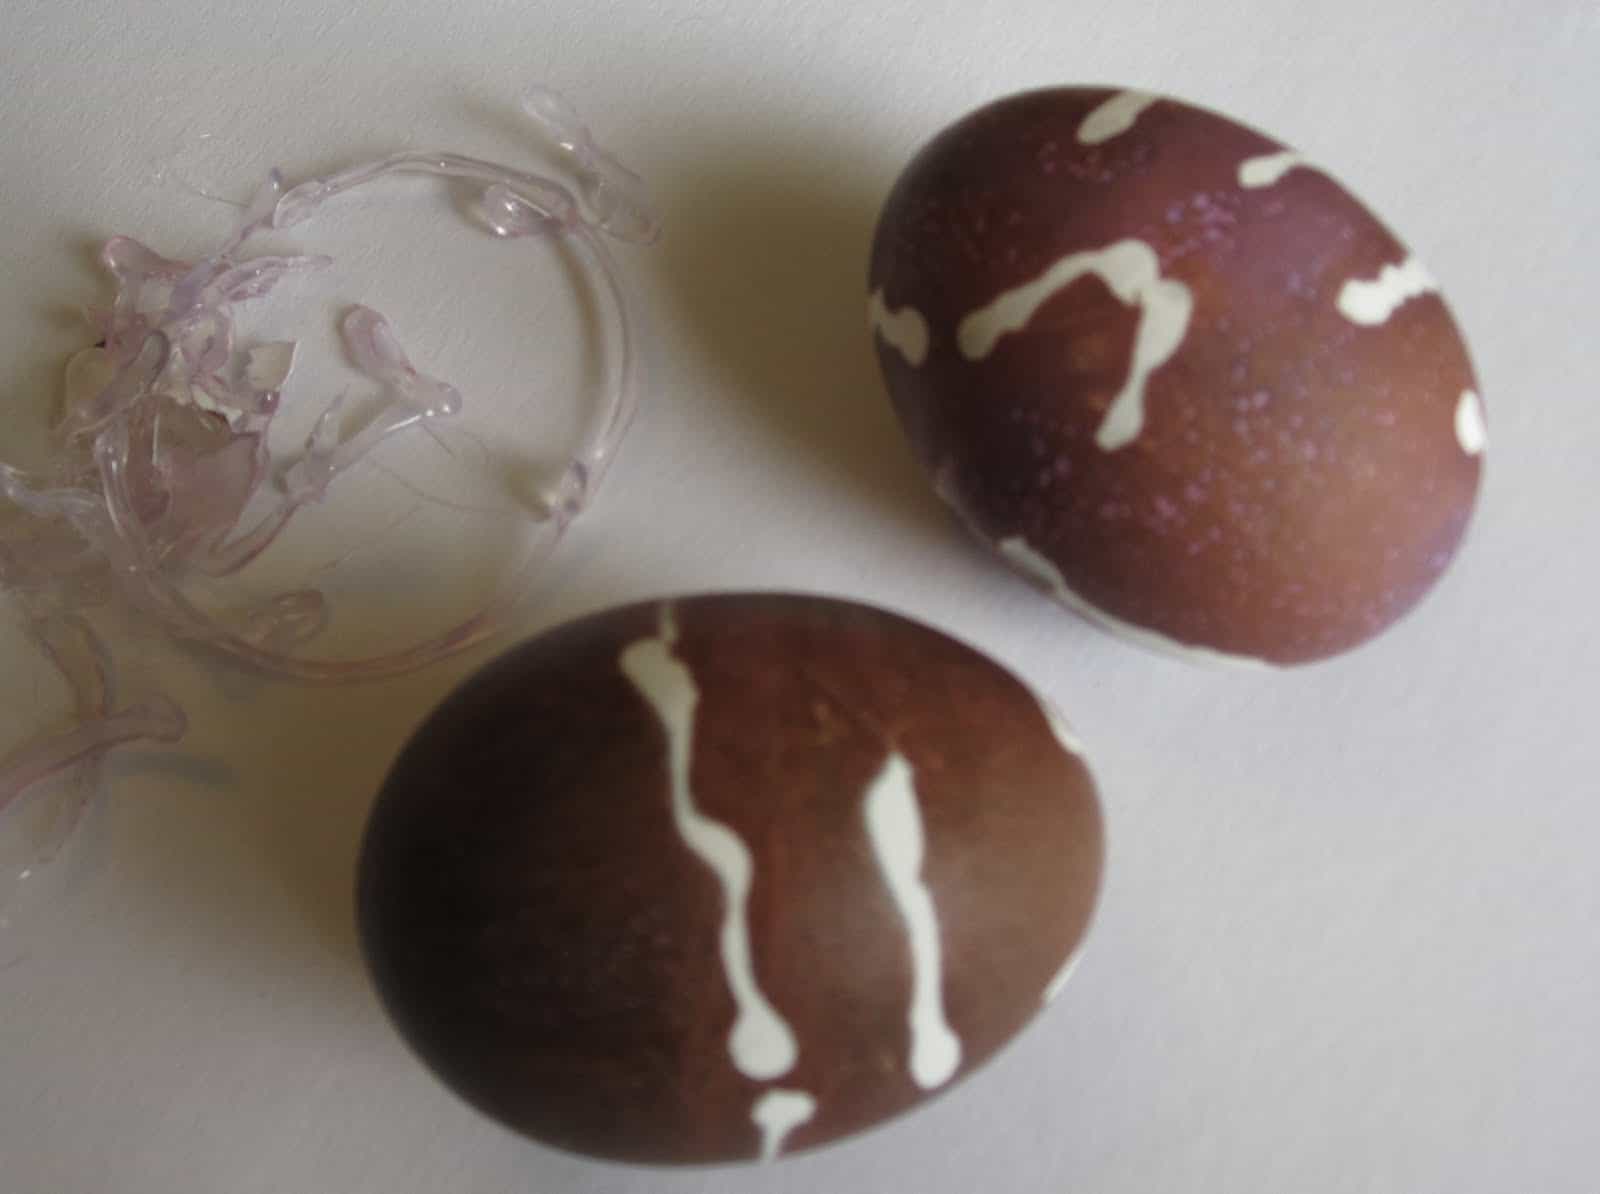
2. Let the eggs cool. I put mine in cold water (and was surprised they didn't crack). After an hour we heated up the glue gun.
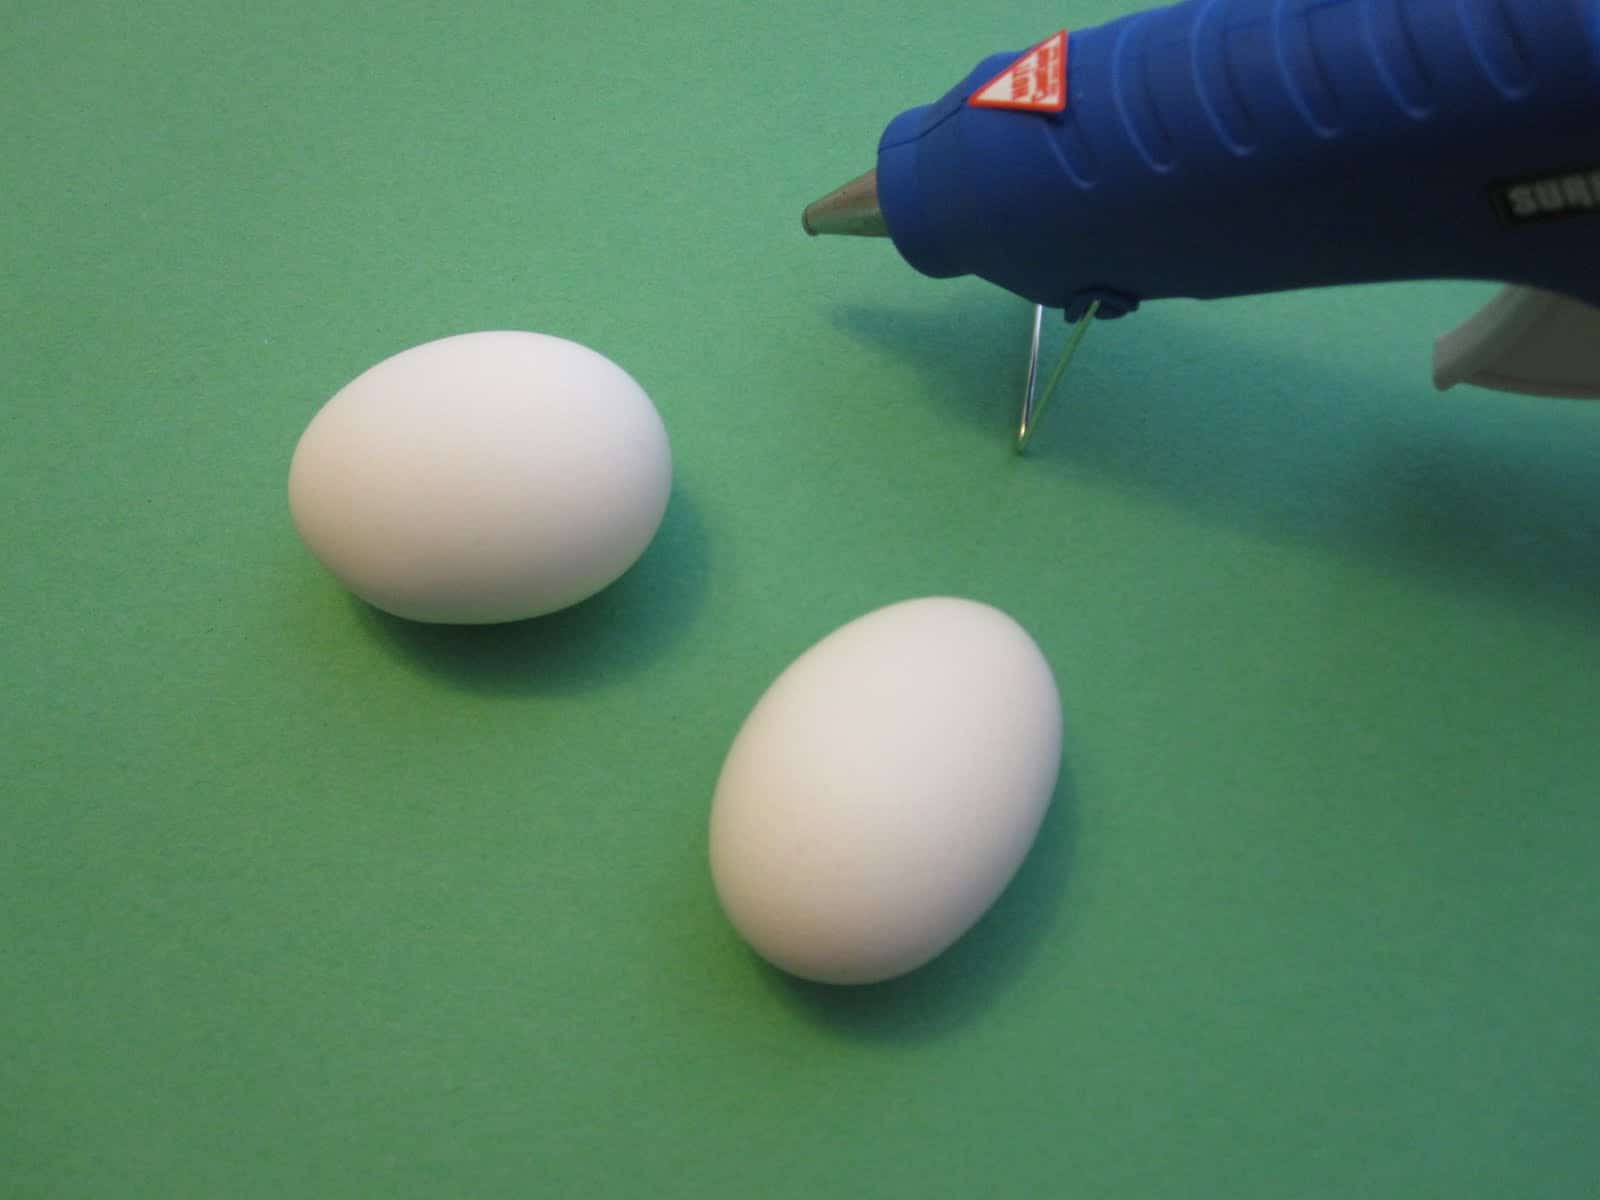
2. Cover the eggs with glue making different designs.
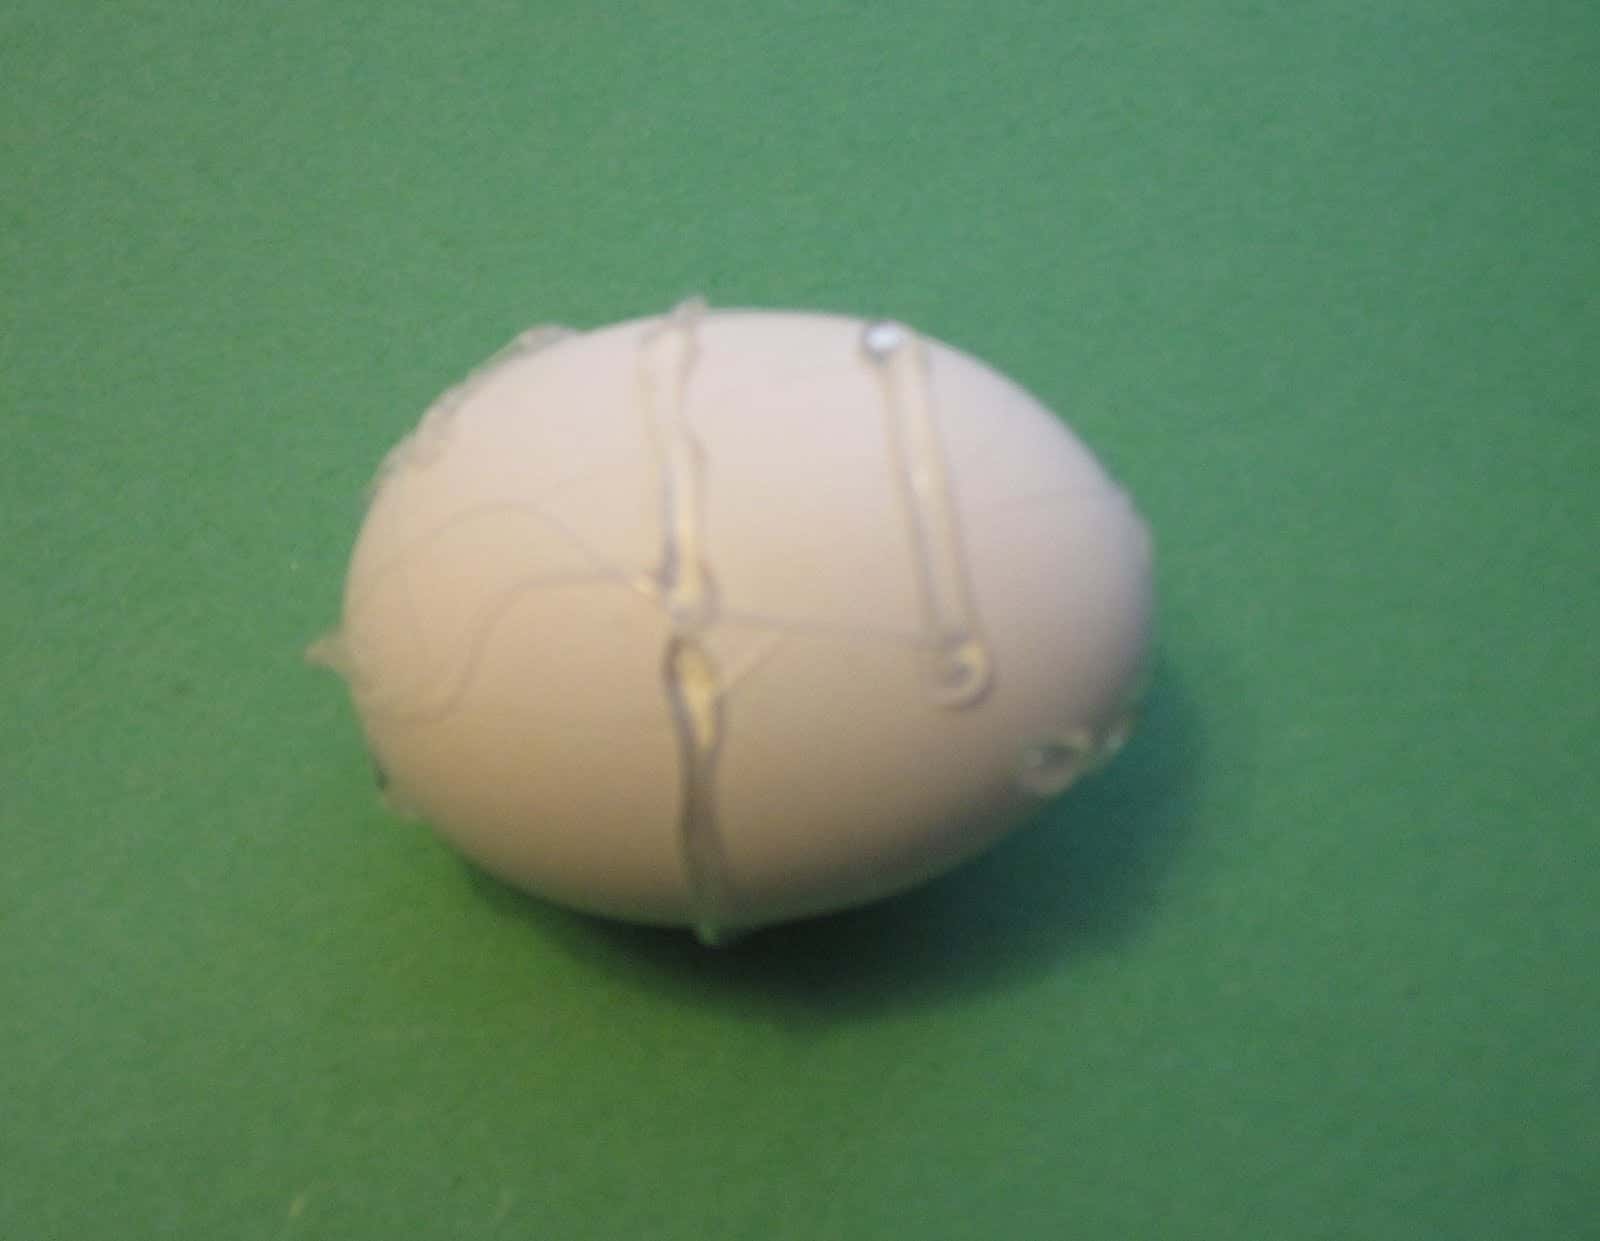
My little guy drew the designs he wanted me to make... and I tried to follow his directions since I wasn't about to let him use the glue gun. This activity requires PARENTAL SUPERVISION (if that isn't obvious) 🙂
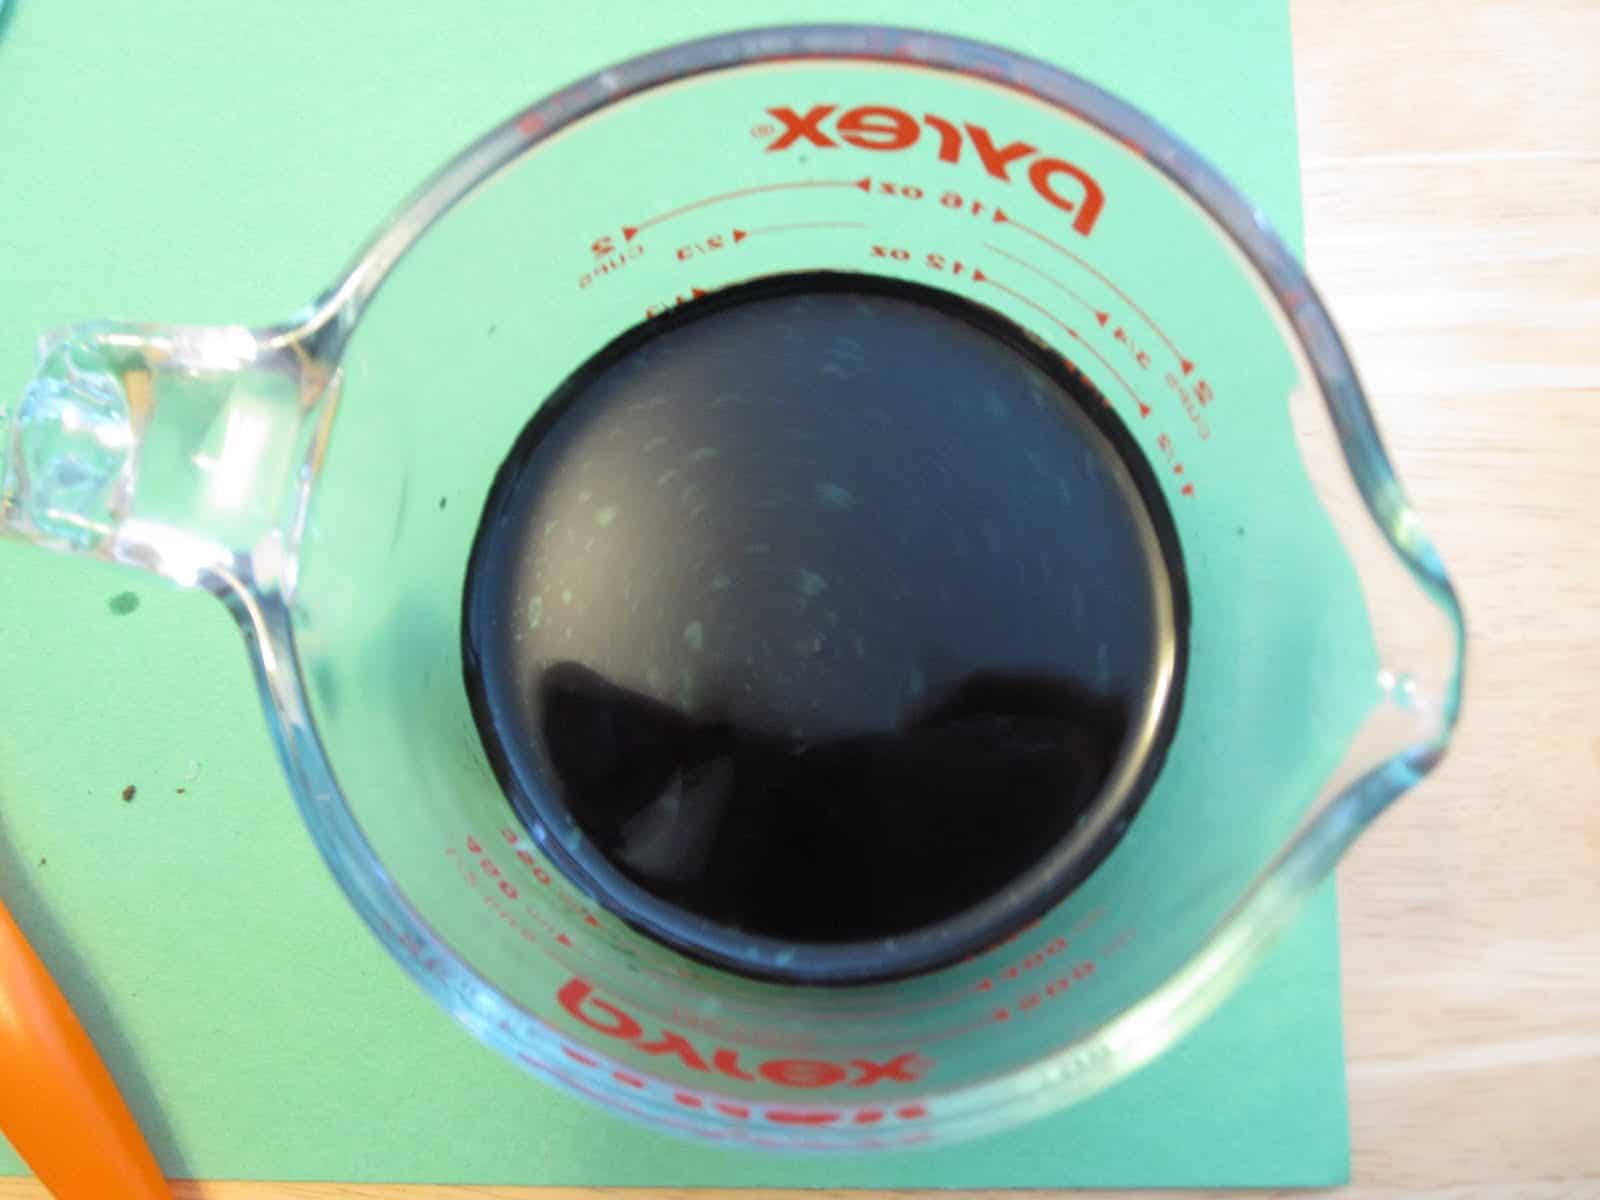
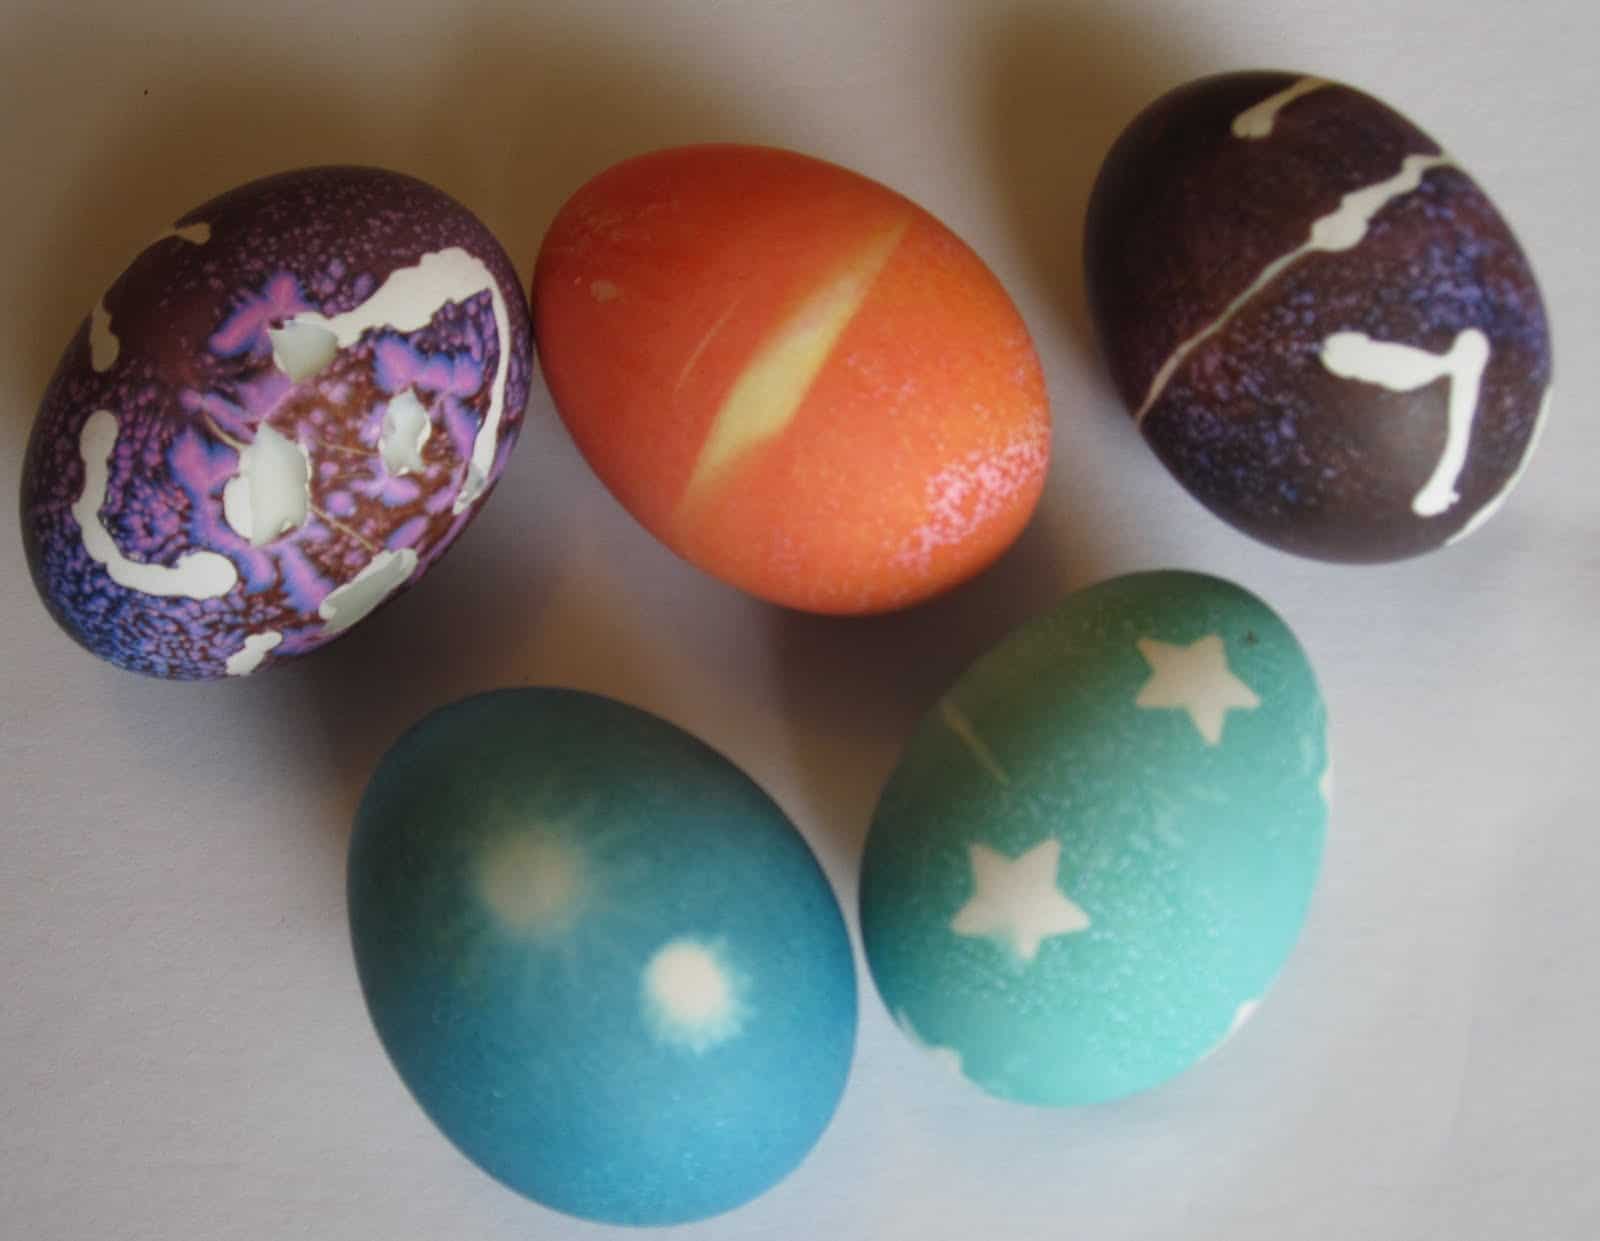
3. Let glue dry and make your dye. Our first color was purple. We did about 15 drops of blue and 15 drops of red + 2 tablespoons of white vinegar + 1 cup of water. This was my least favorite color. We soaked this egg for about 25 minutes.
4. Submerge the egg and leave it alone. We didn't... so if you want a cooler crazy color with lots of different colors and cracks, do what we did 🙂 Ours ended up being bluish pink with little dots all over. It was neat.
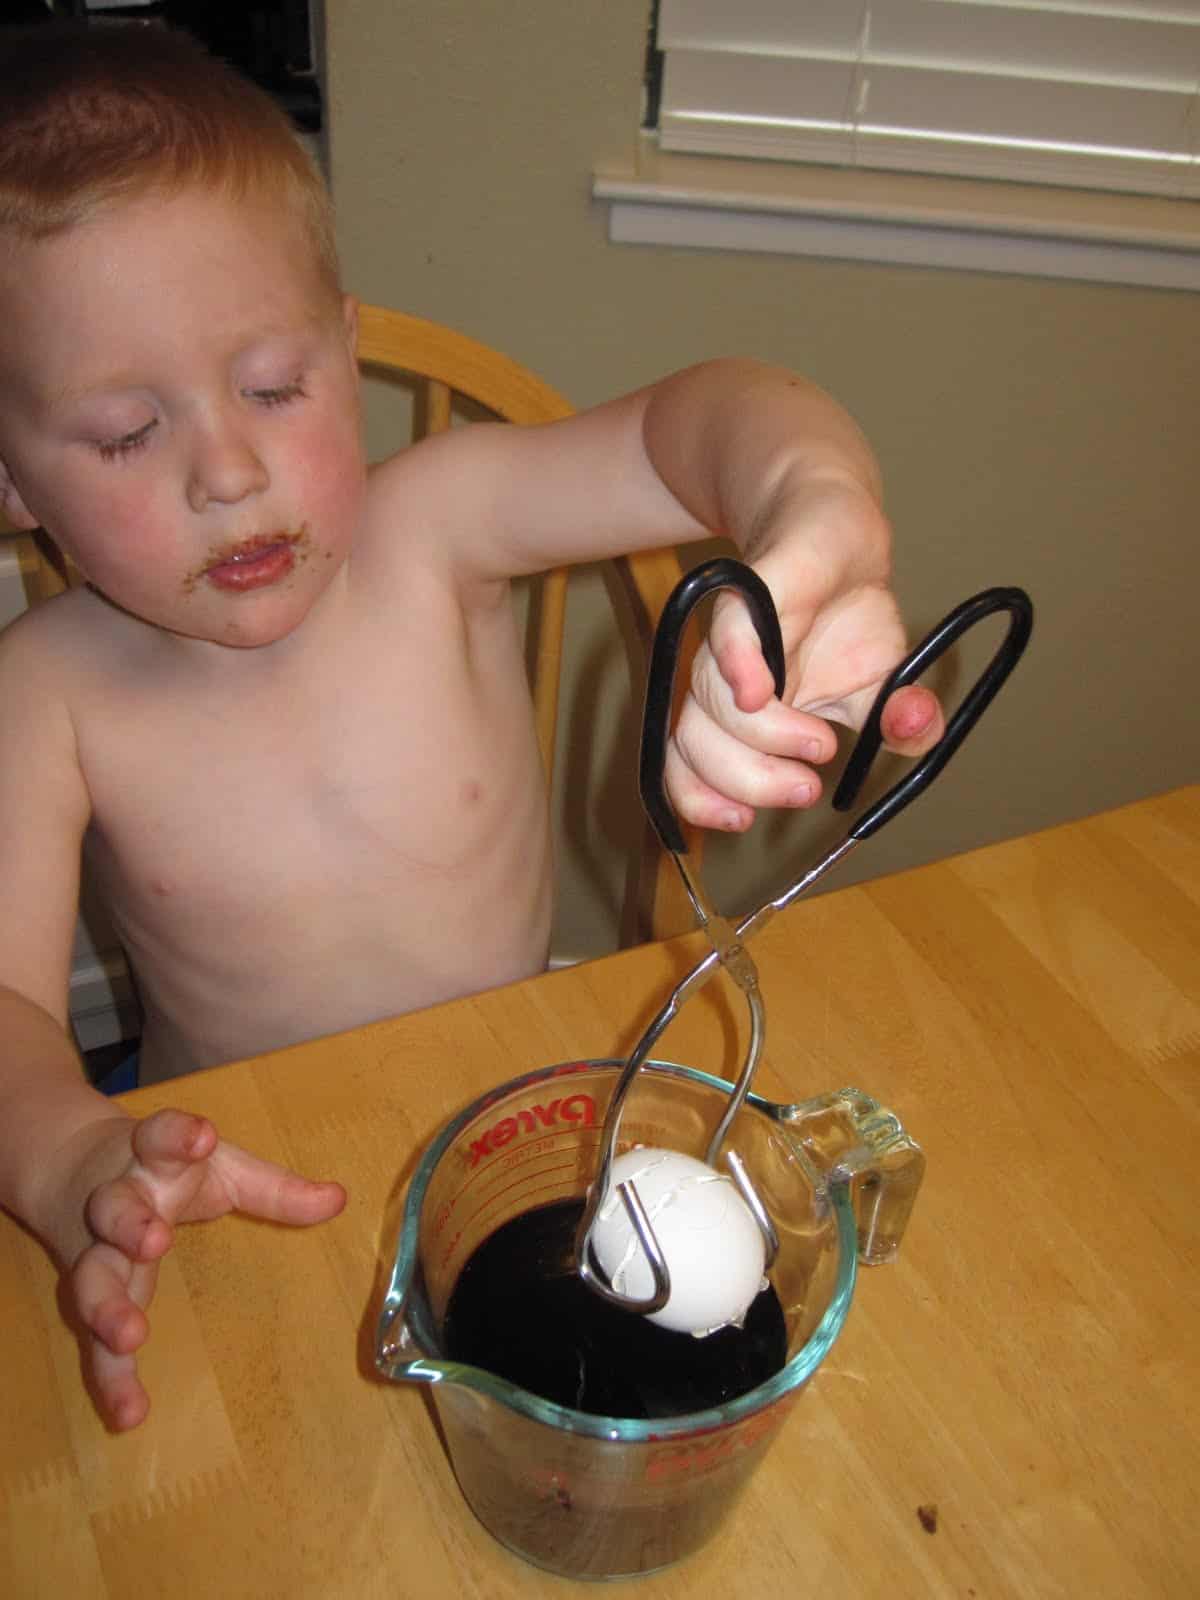
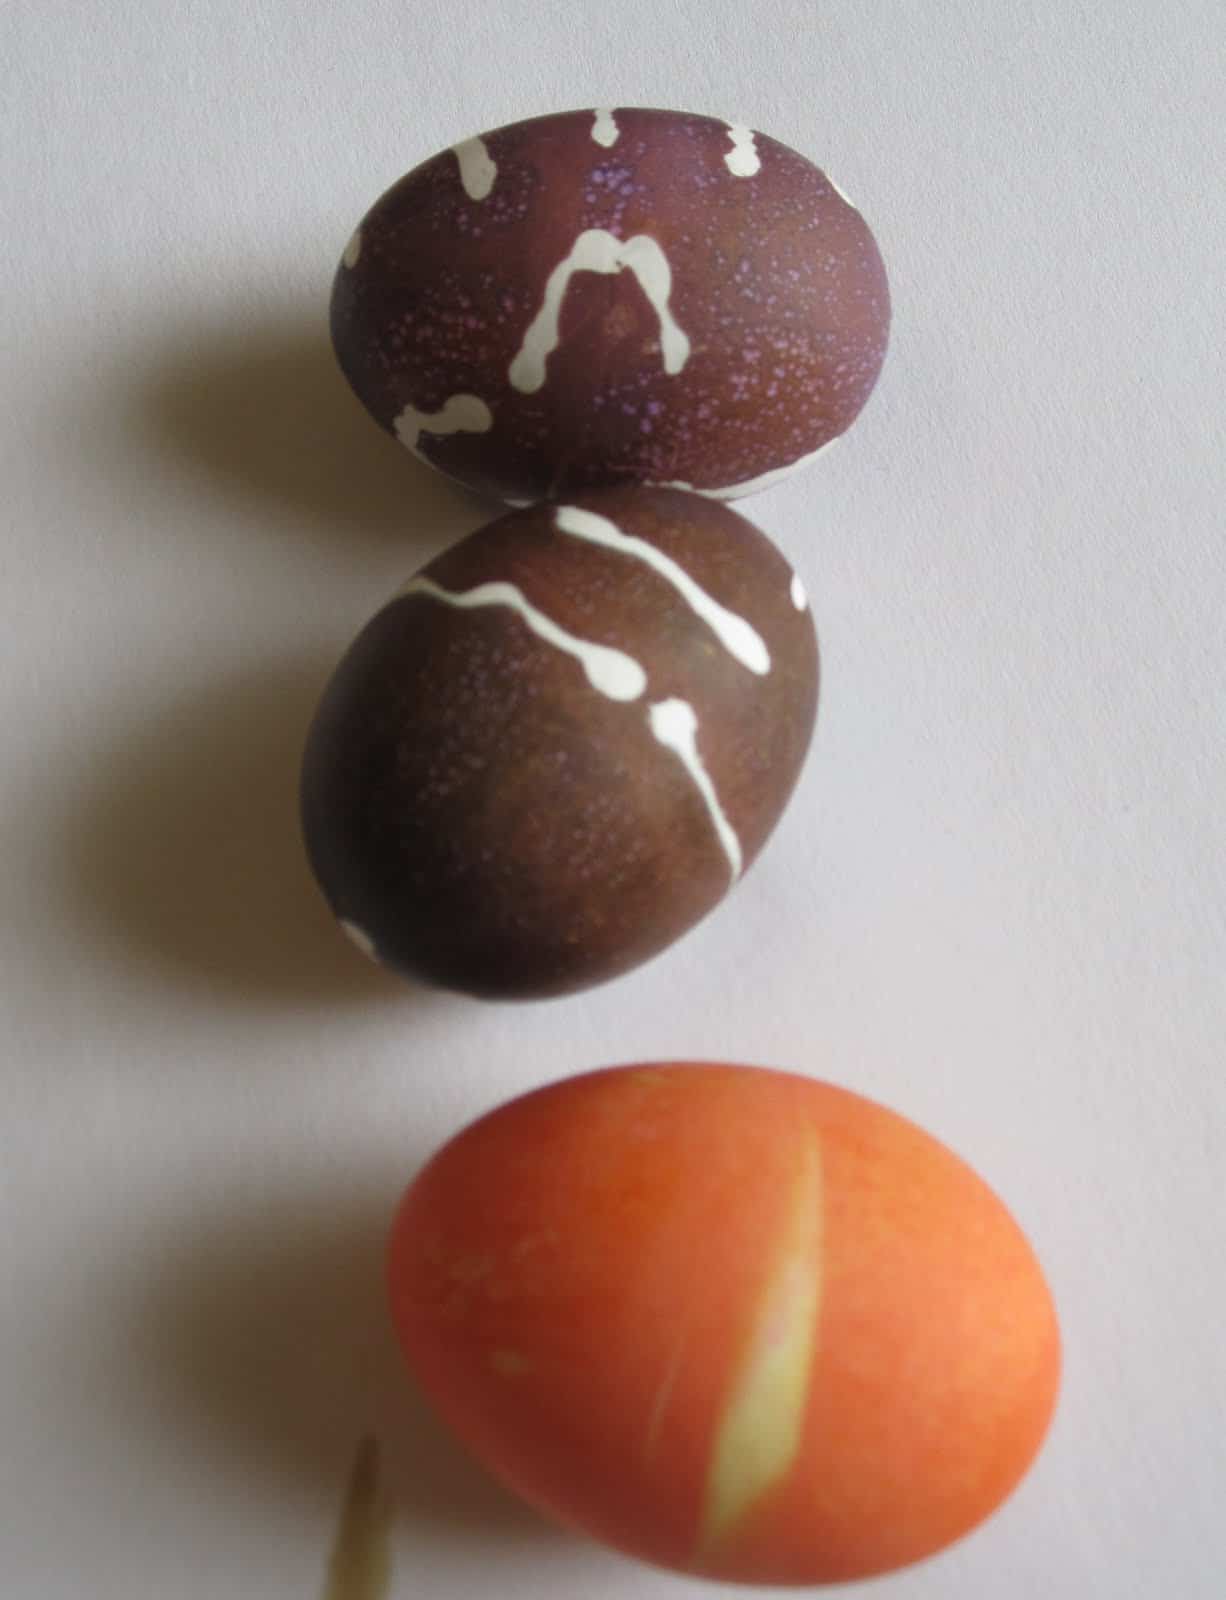
Next we tried the rubber bands. We wrapped one around each egg just to try it out. We didn't have the right sizes and I wasn't about to go buy a pack for this project... so they kinda popped off in the water... but still left a design.
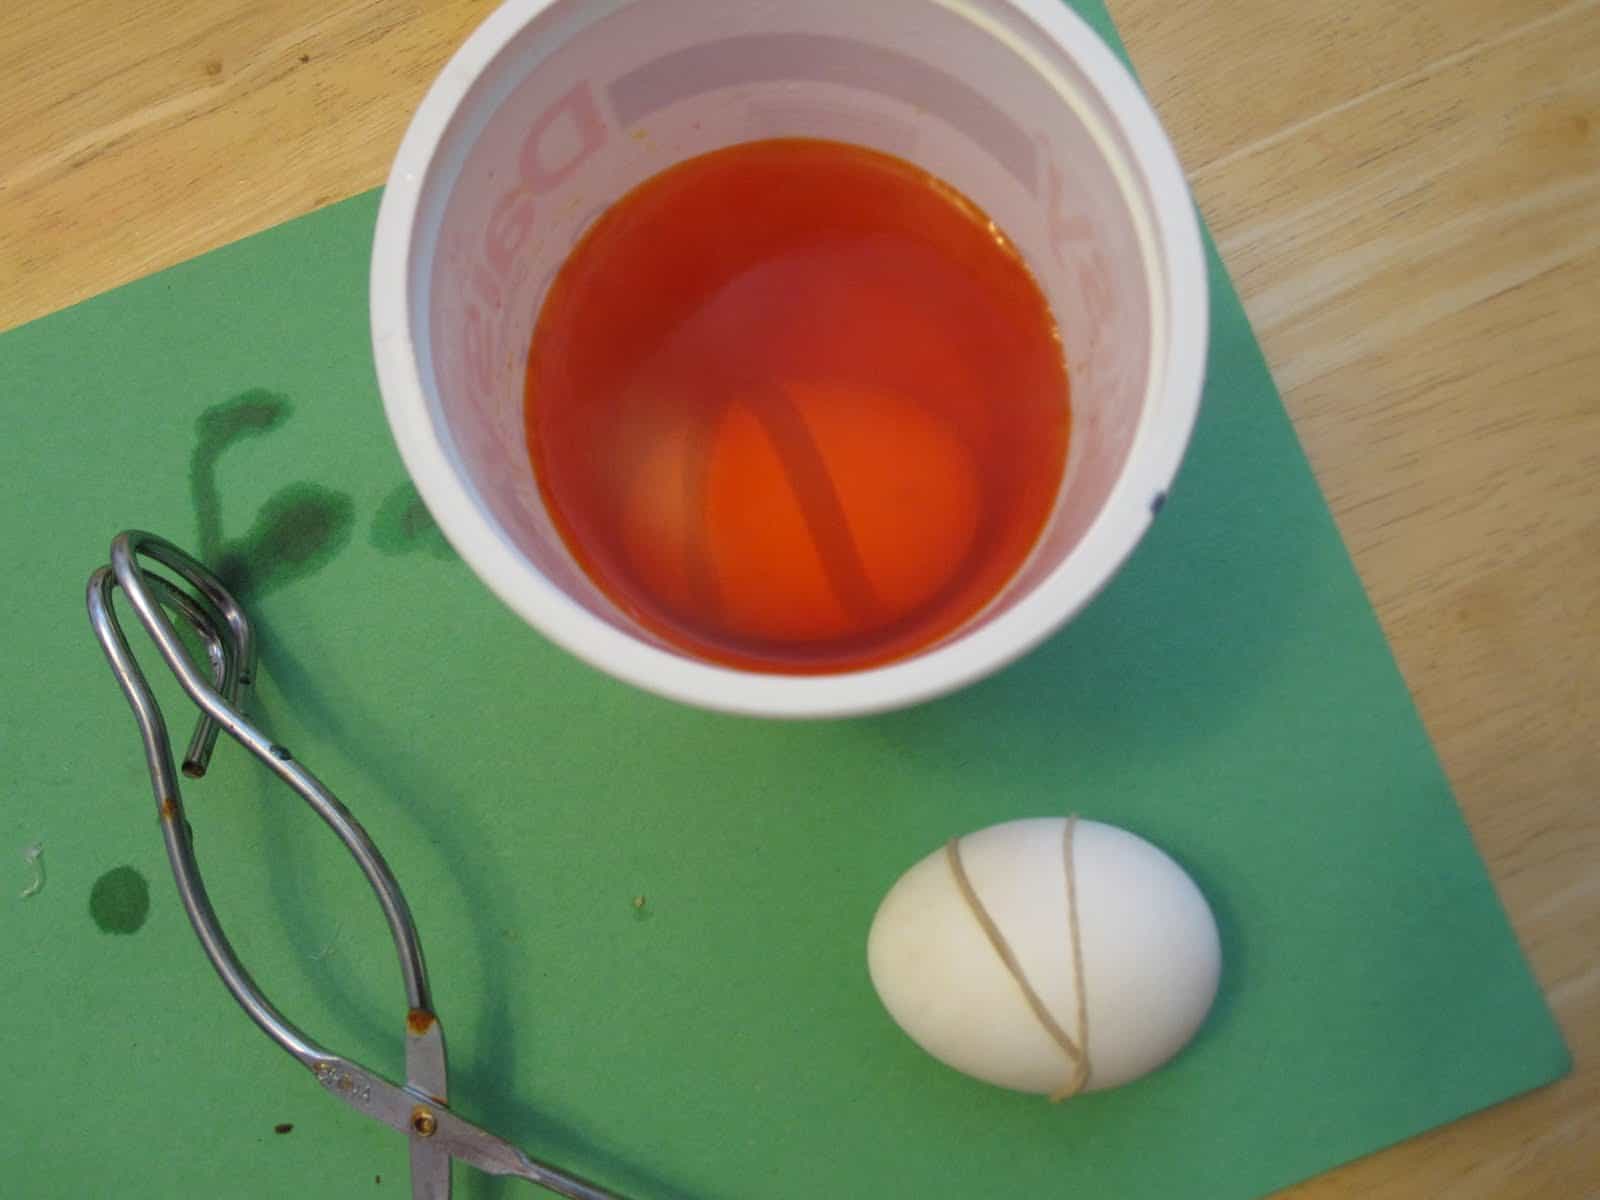
Our orange dye recipe was 10 drops yellow dye + 5 drops red dye + 2 tablespoons white vinegar + 1 cup water. Soak for 15-20 minutes. Leave it alone 🙂
** The cup of water worked best when it was boiled right before we used it for dyeing.
When the eggs came out we let them dry and then we peeled off the hot glue (that was cold and hard).
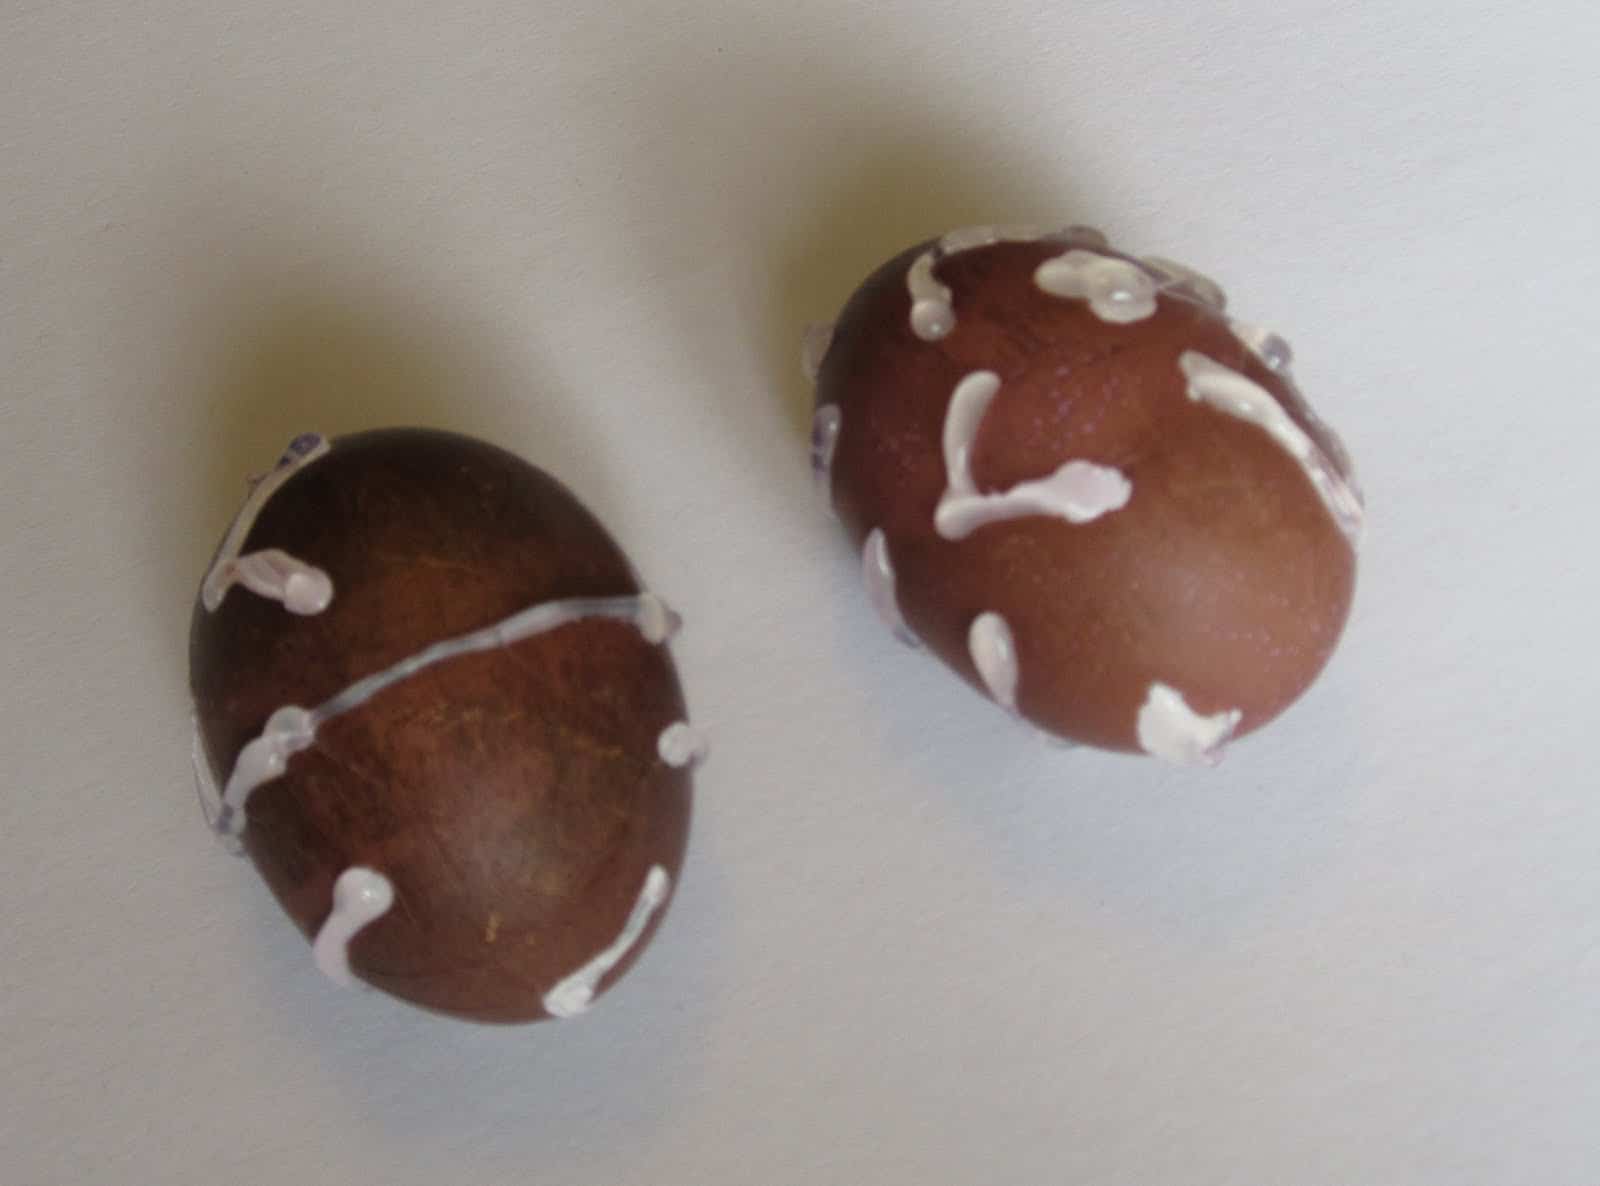
For the most part it looked really cool... big globs of glue ended up pulling shell up with them too. Good thing we weren't planning to eat these eggs!
This was our orange rubber band egg.

5. For our last round we put stickers all over our eggs. The smiley face stickers fell off... but the star stickers worked beautifully!
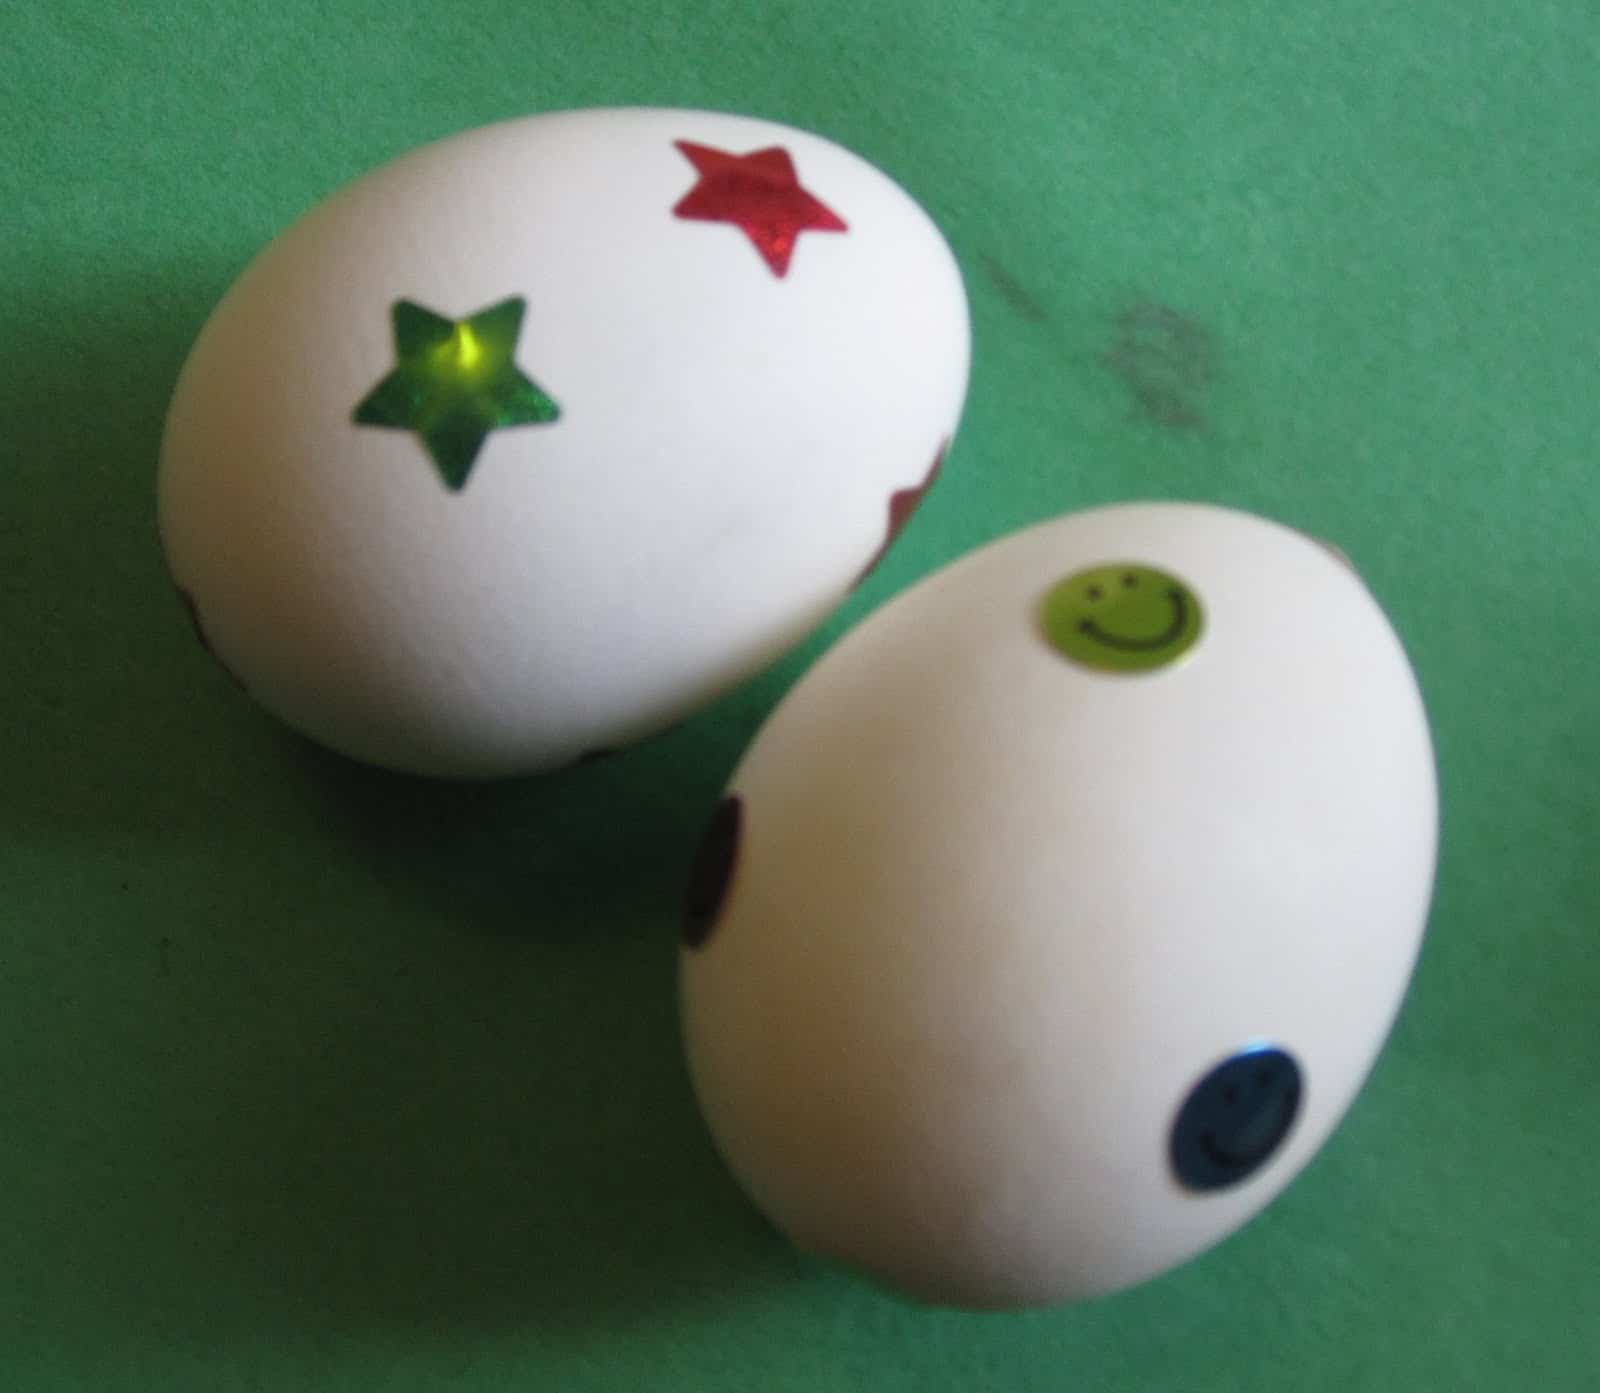
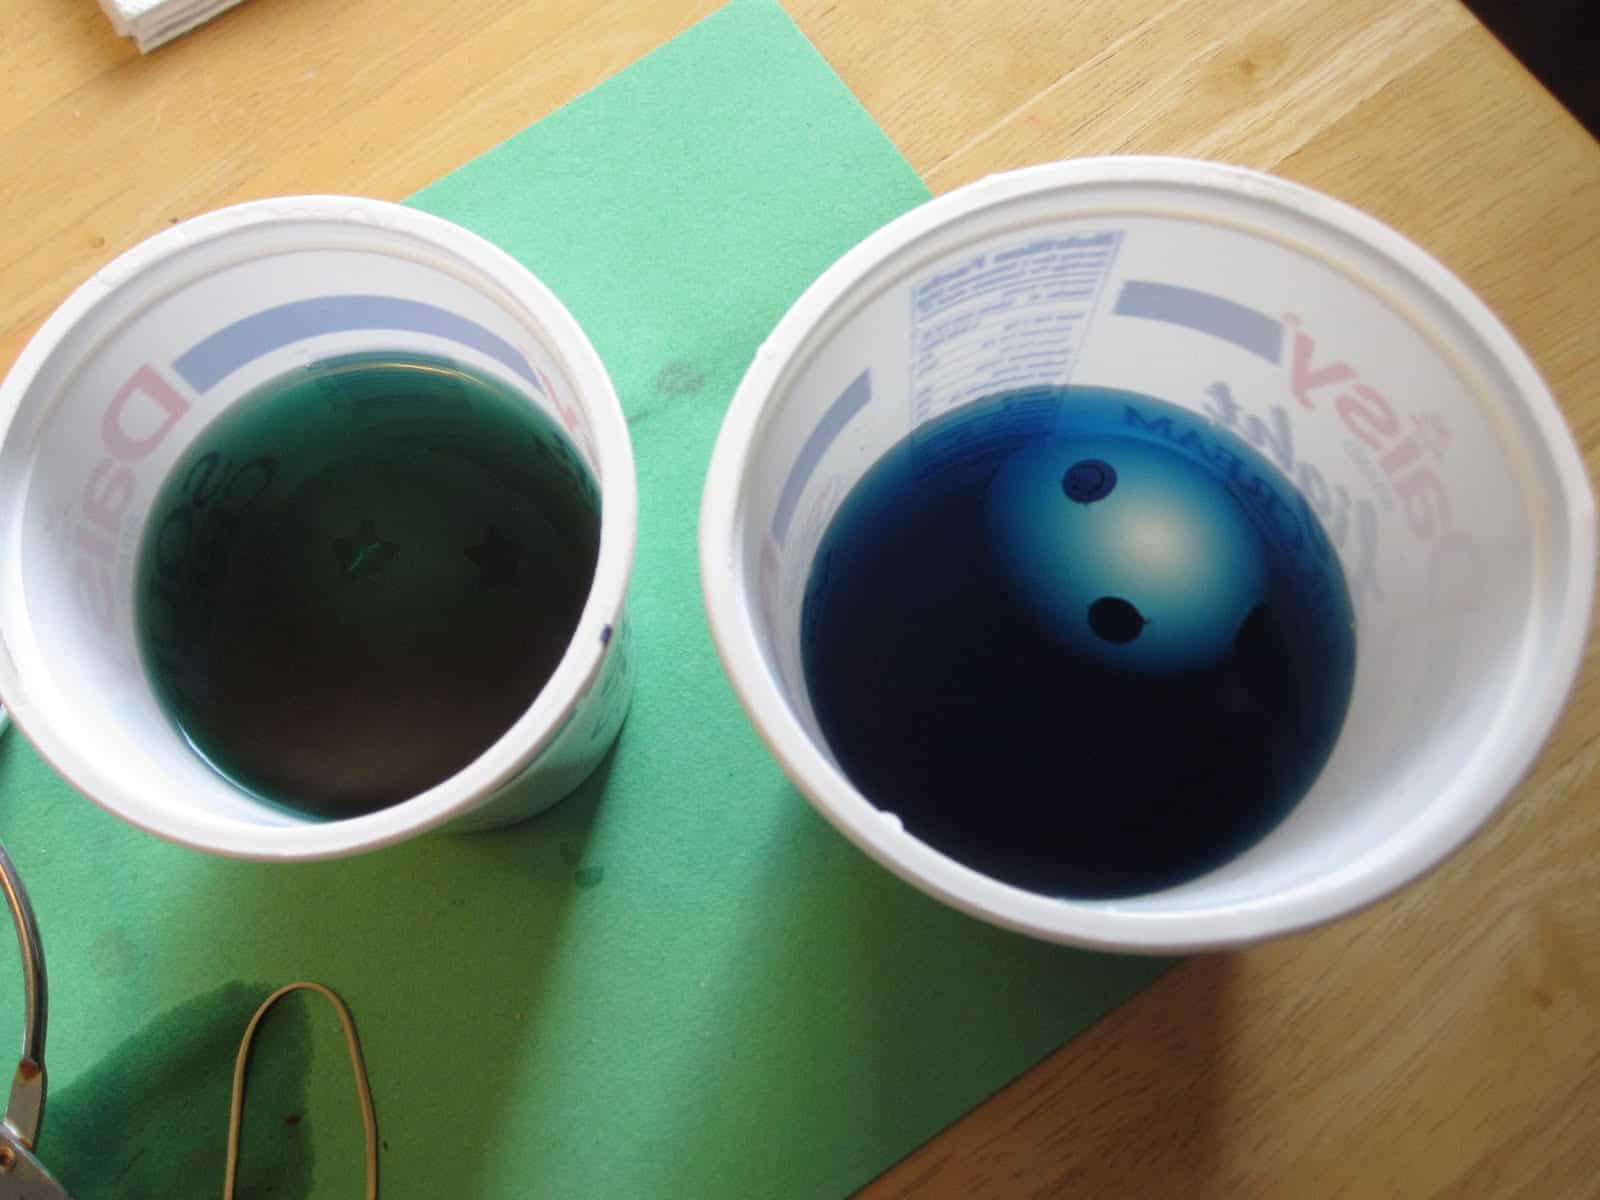
We made blue and green dye for these ones.
Blue dye = 5 drops blue dye + 2 tablespoons white vinegar + 1 cup water
Green dye = 1 drop green + 2 drops blue (I think) + 2 tablespoons white vinegar + 1 cup water
Submerge for 20 minutes.
6. Let dry and then pull off the stickers that haven't already fallen off!
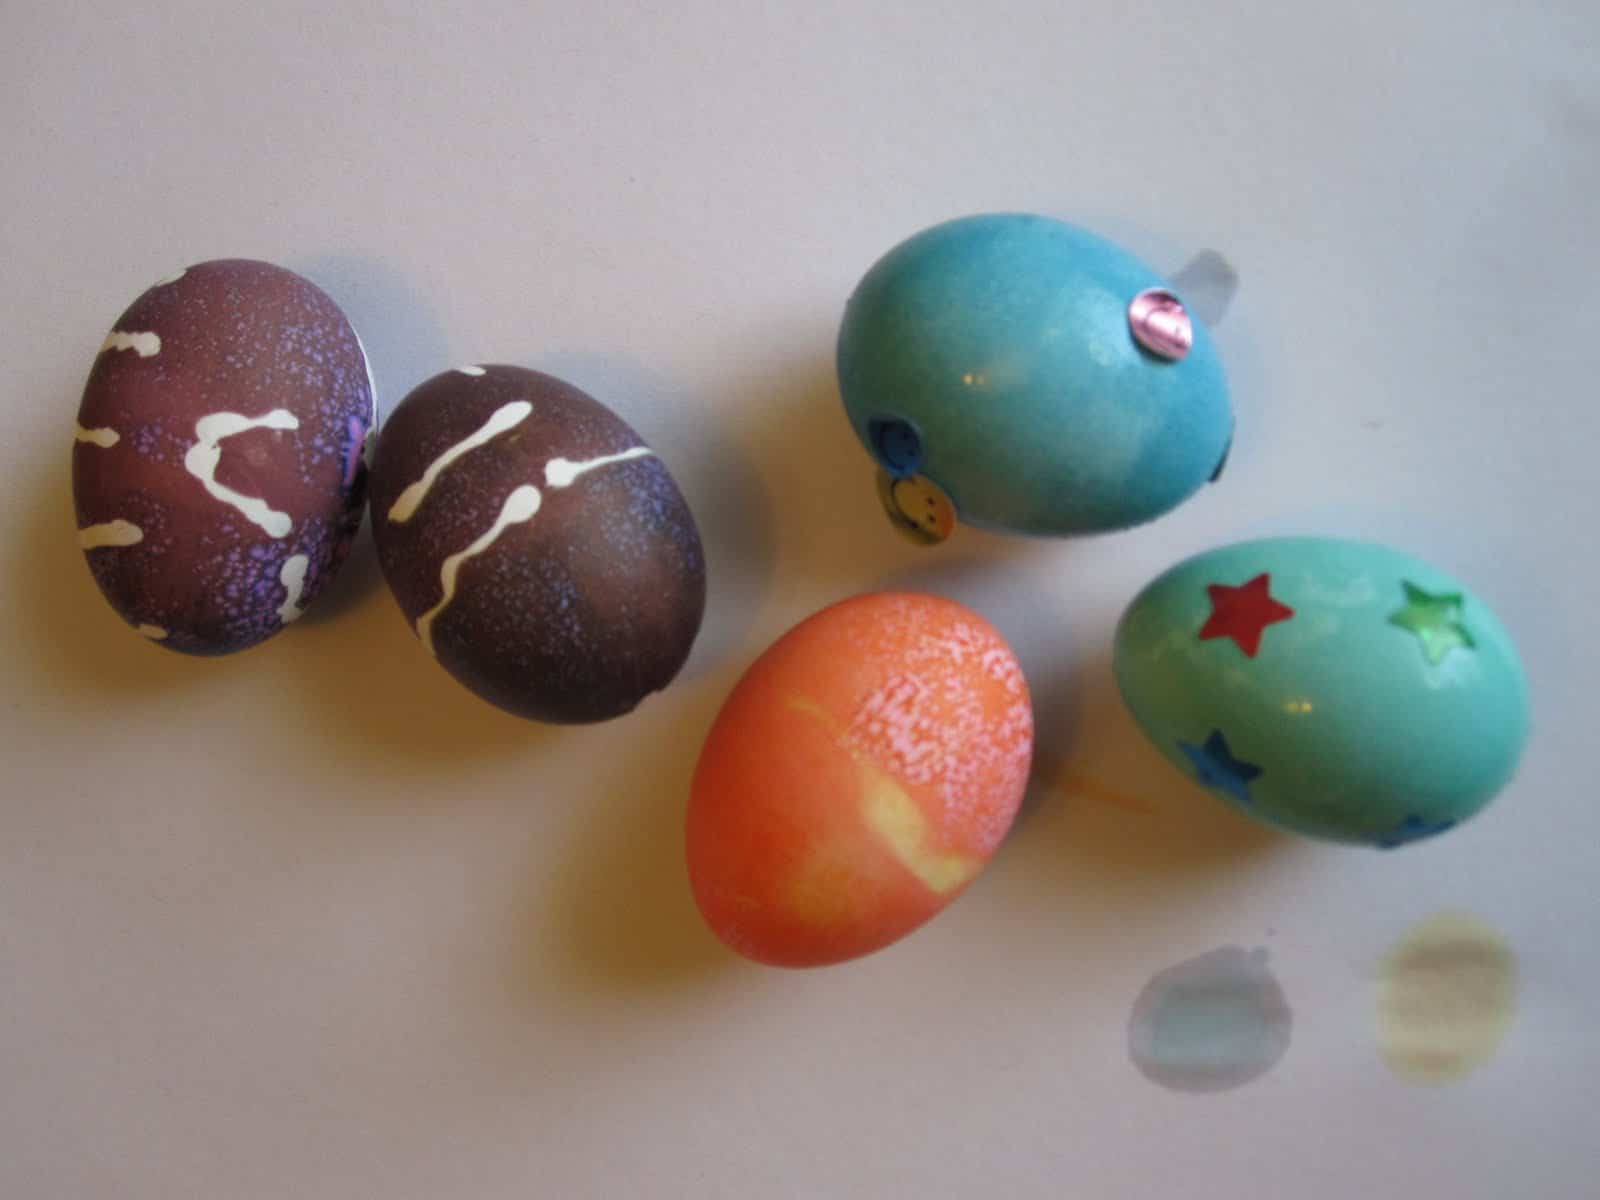
I loved the star covered one!! My son was especially amazed by that egg. The circles from the smiley face stickers kinda looked cool too.
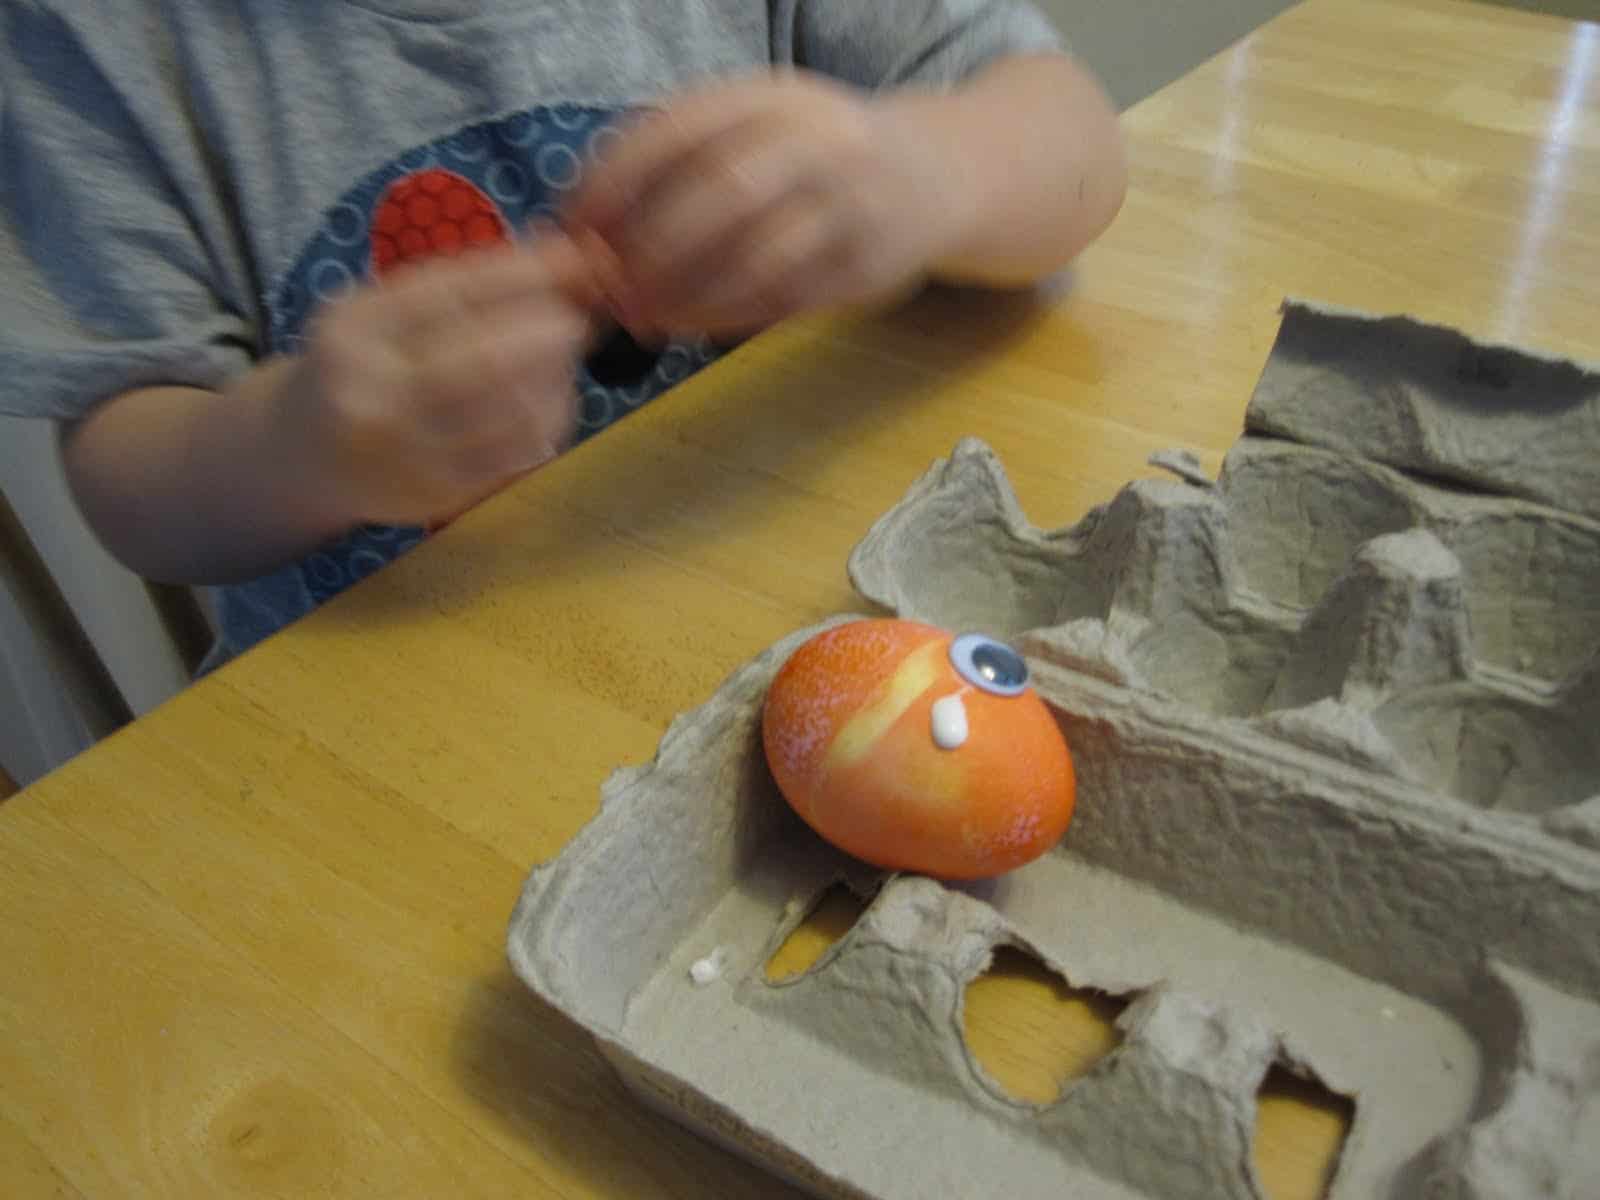
7. Start decorating your stinky faces!!
Materials we used included googly eyes, scrap pieces of paper, ribbon, random pieces of plastic, and pom poms. Basically... just use anything you have around that seems fun.
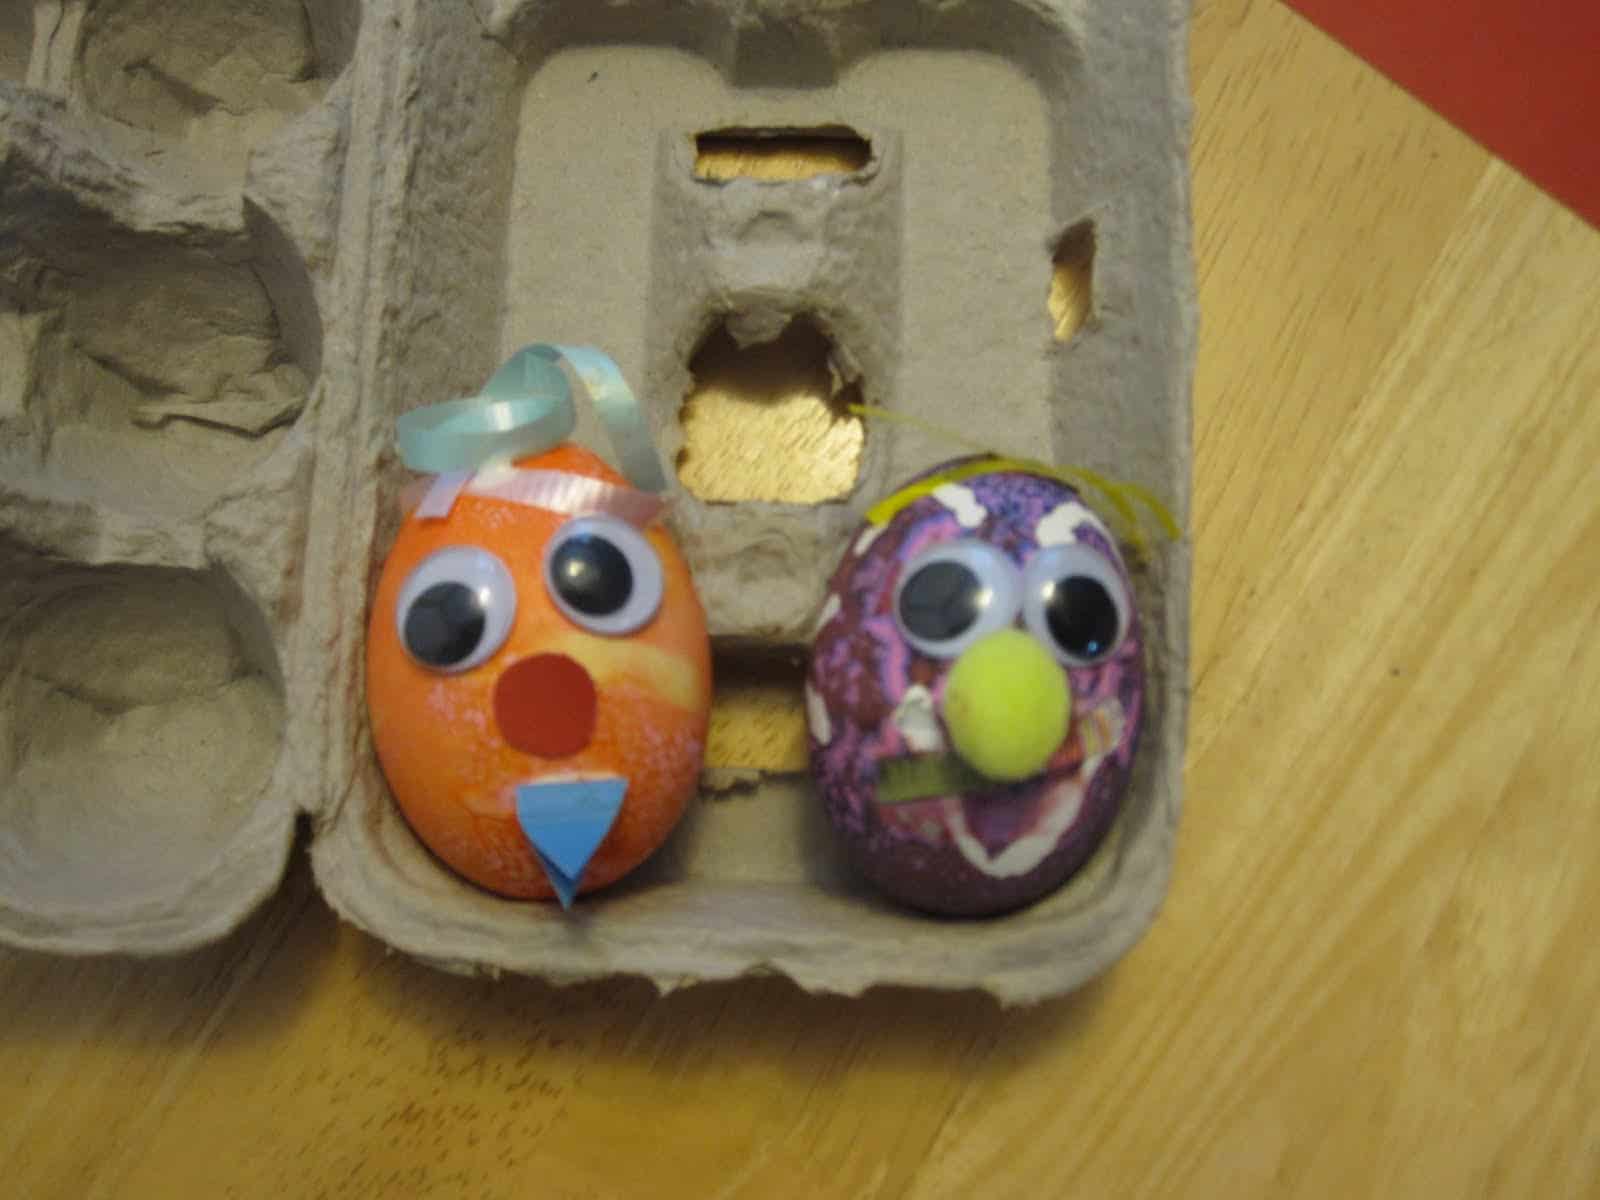
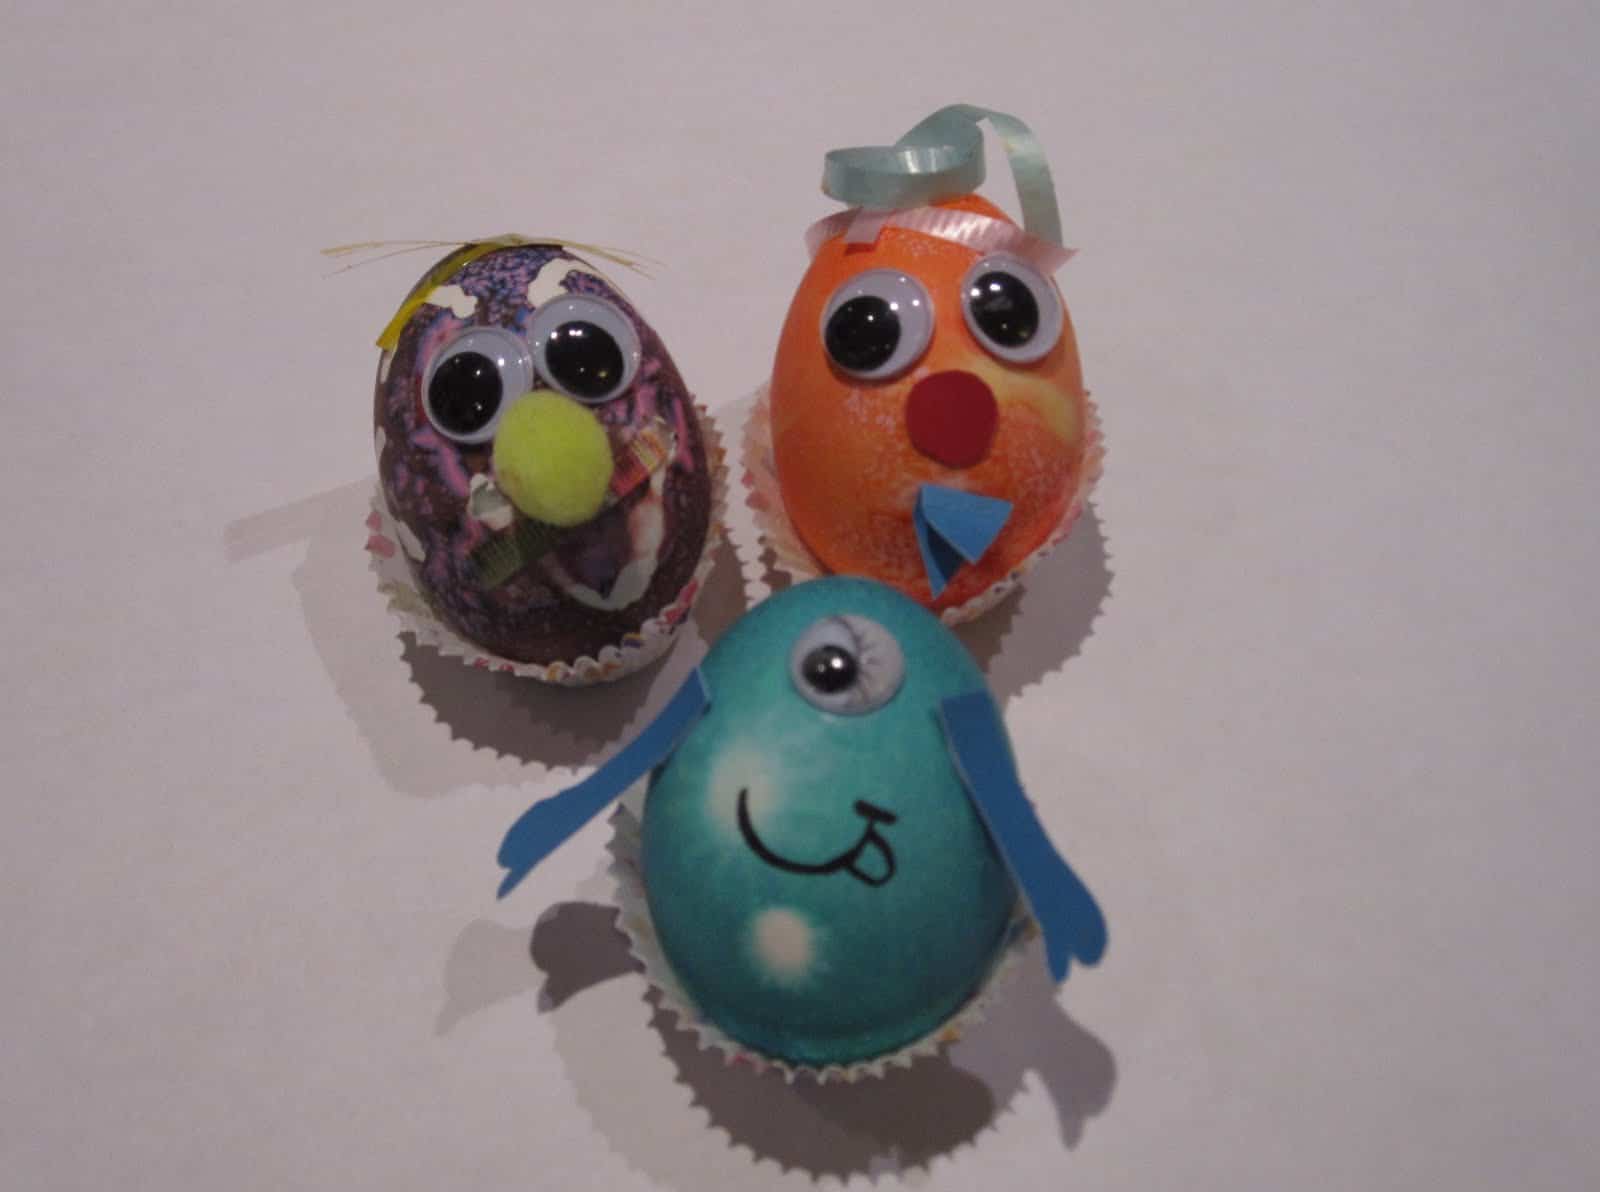
These were so goofy and allowed for a lot of variation and creativity! Send me links if you've made eggheads like these before. We have a few eggs left that we still want to decorate and need some more inspiration!
Need another idea for decorating eggs?
Try VOLCANO EGG DYEING! It is our favorite.


Hot GLUE!!!! So stinkin' excited you posted this! What an awesome idea! Those funny faces are pretty cute too!
I'm featuring both those techniques on my 2 dozen ideas and techniques to dye Easter Eggs today!
Jamie @ hands on : as we grow
What a good idea to use the glue gun to make designs!