
Need a quick Halloween craft for tomorrow? I am in love with this gluey ghost my son made at his Mom's Morning Out program last week.
My husband knows how much I love cute simple crafts... so he made sure to show me my son's masterpiece when I got home from my Vermont girls trip last night.
Materials Needed: construction paper circles (for eyes and mouth), markers, foam board (pre-cut in the shape of ghosts), and Elmer's glue.
Directions:
1. Grab your markers and start creating on the pre-cut ghost foam board. You could also use thinner foam sheets if you're like me and hate cutting foam board with a passion!
2. Use Elmer's glue to stick on the eyes and mouth.
3. Add some extra glue all over the ghost's body and let it dry!
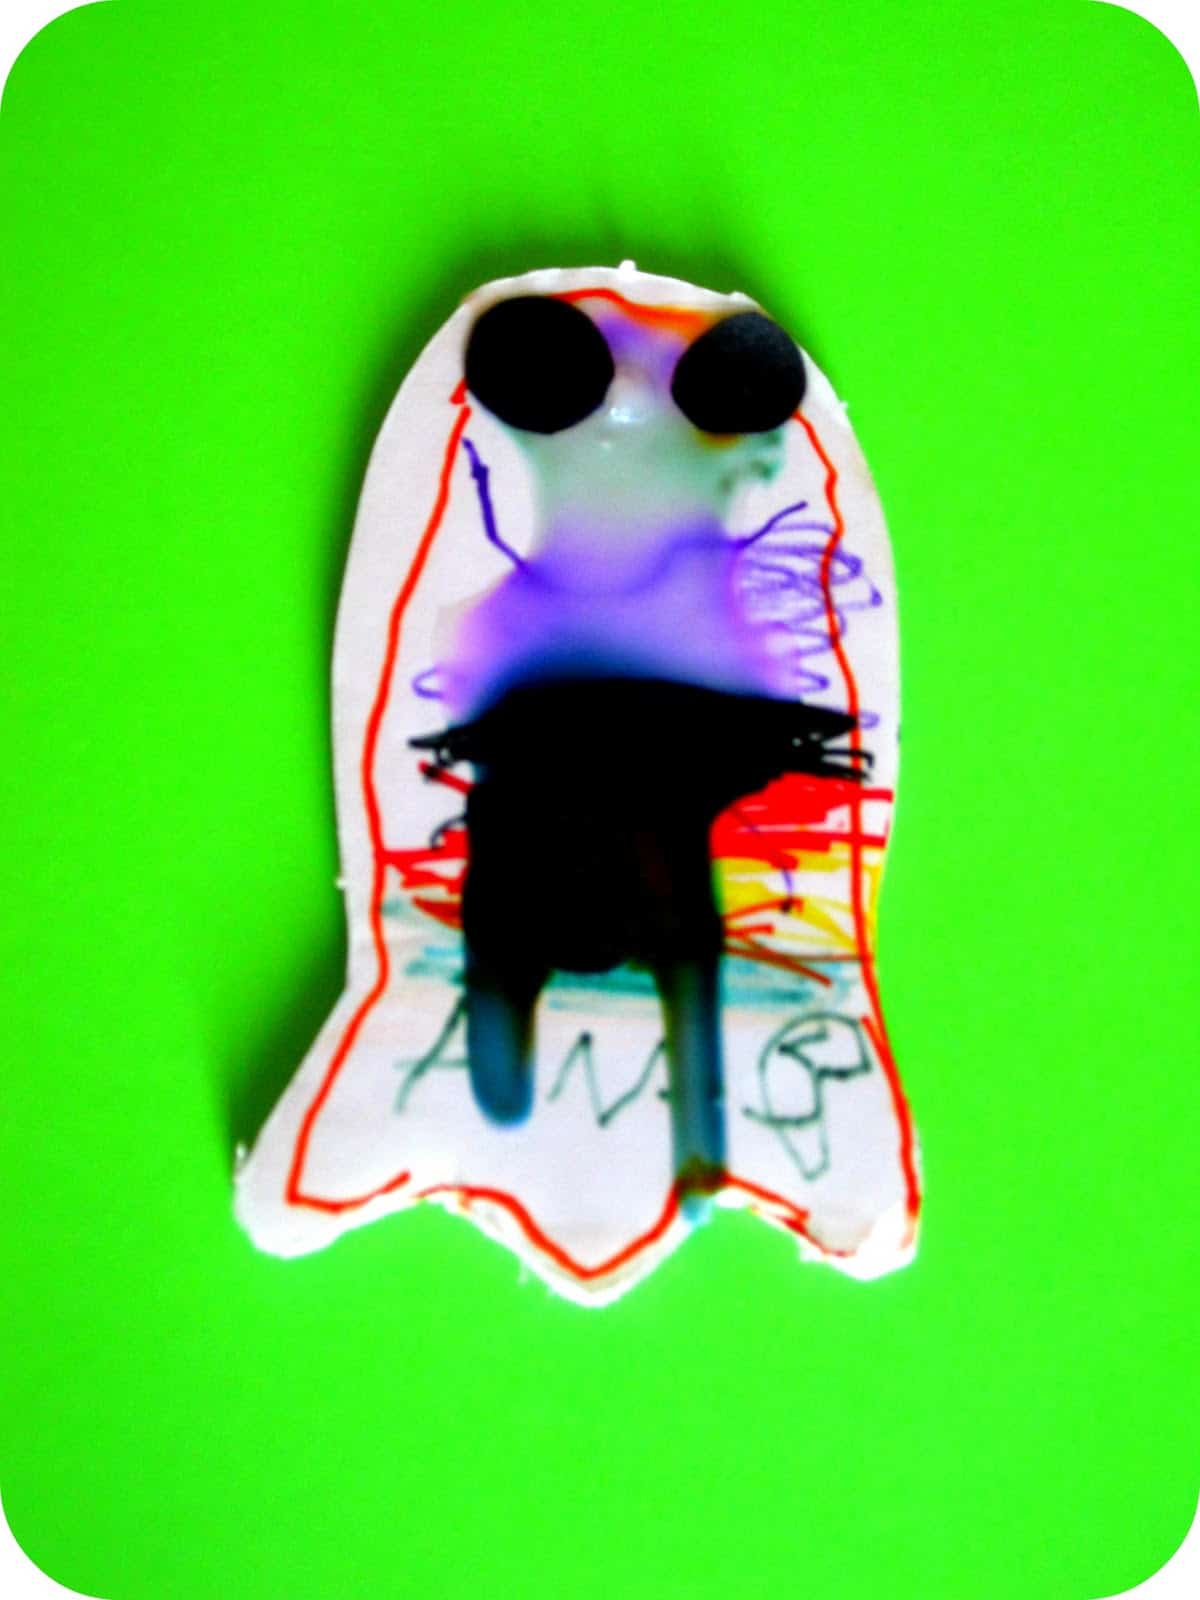
I'm not sure if this step was intended, but my son added a lot of glue on his ghost's body. I think adding more would've been even cooler. When the glue dried it left a neat texture and made the ghost's marker covered body look iridescent.
This craft was created by one of the wonderful moms at our Mom's Morning Out program. I think it is adorable and such a great simple open-ended craft.
Can you picture yourself rocking out to the Ghostbuster's theme song while you are creating this gluey ghost with your kids?
We've had that song on repeat in the car all. month. long!
Language fun with this project could include...
- talking about the shapes and colors in the project
- talking about the before and after textures of the glue
- flying your ghosts around the house while you rock out to Ghostbusters (one person can try and catch the ghost... the other one can make the ghost fly around)... while you fly the ghost around you can talk about positioning of the ghost (above, under, on top, next to, etc.)
- creating stories about your ghosts
I'm sure there are tons more ideas, but these are a few language ideas that we thought were fun!


What a fun idea! I would rock out to the Ghost Busters song anytime I have the chance! Thank you for sharing your ideas with us on The Sunday Showcase