
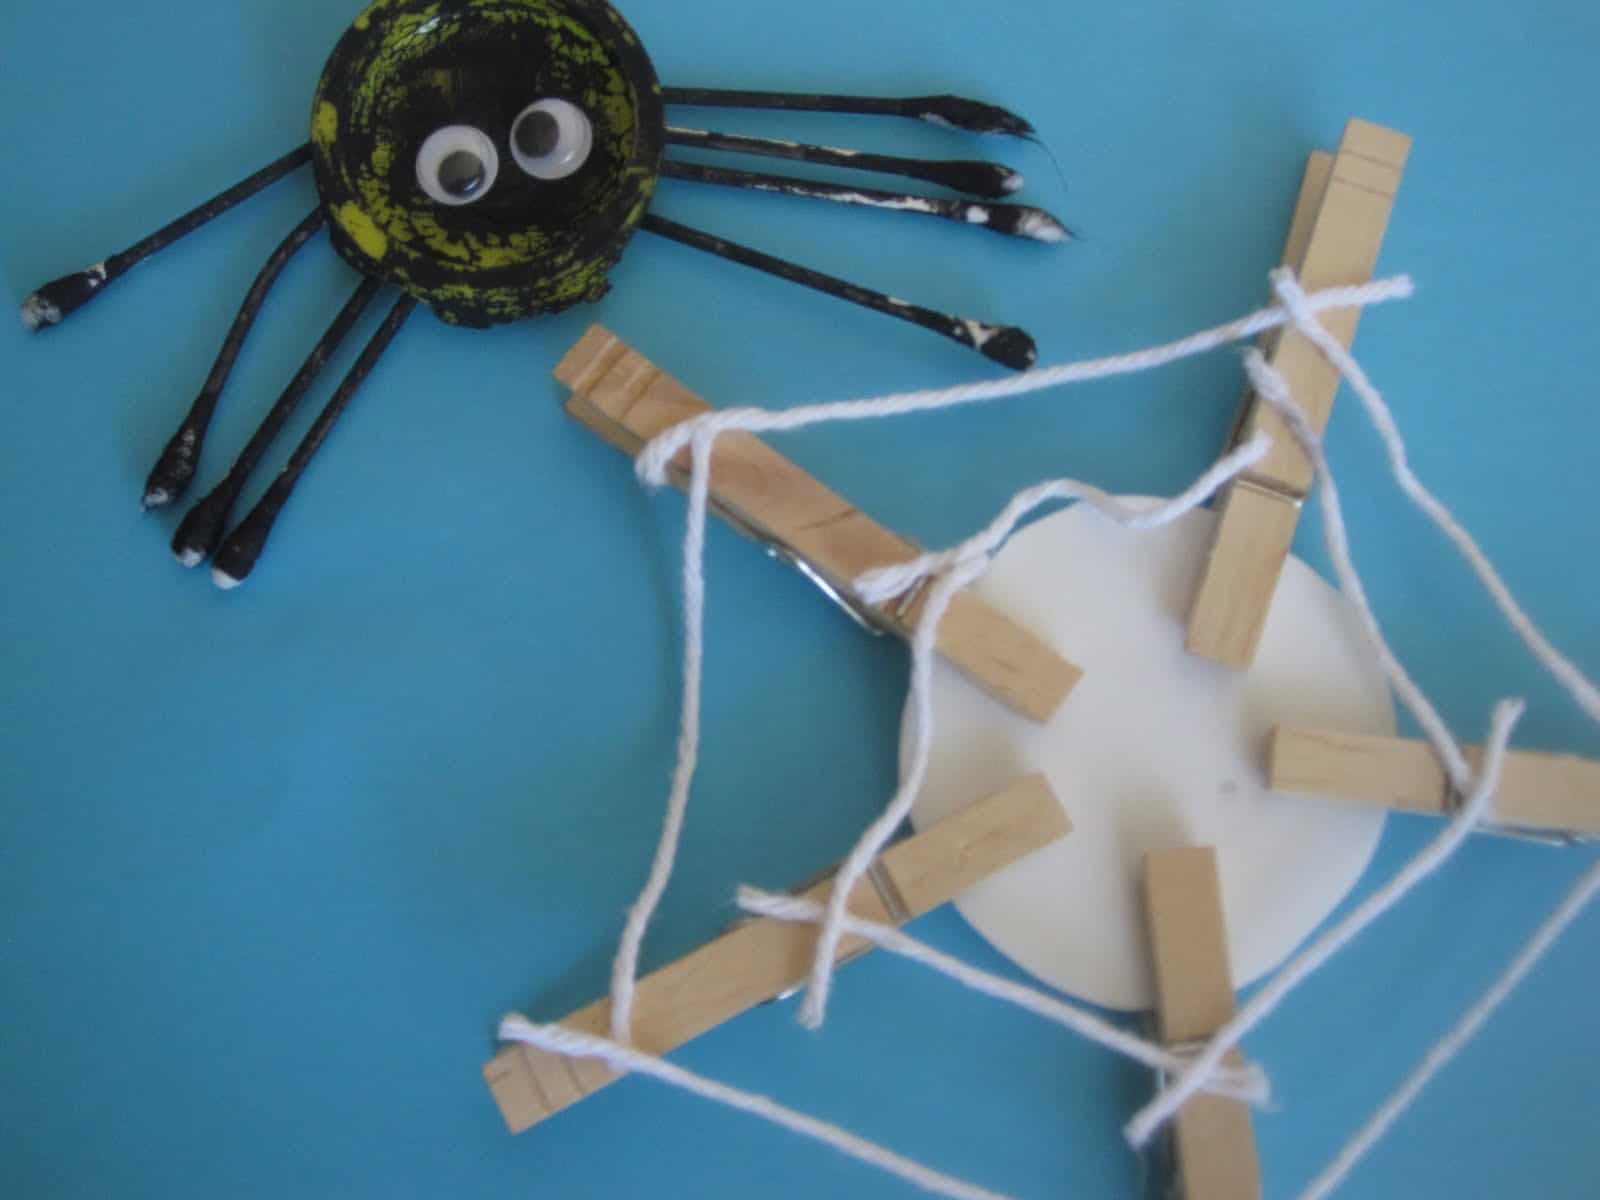
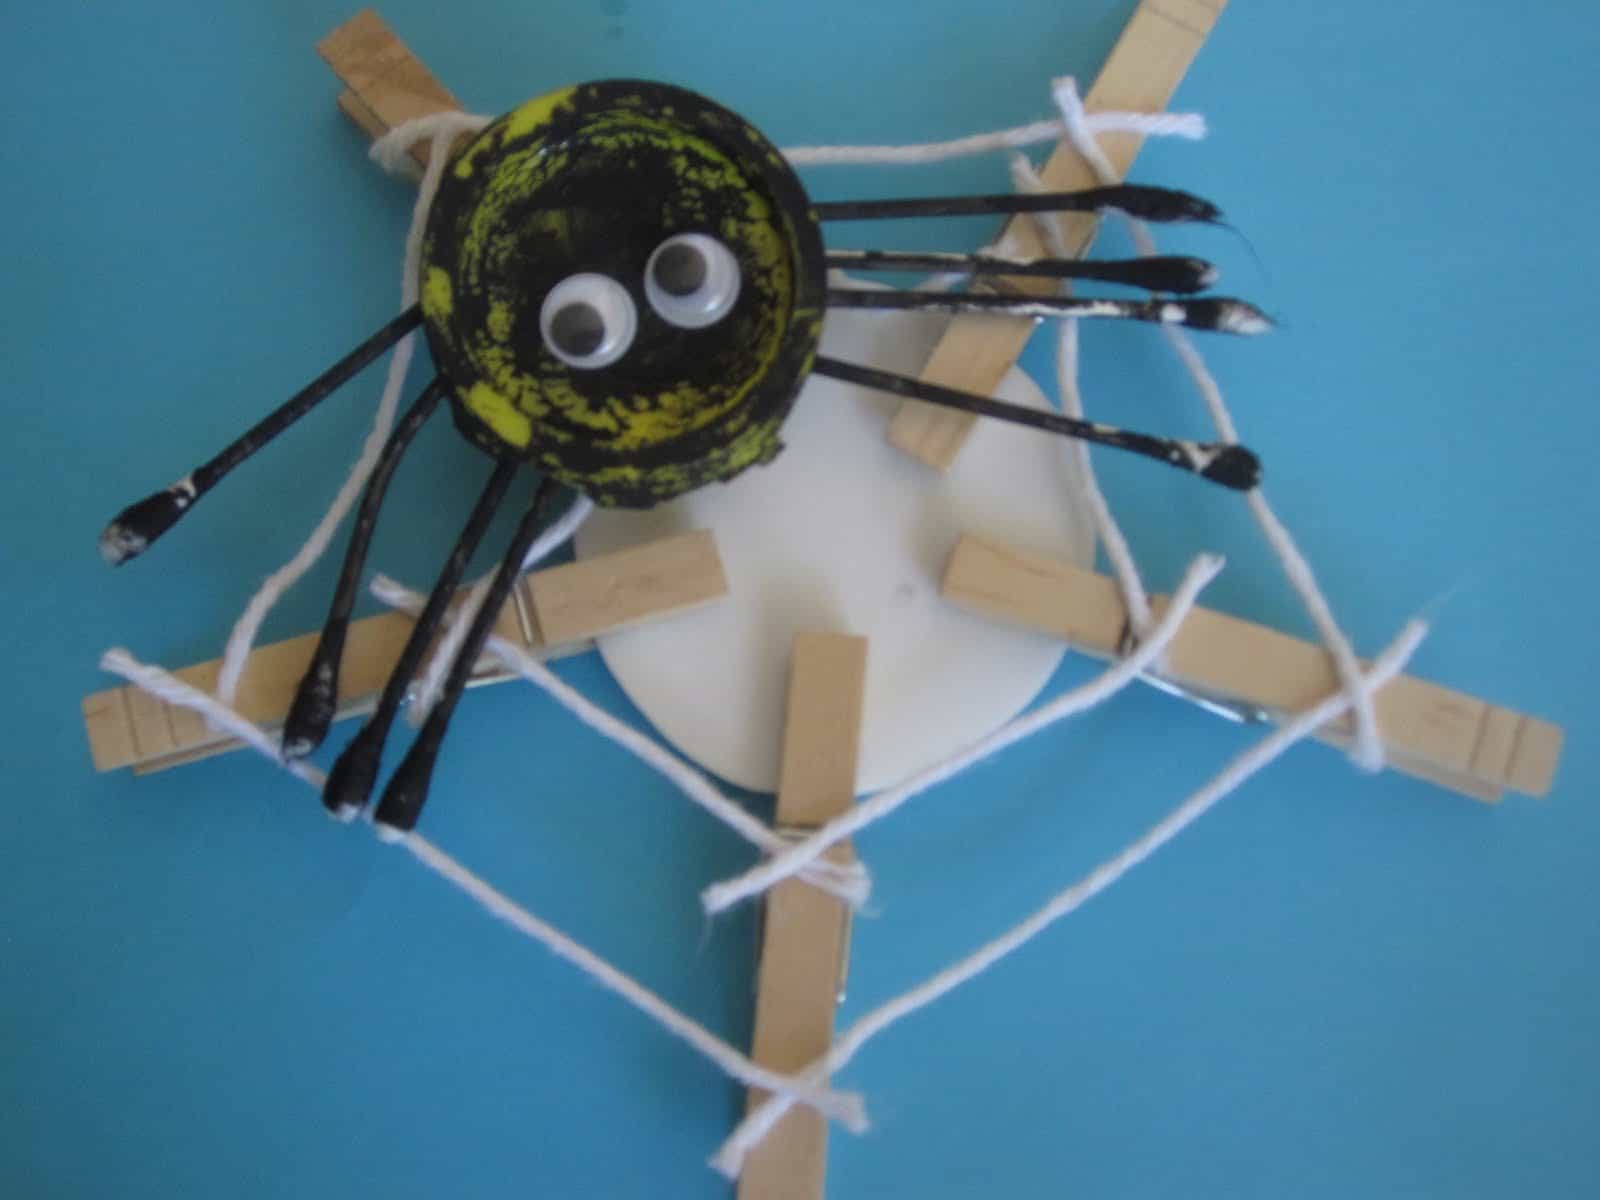
A play-doh lid spider and clothespin spider web are coming to scare you!
We always love finding ways to use the random materials I have in my craft cupboard. Originally we saw these bottle top spiders from Love and Lollipops... which inspired us to get creating!
Materials Needed:
Spider- lid (we used a play-doh lid), black paint, paintbrush, Elmer's glue, cotton swabs (8)... you could also use a black bottle top... but we didn't have one!
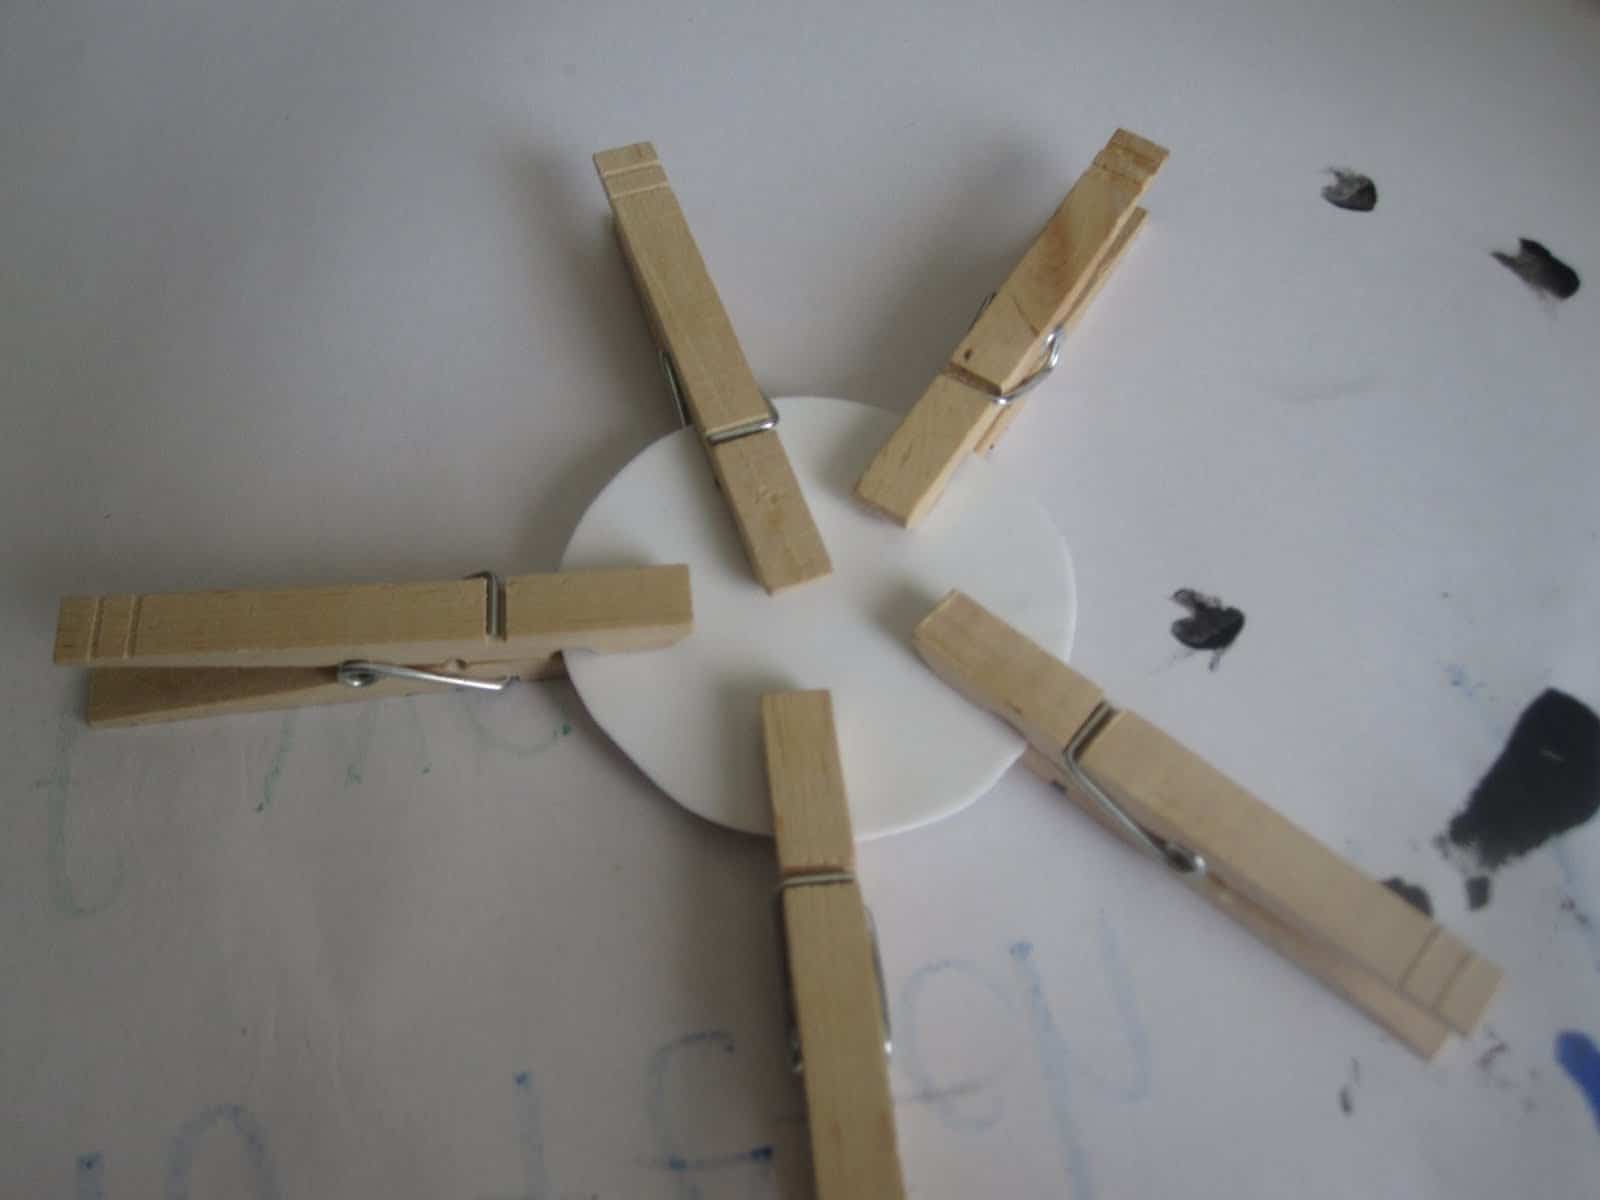
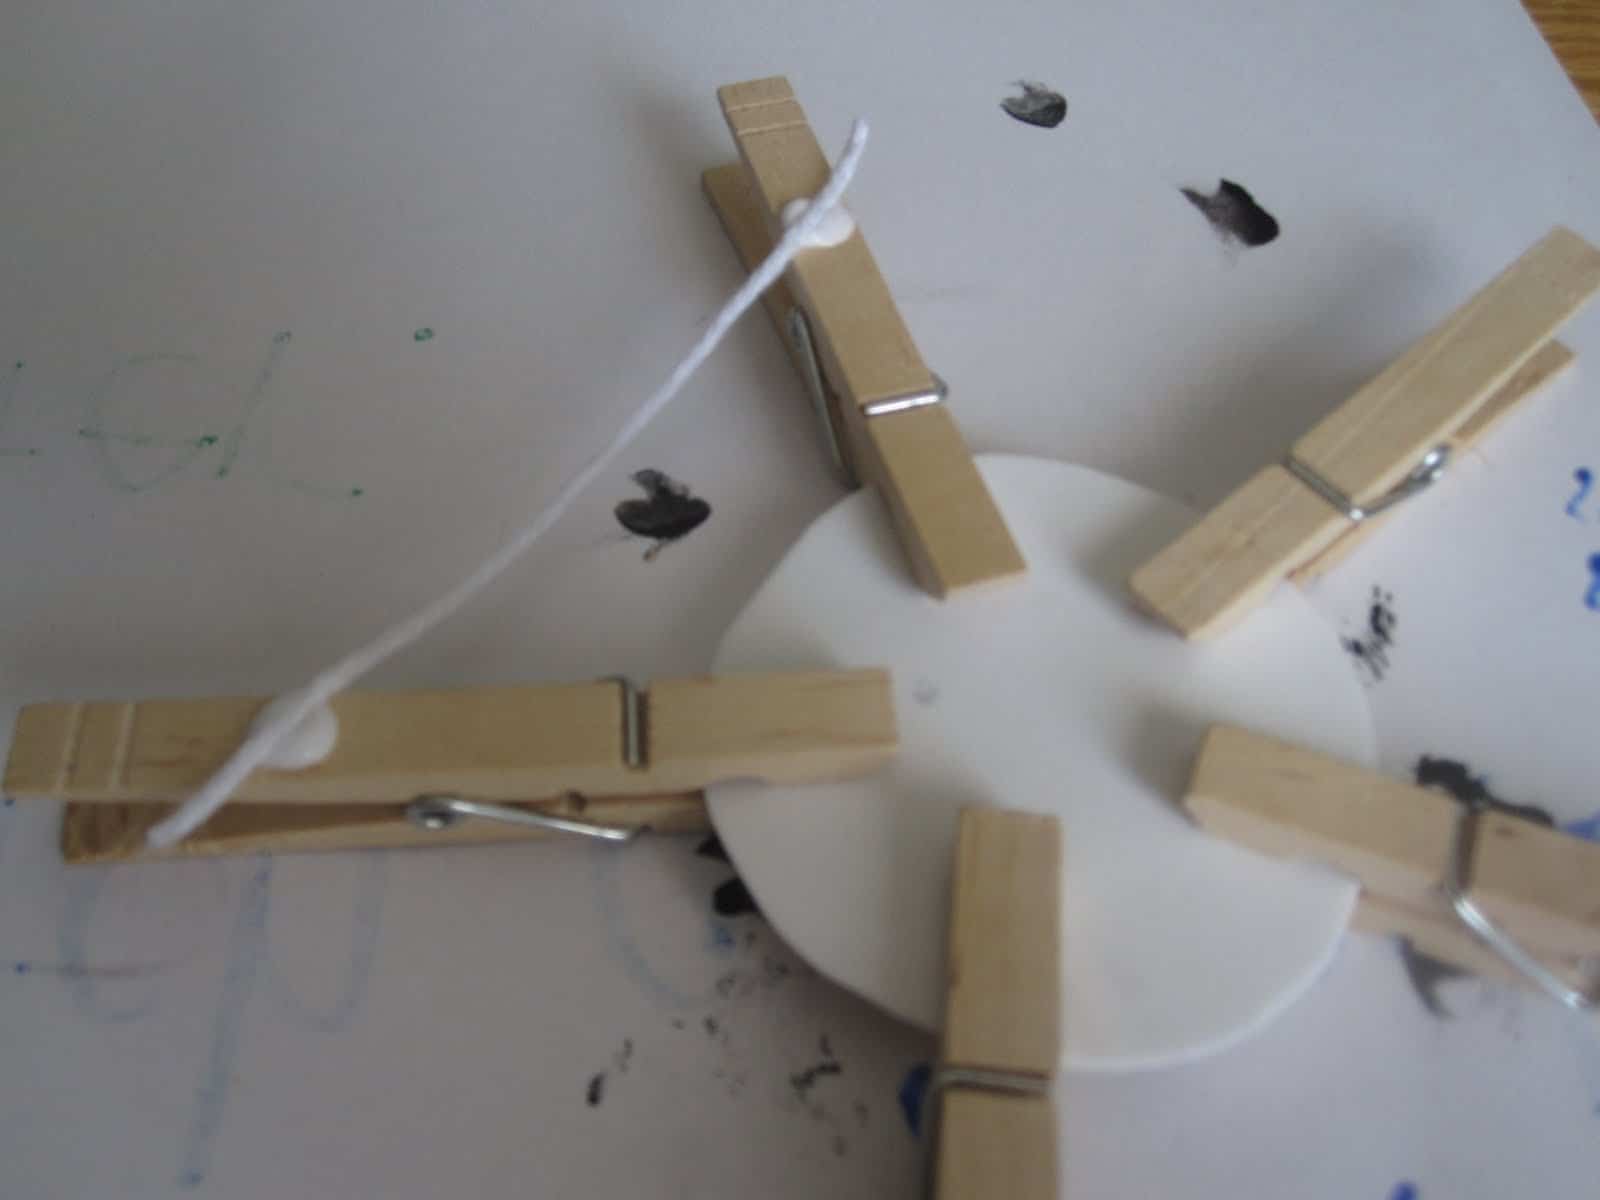
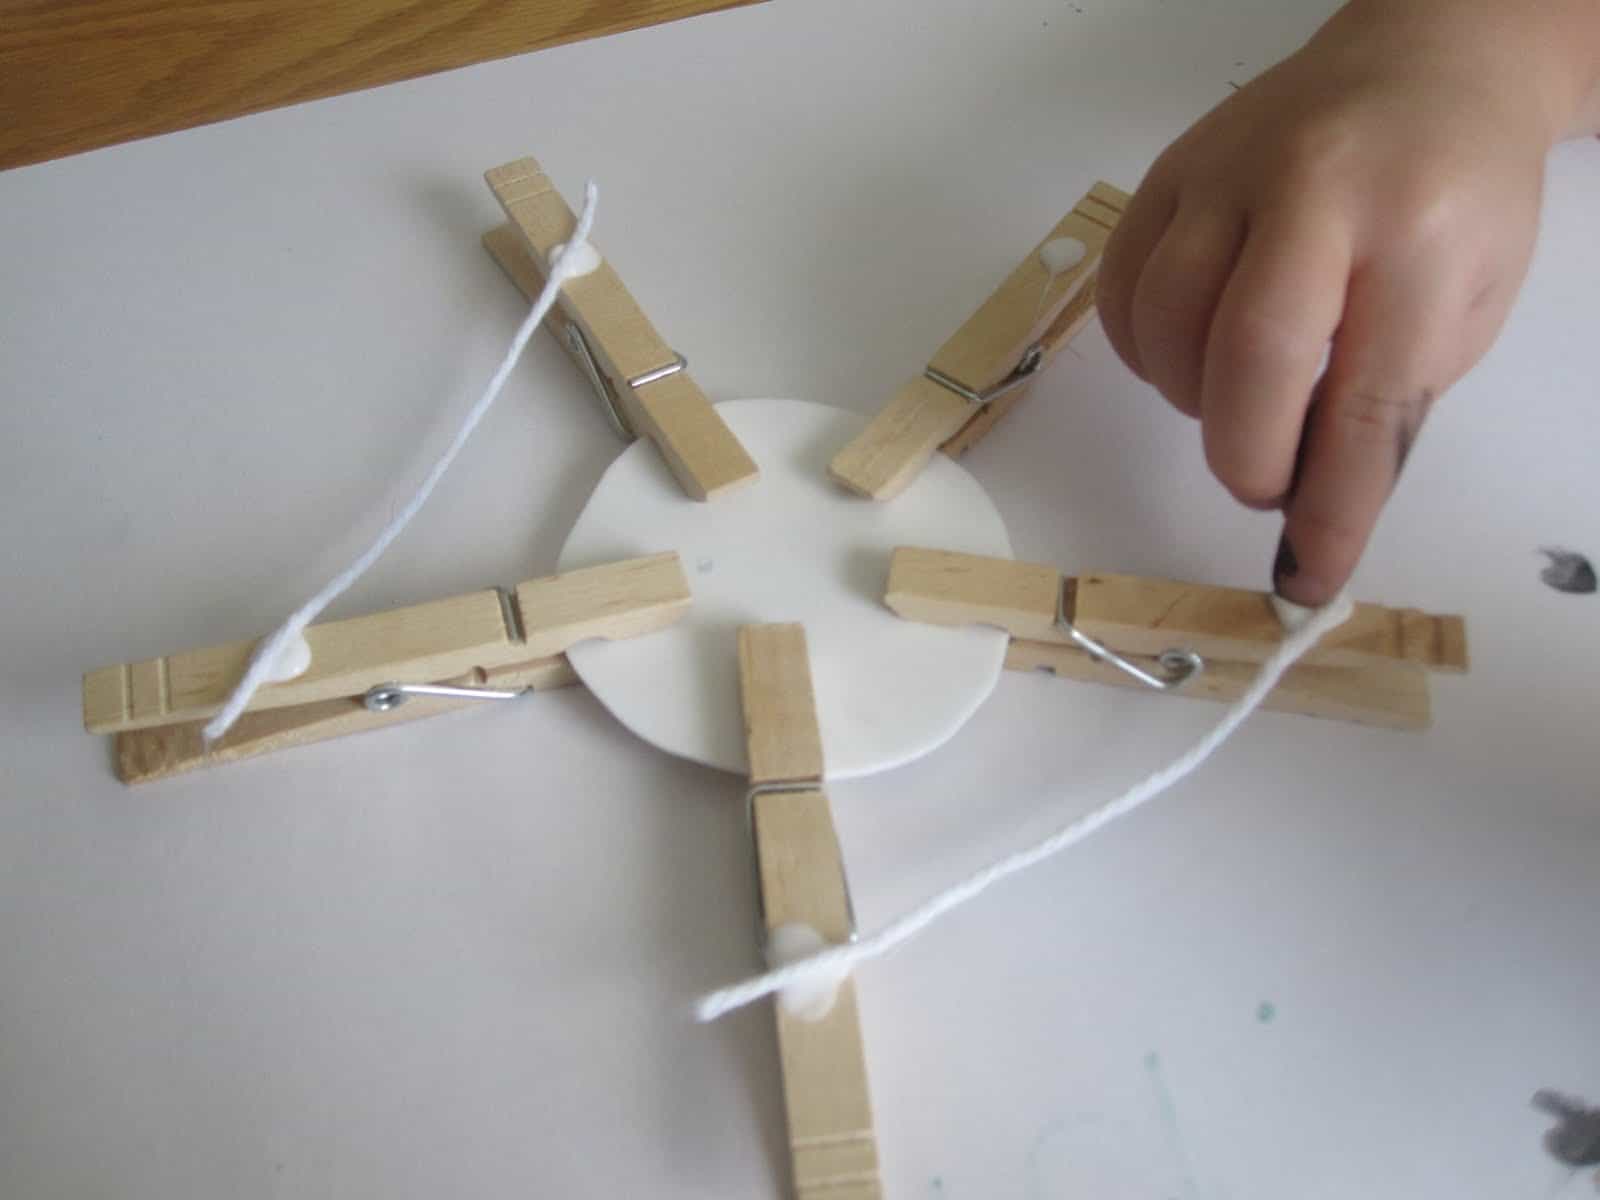
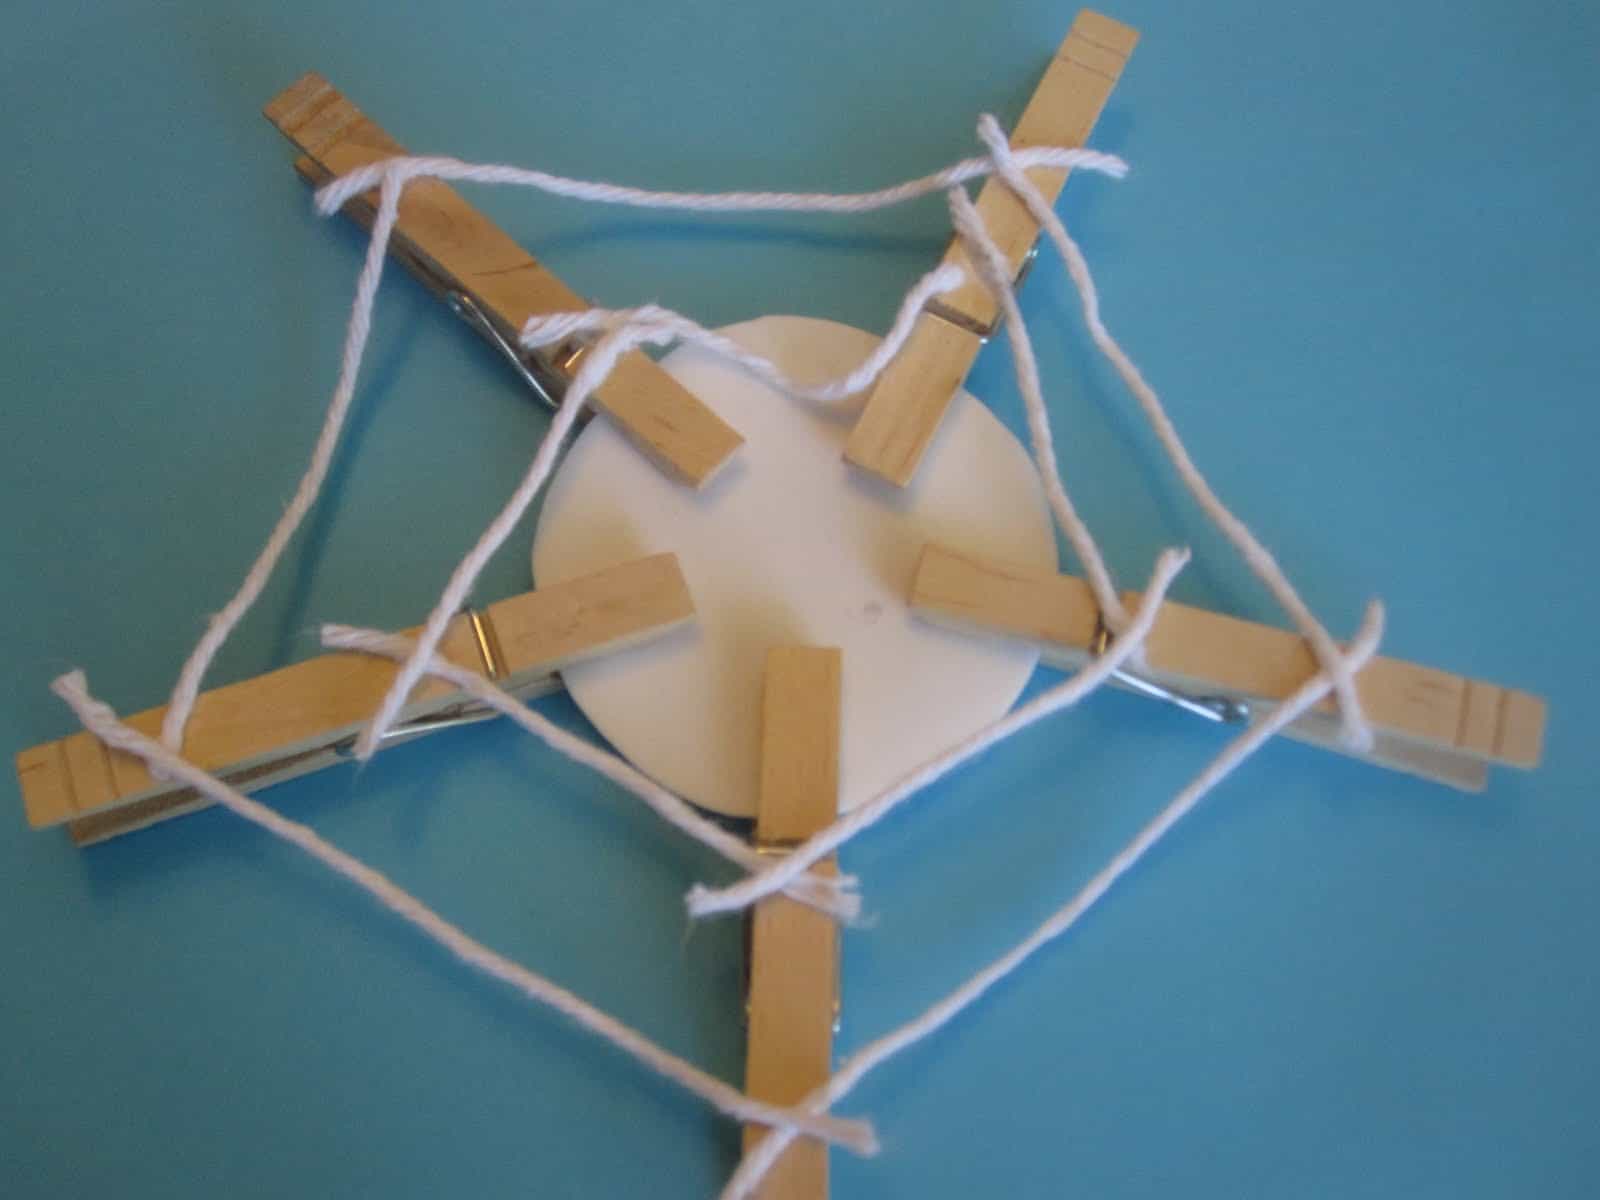
Web- 5-6 clothespins, circle cut from a foam sheet, scissors, marker, Elmer's glue, white yarn.
Directions:
1. Paint your lid (unless you already have a black one)
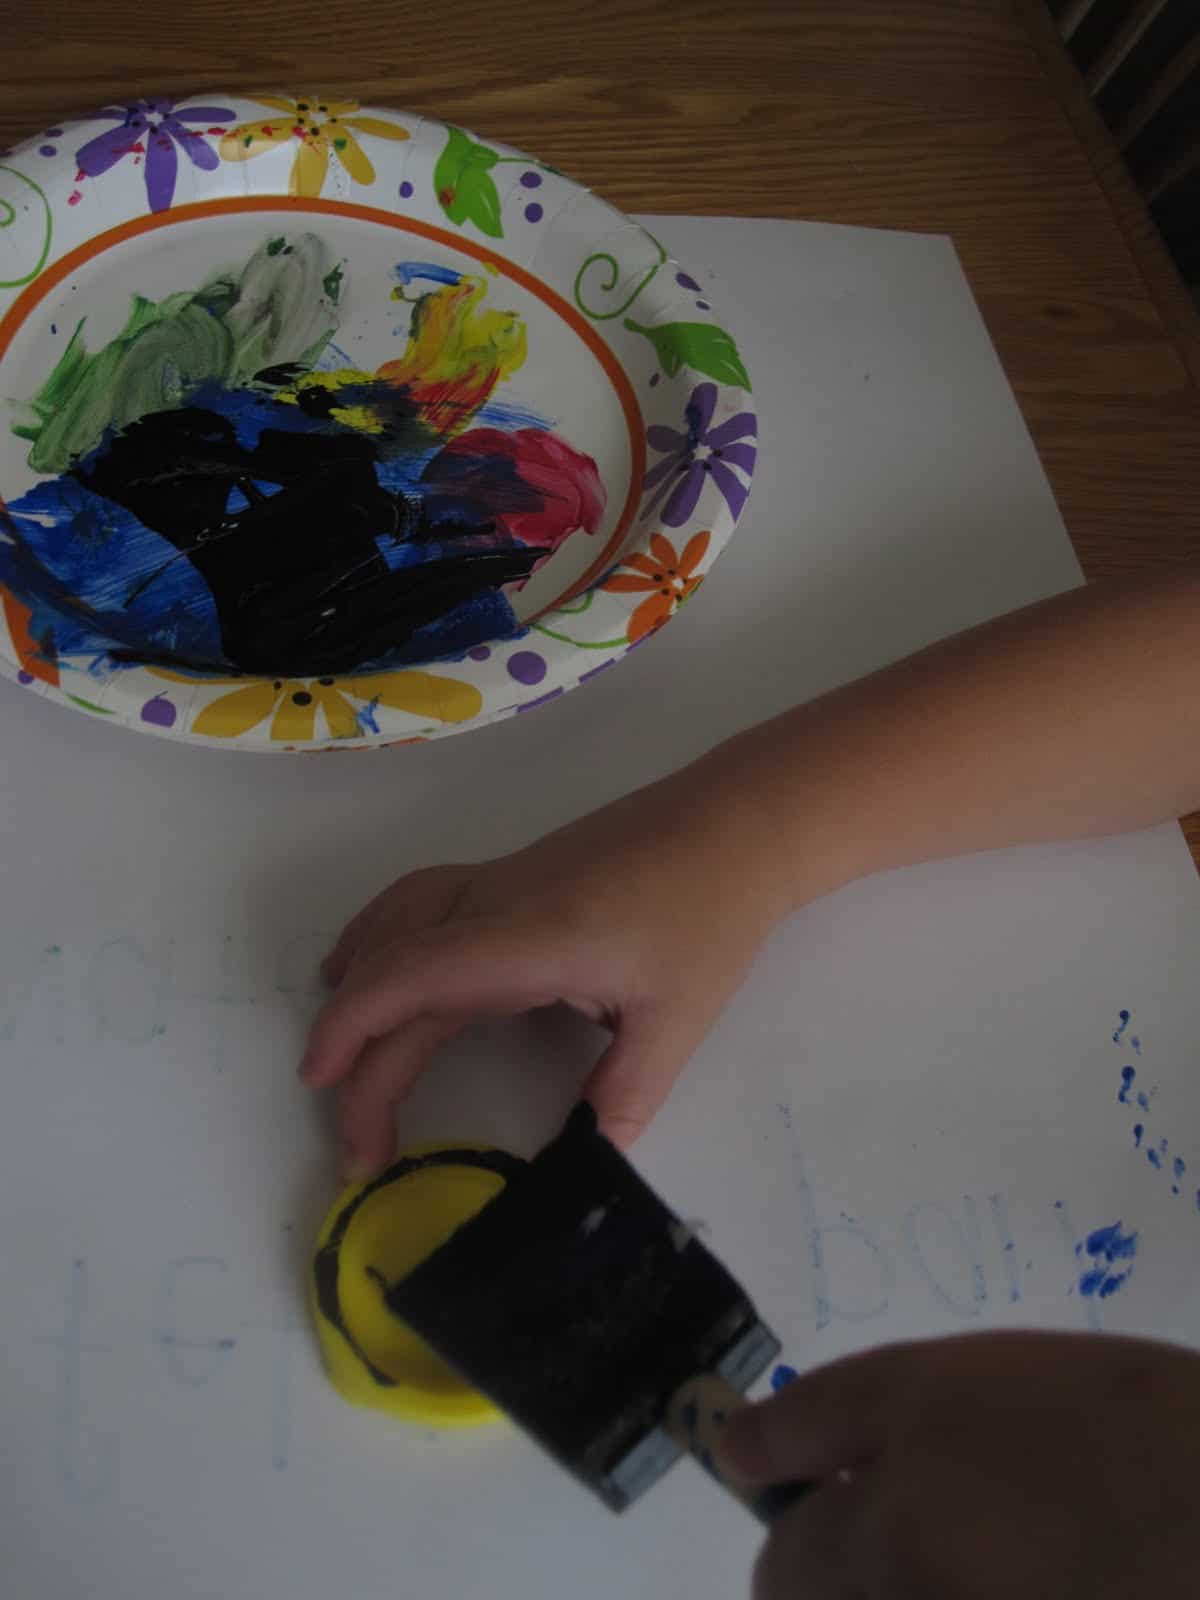
2. Let it dry.
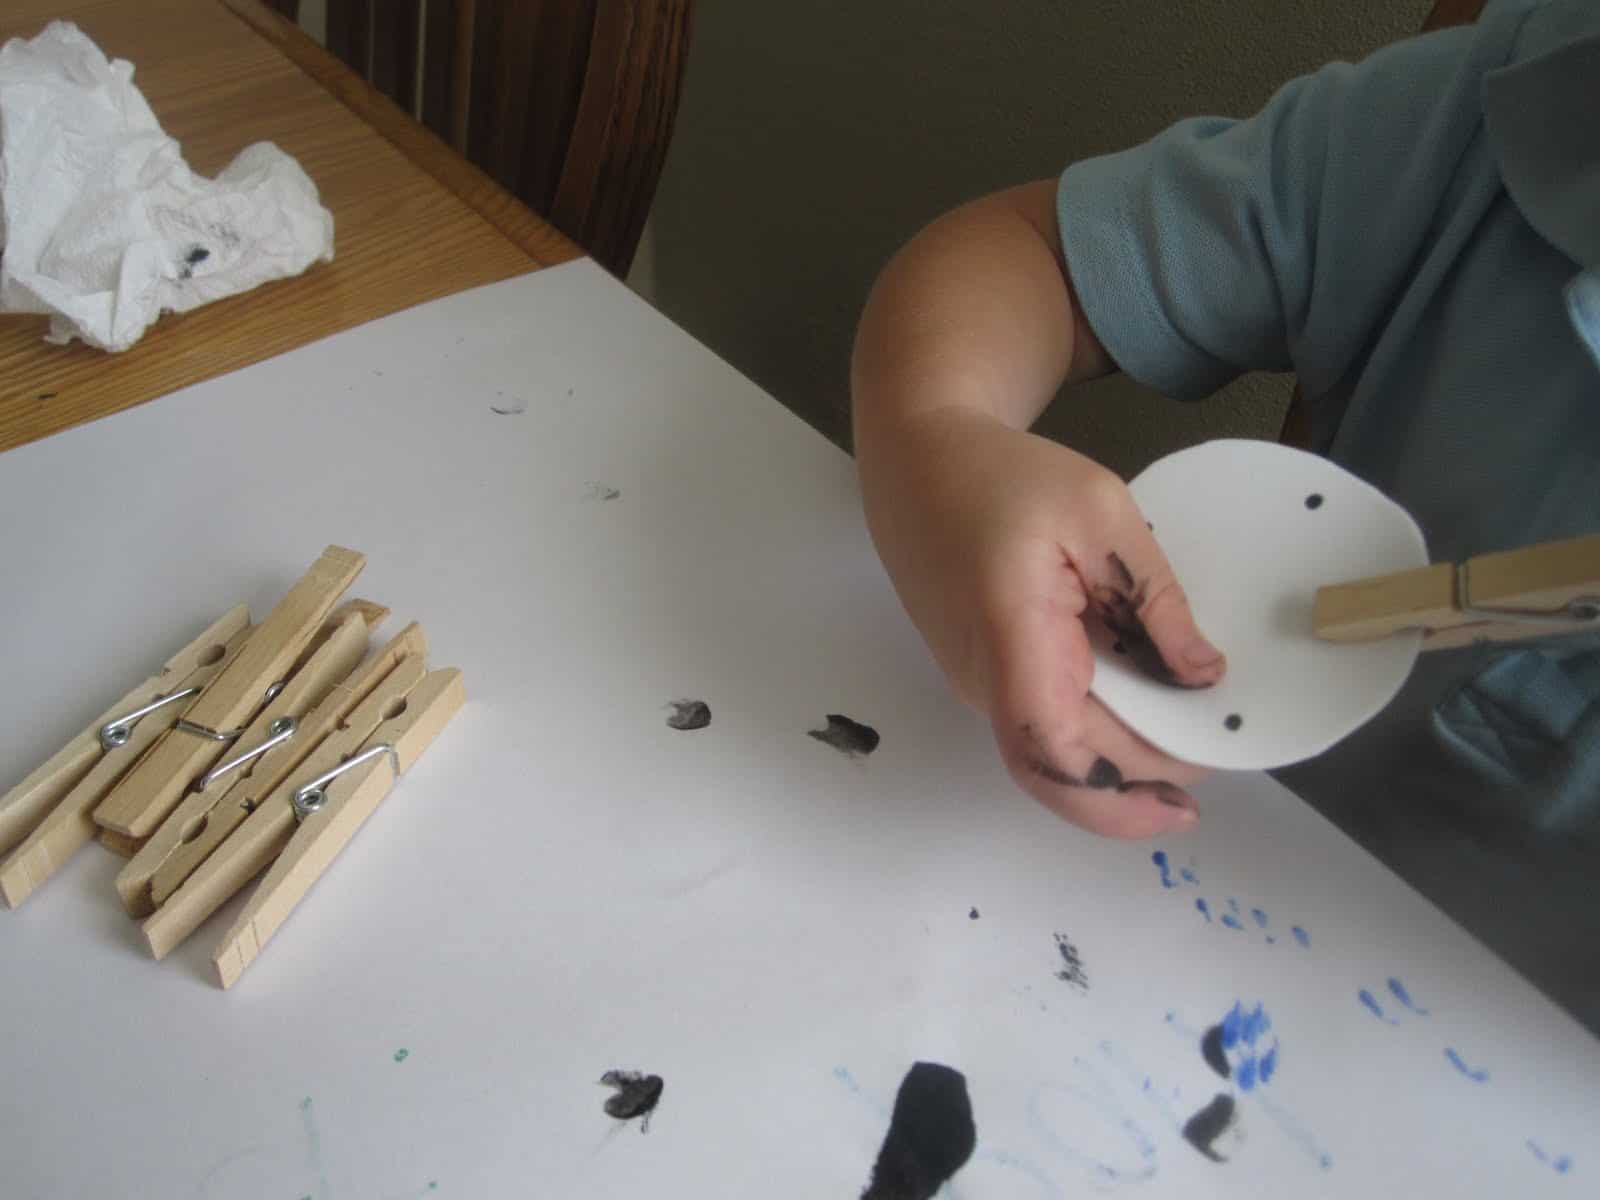
3. While it is drying, put dots around the foam circle.
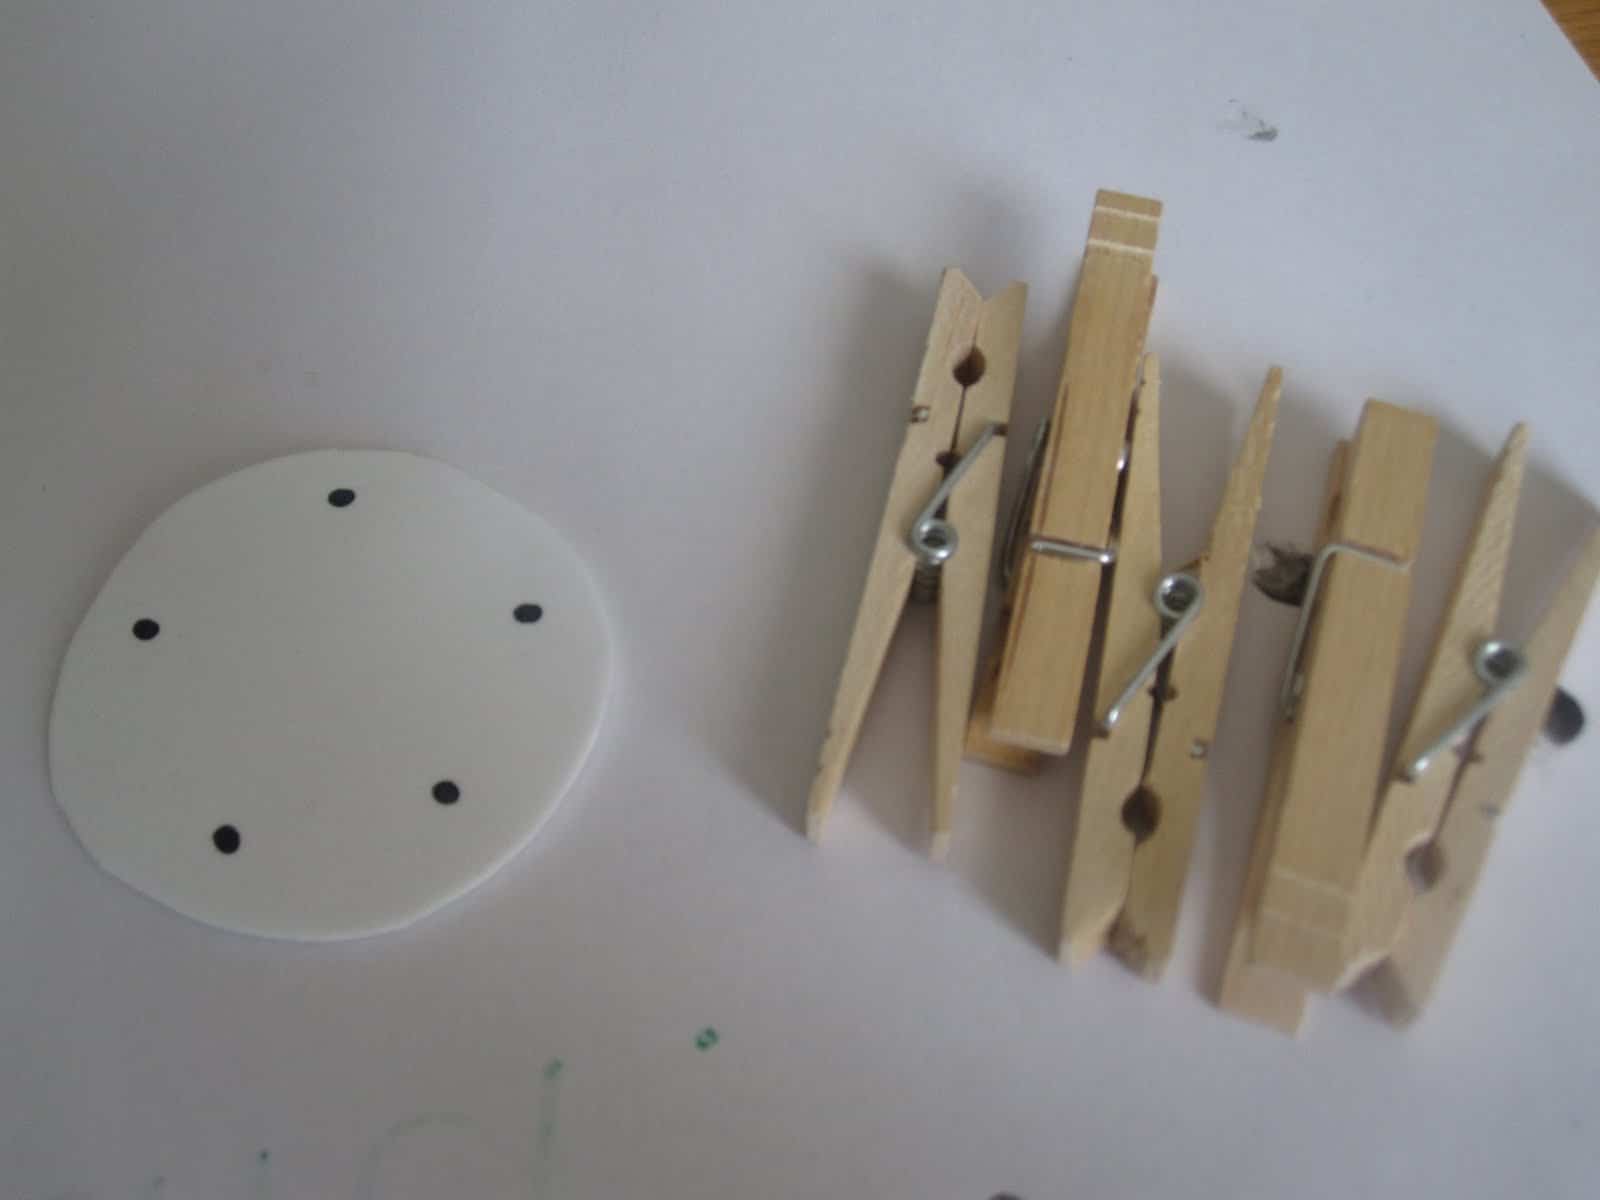
4. Have your child work on clothespin placement. Encourage them to try and attach the clothespins only on the dots. This took some effort on the part of my son, but was good for practicing pinching with the clothespins.
4. Cut white yarn into strips. Have child glue the strips of yarn from one clothespin to the next. I put the dots of glue on this part of the project for my little guy, but I'm sure most kids could probably do this part by themselves. It gets sticky! We kept a washcloth close by so that we could wipe down hands... otherwise the yarn wouldn't stick to anything but our fingers!

5. While the web dries, paint your cotton swabs black. These will be the spider legs.

6. Once they are dry, add glue to the back of your lid (ours is a play-doh lid) and then stick on the legs!

7. Let it dry and then add some googly eyes.
8. Your last job is to introduce your spider to his new web home.

If you were Miss Muffet, would you be scared of this spider? 🙂 I personally think it is too cute to be scary...
If you haven't watched this classic Sesame Street version of Little Miss Muffet, watch it. Kids get a kick out of it.


Over the top cuteness!!! Another great use for lids! 🙂 Thanks for linking up on Link Your Mess, again. 🙂