
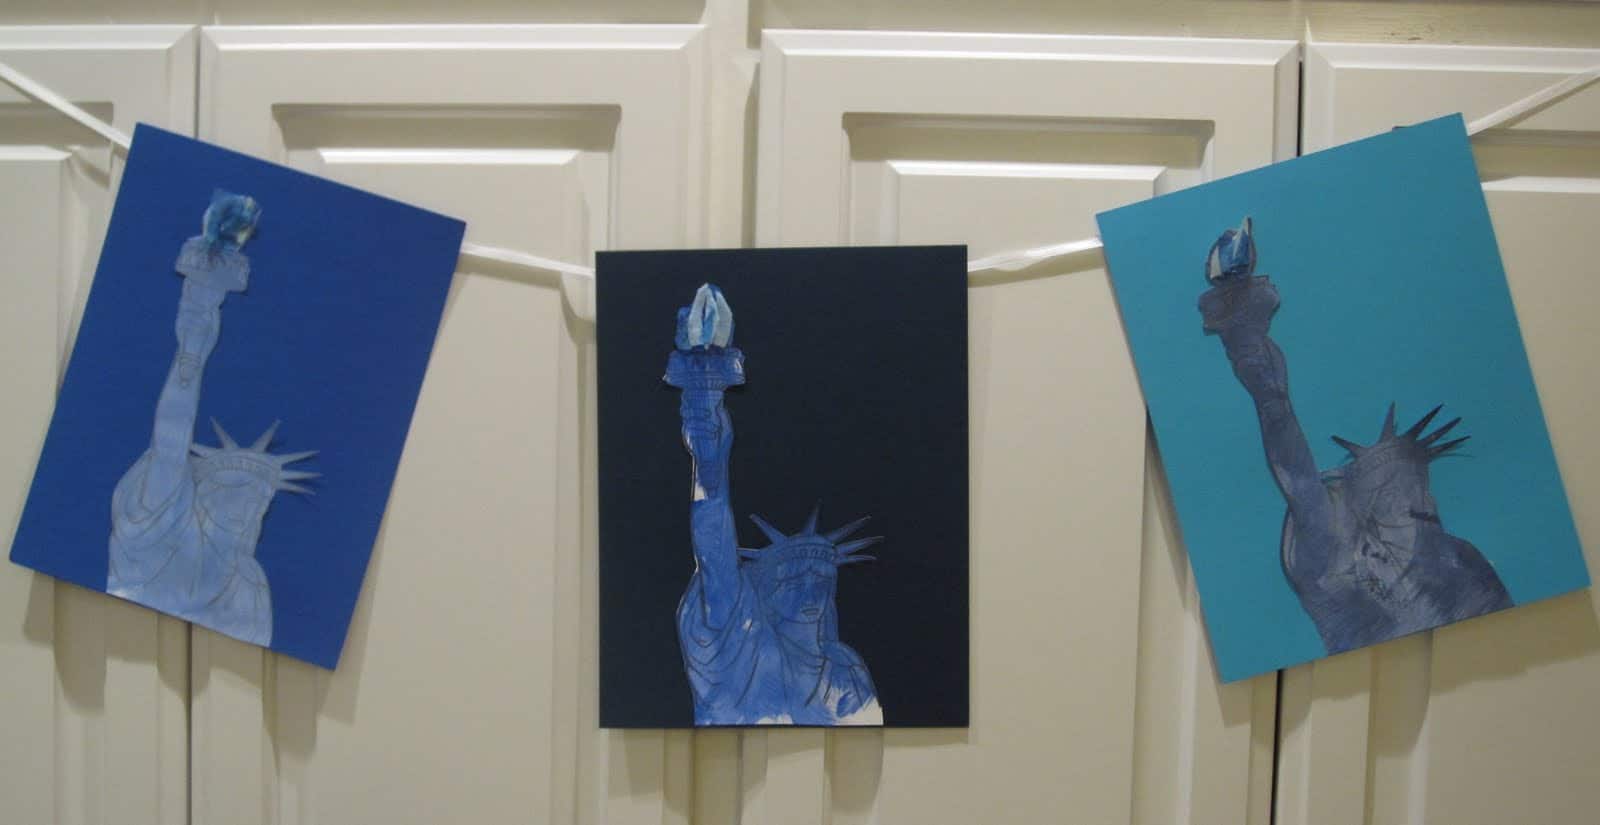
We decided to make a banner to hang at our house to show our support for Light it Up Blue. I love how the Empire State Building is going to be decked out in blue lights on April 1st to help raise awareness for autism... and I think it would be awesome if the White House and Statue of Liberty were participating too 🙂
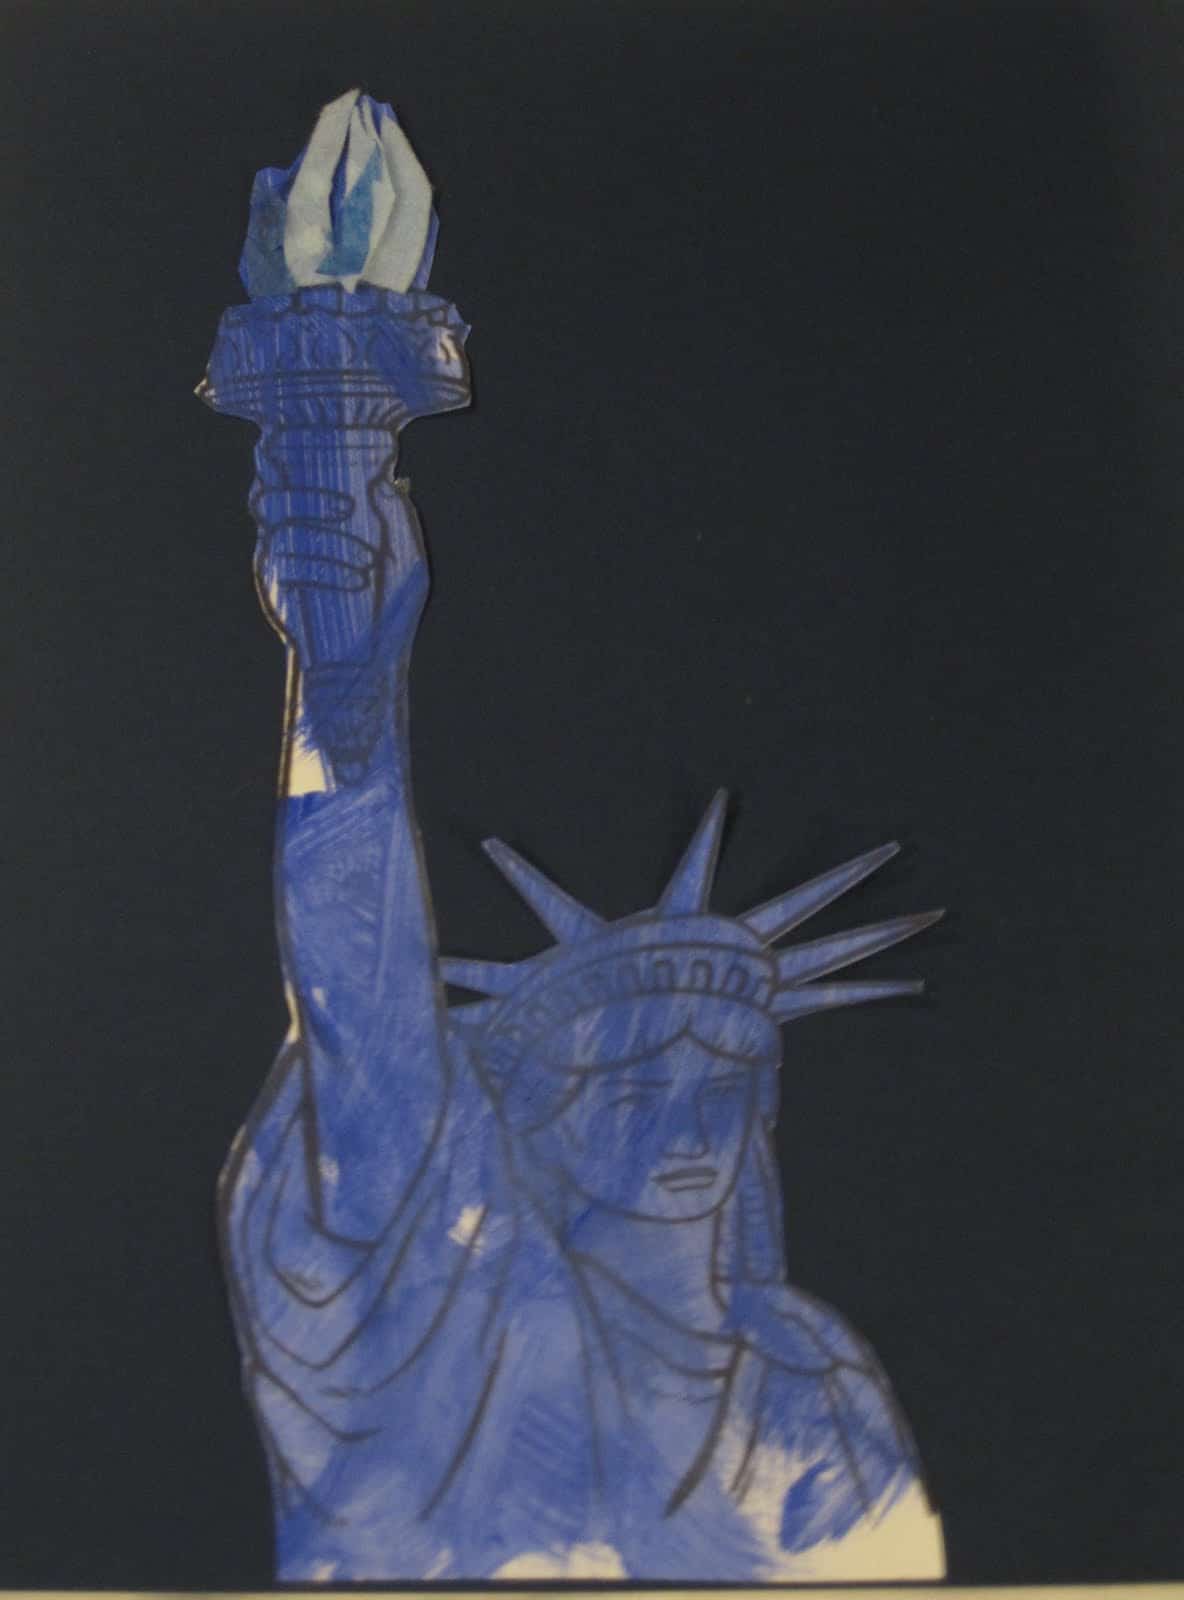
Wouldn't it be amazing to see the Statue of Liberty burning a blue torch? We think so... so that idea inspired this quick project that we did this afternoon. I think it looks beautiful and it was a fun cooperative project with my son- he painted, mixed, and glued and I cut and taped. 🙂
We also learned about shades and tints of blue along the way. This could easily be adapted to any other color if you're teaching about color theory.
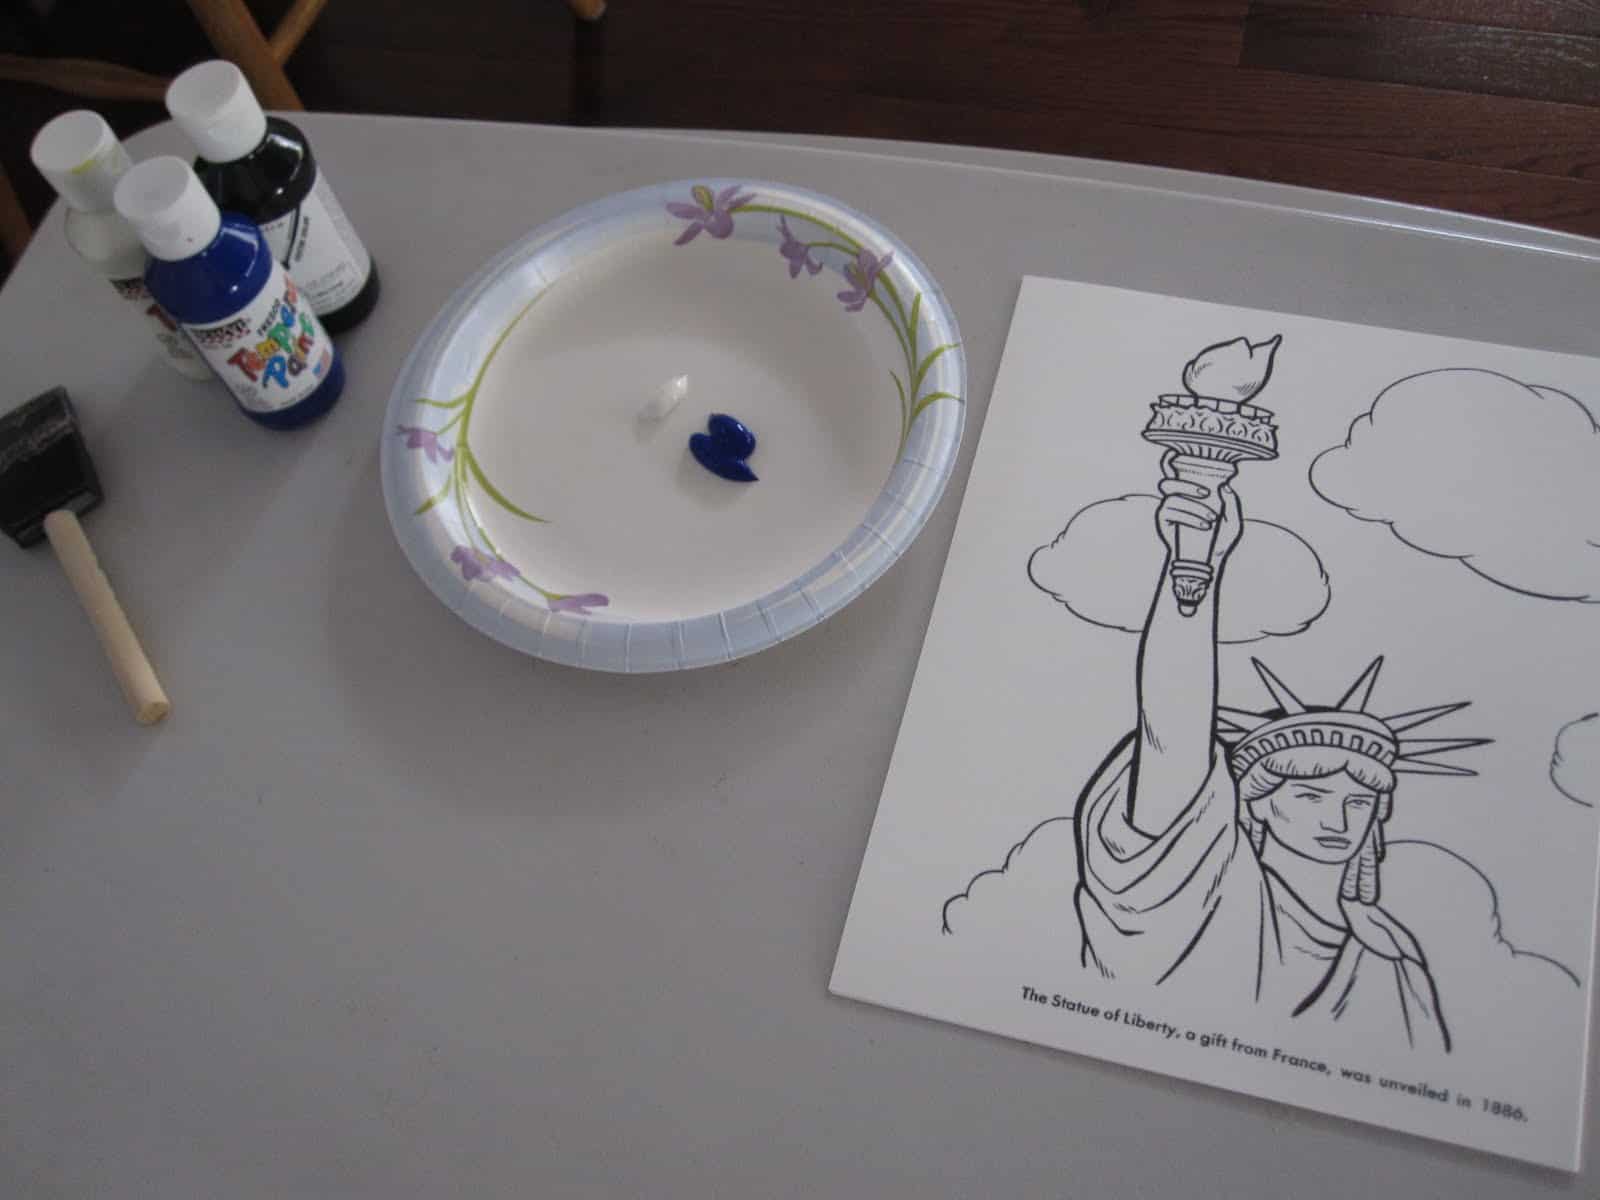
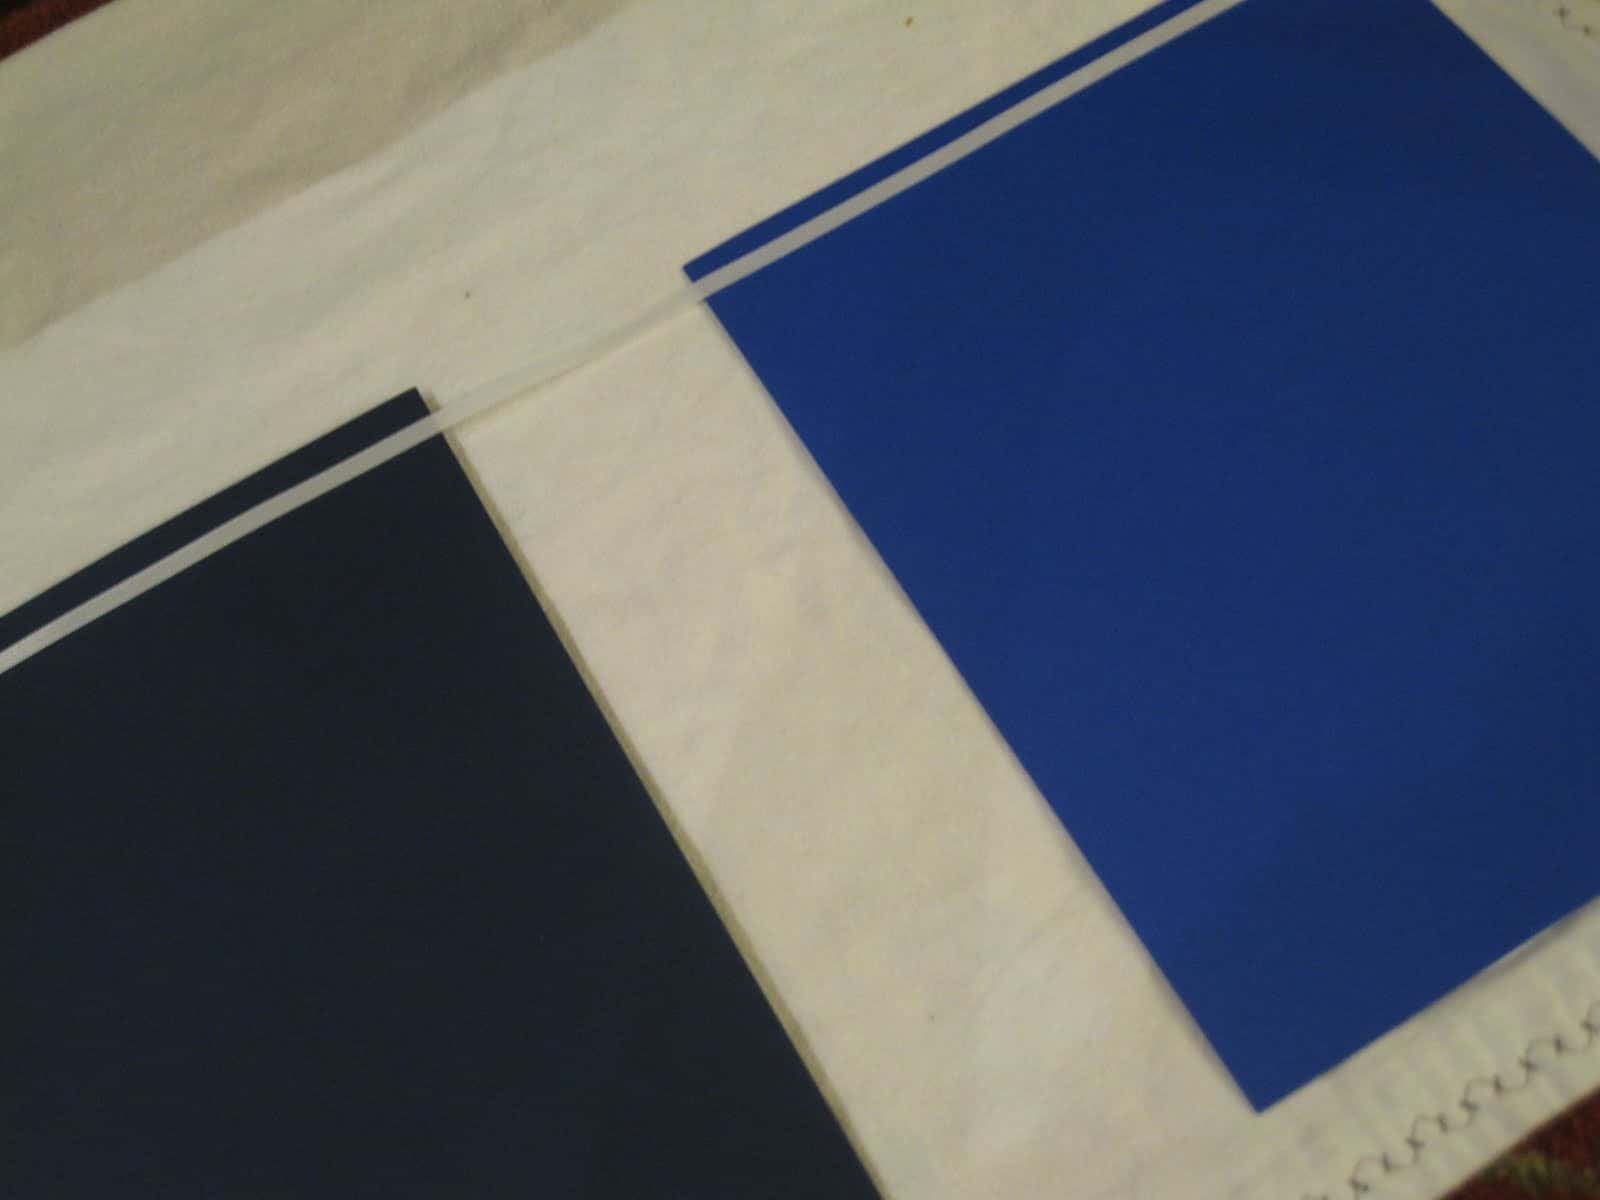
Materials Needed: tape (double and single sided), blue, white and black paint, surface to mix on (we used a paper plate), paint brush, Statue of Liberty coloring pages (3 copies- we used this one), 3 pieces of blue cardstock (3 different shades), ribbon, scissors, textured blue materials (we used blue cardstock, felt, and tissue paper), Elmers glue.
Directions:
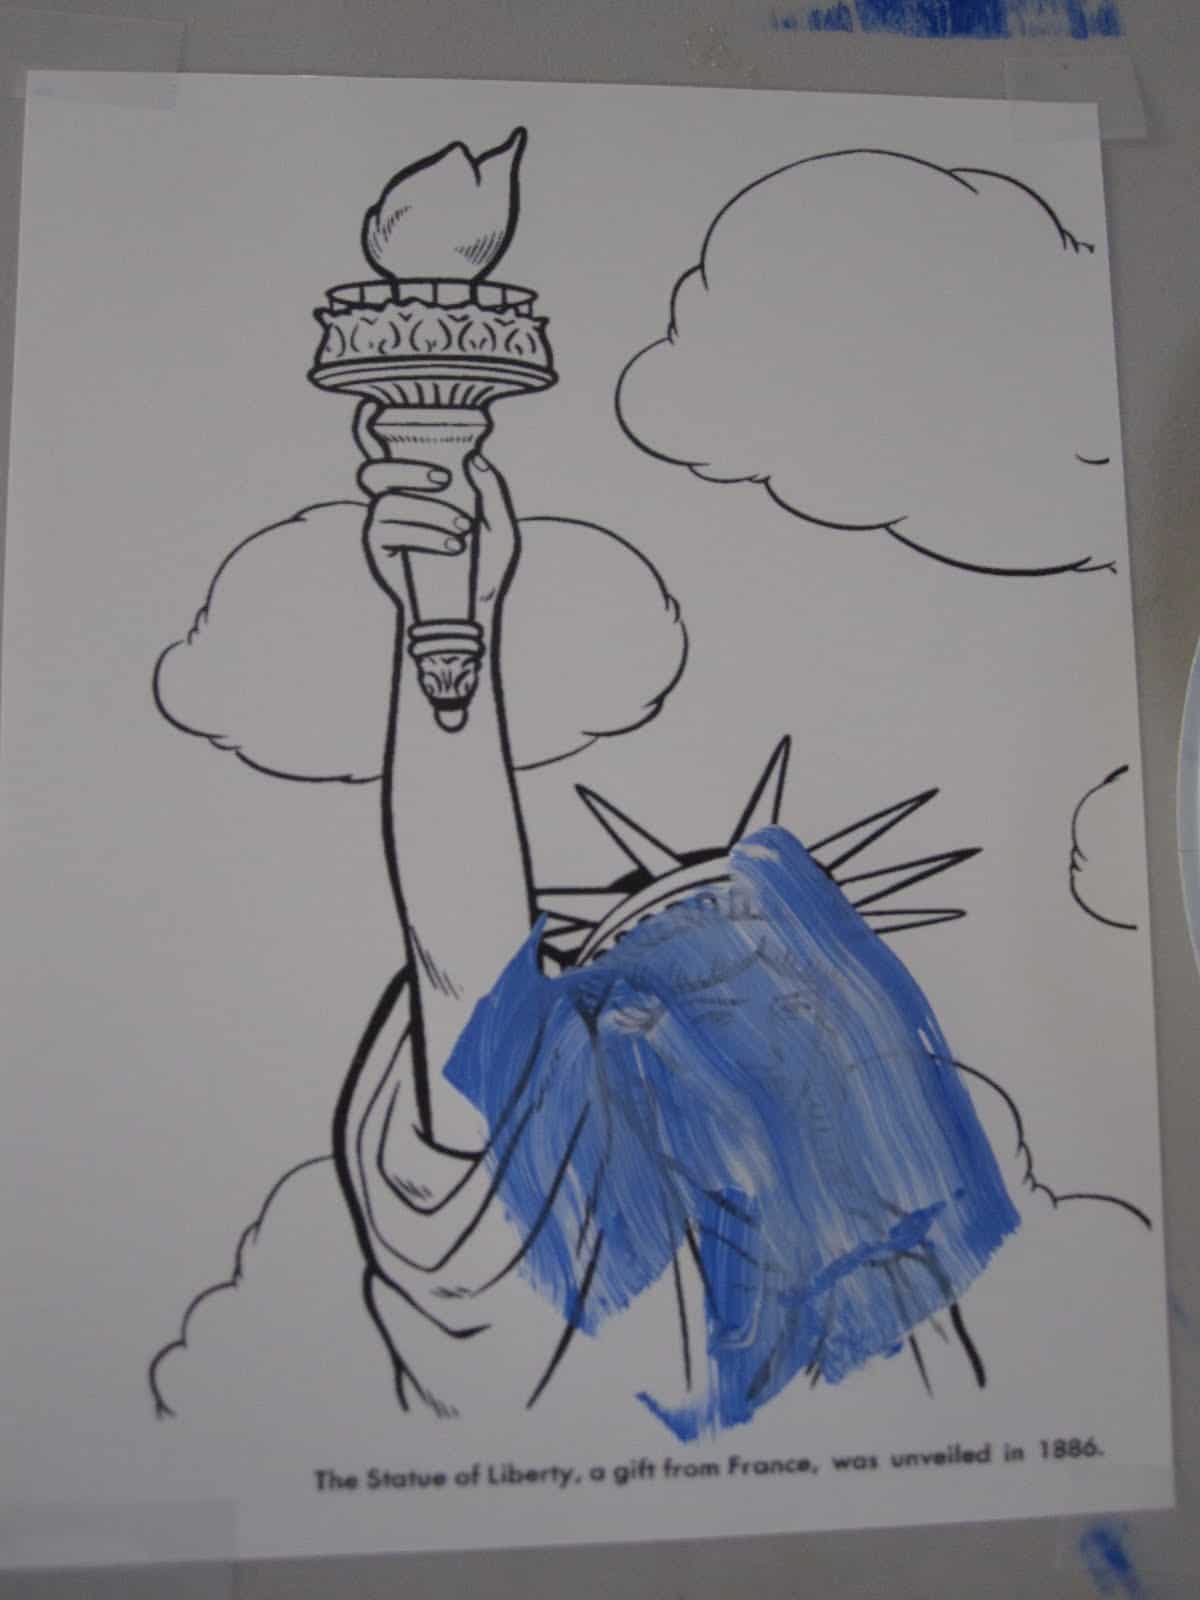
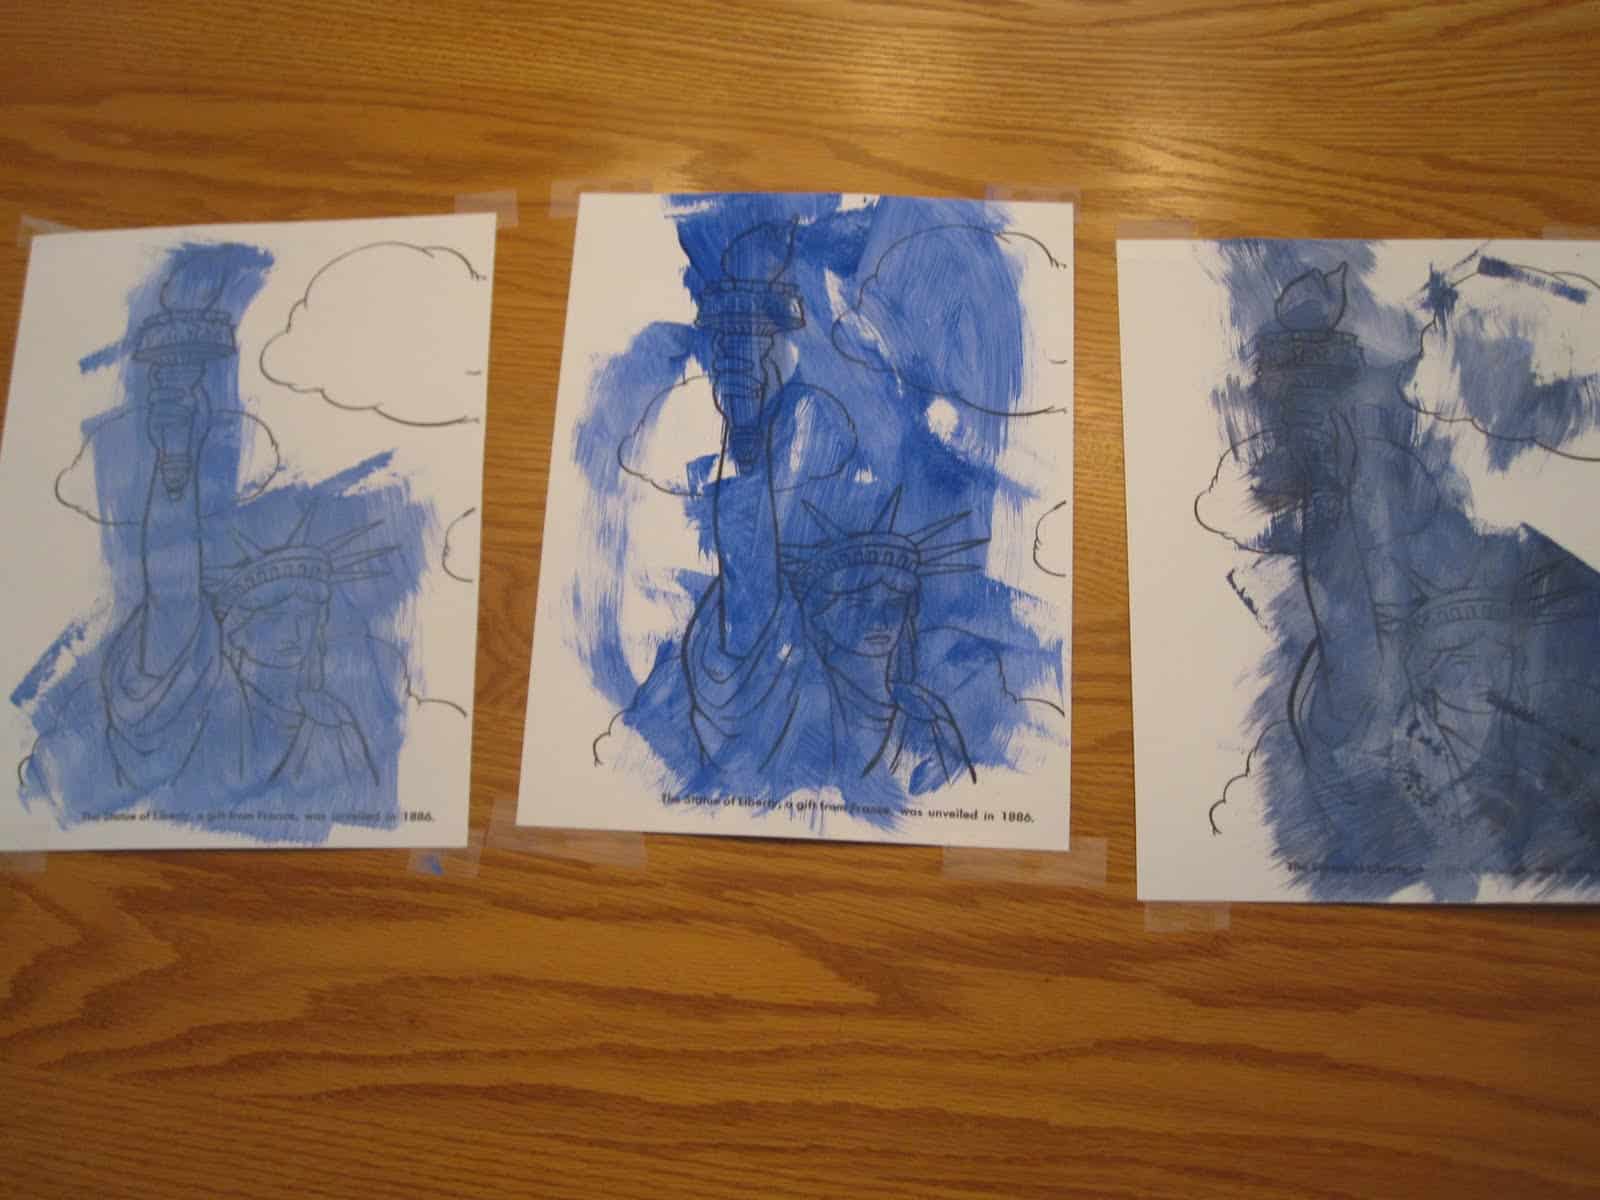
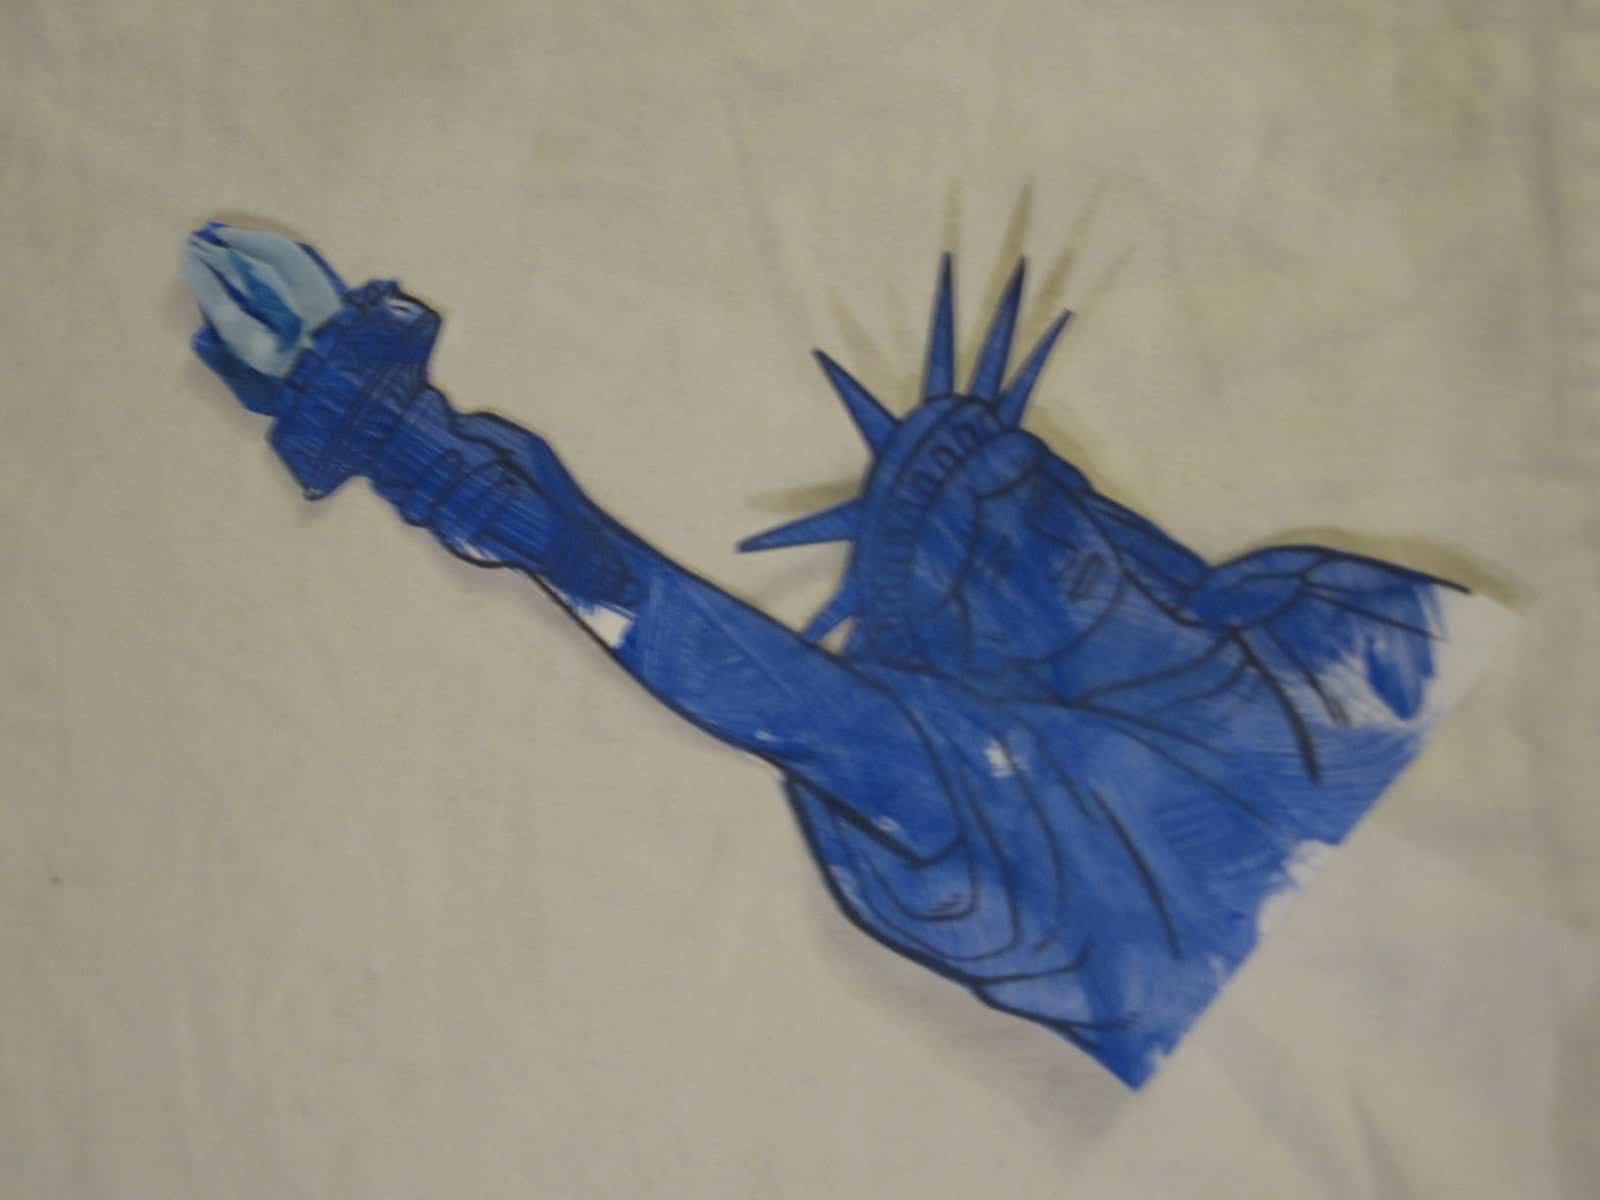
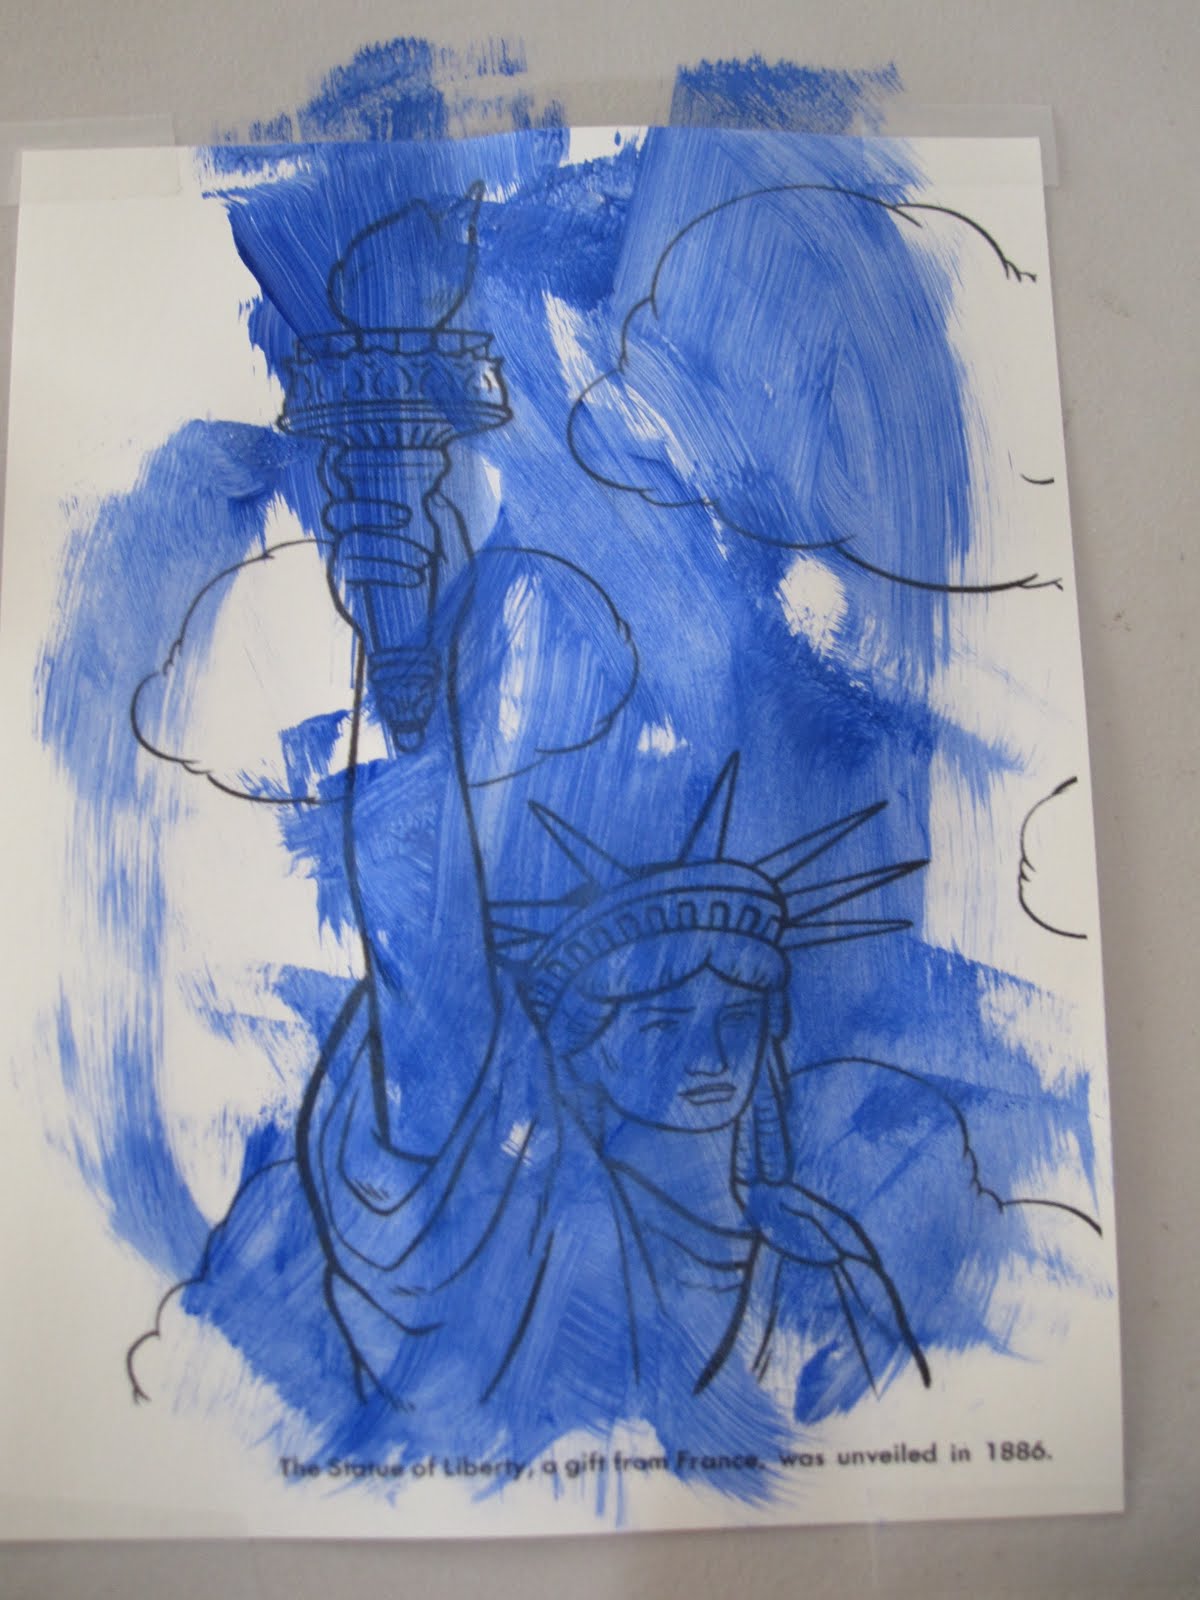
1. Paint one Statue of Liberty coloring page blue without mixing any colors.
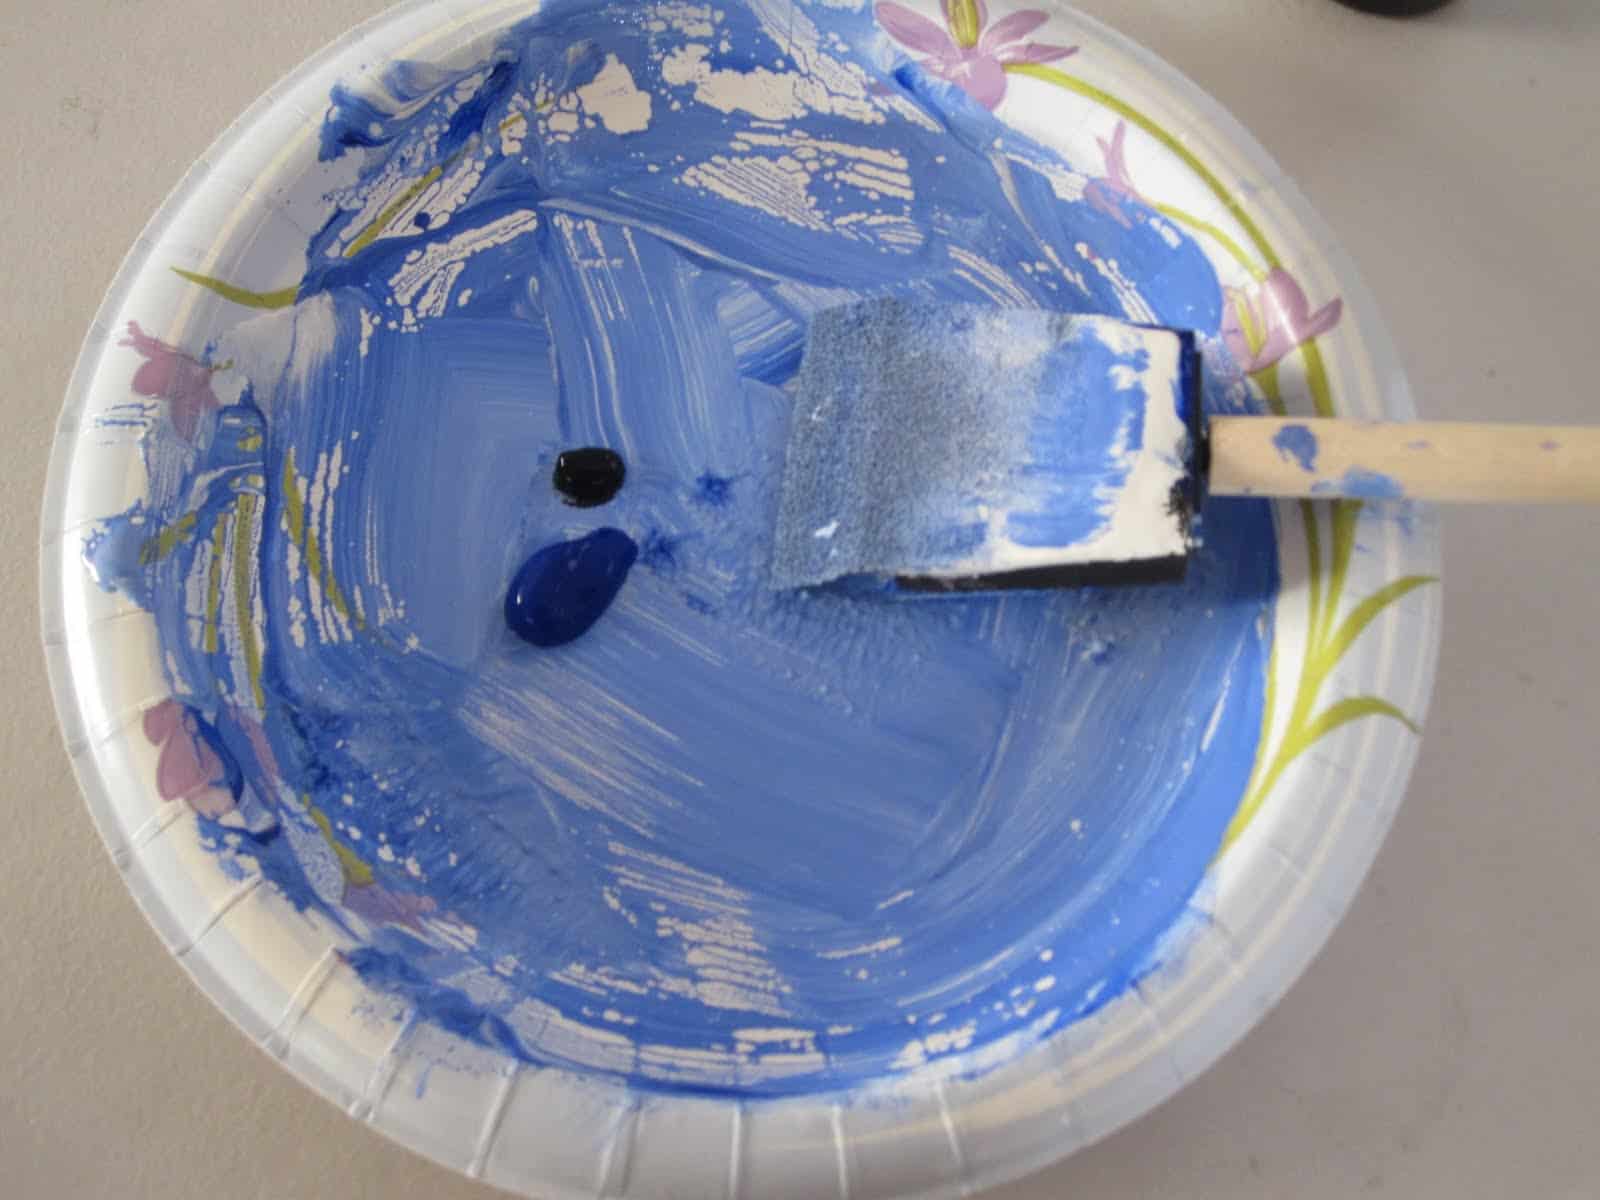
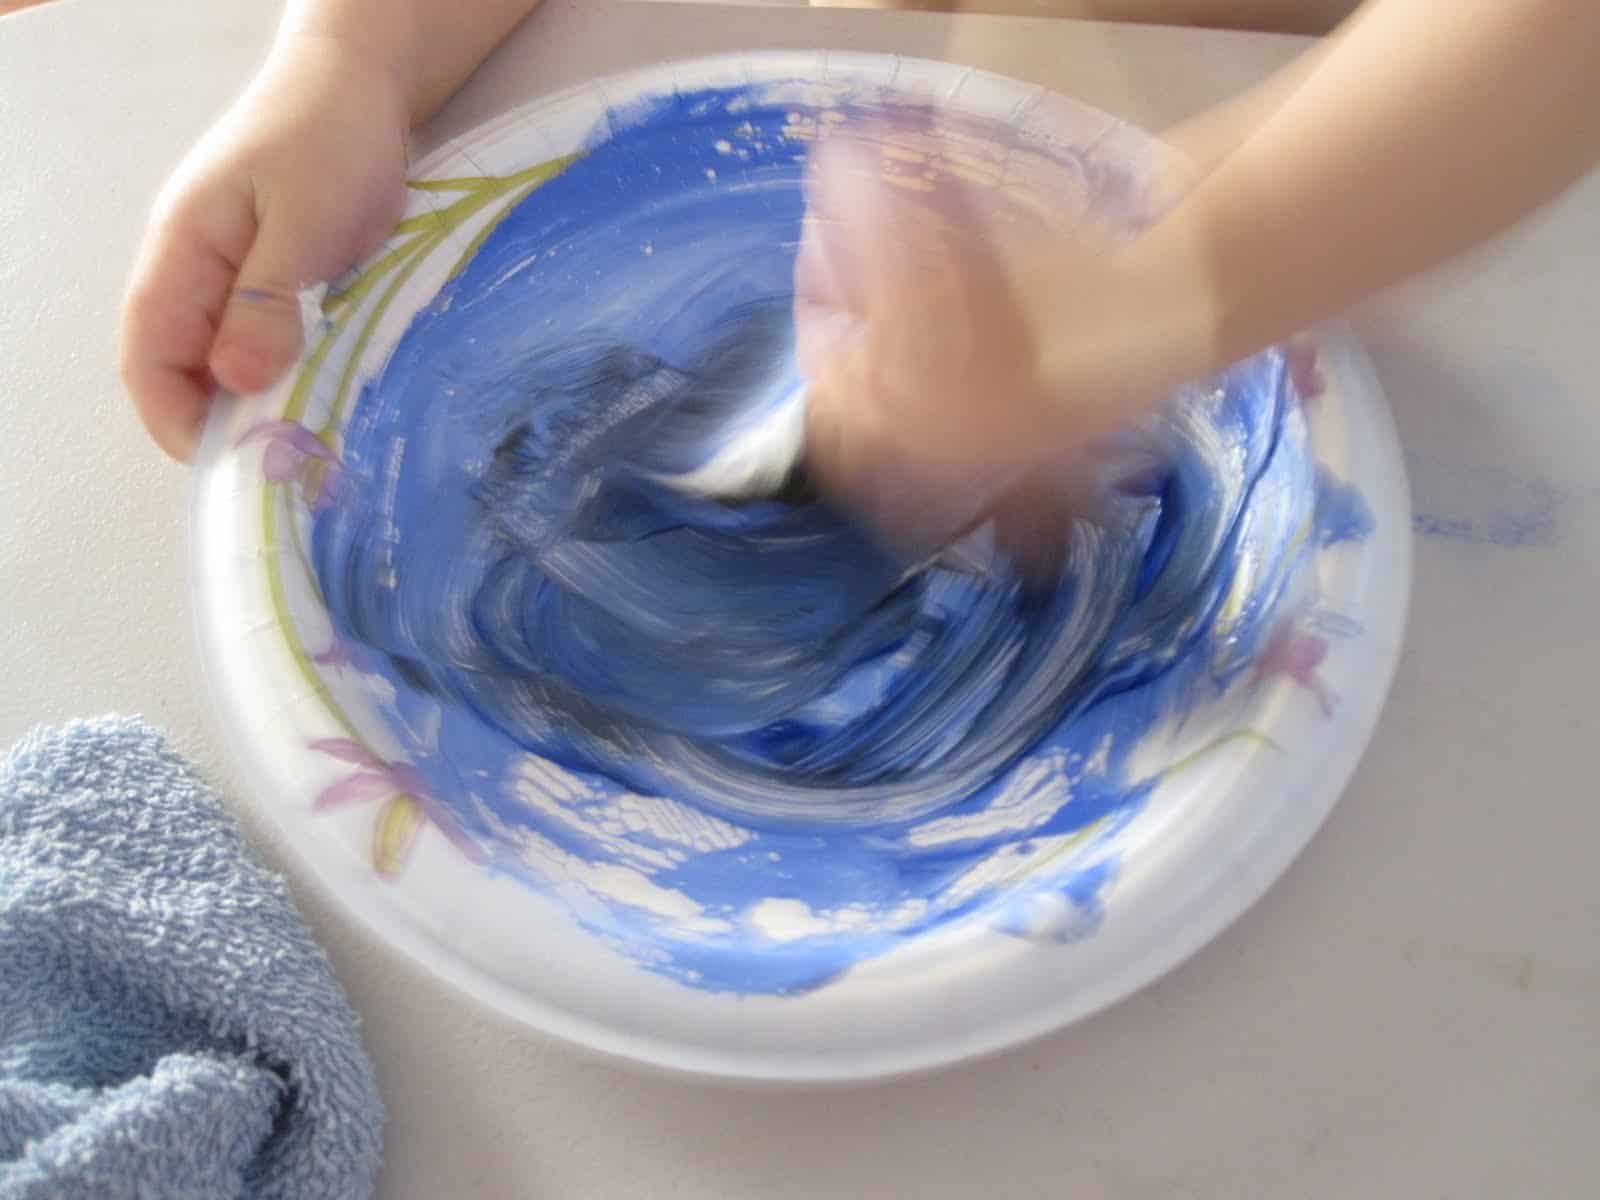
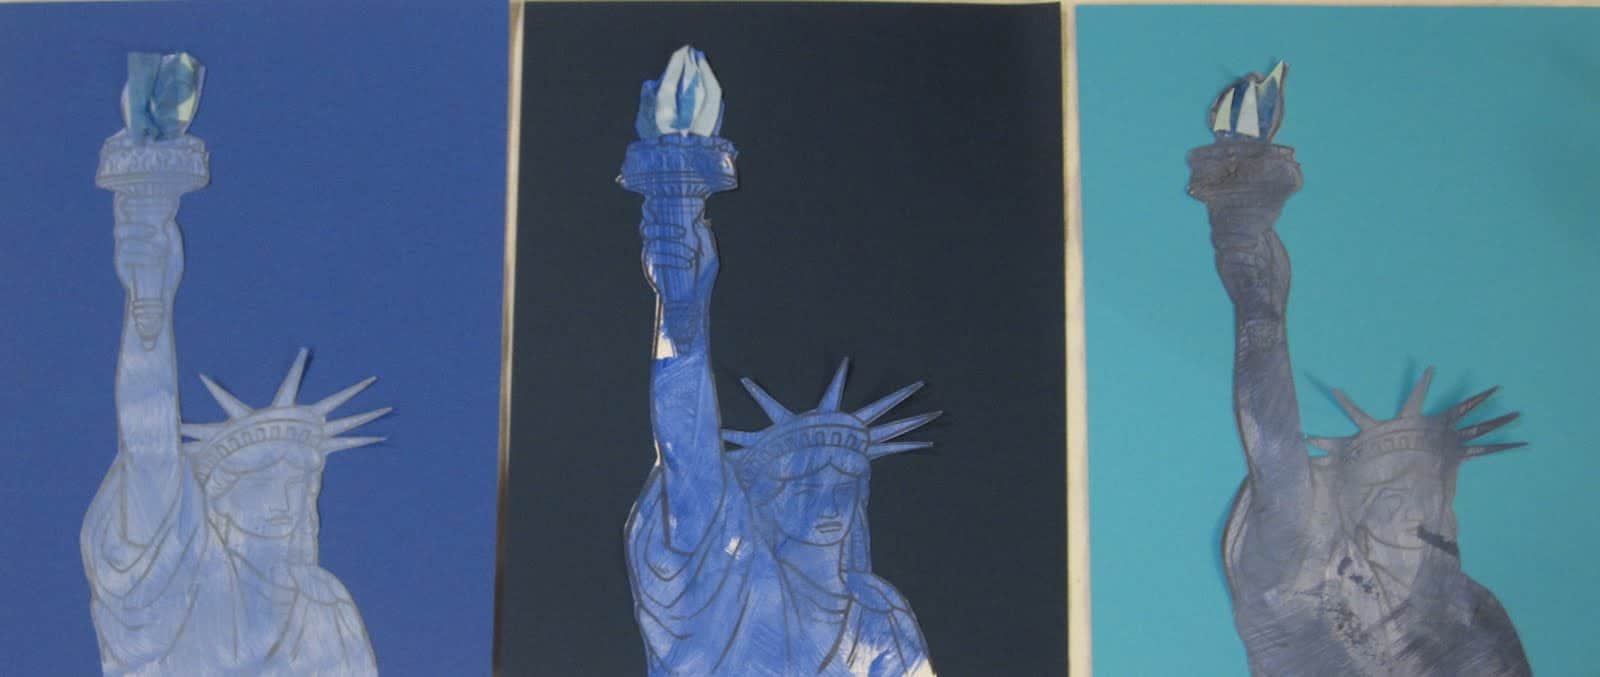
2. Next, add some white to the blue and mix it around to make a blue tint (color mixed with white to make it lighter).
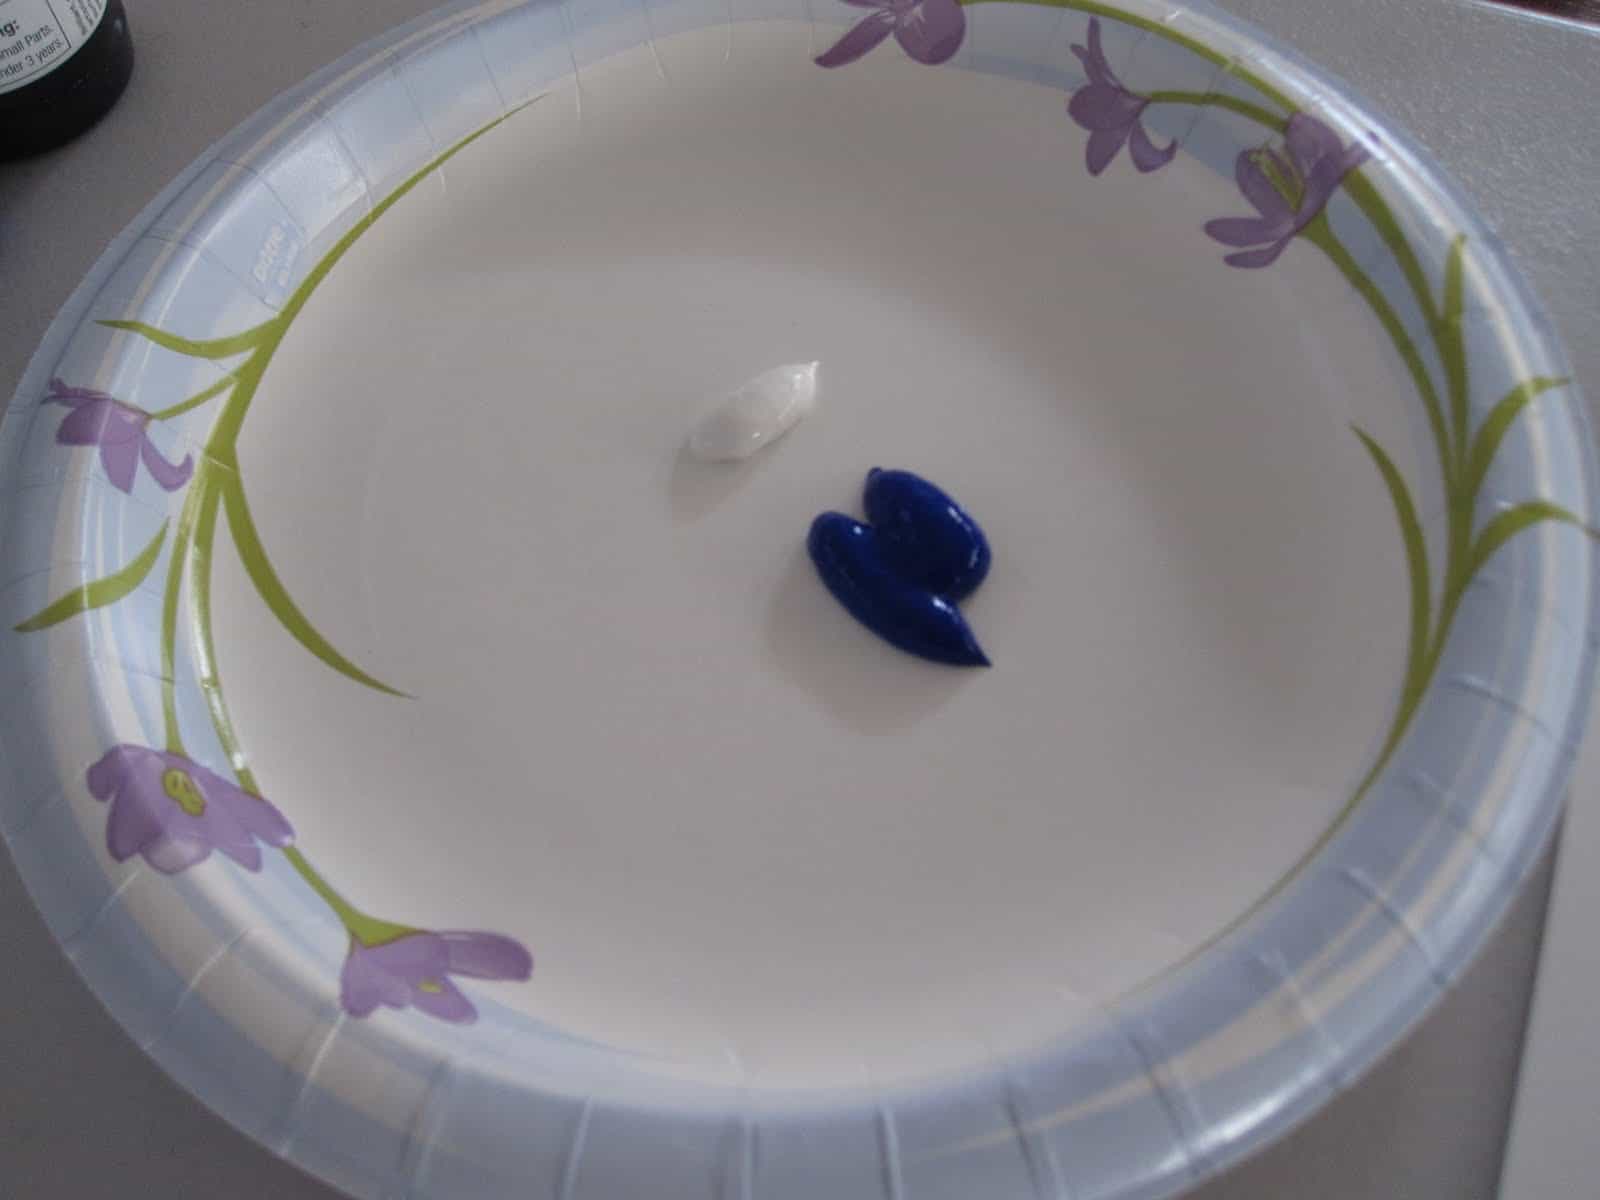
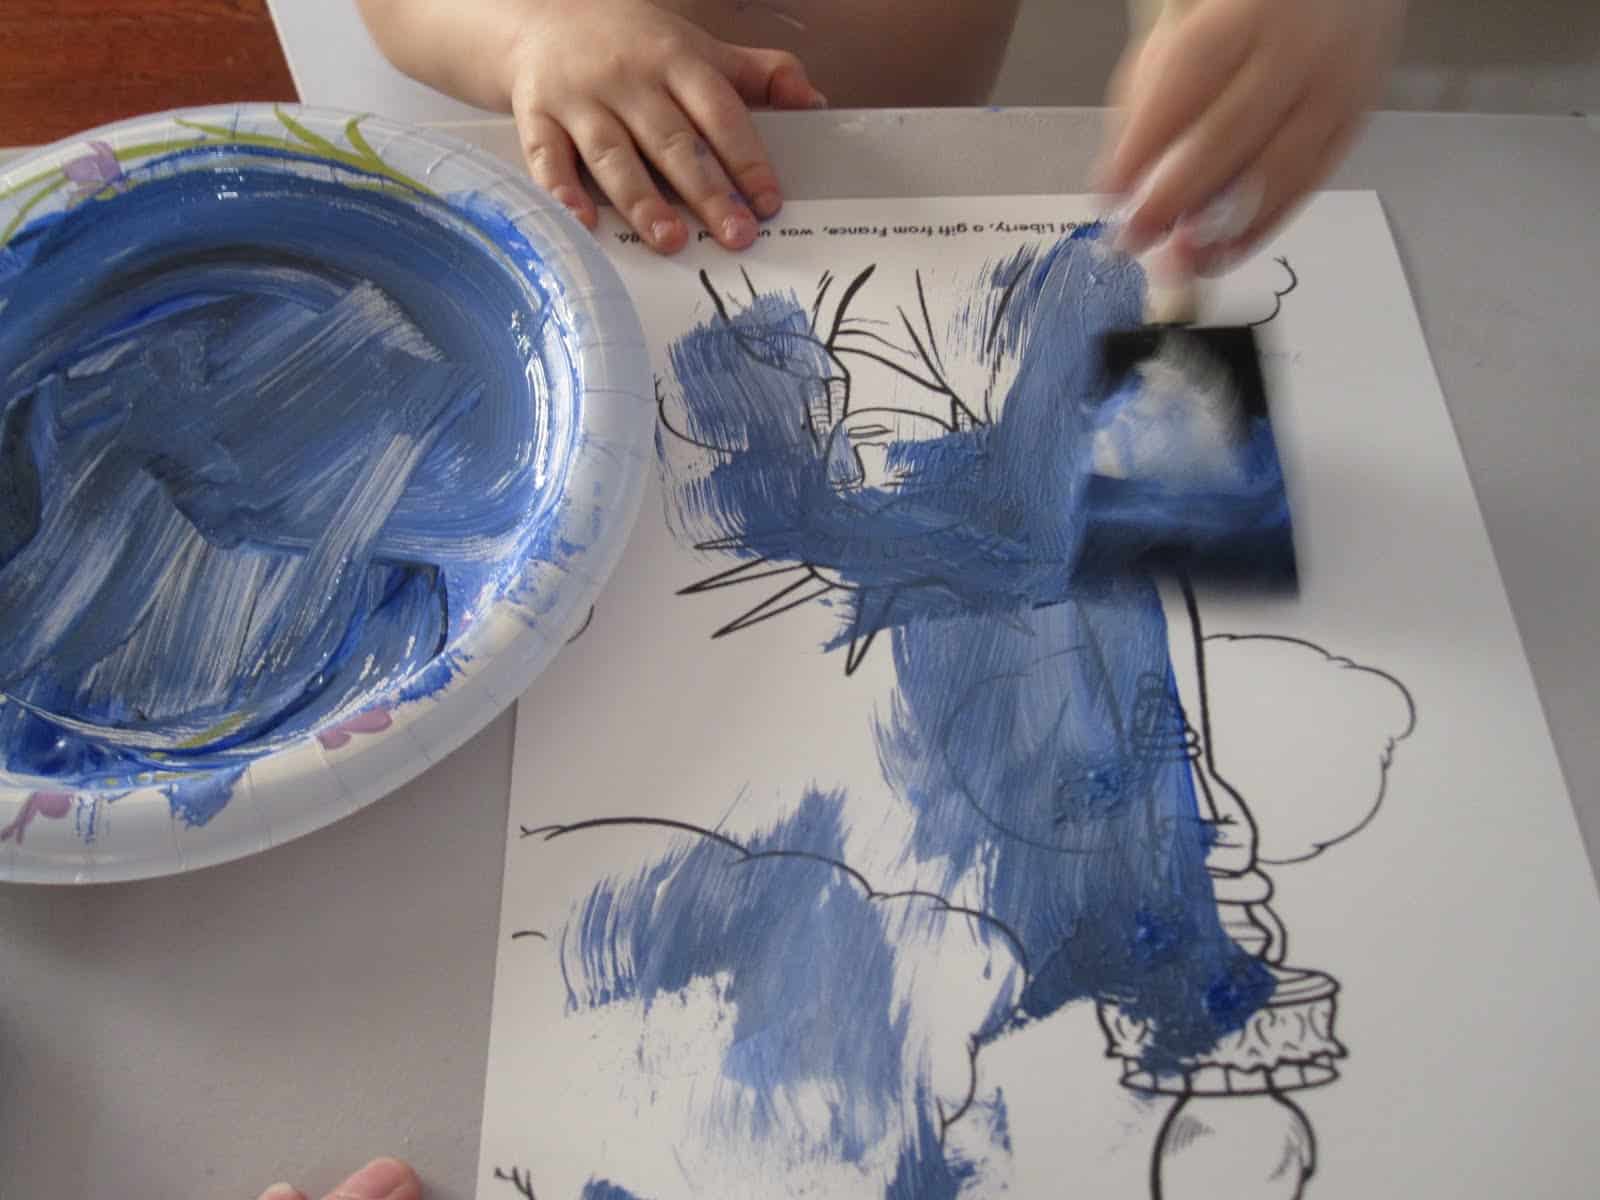
3. Paint another Lady Liberty with the light blue.
4. Add some black to your blue (to make it a really good shade we should've used a new paper plate and new paint... but we were lazy). The black/blue combo will create a new shade of blue. A shade is the mixture of a color with black to reduce the lightness.
5. Paint your last Lady Liberty.
6. Let them dry.
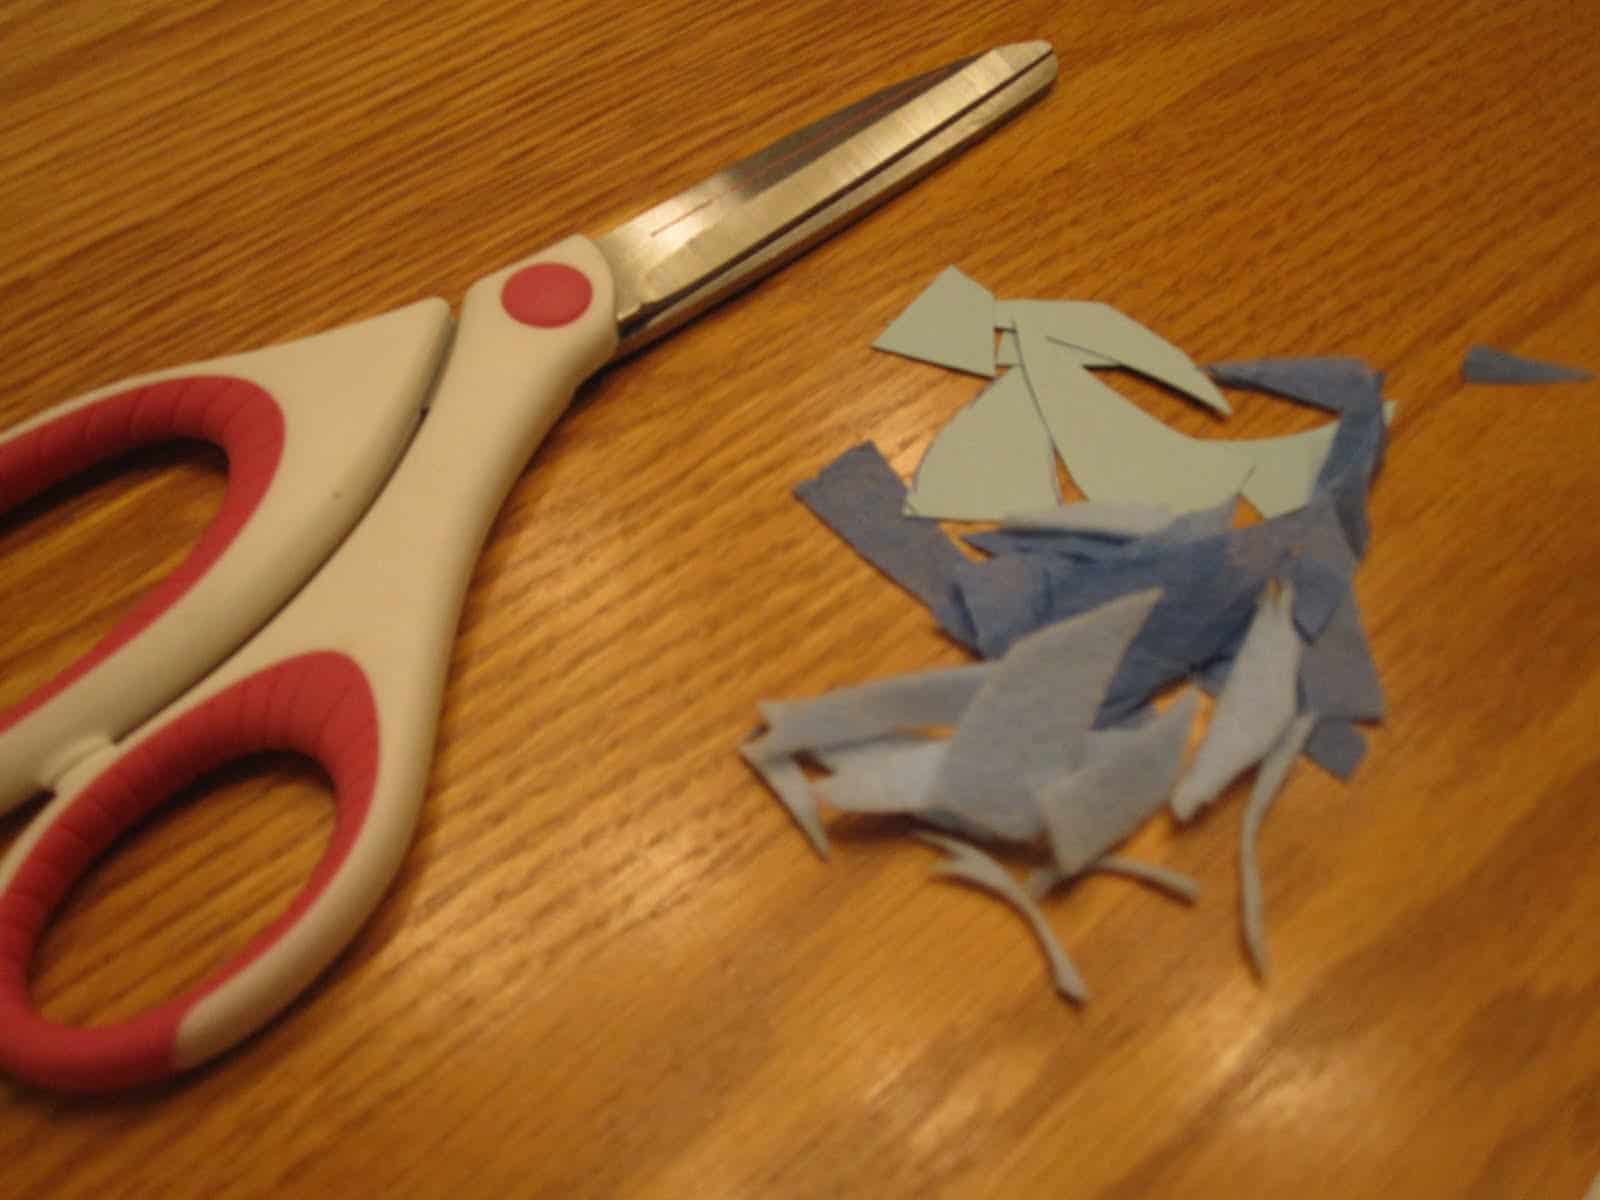
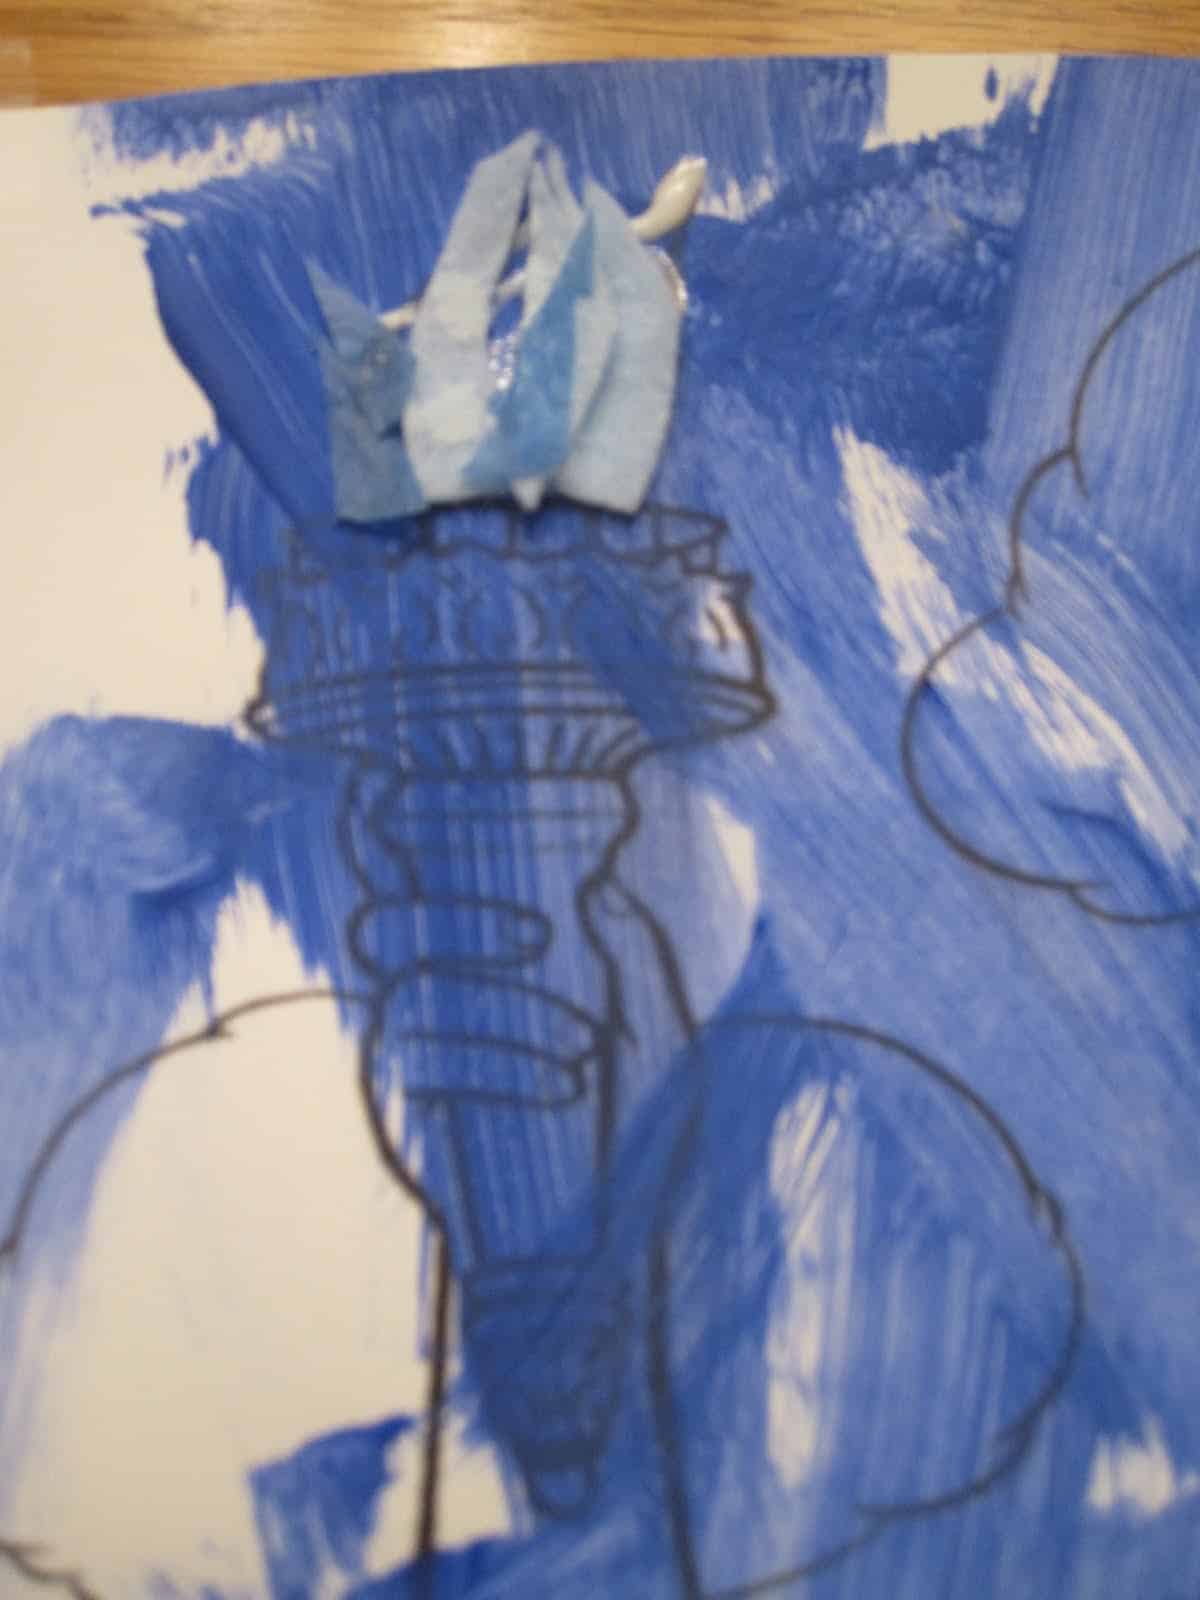
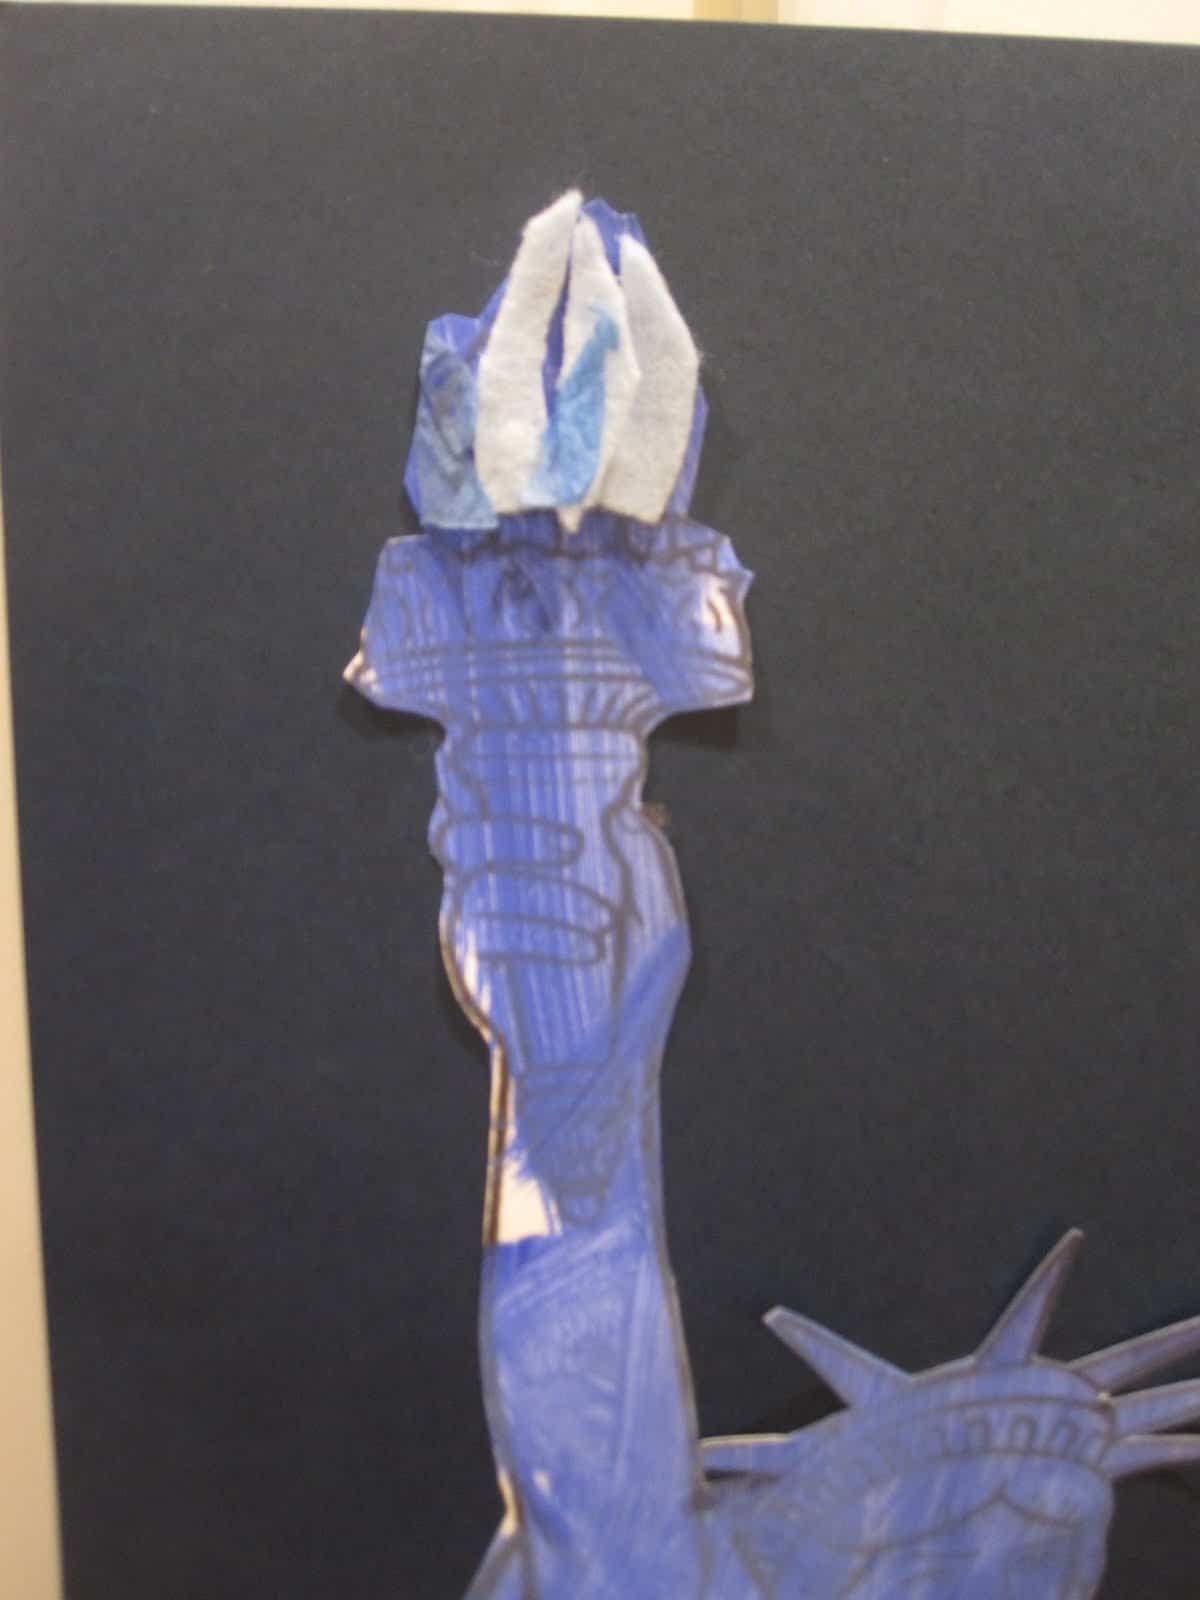
7. Cut out some textured blue materials into little pieces. These will be used to make your blue flame.
8. Add some glue to your torch.
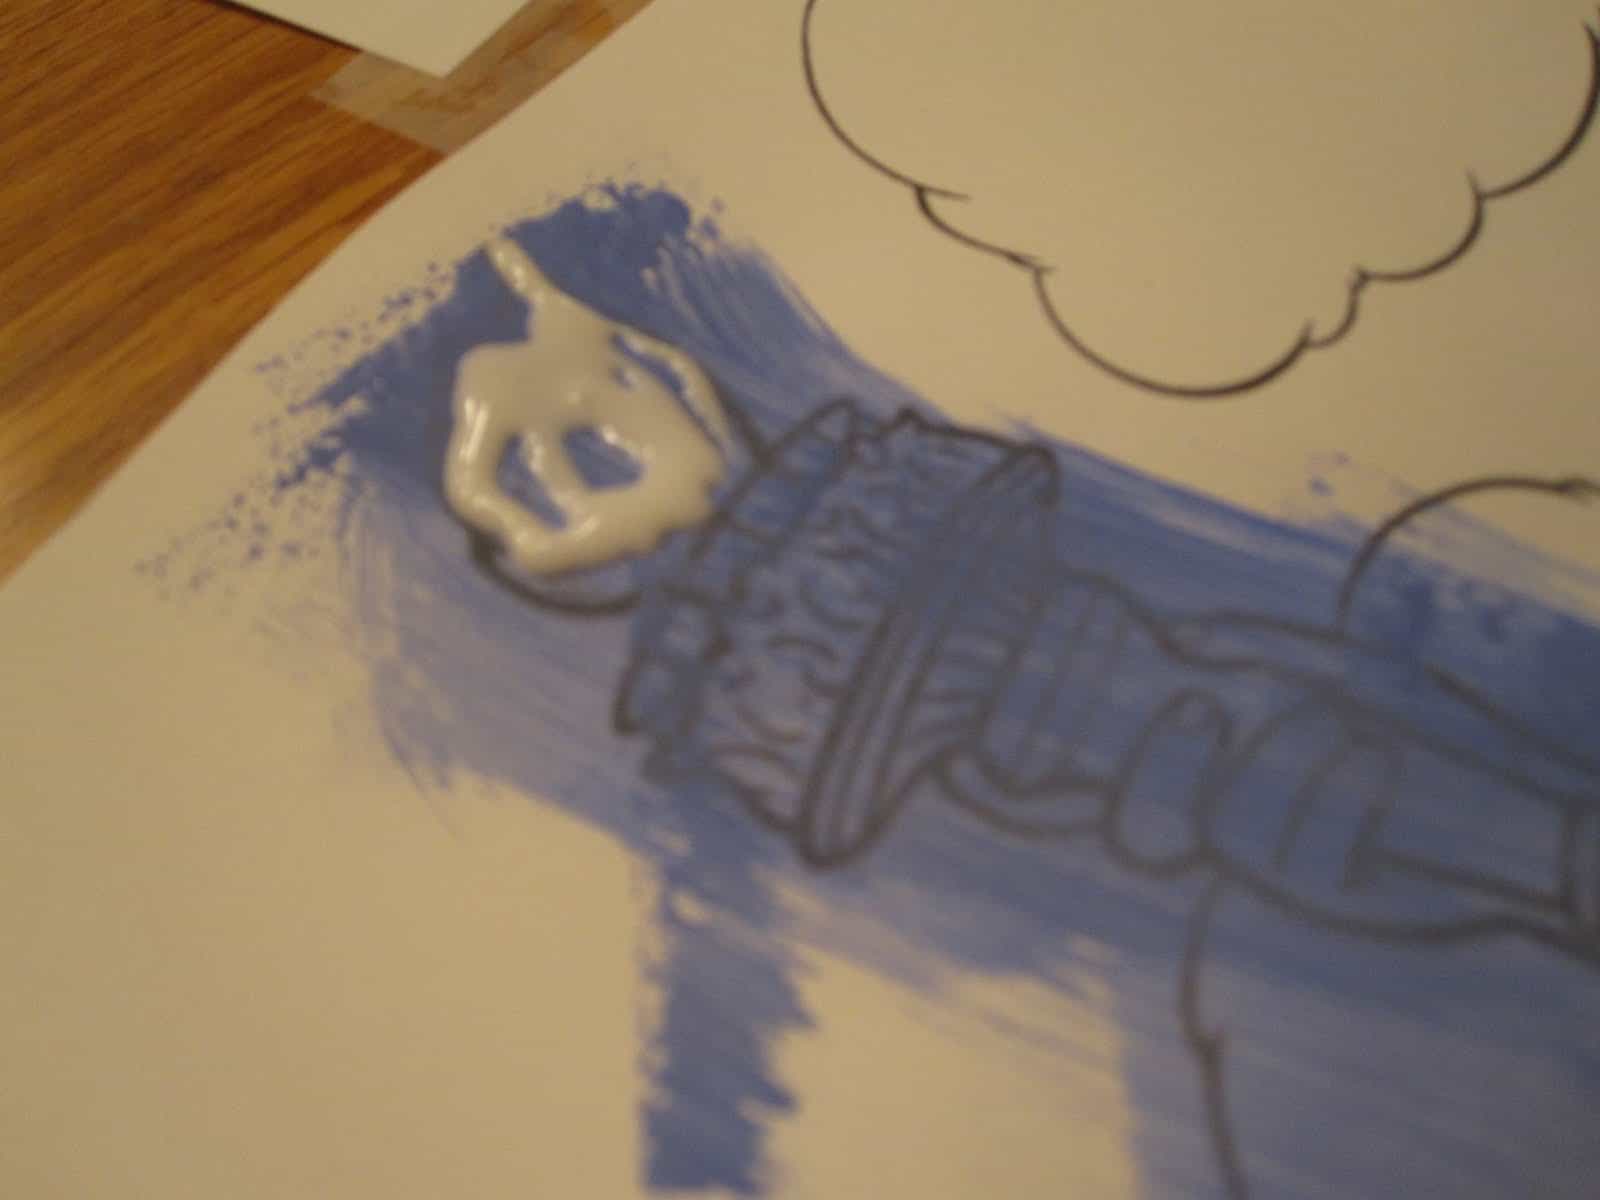
9. Stick the little textured pieces onto the glue. Feel free to layer them!
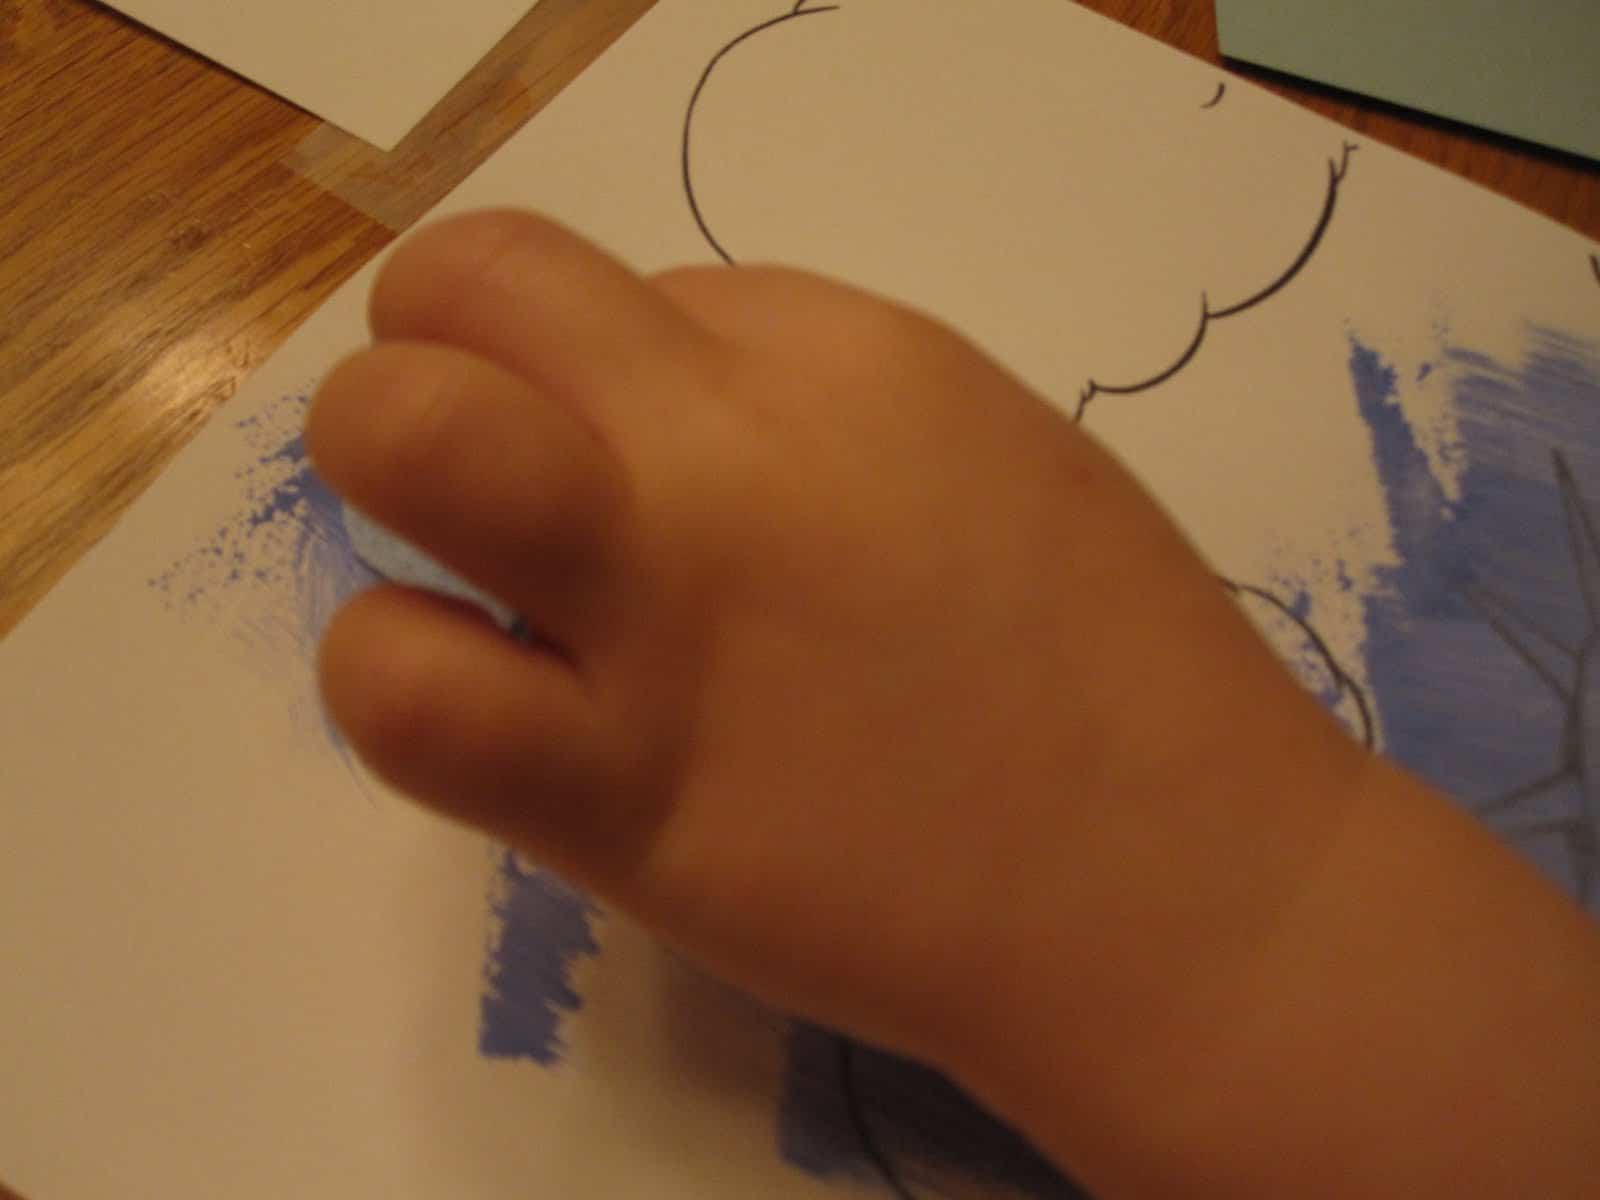
10. Let them dry while you talk about the different textures you've felt and colors you've used/made.
11. Cut around the colorings once they are dry.
12. Stick each image to a piece of blue cardstock with tape or glue. I love double stick tape for activities like this because it is quick to use and doesn't require drying time.
13. Admire your images. Talk about the different blues- which ones are tints, which ones are shades... talk about what the colors remind you of...
14. Take a long piece of ribbon and tape it to the back of your images.
15. Hang it up and enjoy!
Along with this activity I introduced the book Ian's Walk: A Story About Autism by Laurie Lears to my son.
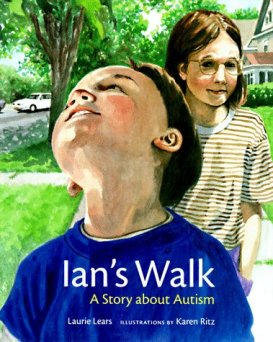
I have used this book many times as I have led disability awareness events in elementary school classrooms. It definitely does not portray the many facets of autism and the spectrum of the disorder, but it is a great place to start. For my son, our time reading the story was mainly spent talking about the basic story line and about loving our siblings and differences in our friends. I know over the years as he grows, our conversations while reading this book will change. I plan to make sure he understands about autism and hopefully will be able to teach him to help, serve, love, and learn from individuals with autism. I never want him to be one of those people that doesn't understand, that judges or makes fun or avoids any individuals with disabilities.
I don't think it will be an easy task, since it is hard to reach out to those who are different from us or sometimes uncomfortable for some to interact with people with disabilities... but if we teach kids from the beginning to reach out and befriend everyone despite their differences, then we can hope that eventually we will create a world that is more aware, inclusive, and understanding of individuals with disabilities... and really everyone, right?


Leave a Comment