Last week we welcomed baby Ryan into our family. While I am enjoying snuggling with him and spending time with my other two kids, I have some special guest bloggers scheduled to share some great posts with you! Today I am excited to introduce you to Becky at This Reading Mama! She is sharing a fabulous Thanksgiving writing activity with us. Welcome Becky!
There's something about Thanksgiving that makes me feel simply warm inside. The smells. The food. The family. Counting our blessings; one by one. Or maybe it's that Thanksgiving is more about the presence of family and less about the presents for self. Either way, I have such fond memories as a child of my mother at Thanksgiving time: pulling out the fine china, dusting it off, and serving the family. Yum!
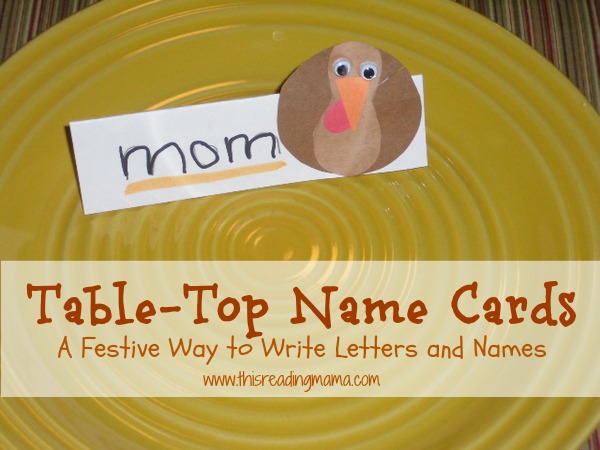
Now, I do have a full set of fine china...in my cabinet. It probably has over 4 inches of dust. 😉 With four young children, I'm not quite ready to pull it out for Thanksgiving. But, I can be "fancy" in my own way and incorporate some writing practice in the process with these Thanksgiving table-top name cards!
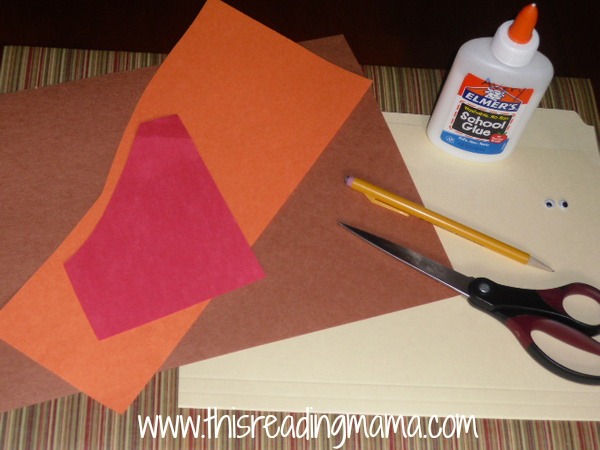
Materials Needed
- construction paper- brown, red, and orange (You only need a little bit of the red and orange. I used scraps from other art projects.)
- cardstock or a manilla folder for templates
- cardstock for name cards (my name card dimensions were 3x5, so an index card would work as well-this will be folded in half)
- glue
- googly eyes
- scissors
- pencil
- and a list of names of the people who will be eating at the table!
Assembling Your Turkey Name Cards
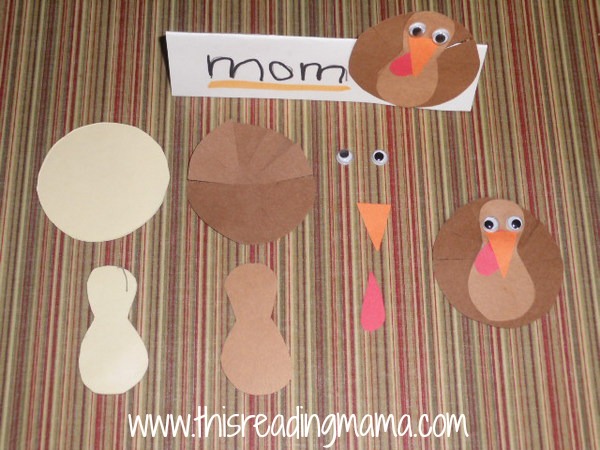
- Create and cut out the 2 body pieces of your turkey with cardstock (left-hand side on picture). Use the cardstock body pieces to trace multiple times on top of the brown construction paper. If you have an older child making these, he can trace onto the construction paper, too. For a point of reference, the size of my circle is about the size of the bottom of one of those Take & Toss cups for toddlers and preschoolers.
- Cut out all the body pieces from the brown construction paper. On the circle pieces, cut slits all around the top so they look like tail feathers.
- I just cut a small triangle for each beak (orange) and a tear-shaped piece for the wattles (red) instead of making templates with the cardstock.
- Glue the body pieces, wattle, and beak together as seen in picture above. Glue on the googly eyes.
- While the glue is drying, find your list of names and help your child write the names of the people who will be eating Thanksgiving dinner with you. (If your child is just learning to write, you may want your name cards to be larger in size to accommodate that. You could also adapt it so that you write the names in pencil and ask him to trace over it in marker. Older preschoolers may want to do it themselves. In either case, it is helpful to divide up the names, so that your child isn't writing every name on the list in one sitting.)
- Glue on the turkeys and you're finished!
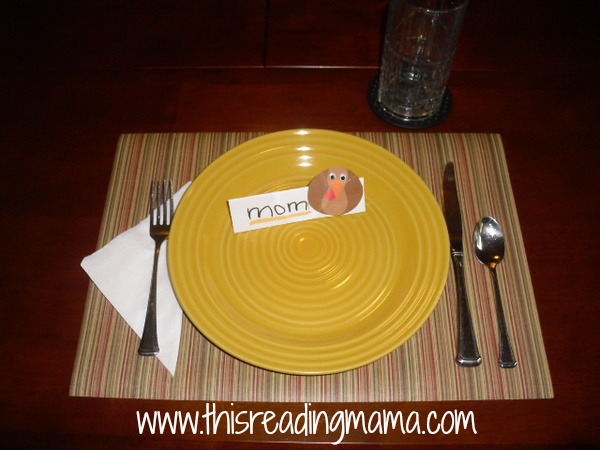
On Thanksgiving day, help your child read each name and place the name card at the appropriate seat. Count your blessings and enjoy!
* * *



Wonderful idea and teaching tool. Love it. Will pin this.
Great activity! What a fun authentic writing opportunity for kids! 🙂