
We had some free time tonight while my daughter was napping, so we decided to do a little project based on my son's favorite holiday treat- candy canes!
Materials Needed: red and white cardstock, Elmers glue, black marker, scissors, red paint, white tissue paper, and colored pom poms.
Directions:
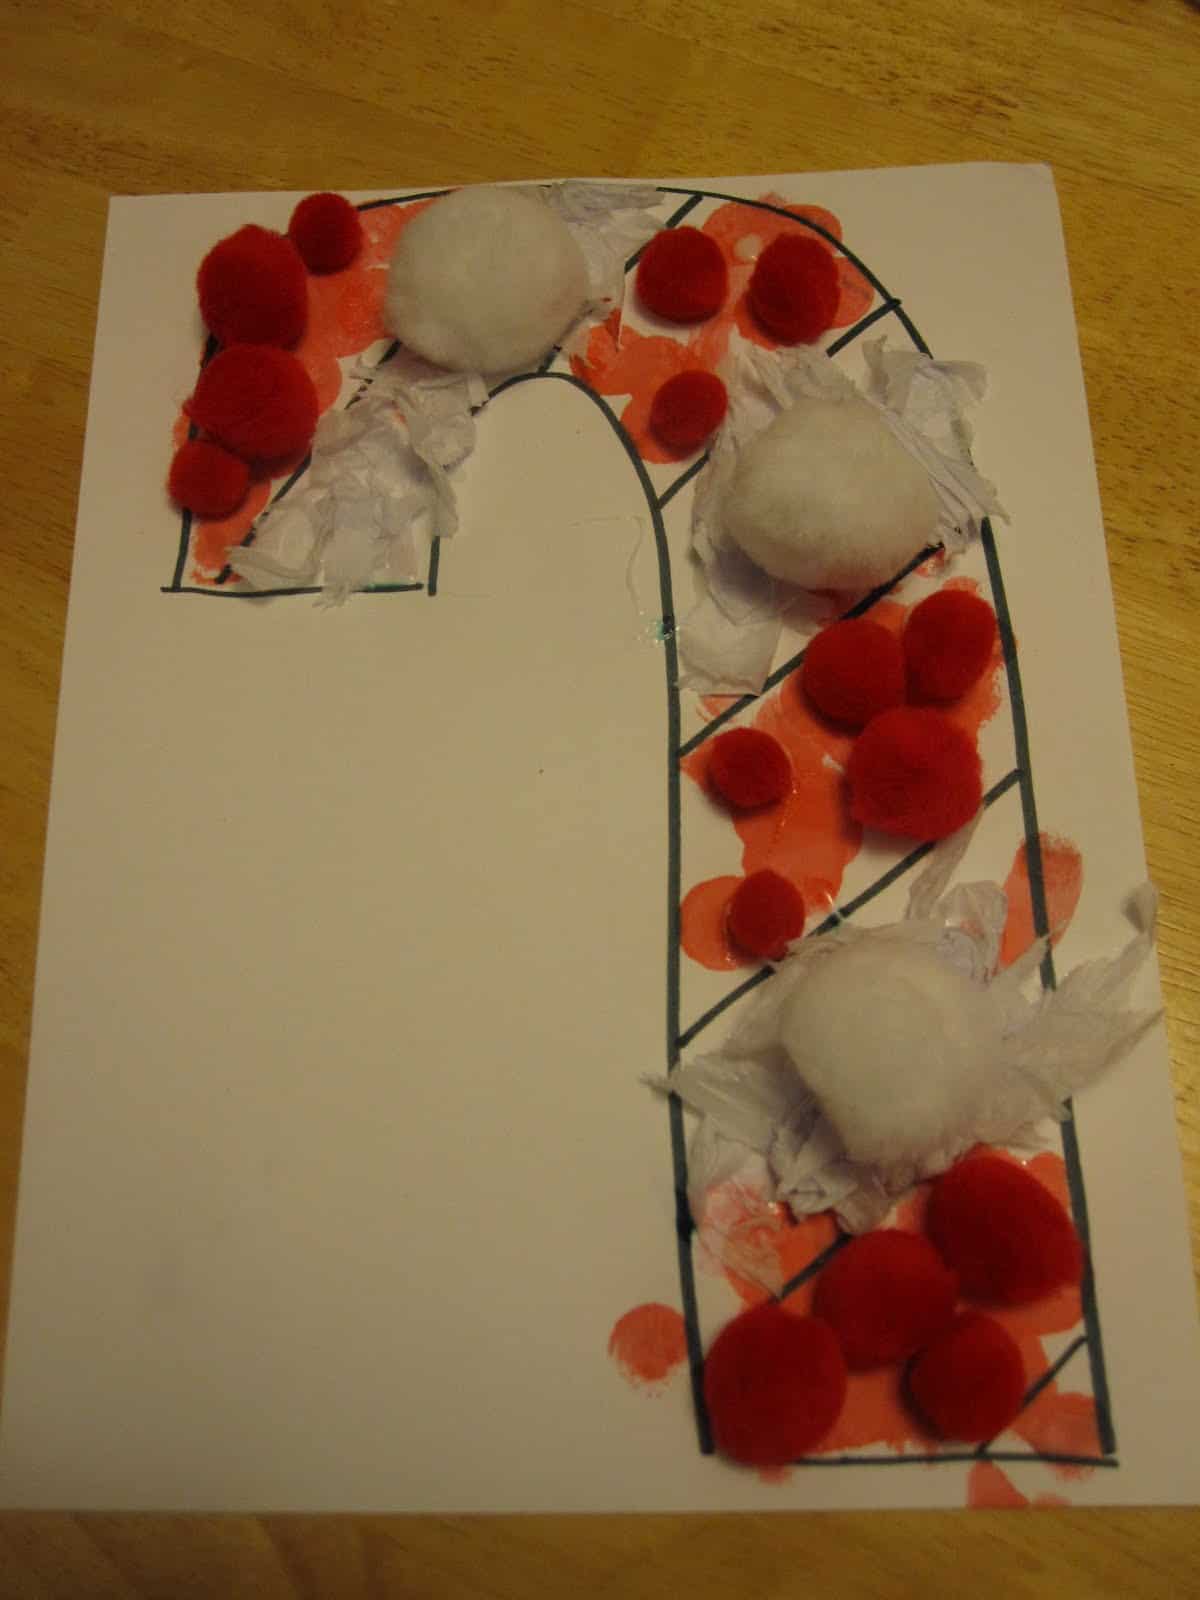
1. Draw a candy cane outline onto white cardstock.

2. Add lines for stripes.
3. Look at a real candy cane and talk about the patterns you see.
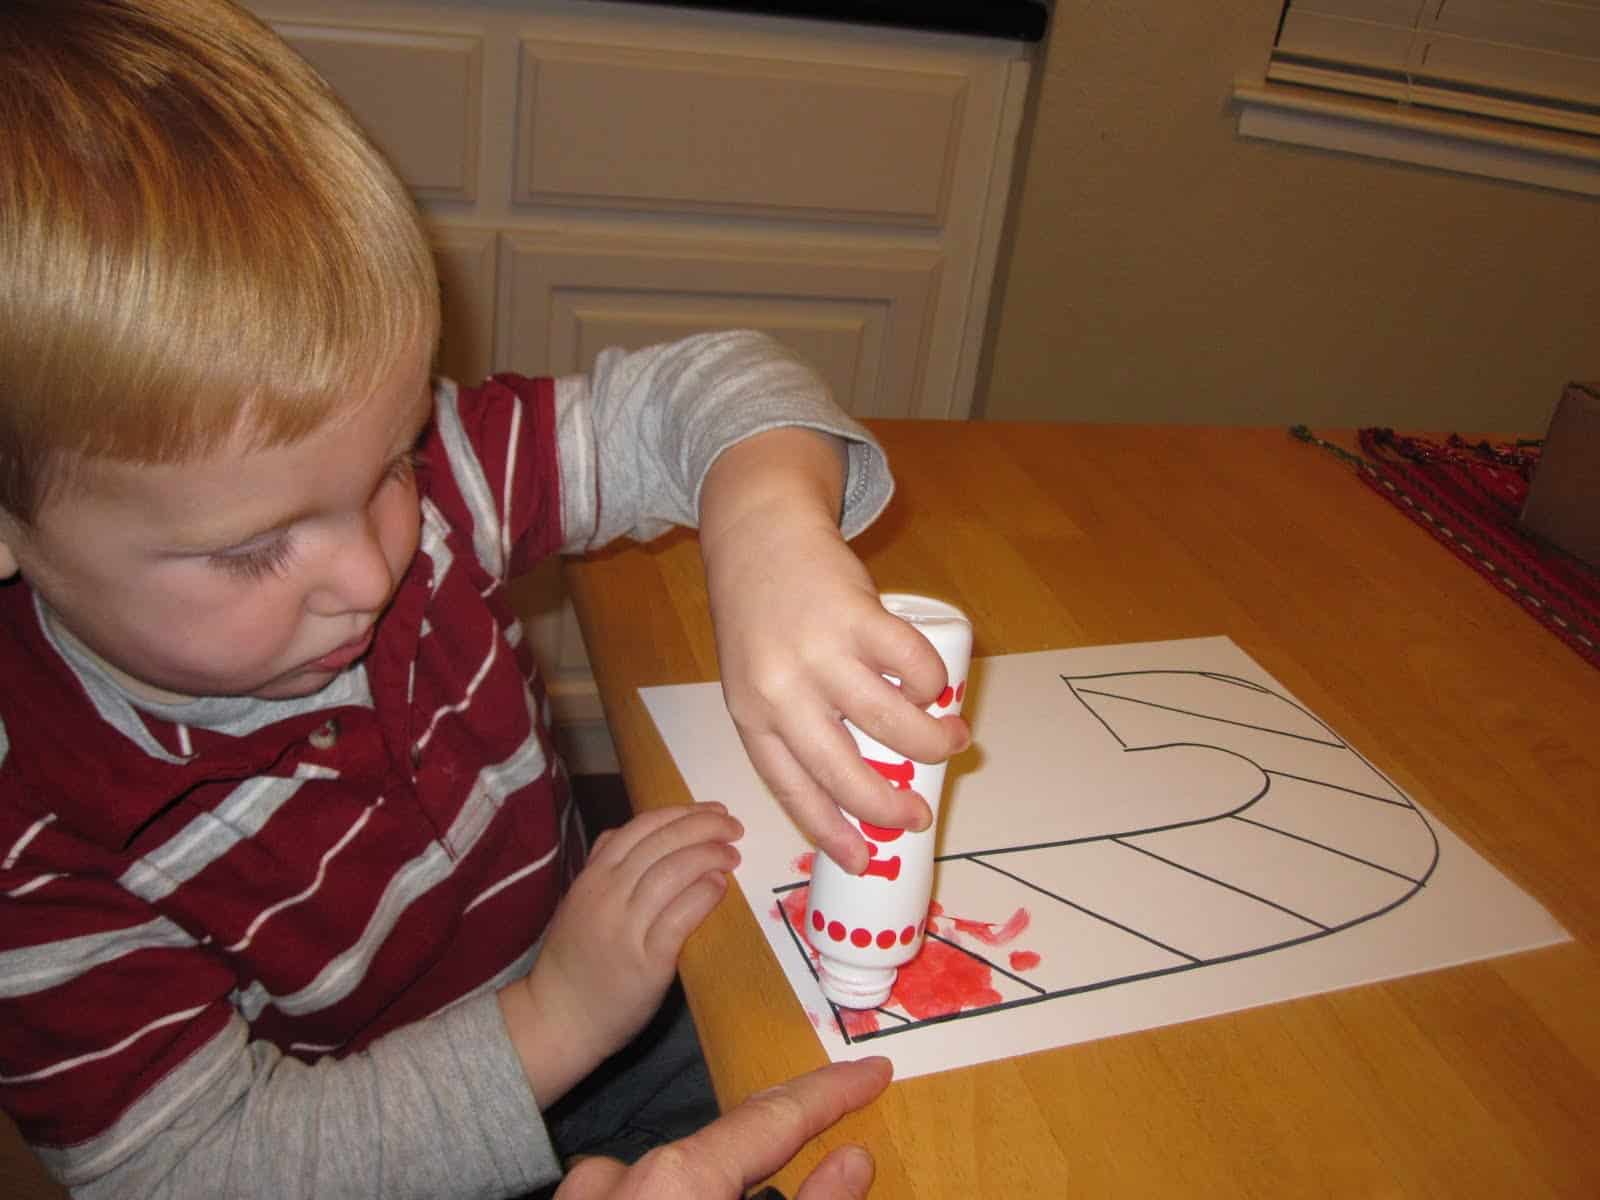
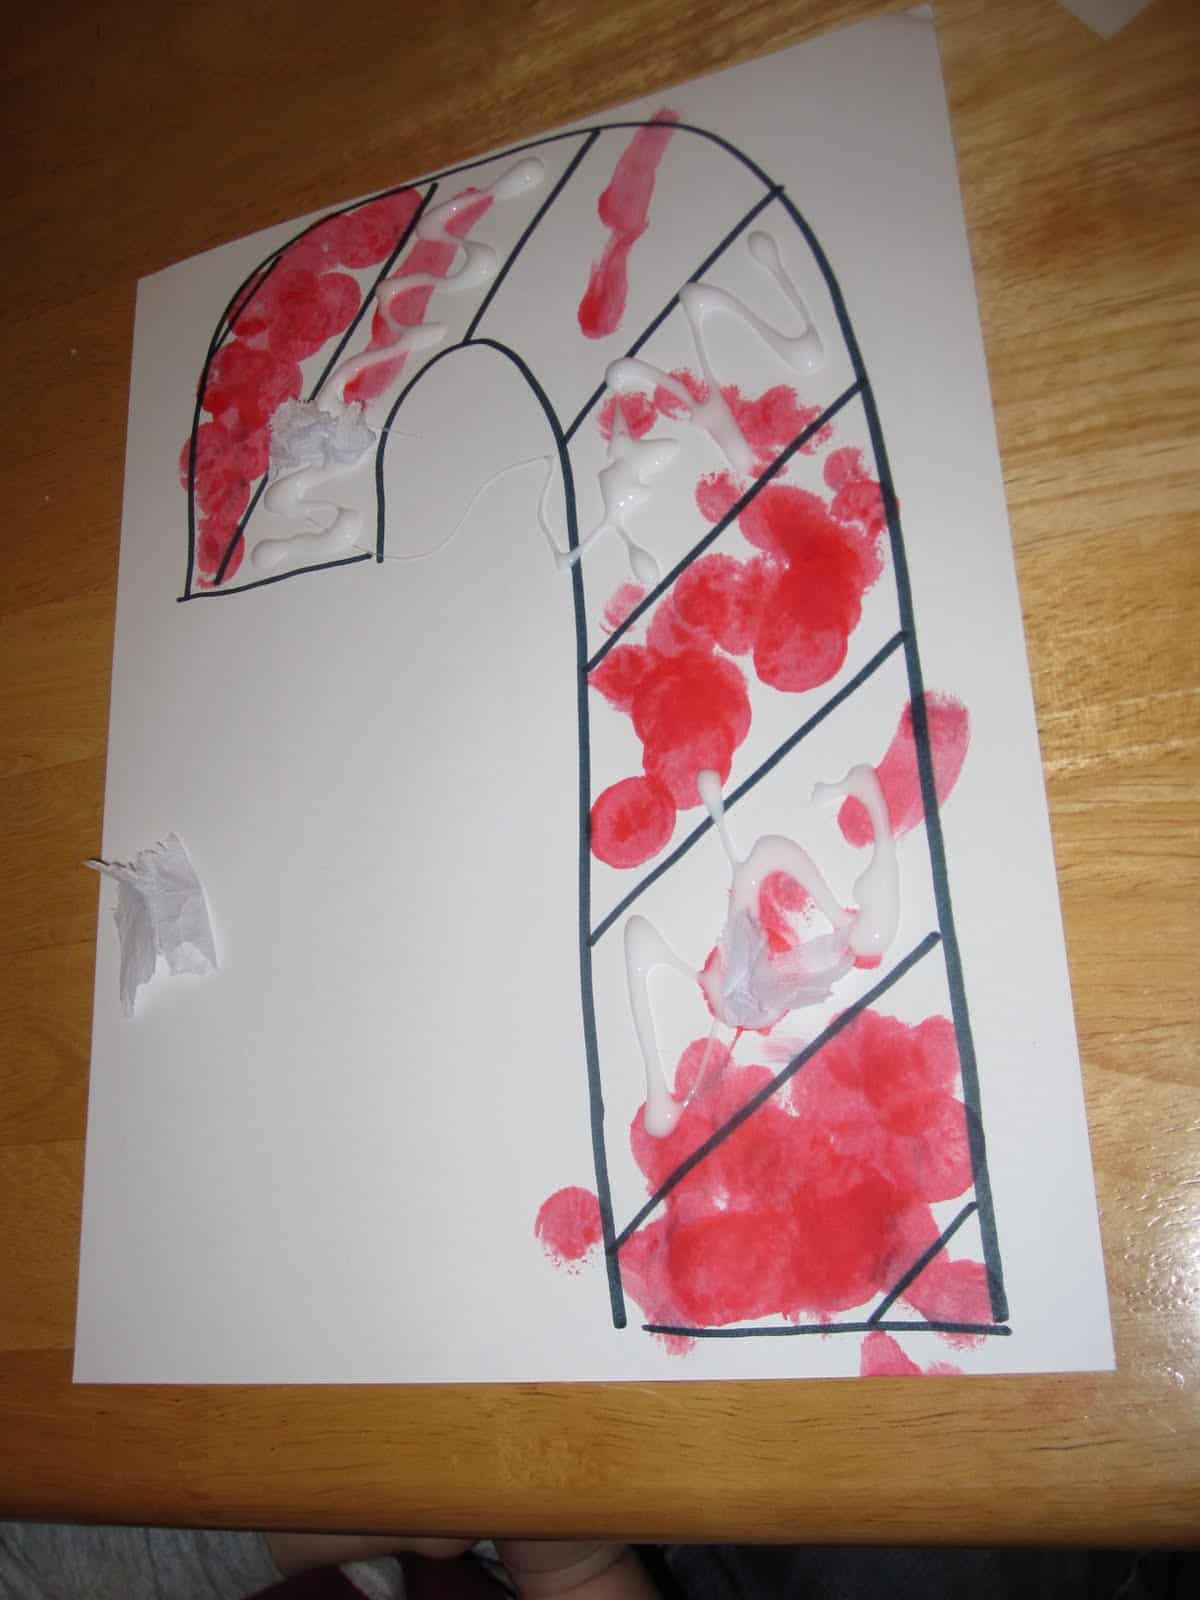
4. Use paint to fill in the stripes. Help your child try and paint every other line to create a pattern.
5. Cover the other stripes (white ones) with Elmers glue.
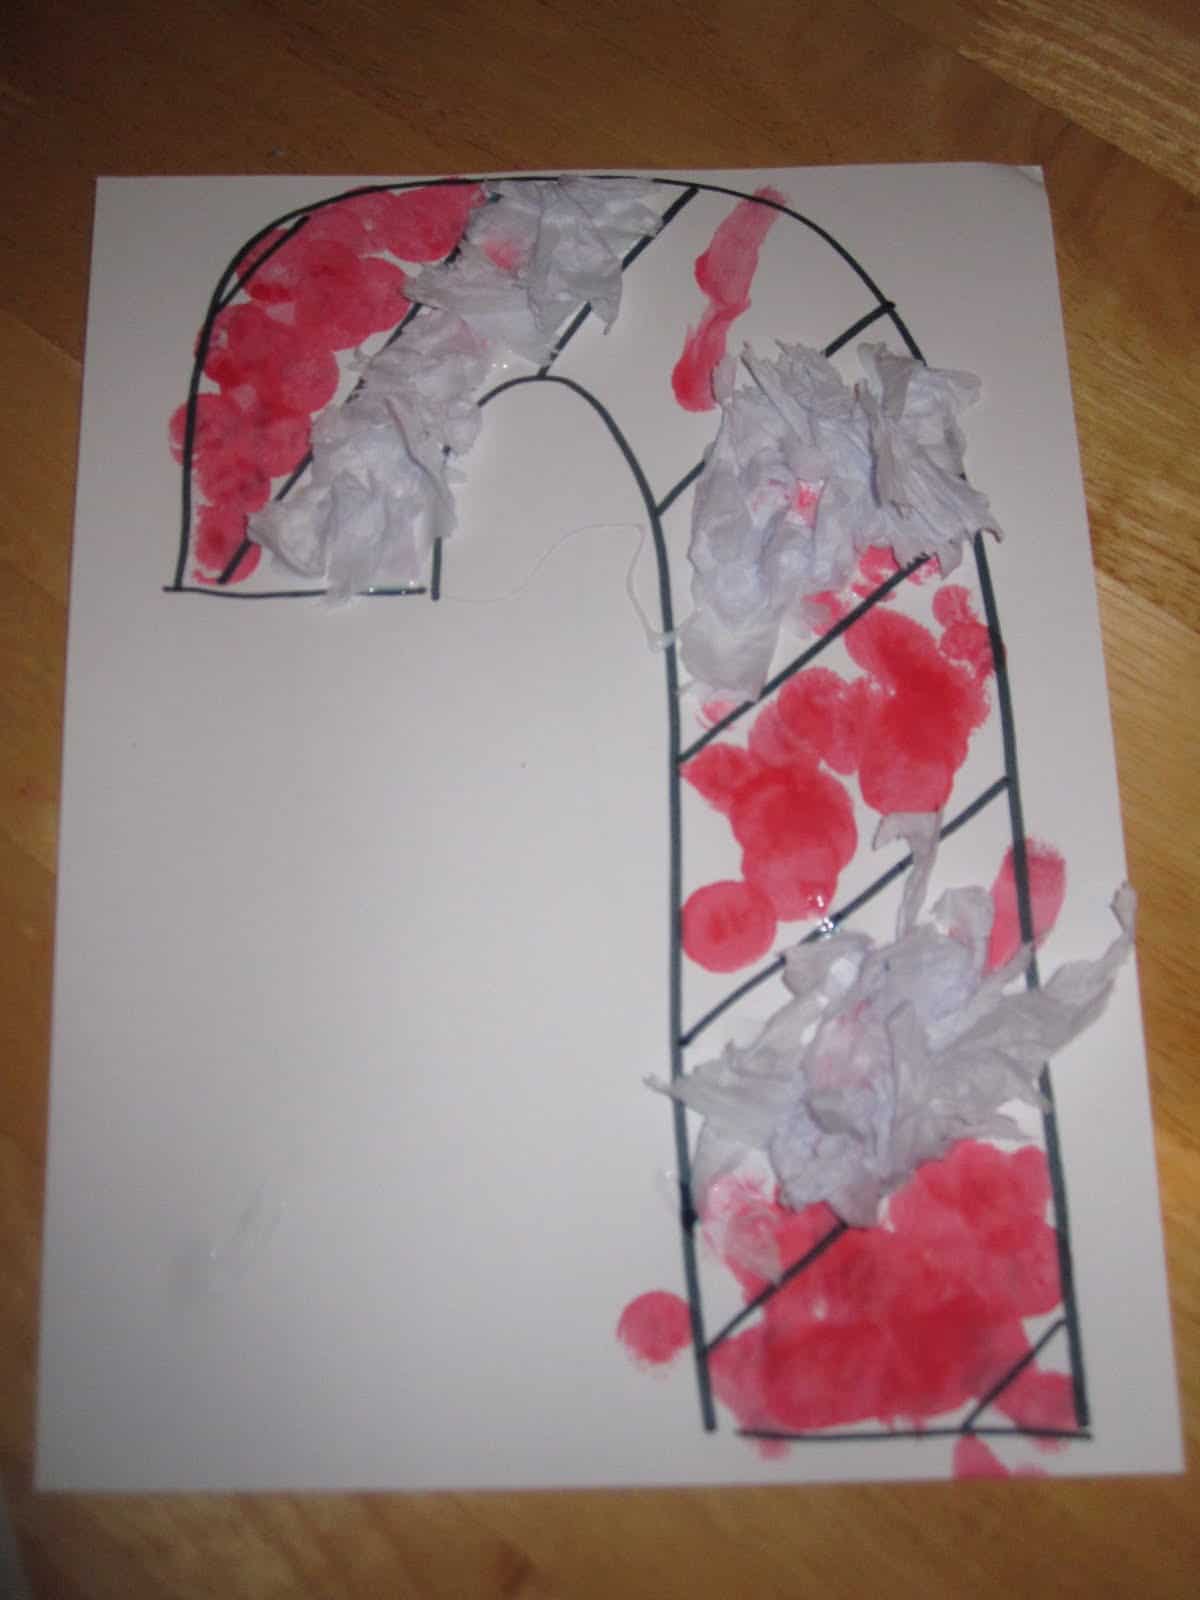
6. Help your child rip and scrunch white tissue paper and add it onto the Elmers glue.
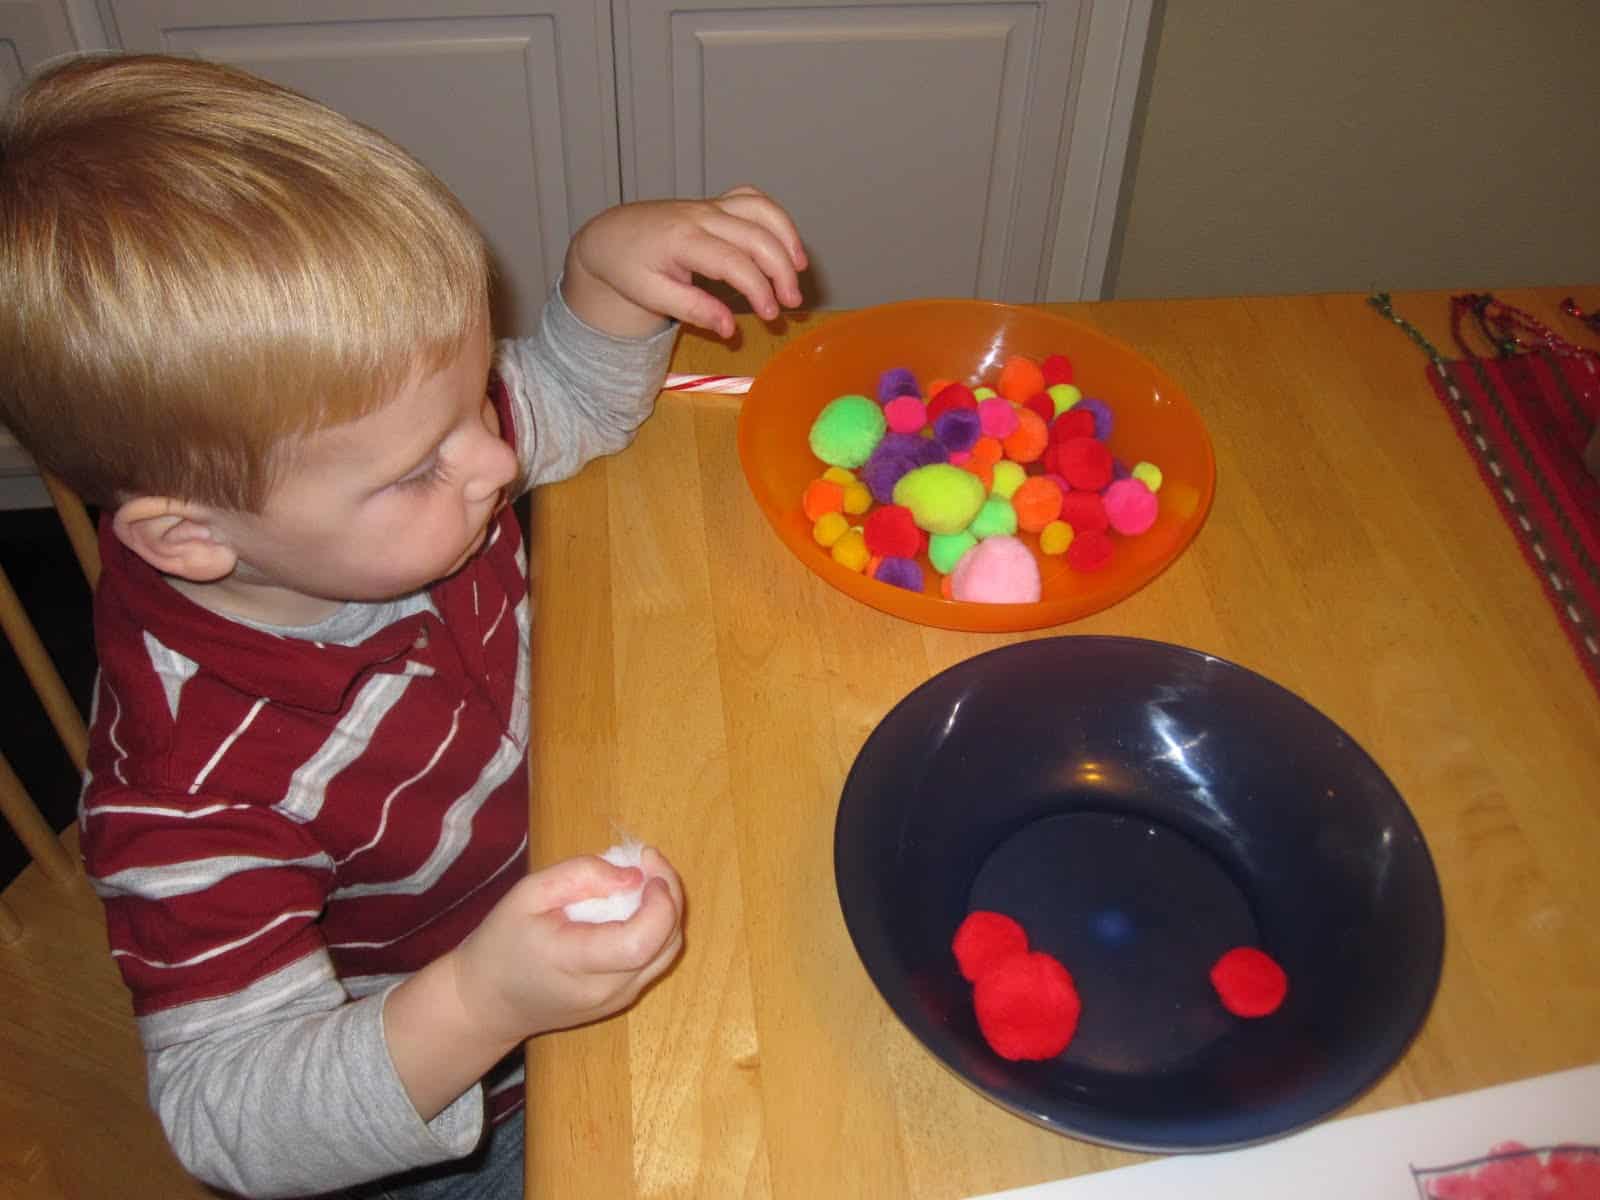
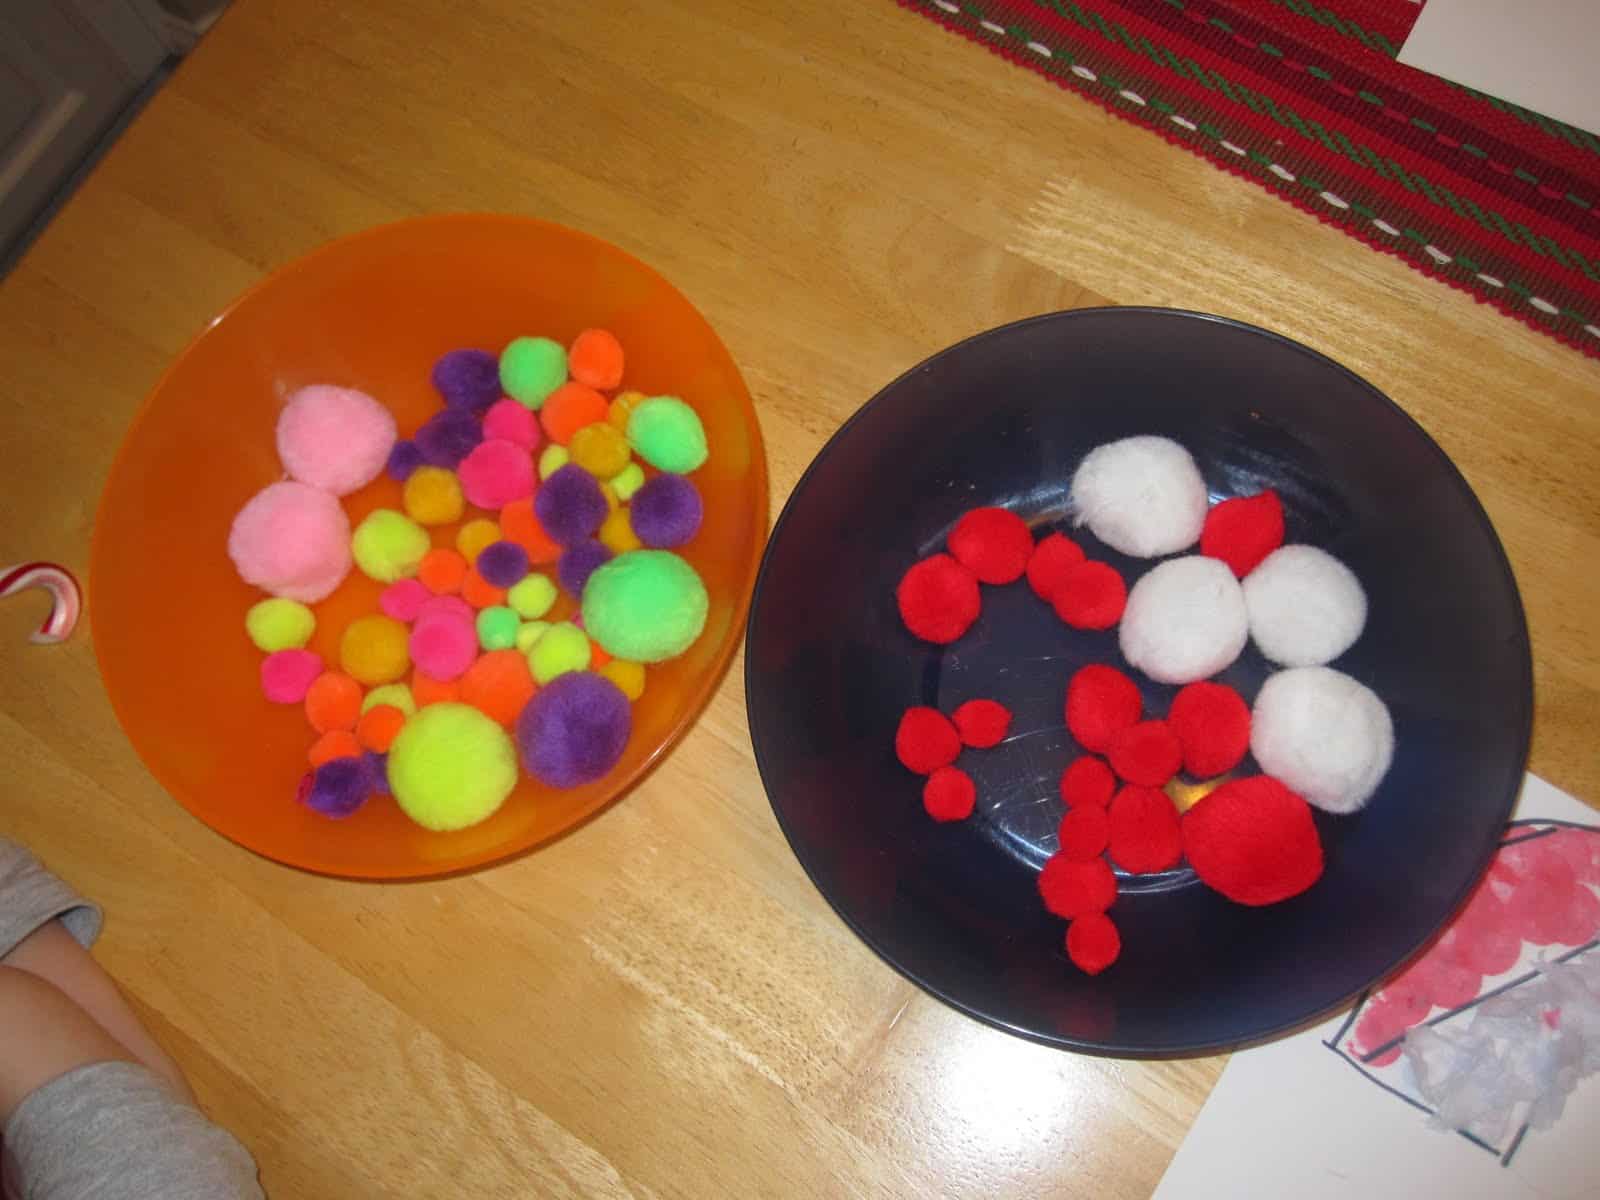
7. Sort the colored pom poms so that all the red and white ones get separated into their own bowl.
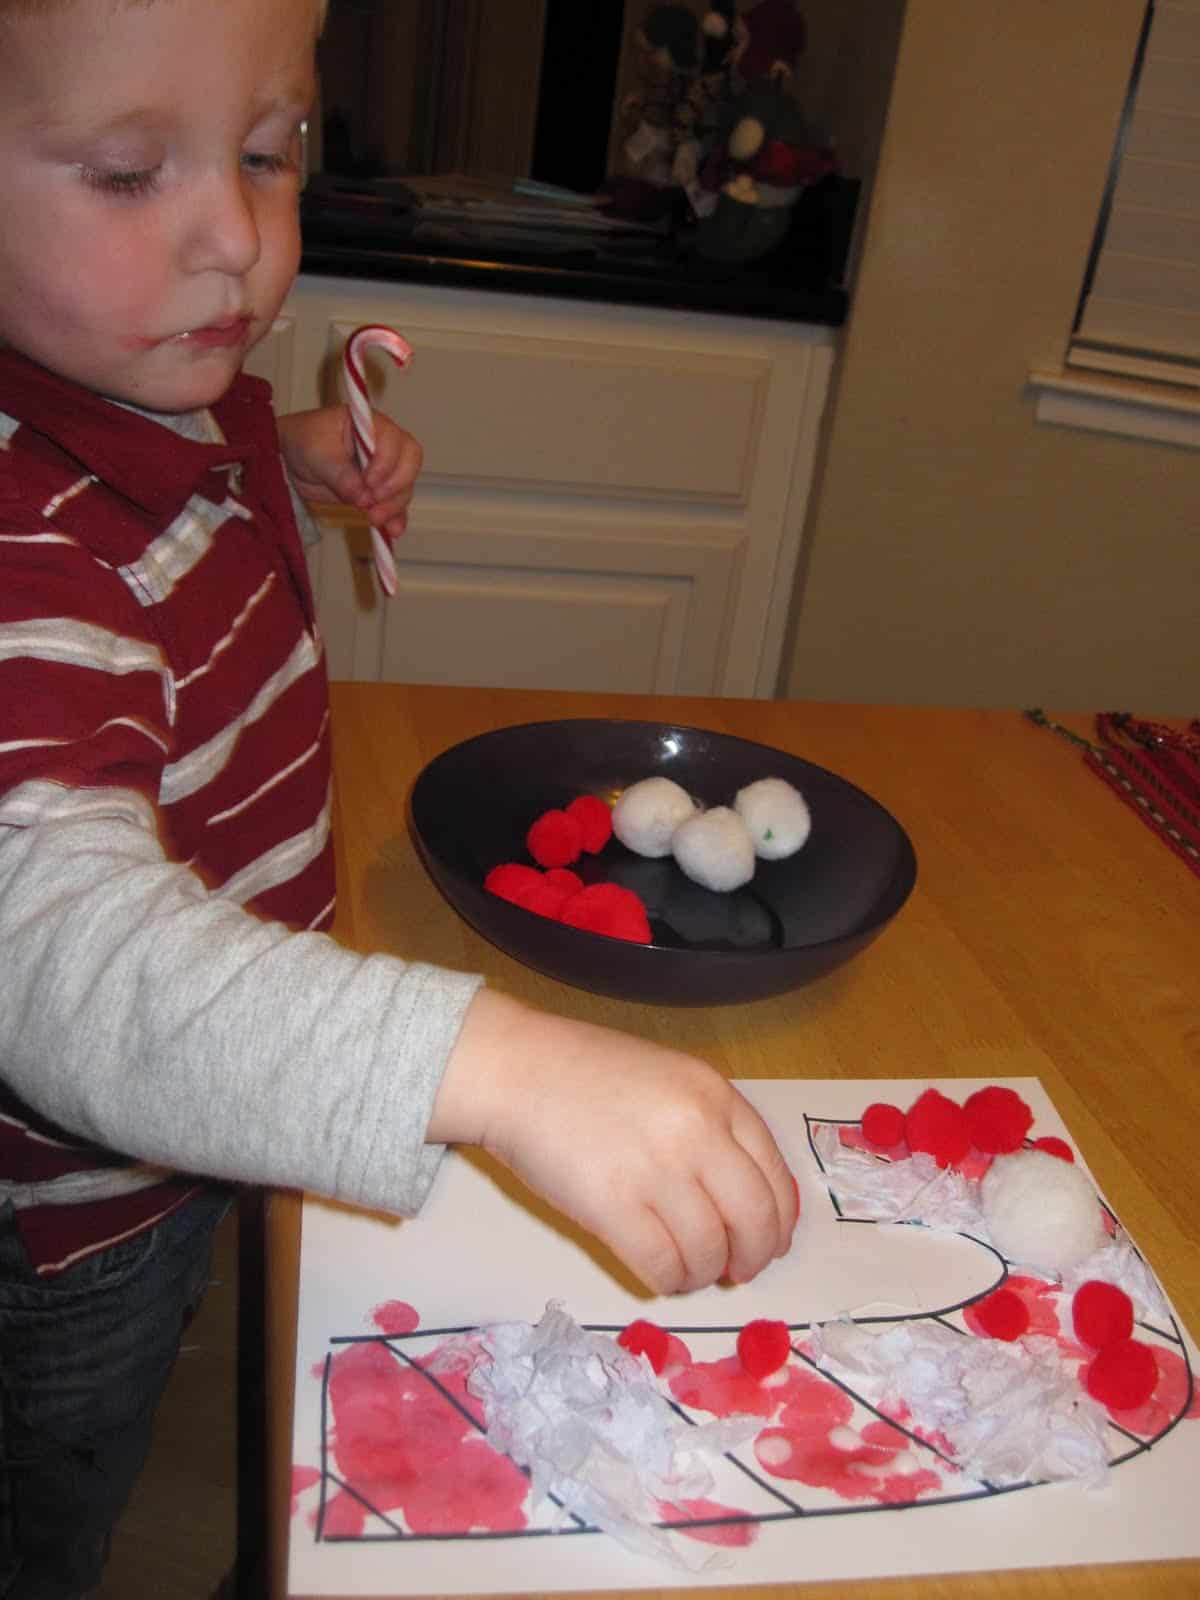
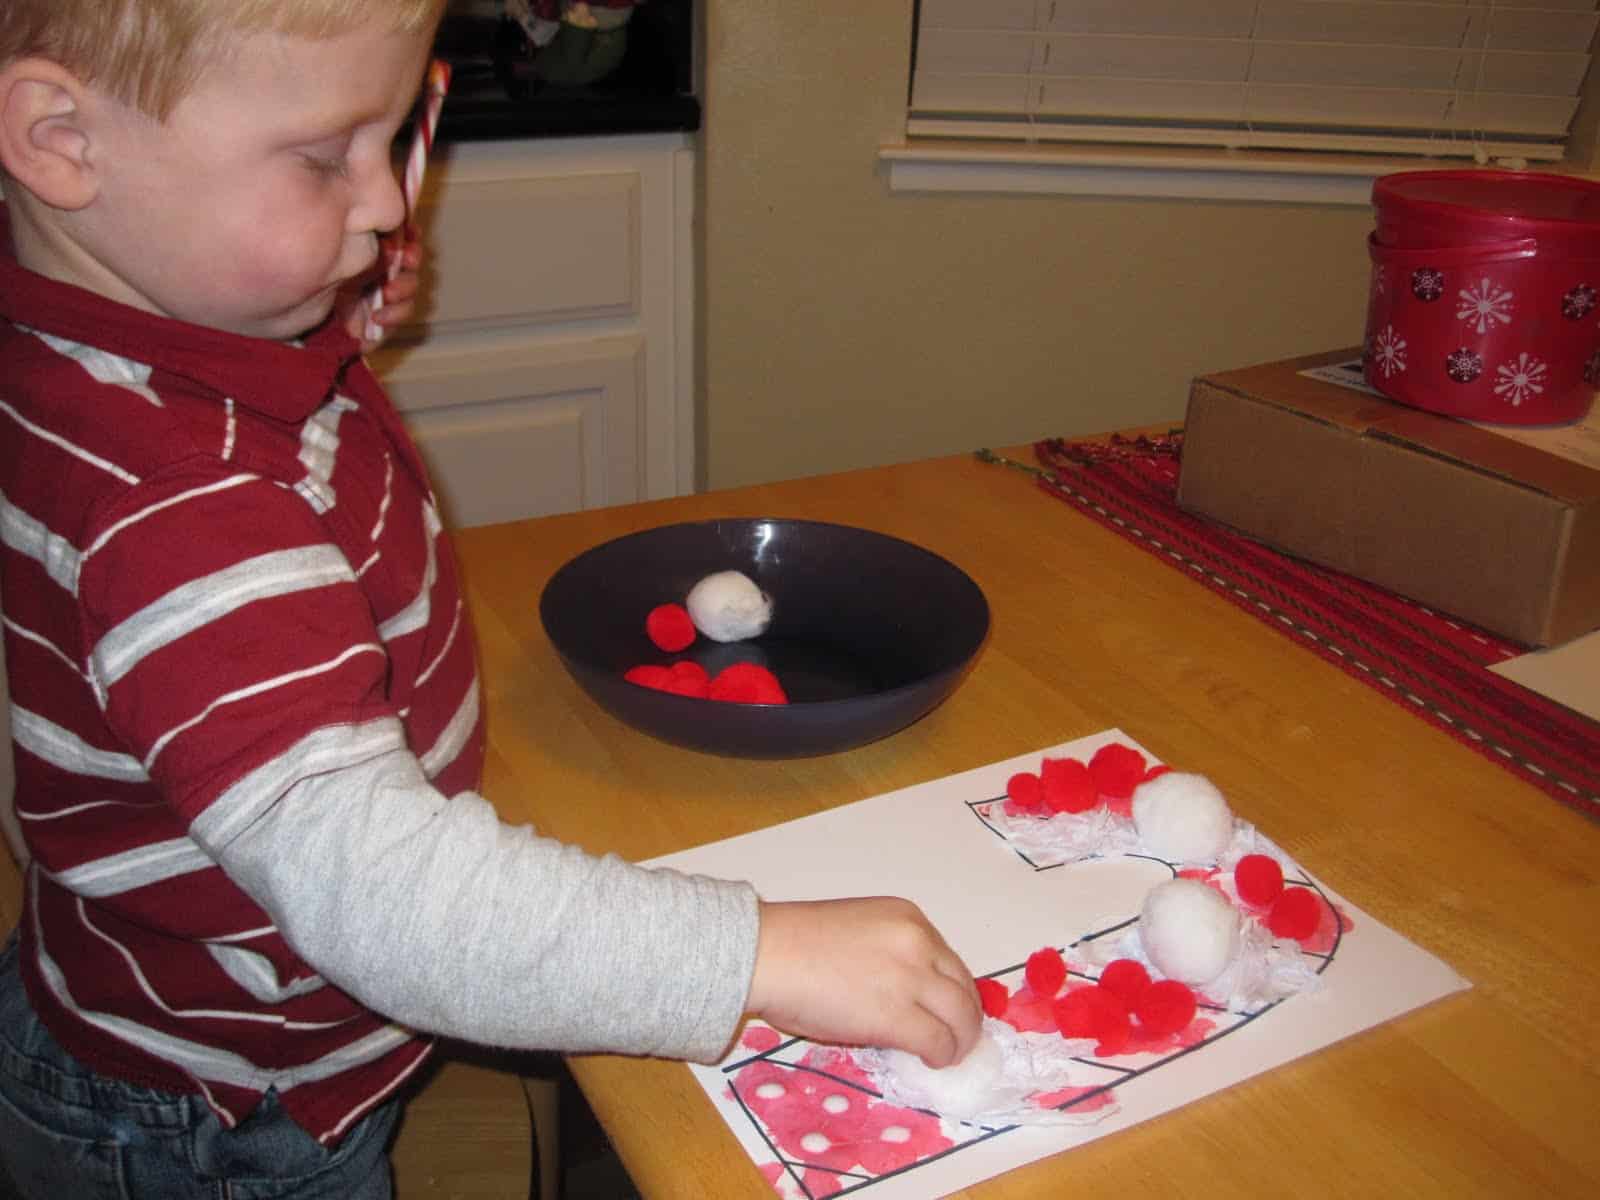
8. Add more glue to the candy cane and put the colored pom poms onto their matching colored stripes.
** You can make this activity even more fun by eating candy canes while doing it. 🙂
9. Let everything dry.
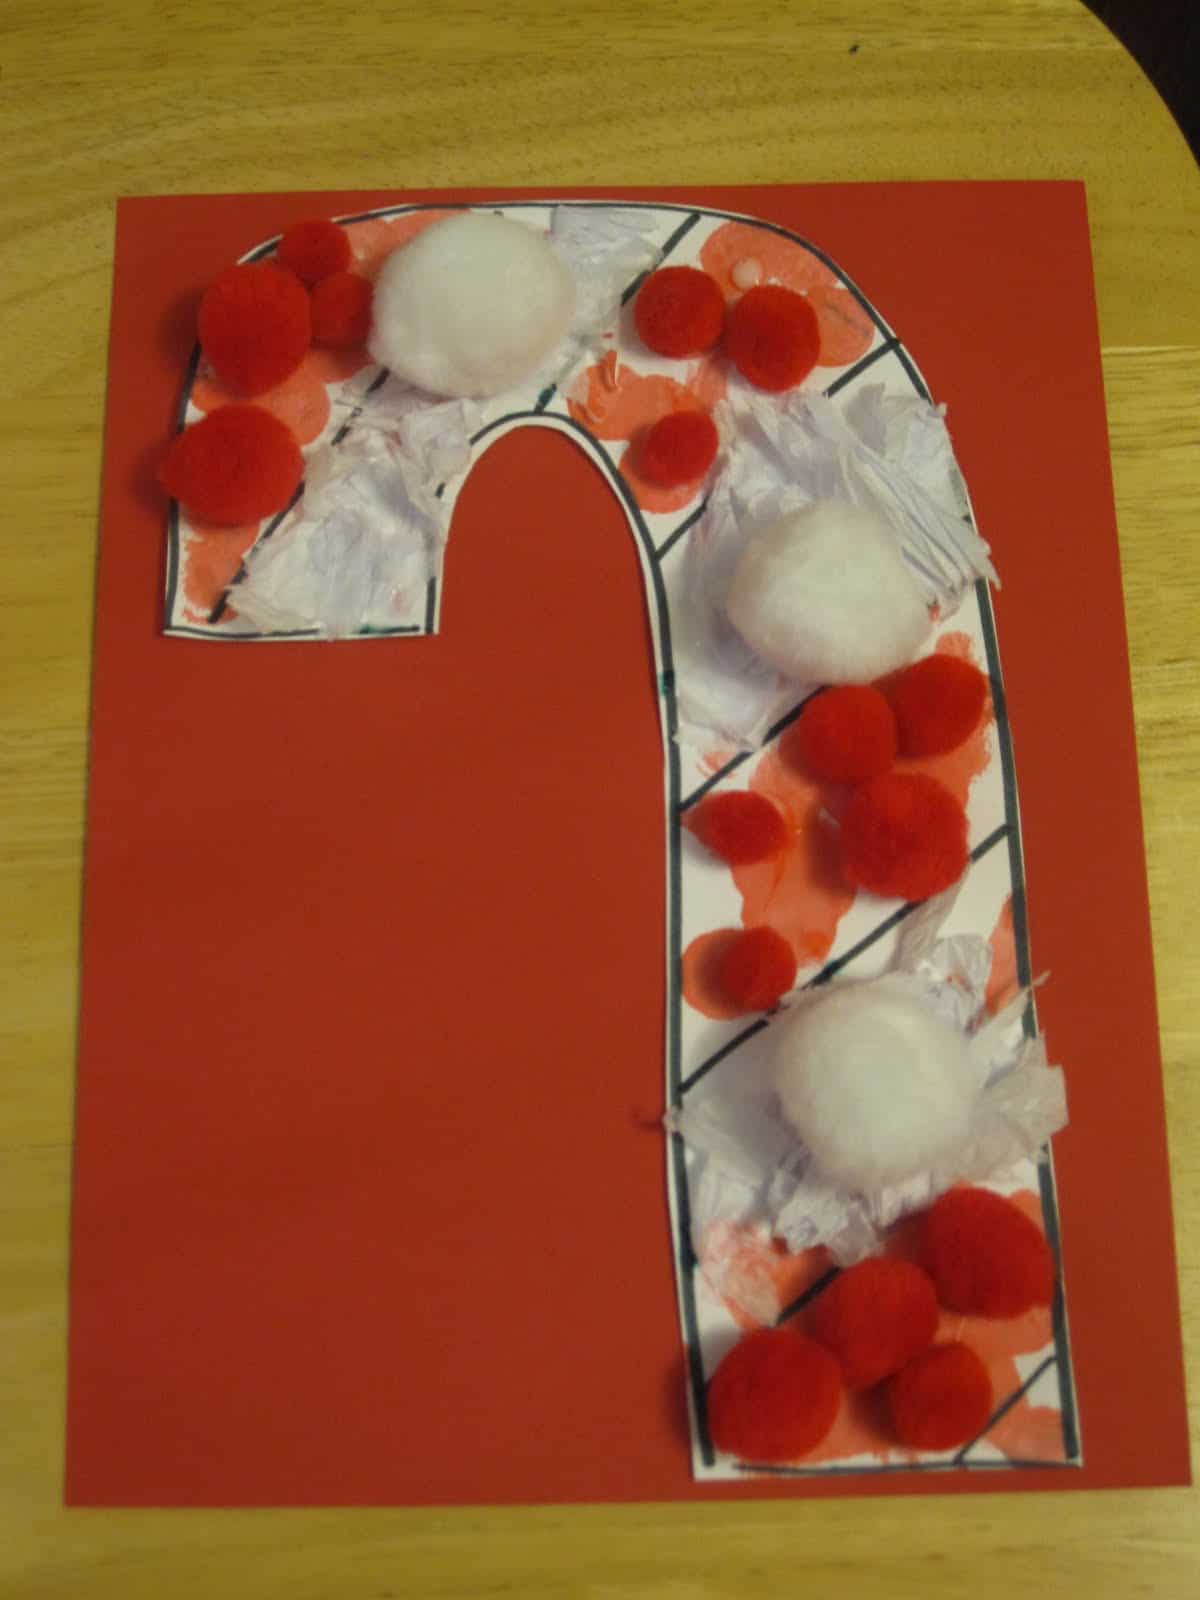
10. Cut out the candy cane and mount it onto red cardstock.
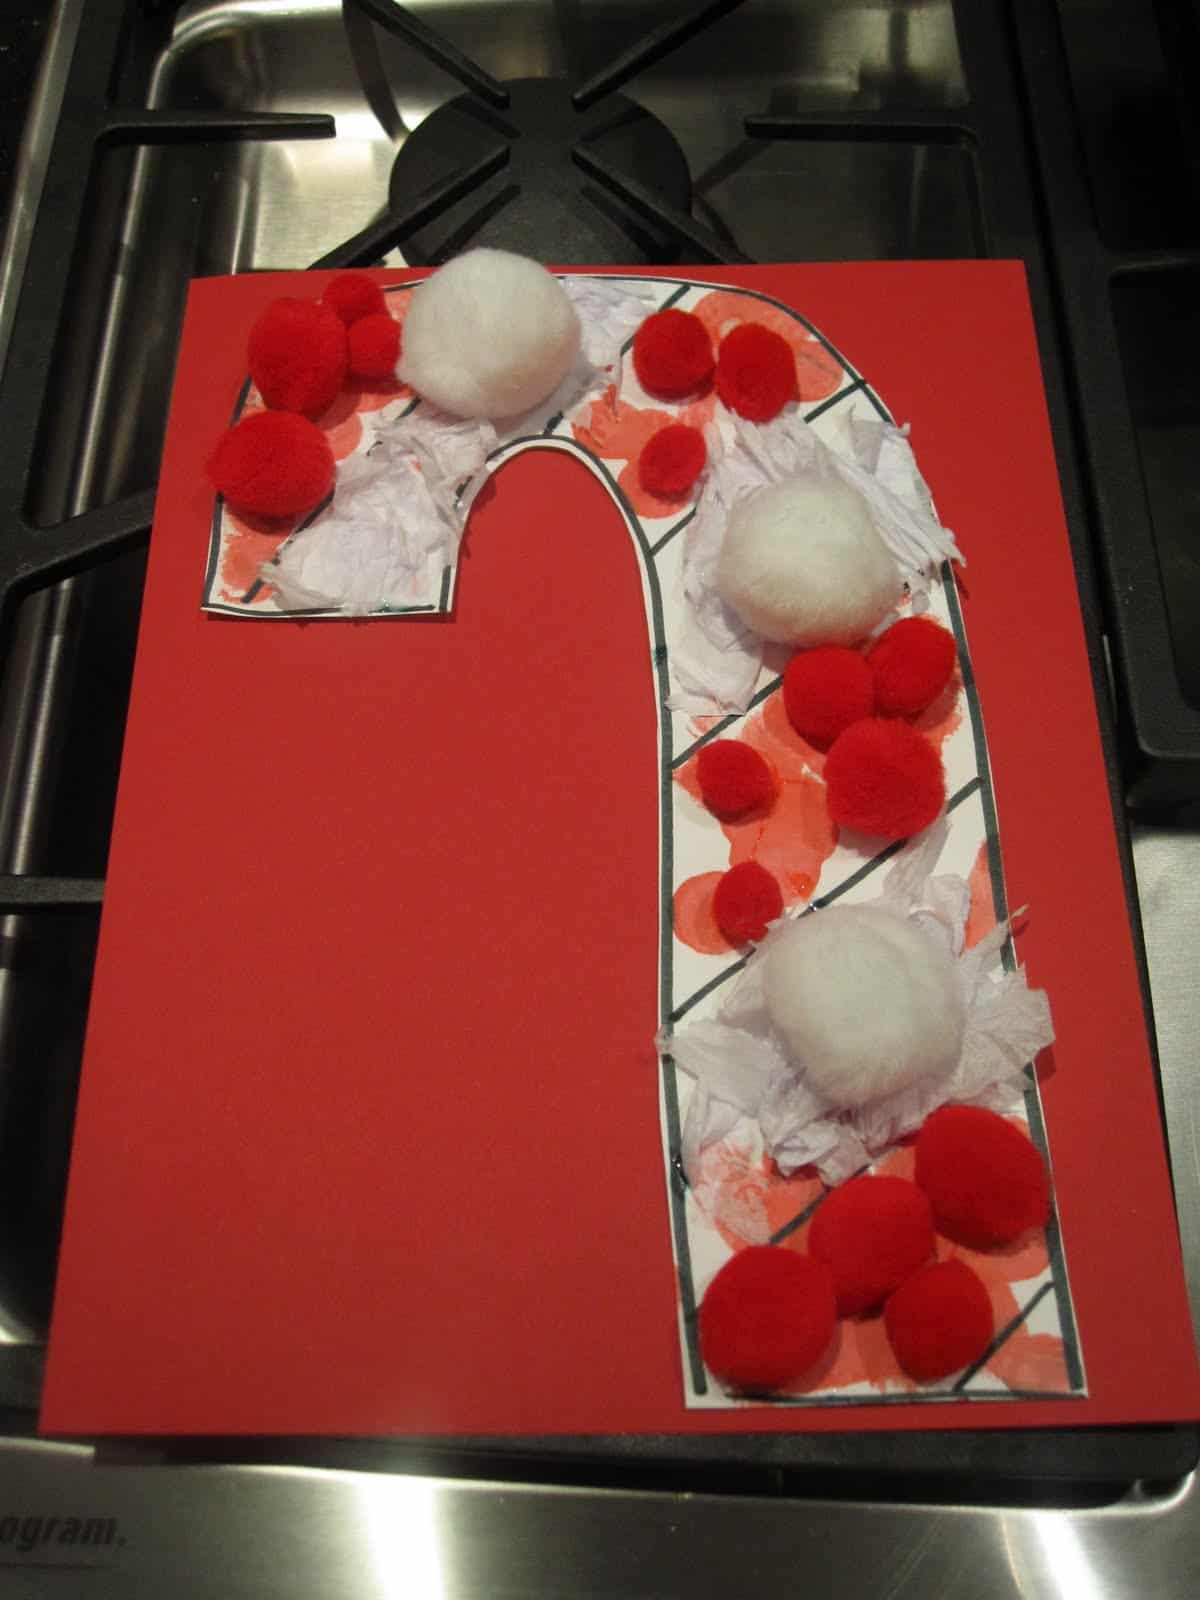
We finished this up by adding a message and making this into a card for a friend (my son's idea).
The Legend of the Candy Cane is a great book to use to talk a little bit about the origins of the candy cane. With my son I would probably skip reading all the words in the story and instead just look at the pictures and talk about them.

If my husband had his say, then we would've also made these candy cane cookies tonight... but I am too tired to bake 🙂

Since he's home on paternity leave for the next few weeks, we might have to try them another day.


Looks great! Thank you for adding this to our linky! Shared it on FB and Twitter as day 18 suggestion for a craft in our Magic Christmas for Toddlers countdown! 🙂