
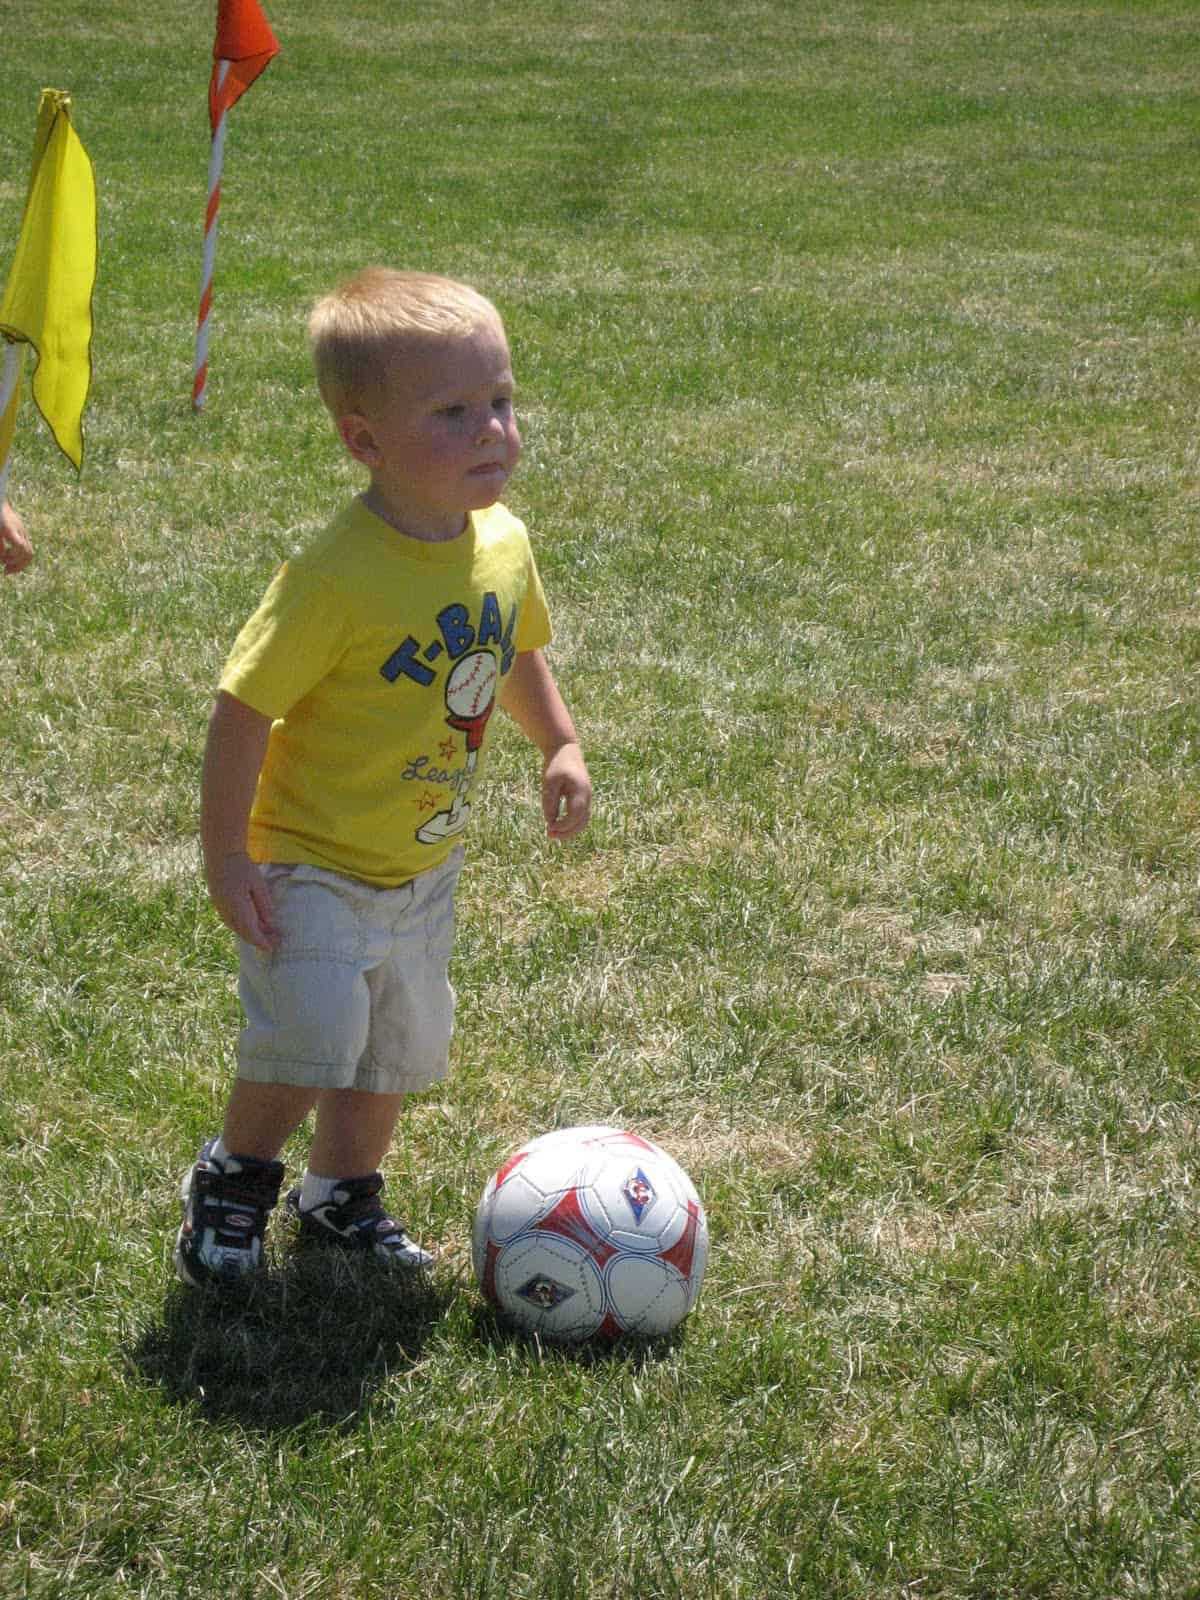
My little guy just started soccer lessons and is very excited about it right now... so I found some fun ways to reinforce the skills he is learning and practice a few others. Check out two simple soccer games/activities below.
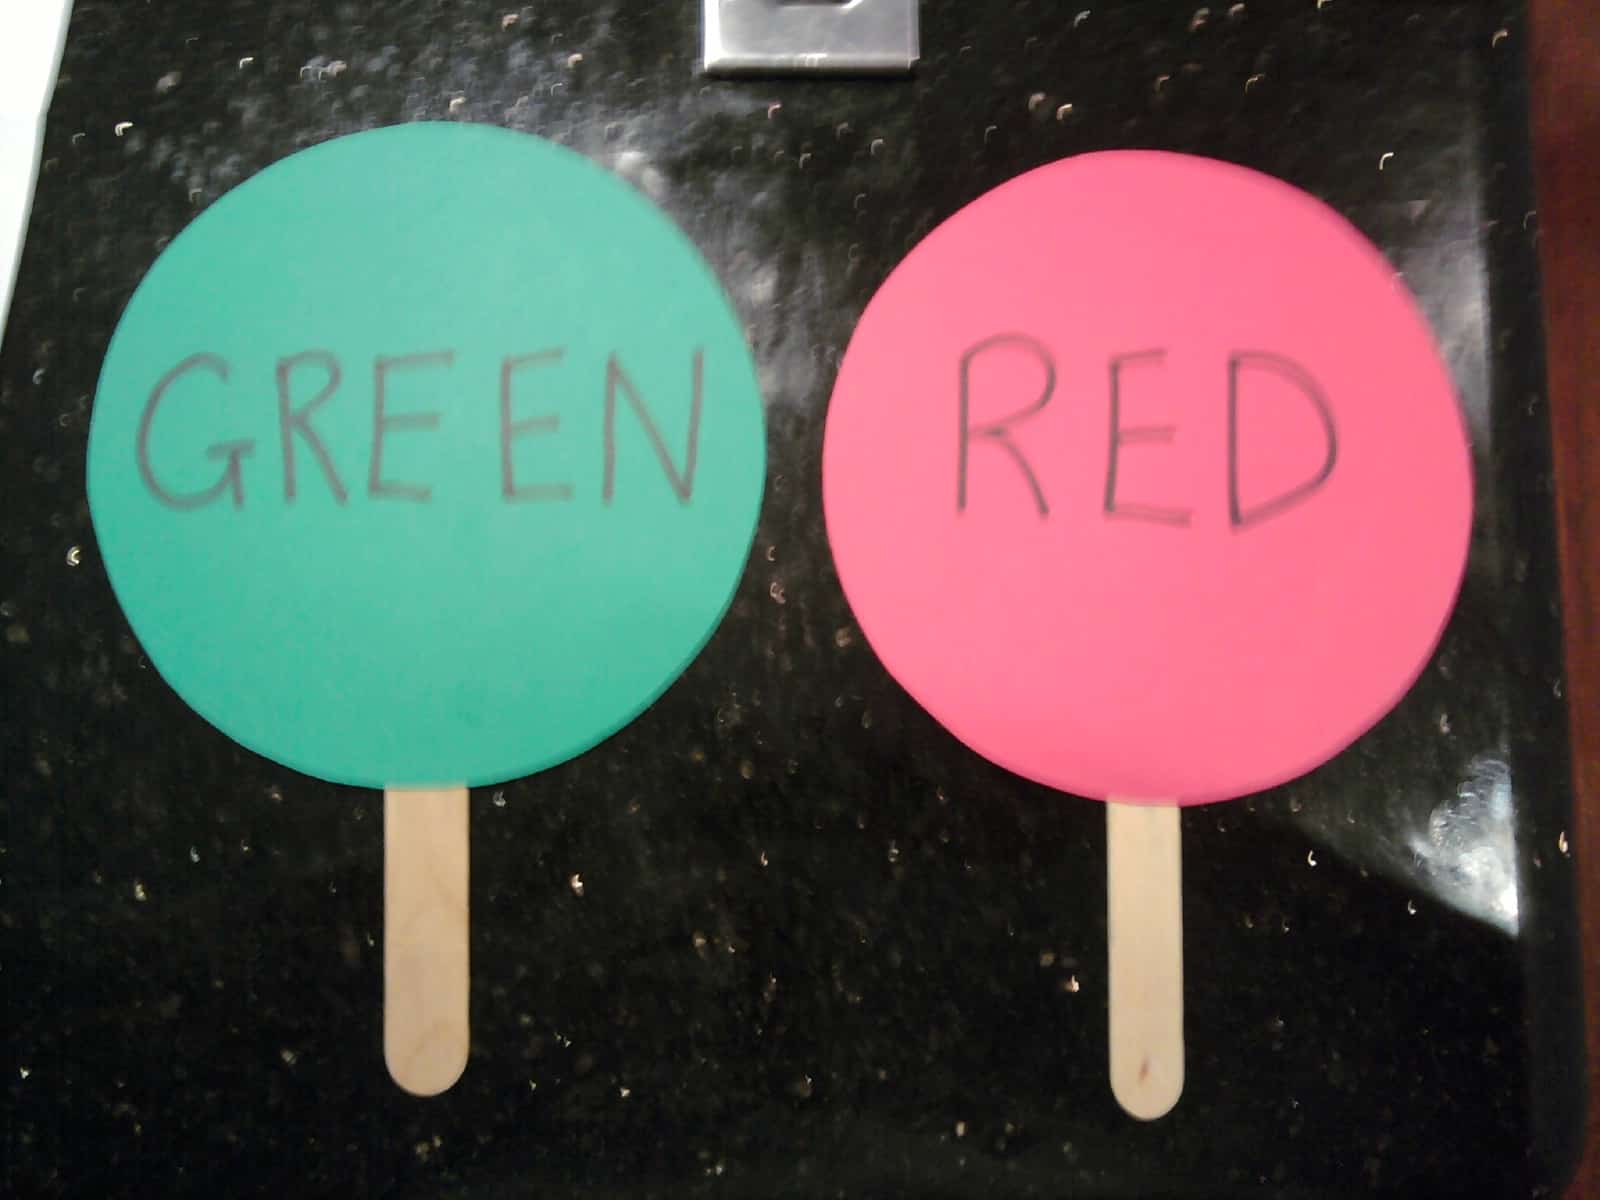
Red Light, Green Light- Soccer Style
I love this activity because it practices basic footwork skills (dribbling and keeping the ball under control) and also practices listening skills.
Materials Needed: tongue depressors (2), red and green paper, marker, circular object to trace, scissors, and a soccer ball.
Directions:
1. Use a bowl or round object and trace a circle on each piece of paper.
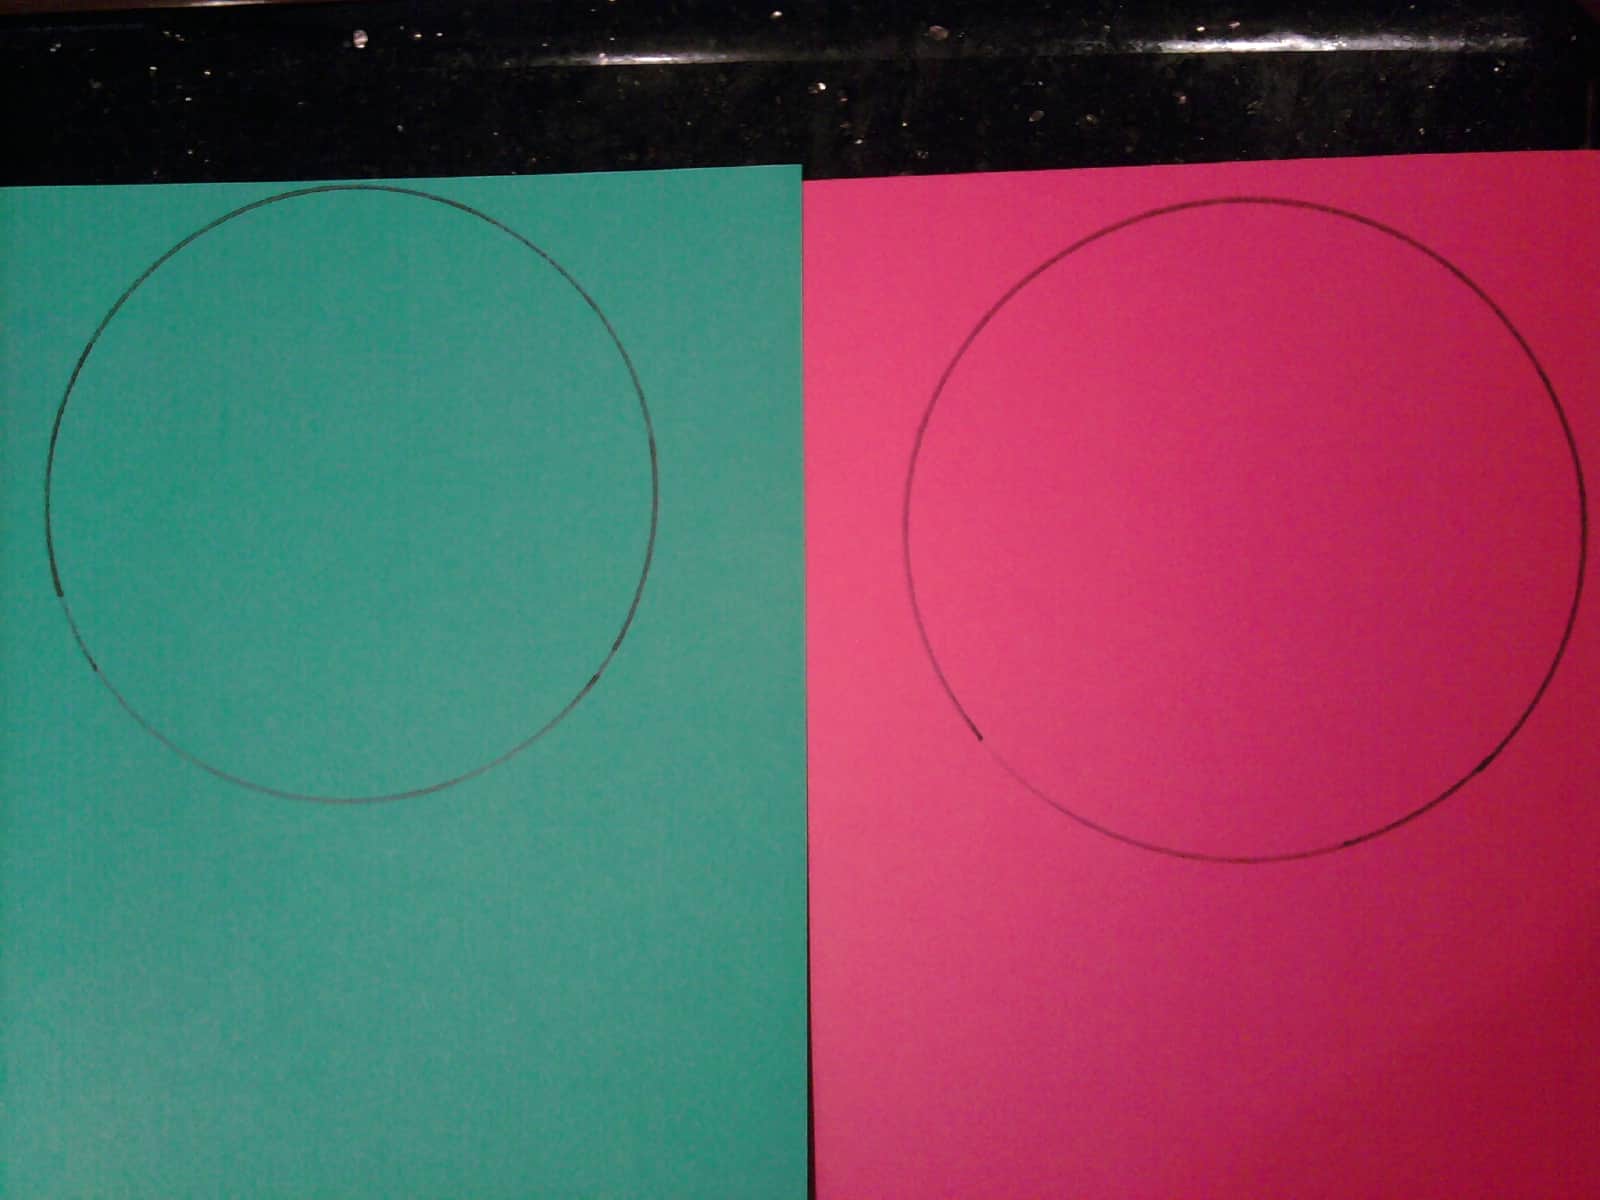
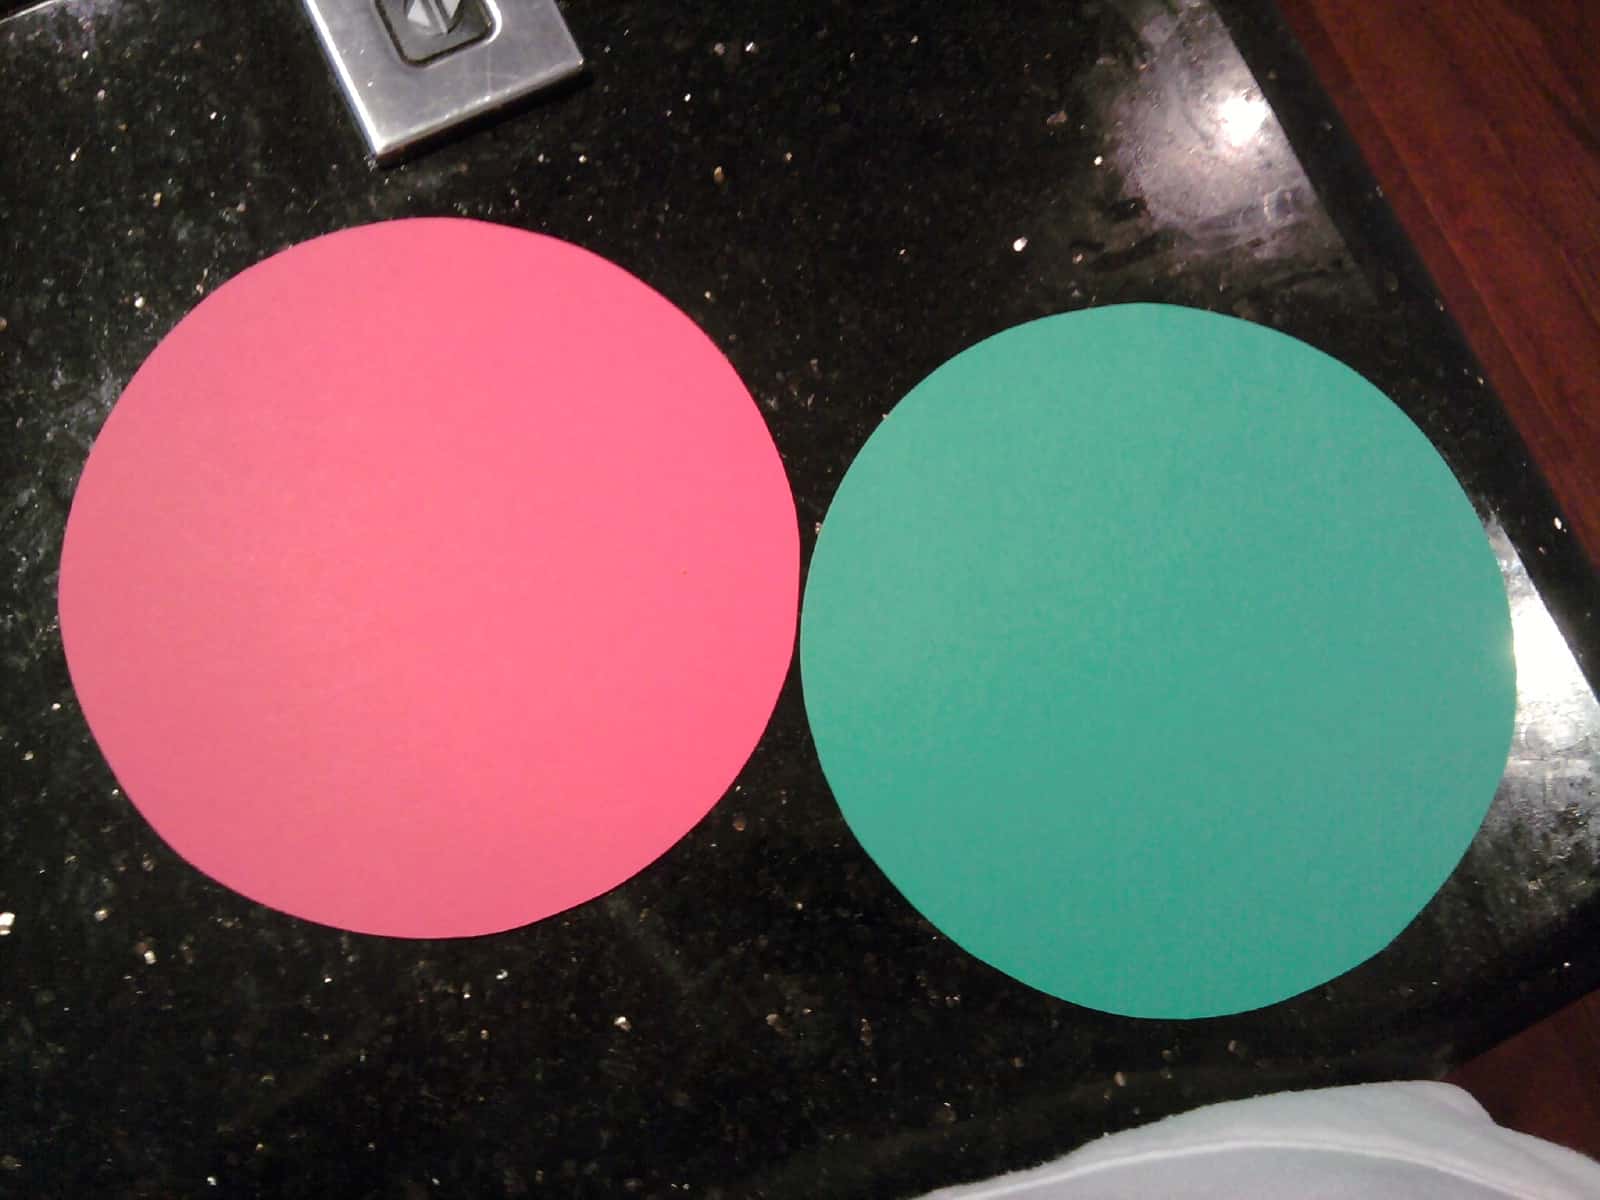
2. Cut them out
3. Tape the tongue depressors to the backs of the circles.
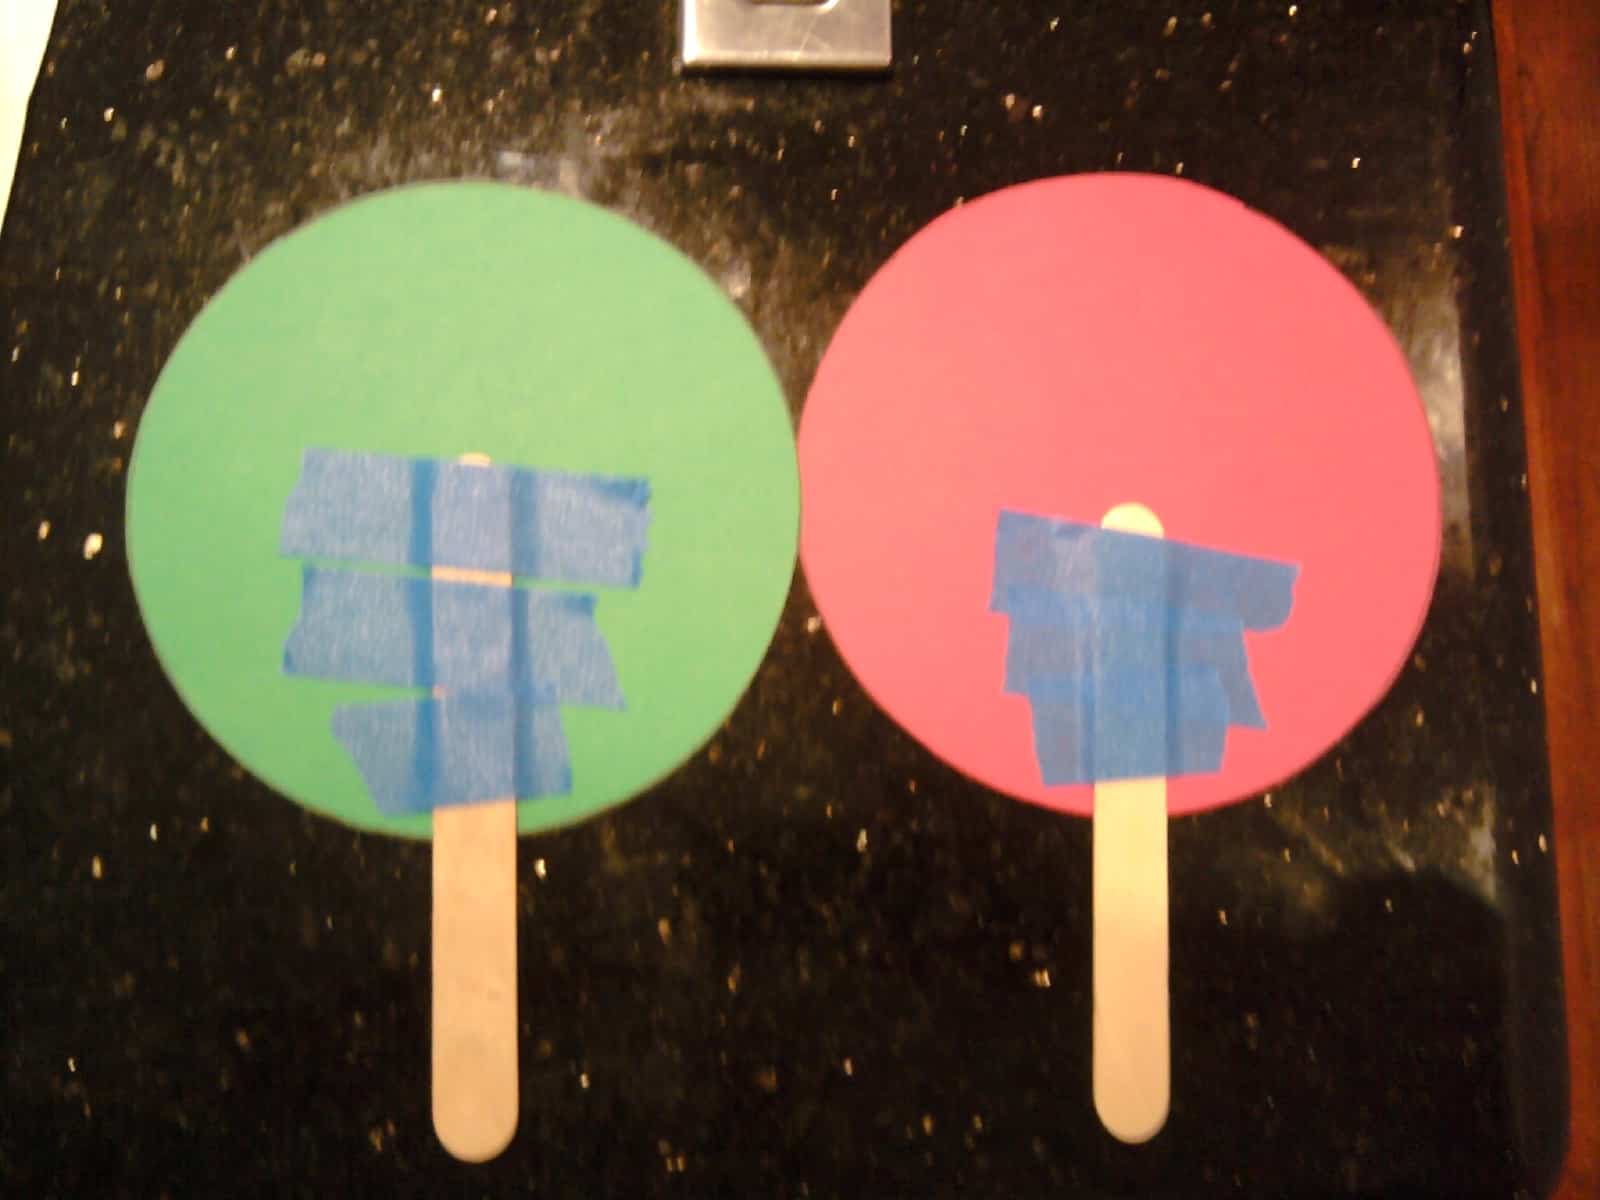
4. Write red and green on the corresponding circles.
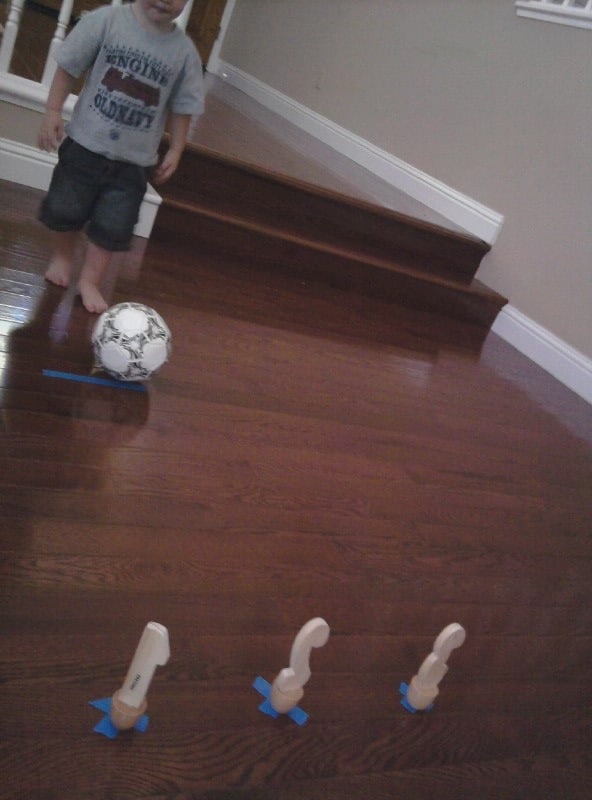
5. Place a piece of painters tape on a specific spot of your floor (or outside on your patio). My little guy wanted to play inside for some reason today. Have your soccer star stand on the tape and put their ball on the ground.
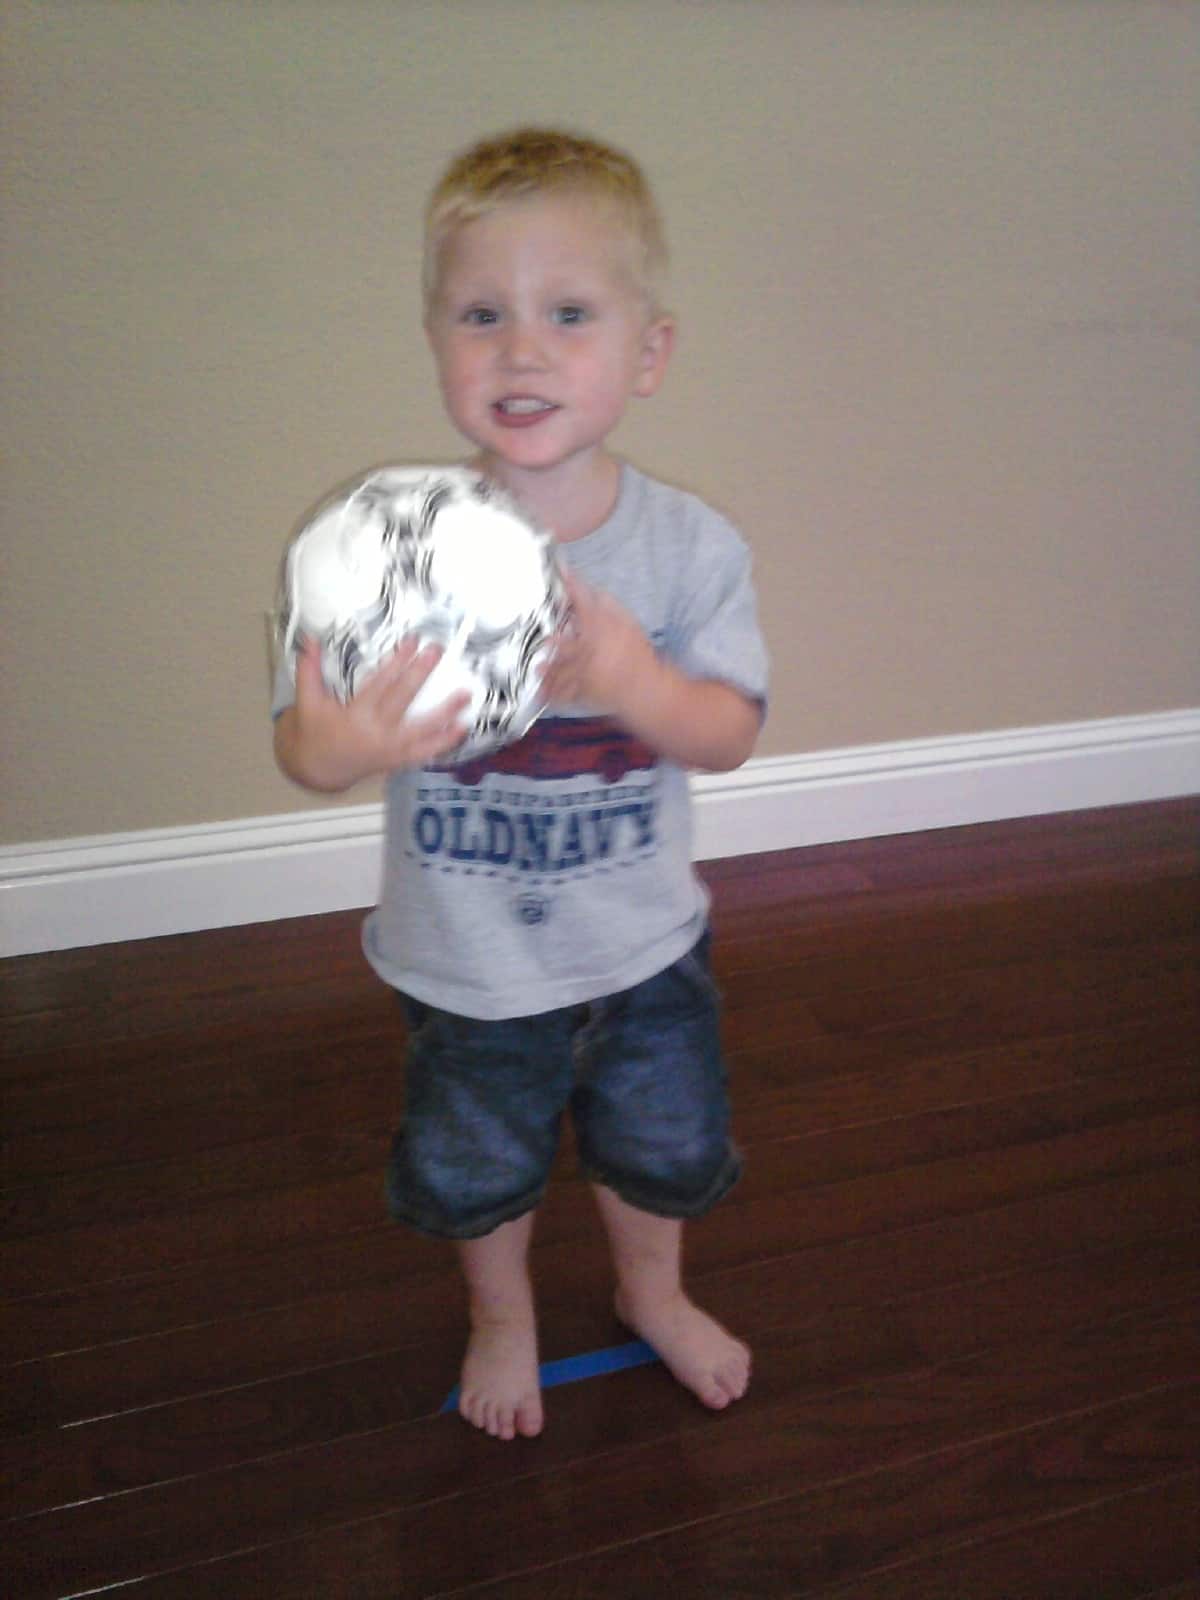
6. Show them the "Green light" and tell them to kick their ball around the room (dribble or do big kicks... whatever they prefer... as they get more skilled, spend more time on just dribbling).
7. Show them the "Red light" and have them trap their ball to stop it (put foot on top of ball and hold it in place)... or do my little guy's favorite thing and fall down on the ground on top of the ball to stop it- either works and either is fun!
8. Play again and again (rotating the red and green lights) until you are both tired!
Soccer Bowling
I like this game because it works on number recognition and shooting accuracy.
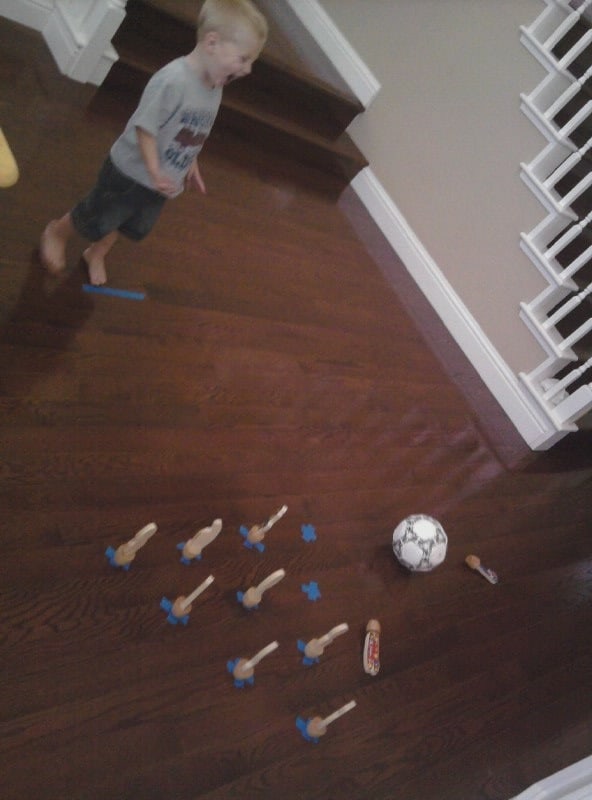
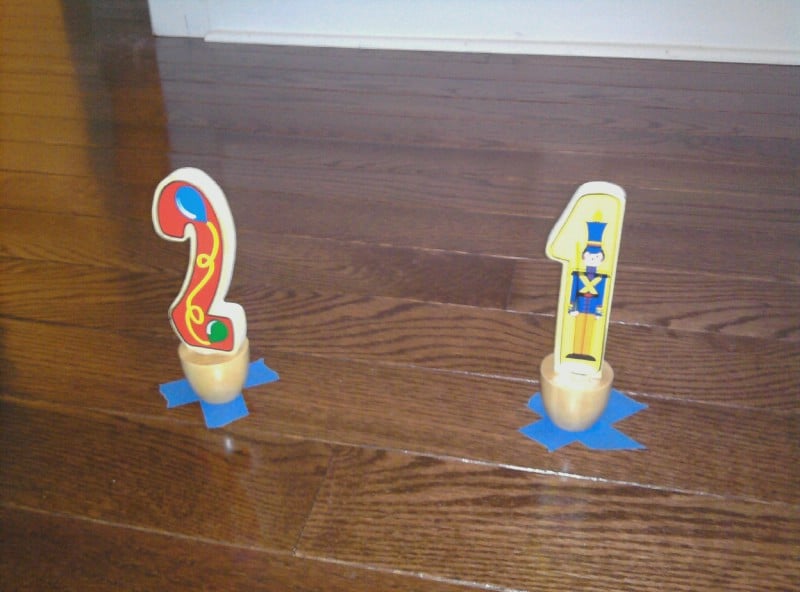
Materials Needed: soccer ball, bowling pins (homemade or purchased), number cards, painters tape.
We got these darling wooden numbered bowling pins earlier this year as a gift. I have no idea where you can purchase them. To make your own, use any sort of empty can or soda bottle... or even empty toilet paper rolls, and stick a number card to the front with tape. Make sure the pins can stand up on their own. If you put sand inside of a sealed water bottle or soda bottle, it will probably work the best. See tutorial here.
Directions:
1. Place Xs on your floor or patio with painters tape. This will allow your child to be able to reset the bowling pins on their own without needing your help with placement.
2. Place a tape line a few feet away from the bowling pins where your bowler will stand.
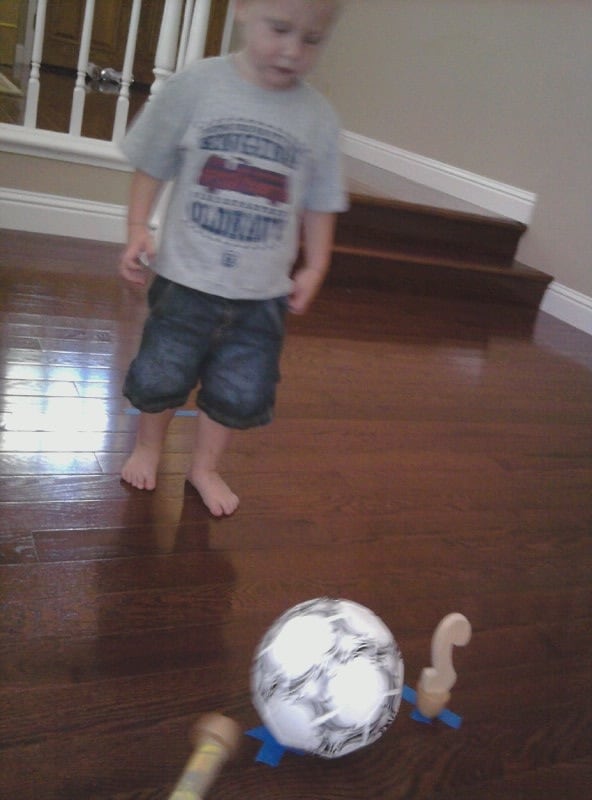
3. We started with just three pins at a time and then progressed up to all ten. Have your bowler call out which number he wants to hit... and then tell him to kick the ball towards the pins. (no hands!) We reviewed the names of all the numbers first... and then let him go. It was amazing how having a goal increased his accuracy.
If your bowler hits the wrong number, have him tell you which number he hit instead. Keep playing until he has targeted all numbers and they have all fallen down (I removed the pins from the area once they were knocked down so that they wouldn't be distracting).
Play again and again until you are bored of the game!
A fun variation on this for older kids would be to have them add up the numbers of the pins they knocked down... practicing number recognition and addition all at the same time!
This game could easily be adapted to letter bowling, shape bowling, or whatever you want to make it (based on the cards you attach to the bowling pins).


Leave a Comment