
For this activity we just tried to use materials we have around the house. I also tried to introduce the idea of patterns and repeating designs.
Materials Needed:
- a few colors of paint
- paper plates for the paint
- large drawing/painting paper
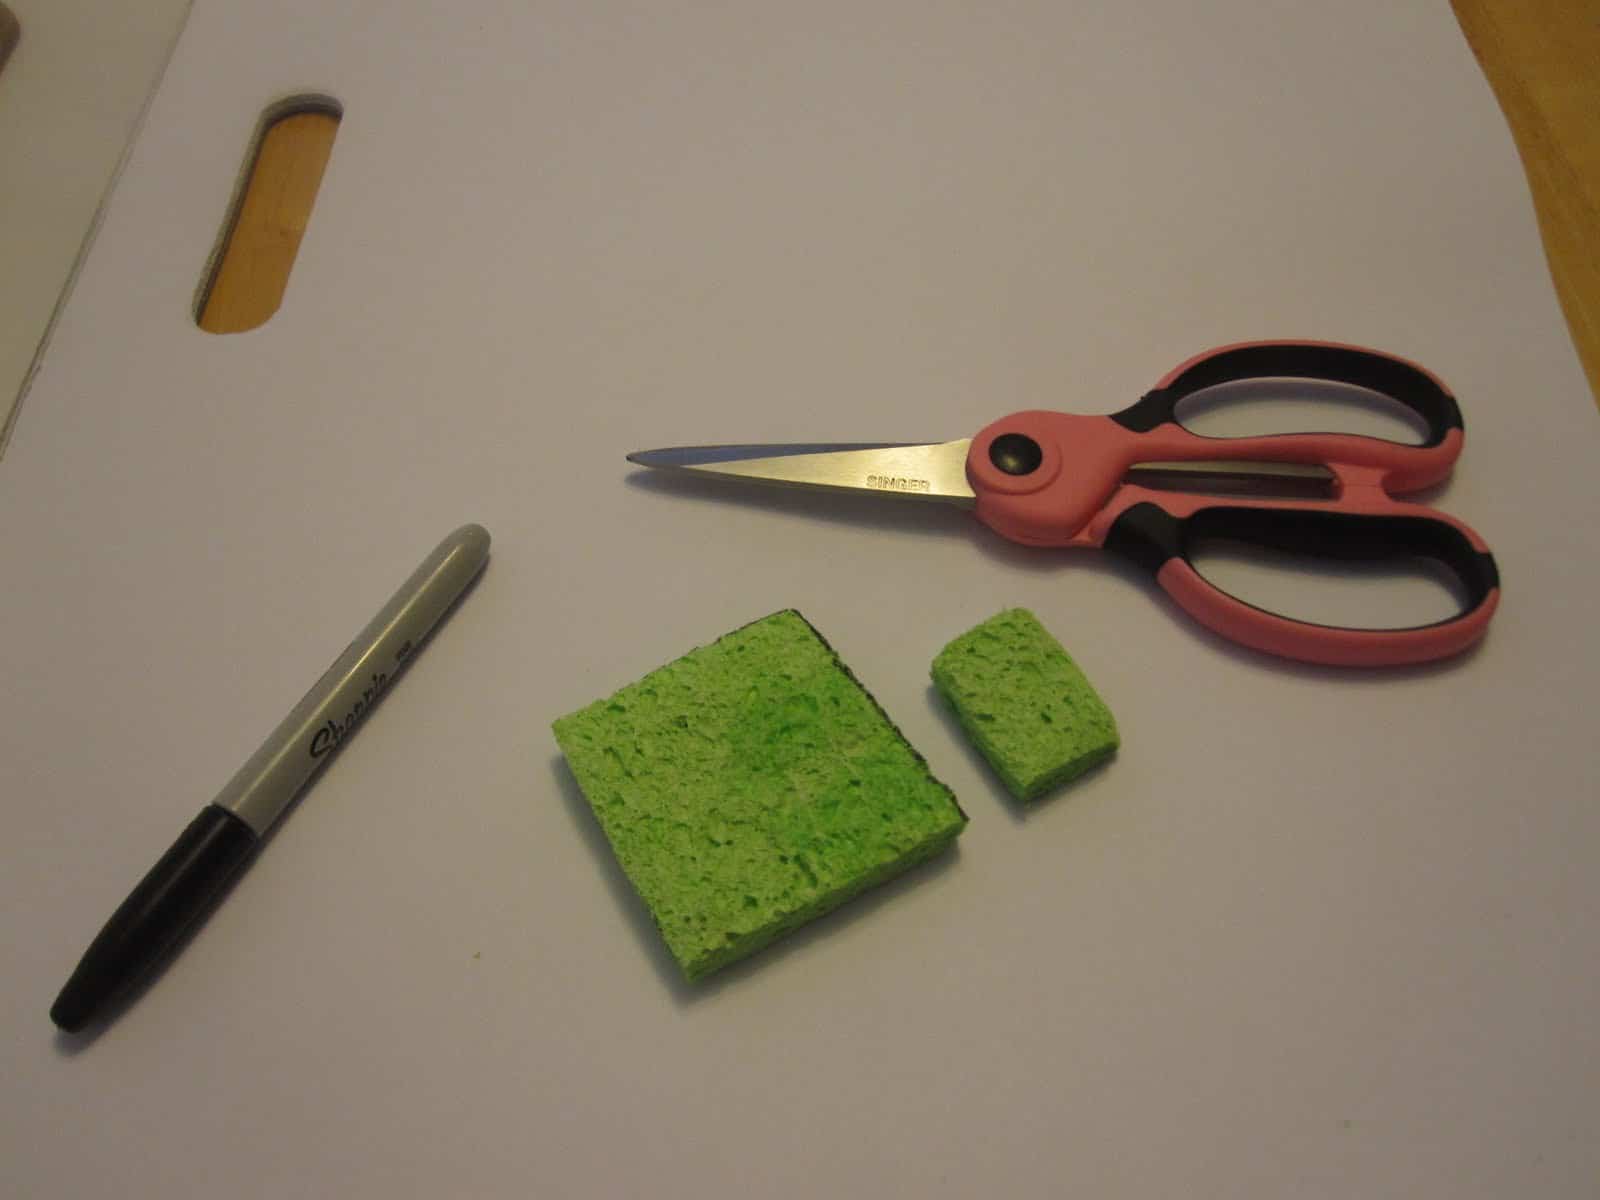
- a few dry sponges
- sharpie
- scissors
Directions:
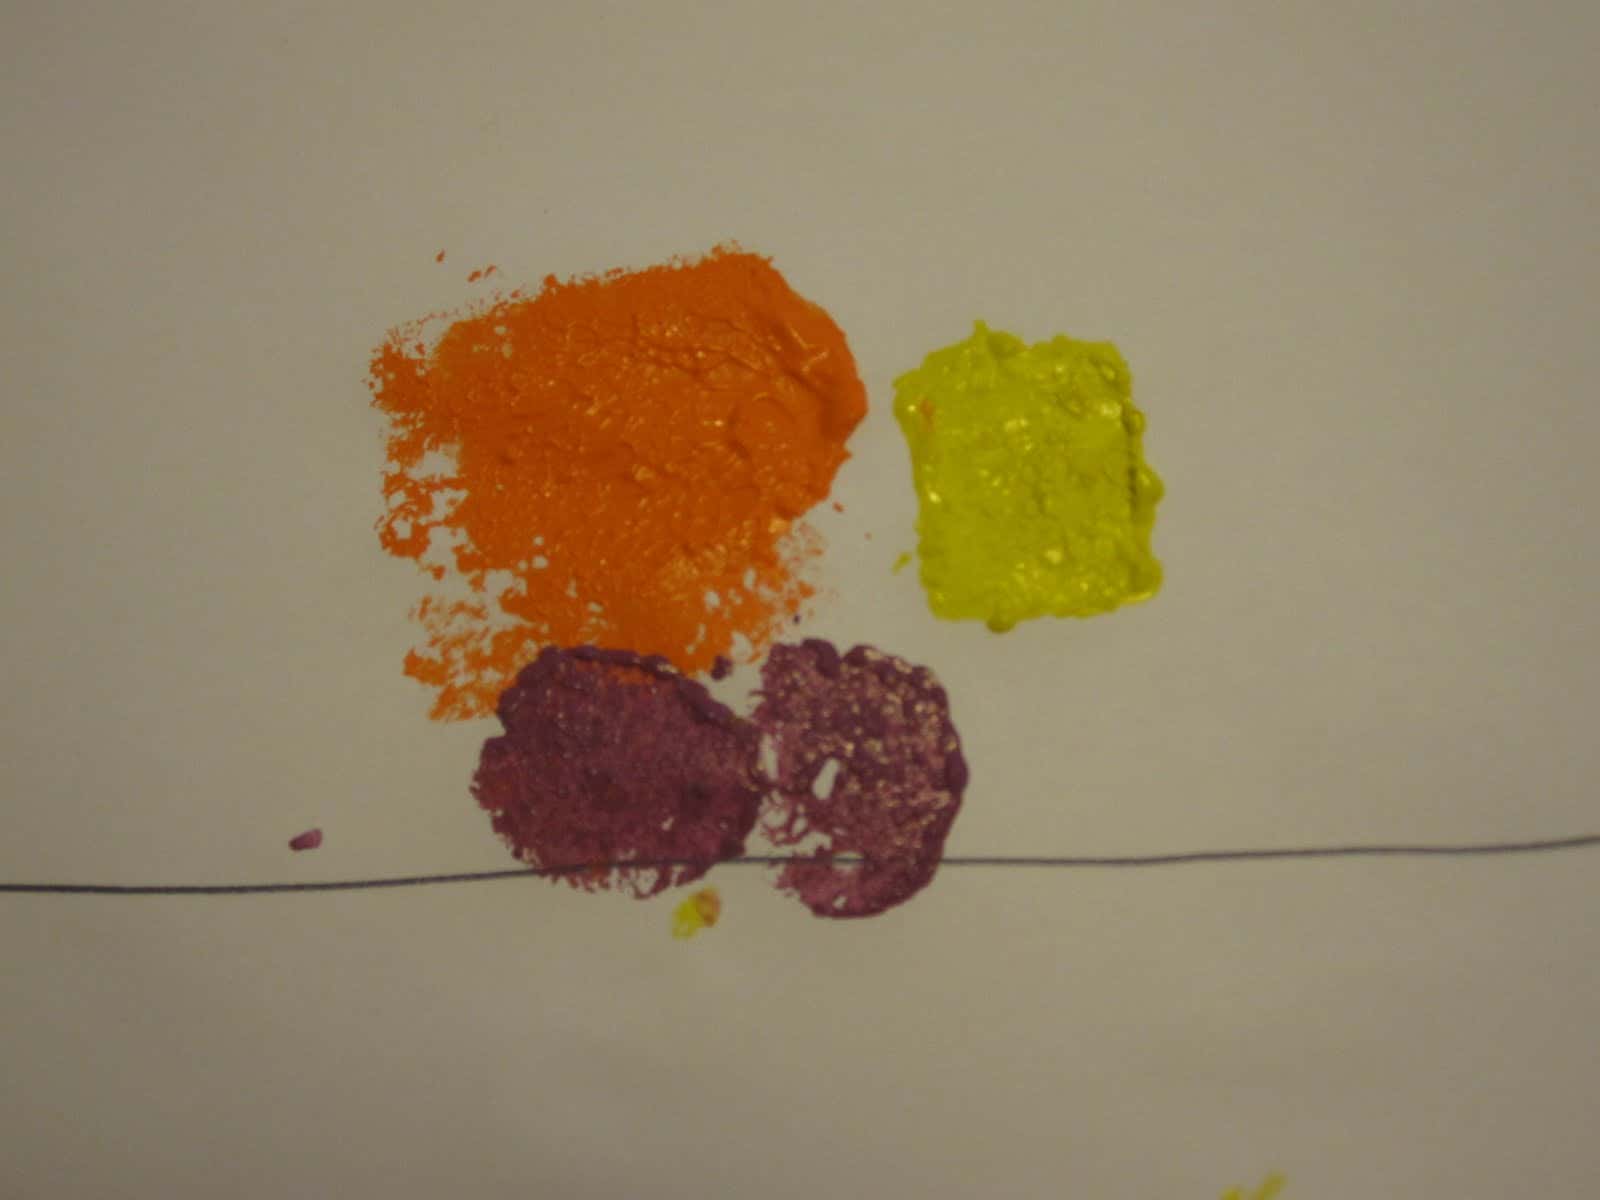
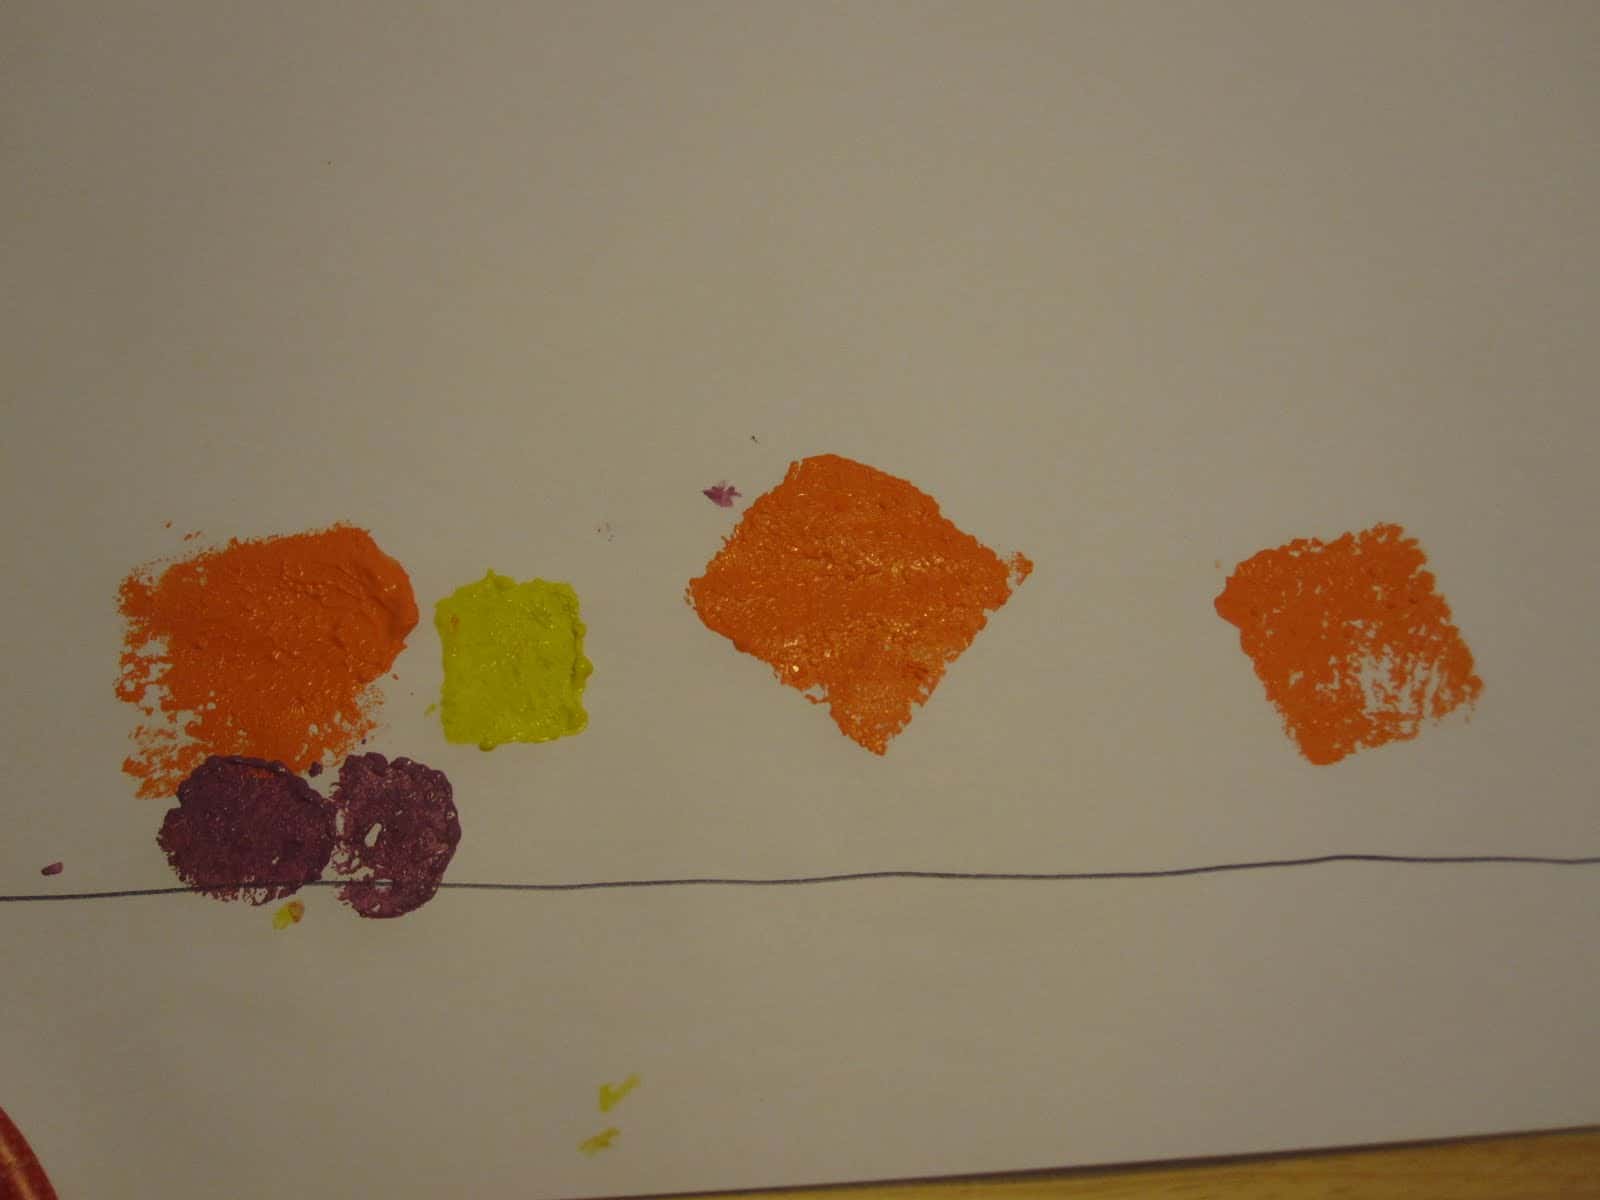
1. Cut out 3-4 different shapes from the sponges. We made a square, small rectangle, and a circle (ignore cupcake liners in picture below... we tried using them as our wheels but they were too wobbly to paint with). We had fun trying to hunt around the house to find a small circle to use as a stamp... but we never found anything the right size.
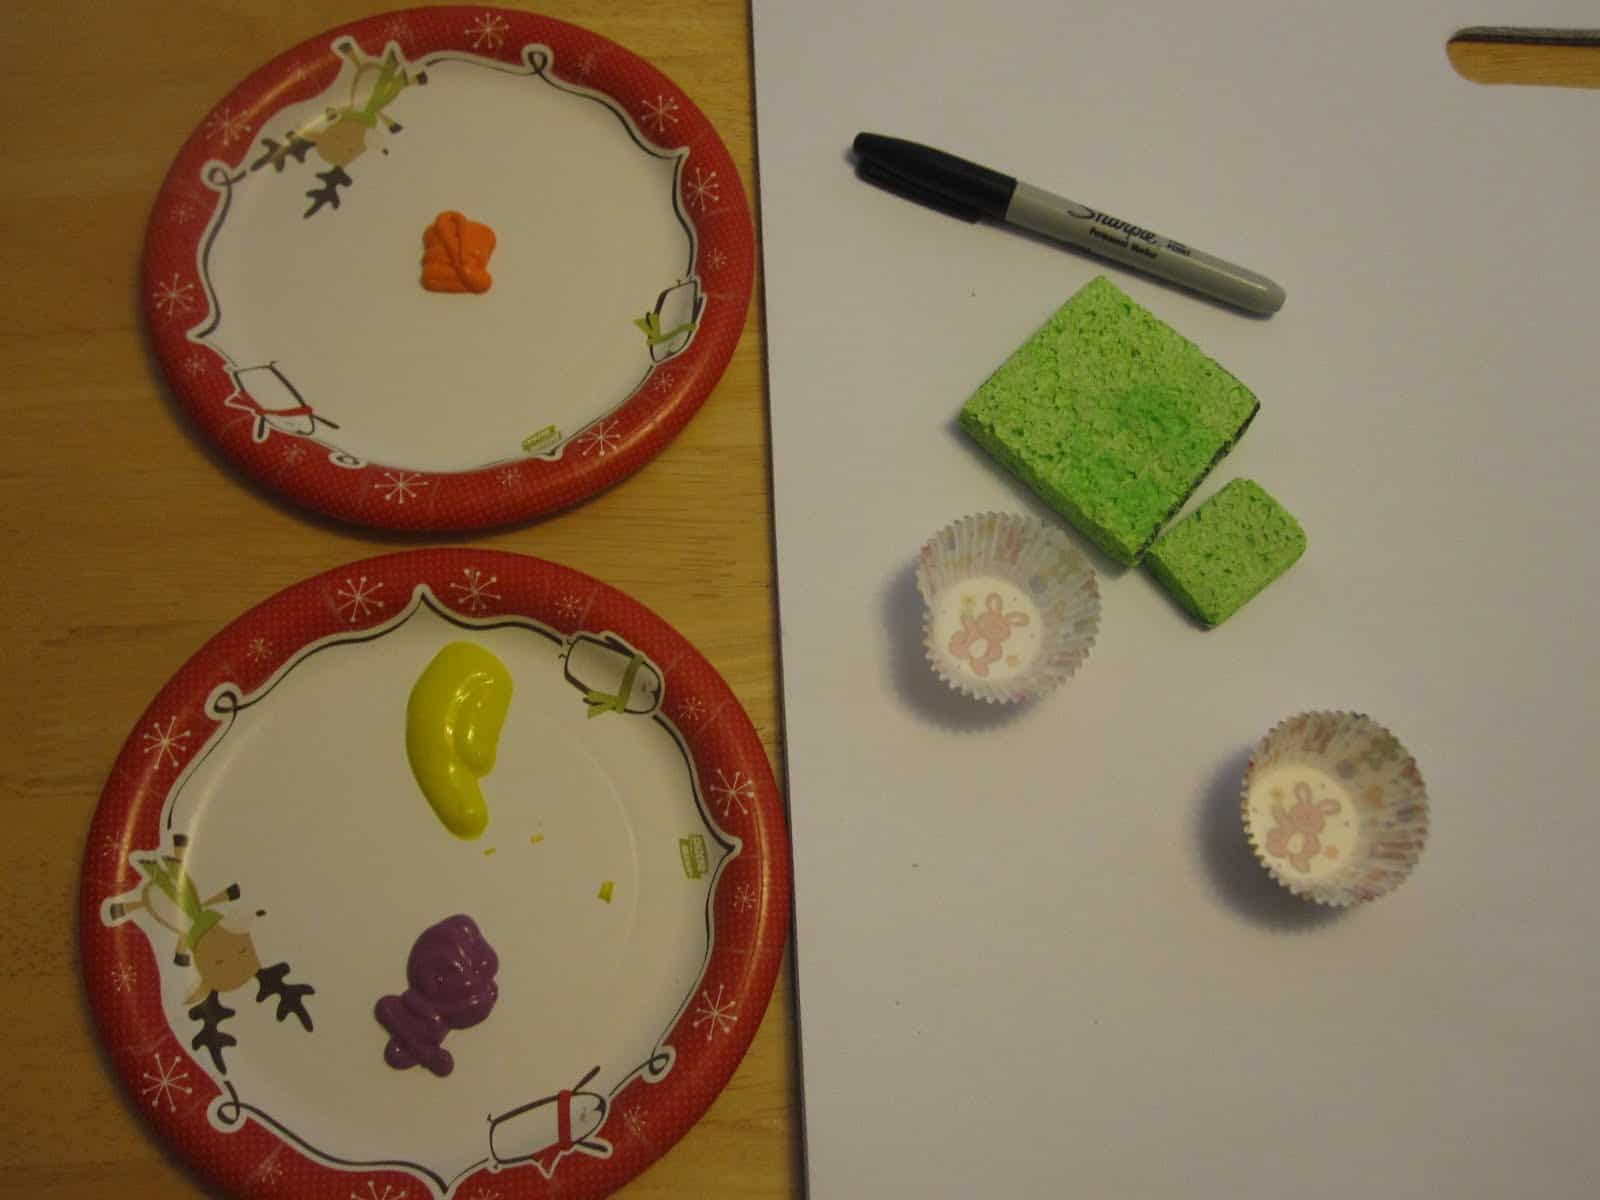
2. Get paint ready. We used a different paint color for each shape.
3. Decide on what you want to make (we did trucks and trains... trains looked horrible, but were fun!)
4. Start stamping with your shapes.
My son wanted to do trucks, so I modeled one way to make them.
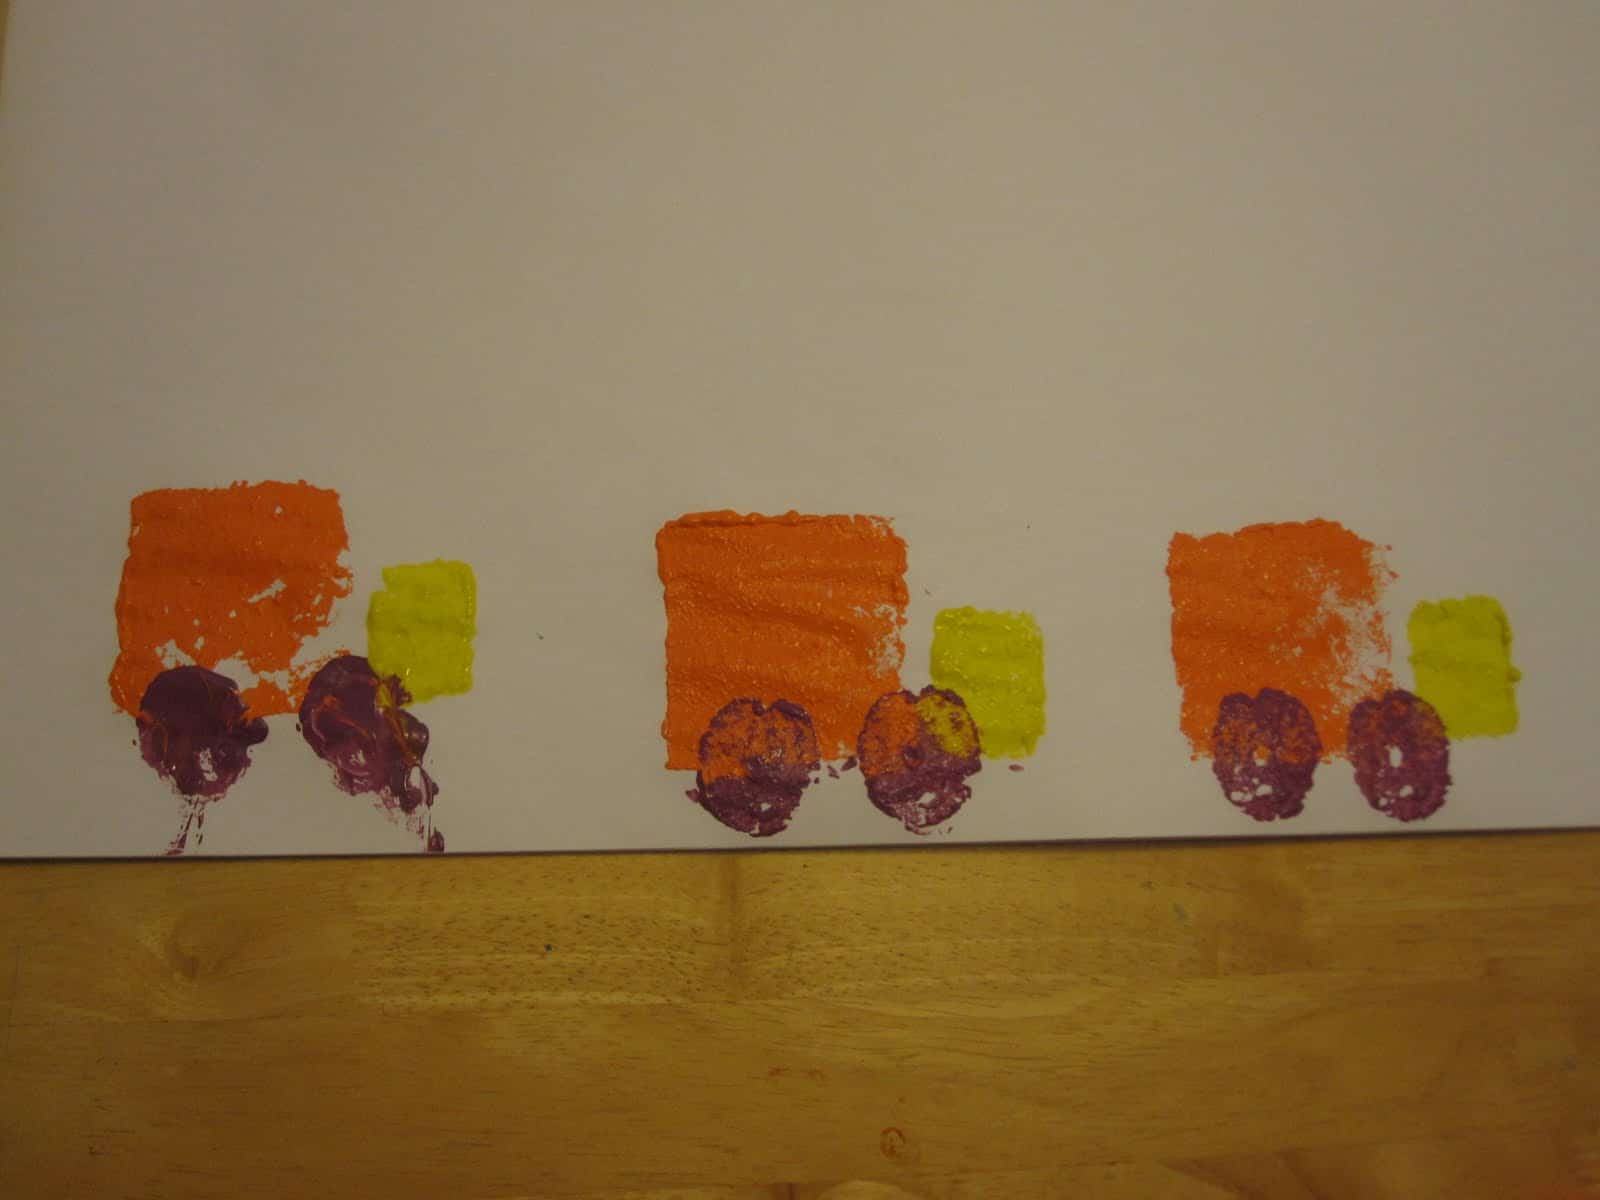
He tried to repeat my pattern.
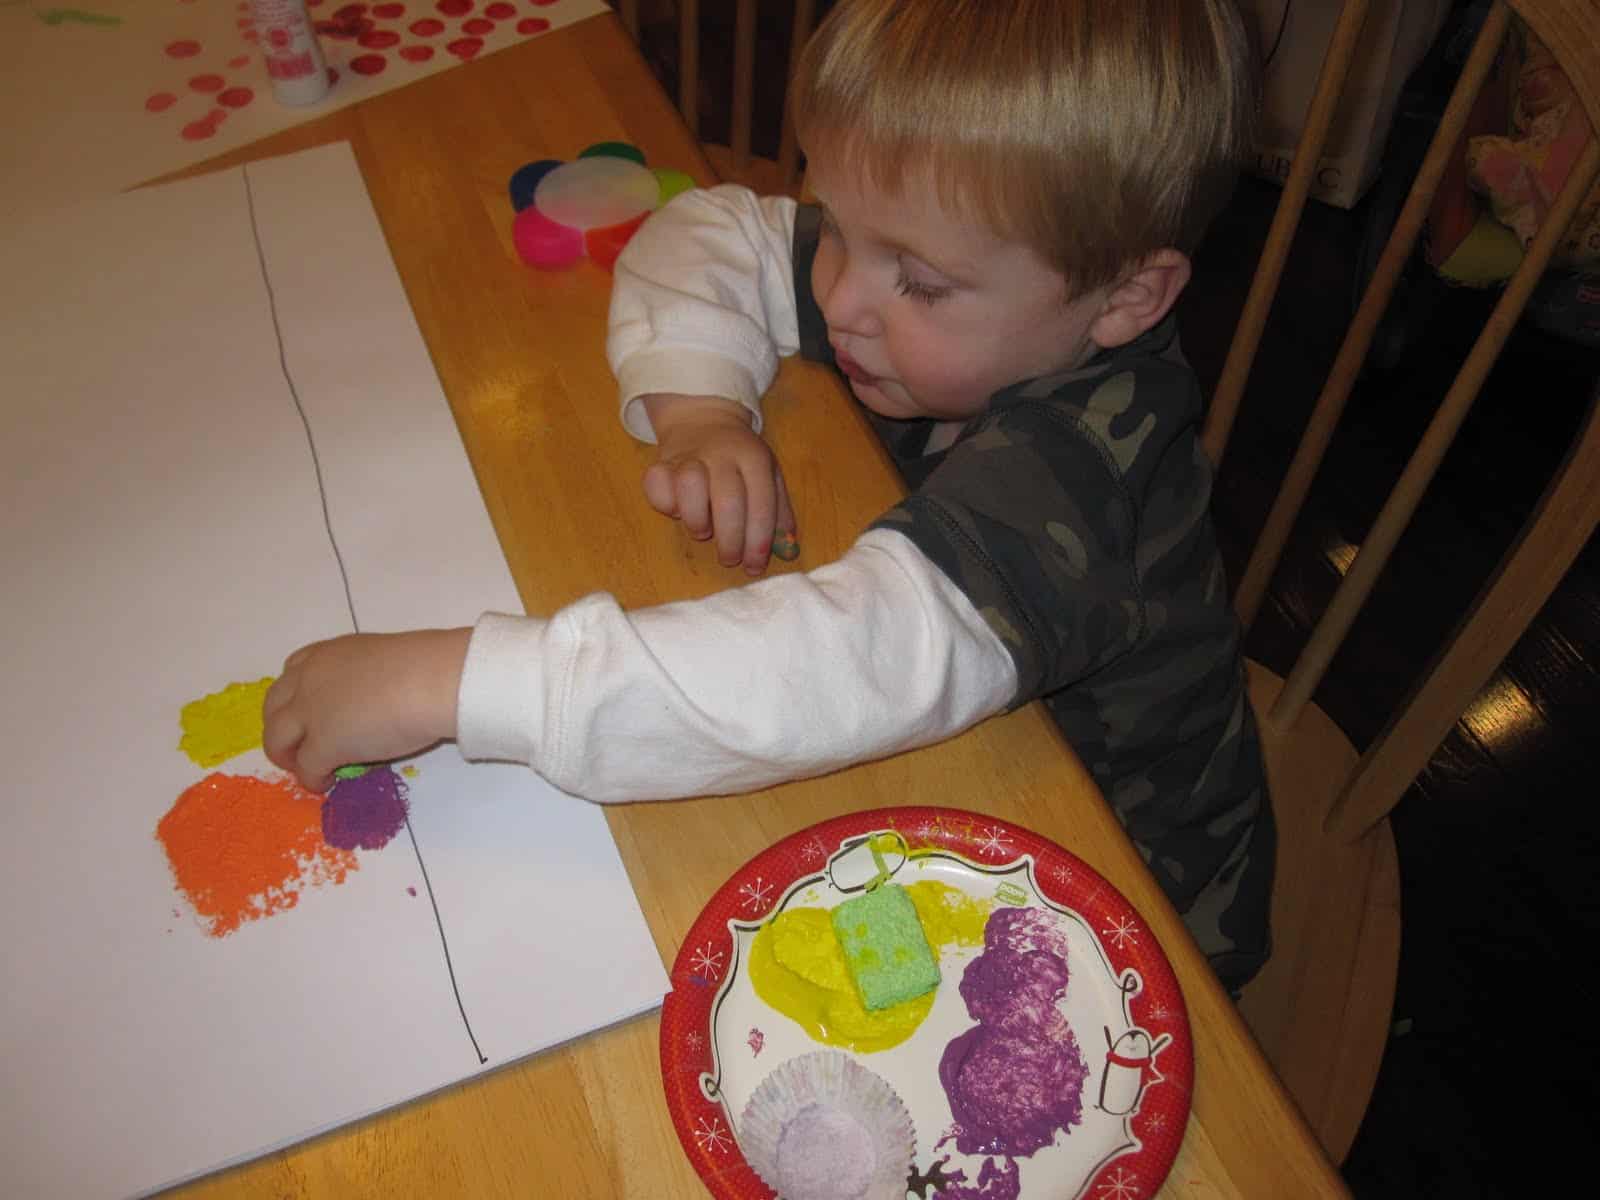
He wanted his trucks to be going up and down a bumpy road. I was impressed that he stamped 3 shapes in one color and then would get the next color/shape, and the next. My way was less effective (doing one whole truck at a time) and used more paint.
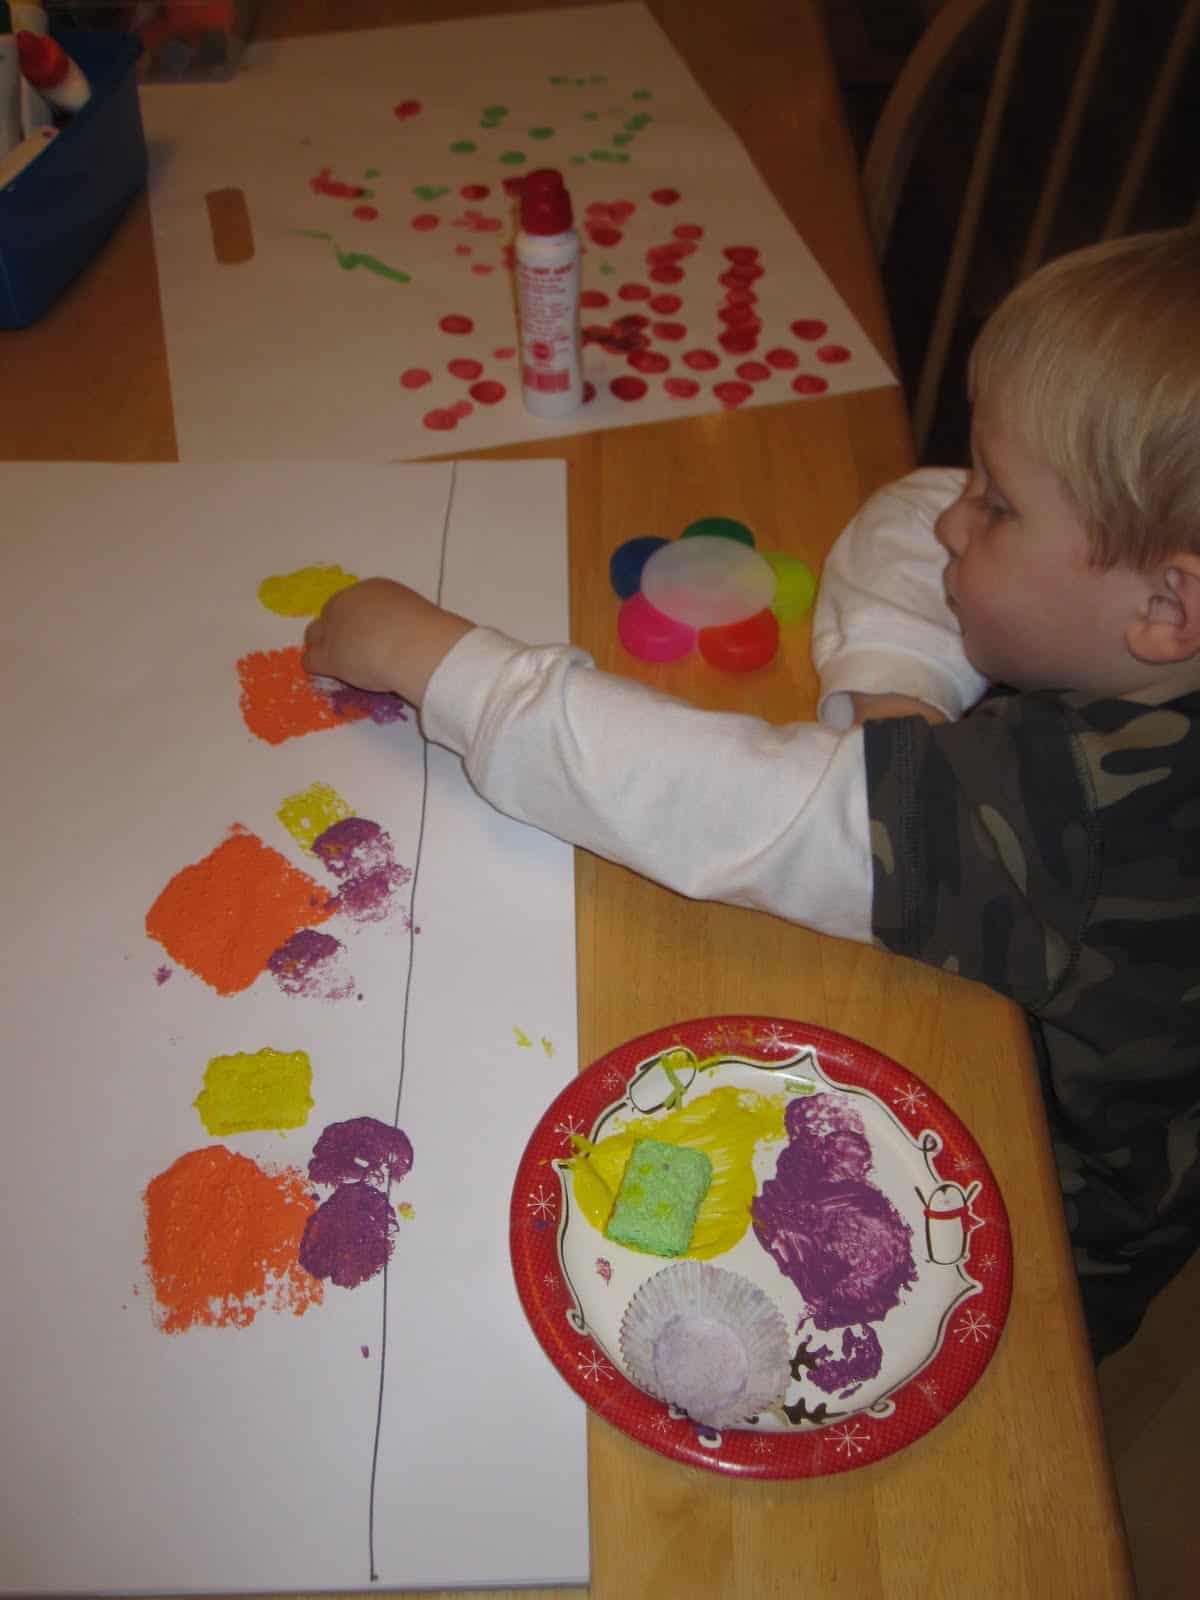
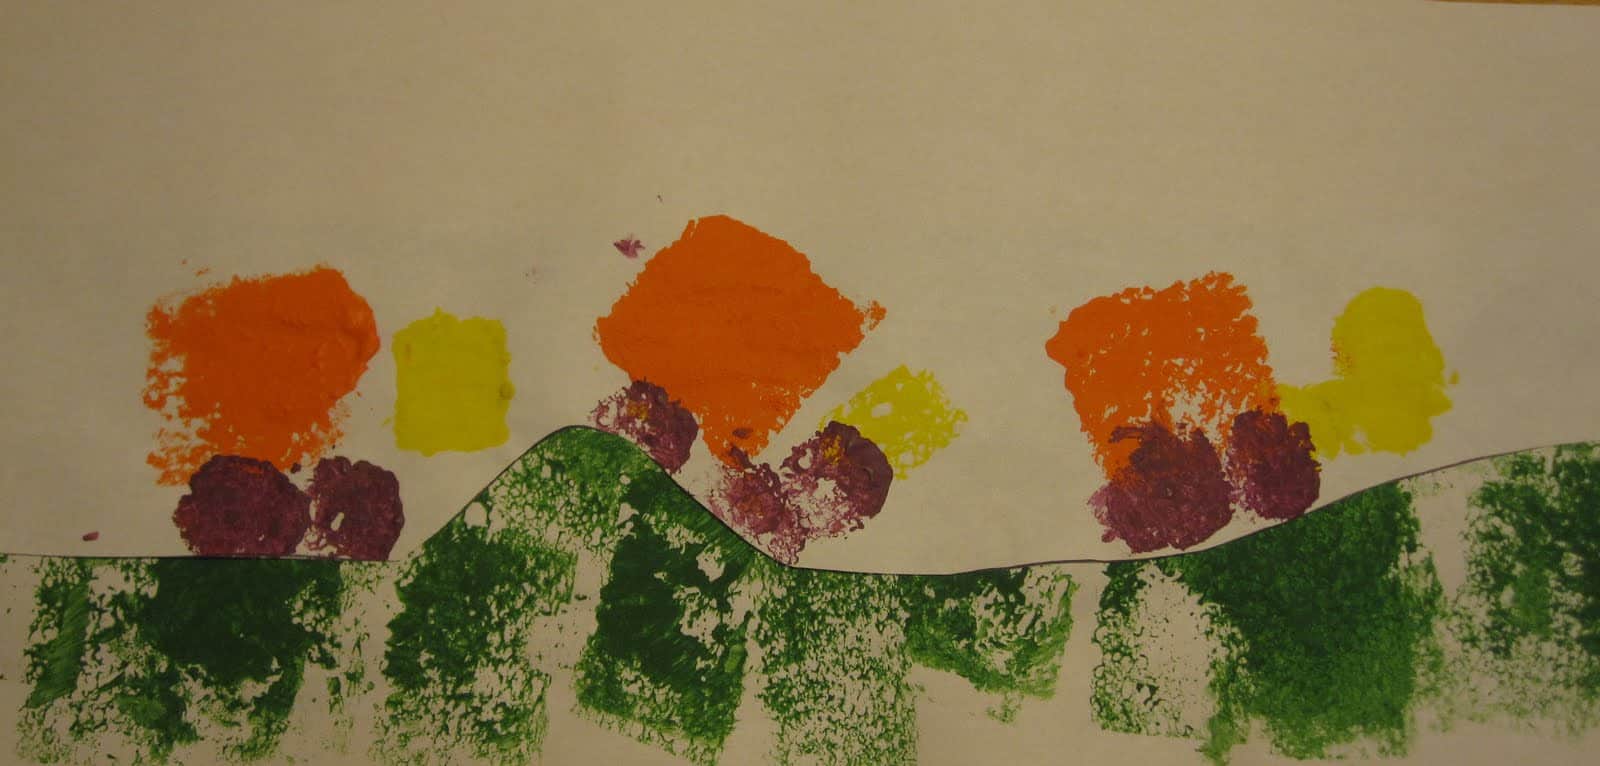
After we were done with the trucks, he wanted to make a green road. We stamped another paper green and then taped the trucks on top of the road to create our hilly terrain.

We loved the finished product!
We also added a sun with our do-a-dot markers.

With younger kids I would just cut different shapes out of the sponges and let them repeat the shapes or create patterns without trying to do anything as complex as this. This is a great way to talk about shapes in a fun way. Next time I will try including some harder shapes like hexagons and octagons and we'll count the sides as we cut and paint.
This activity would go along great with my Shape Town File Folder project.
Remember to check our Blogiversary GIVEAWAY here. Deadline is Tuesday, Jan 11th at midnight. Don't miss out!


Super cute!