
This activity reused some of the materials from the Shamrock collage we did yesterday, so it was easy and a lot of fun. We decided to do two painting activities this afternoon since we already had the paints out and we were already messy.
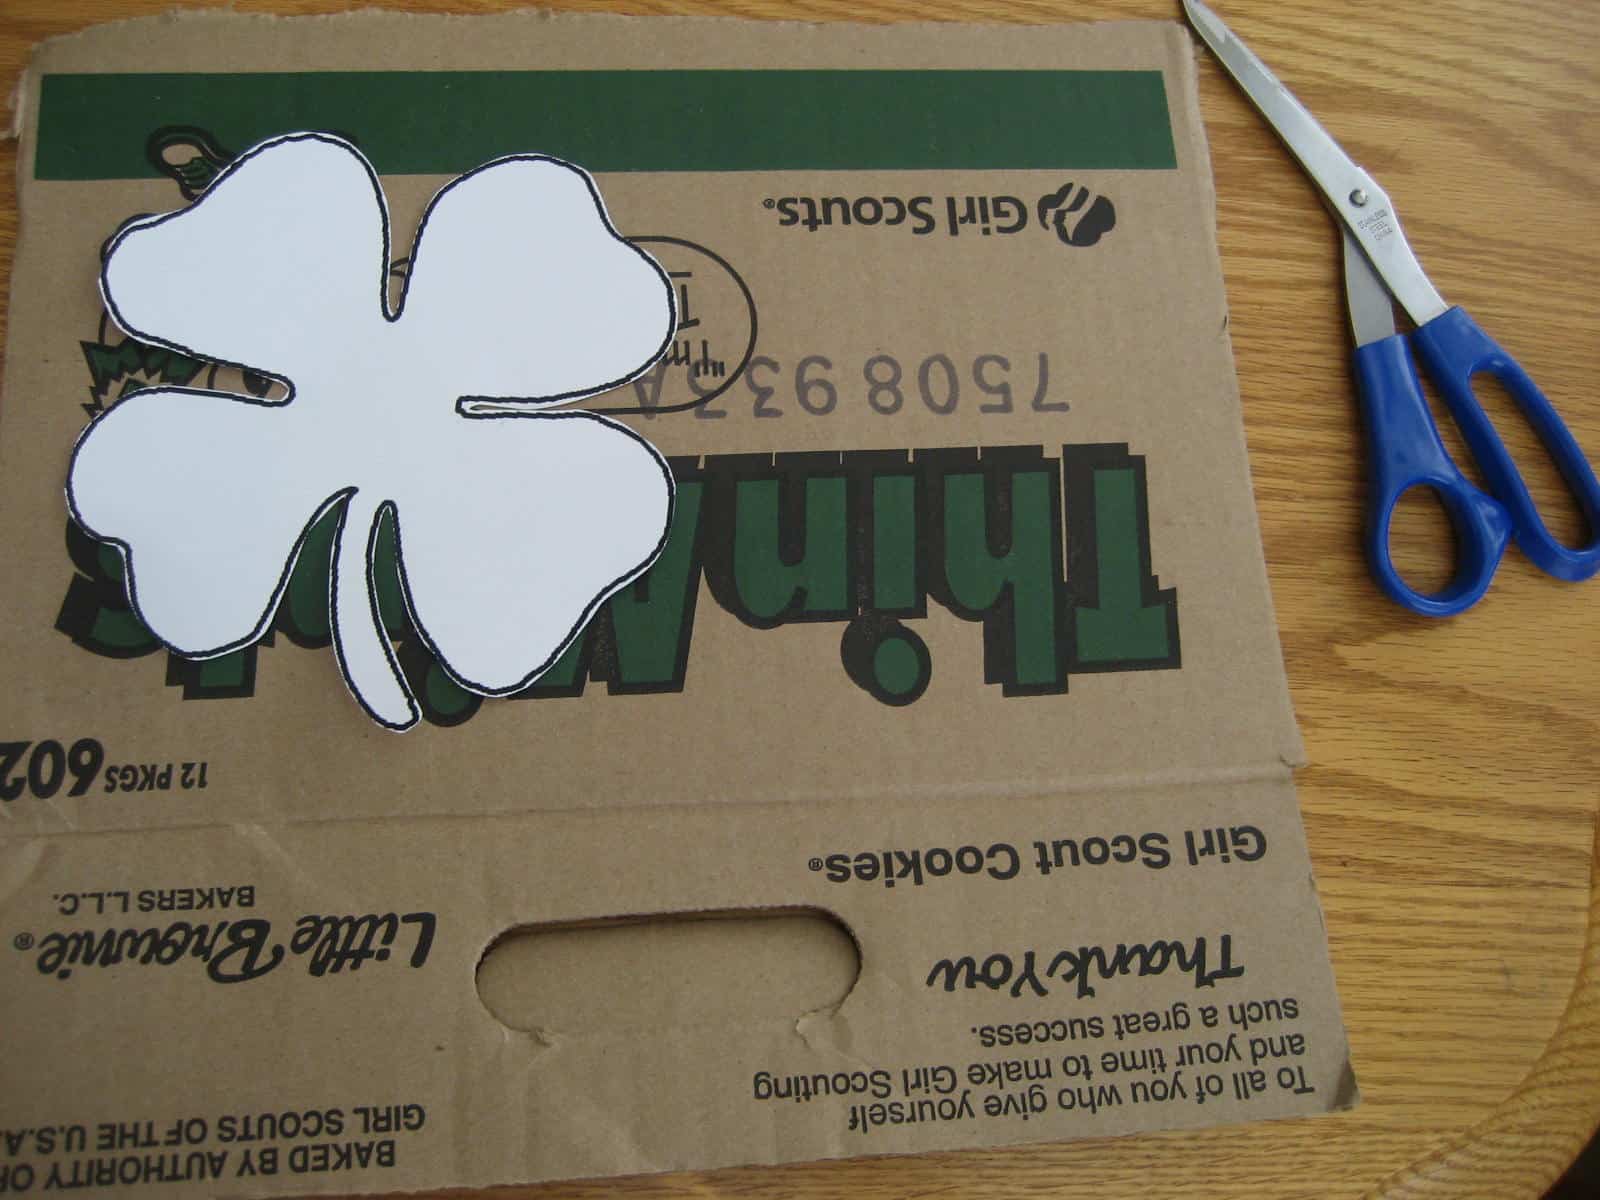
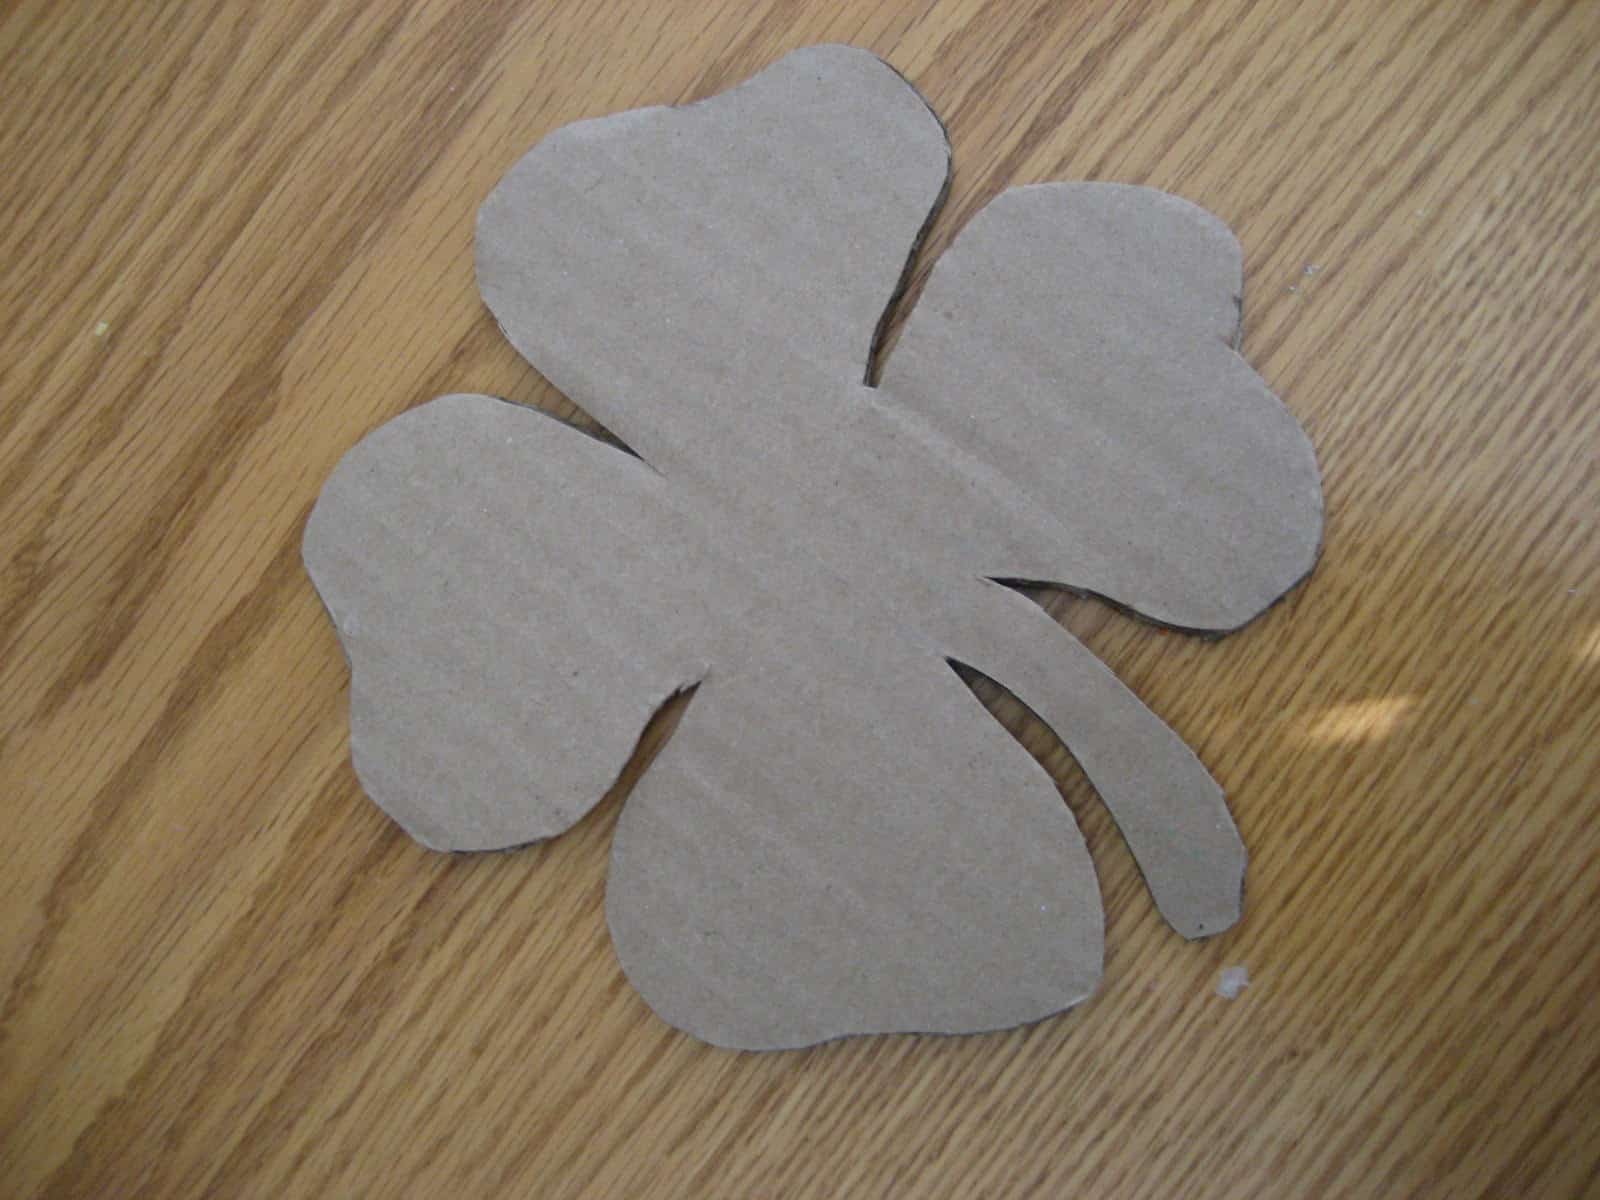
Materials Needed: shamrock shapes cut from cardstock or cardboard (like the ones used in the Shamrock Collage), scissors, tape, large paper, paintbrushes or cut up sponges (we used foam brushes), light and dark green paint, paper plate, and shamrock stickers.
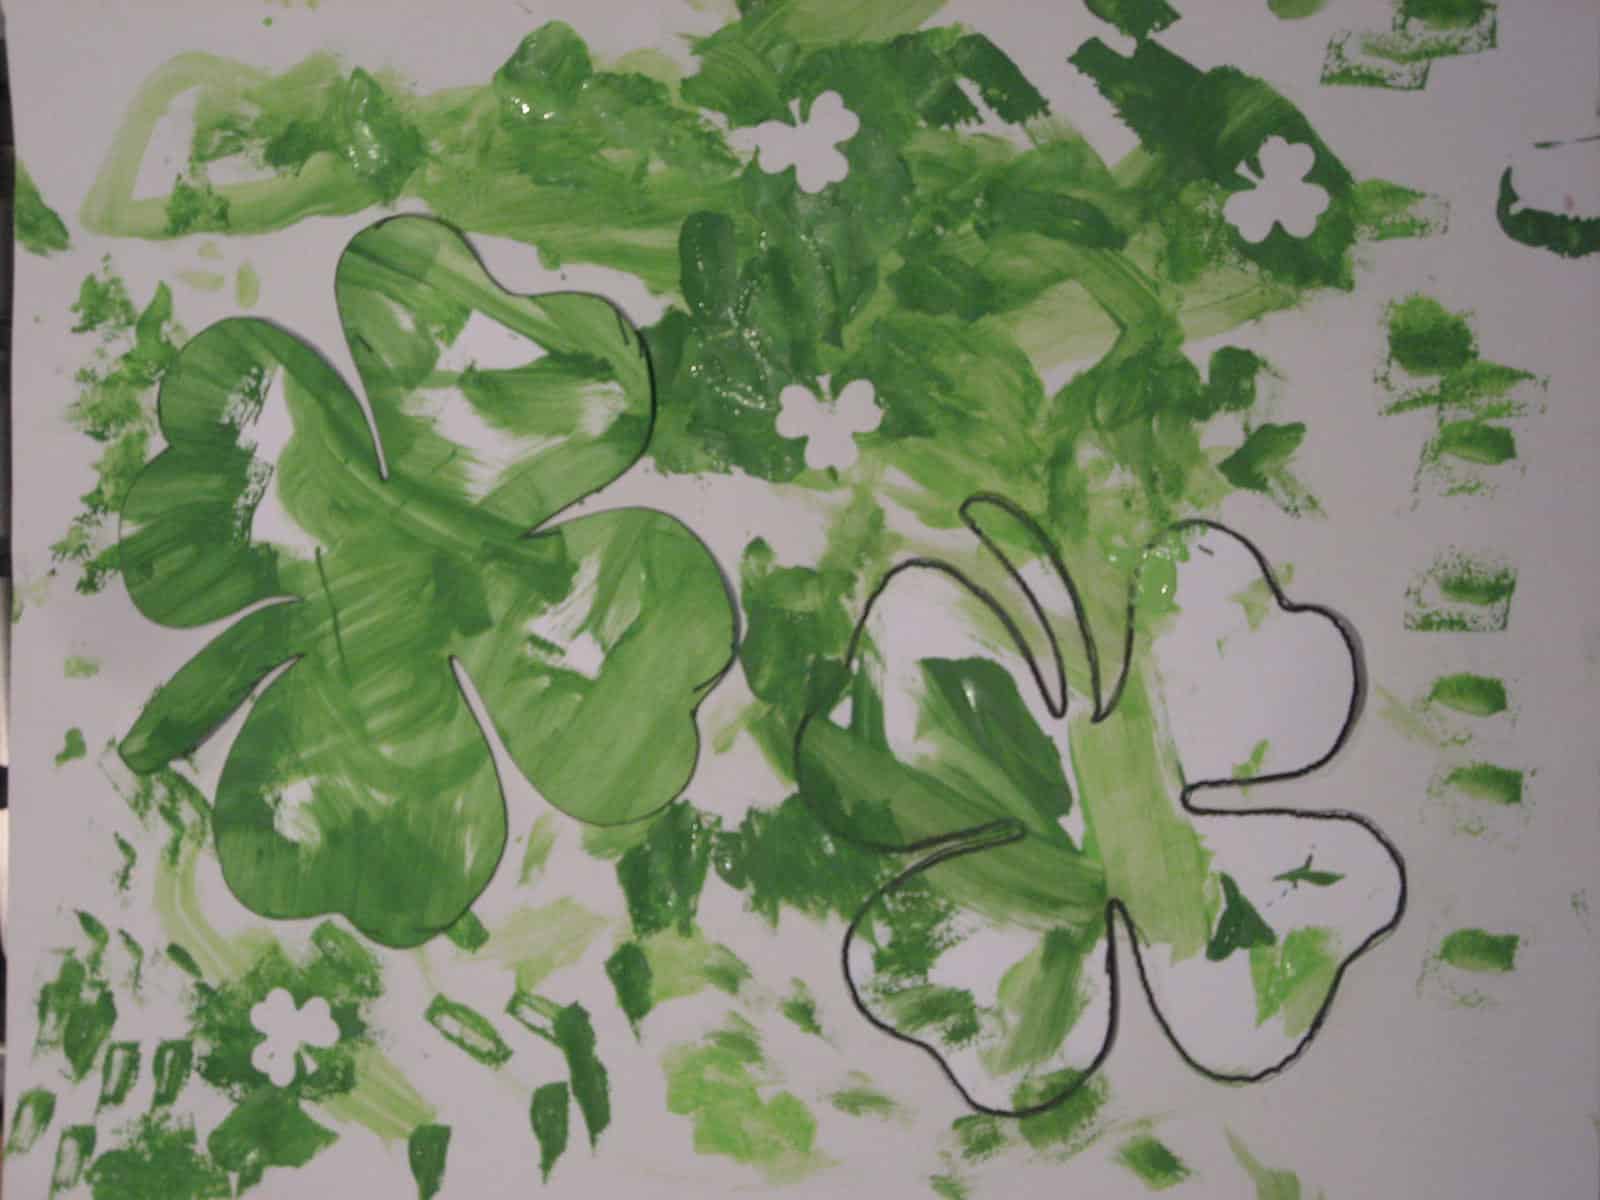
Directions:
1. Cut out your shamrock shapes.
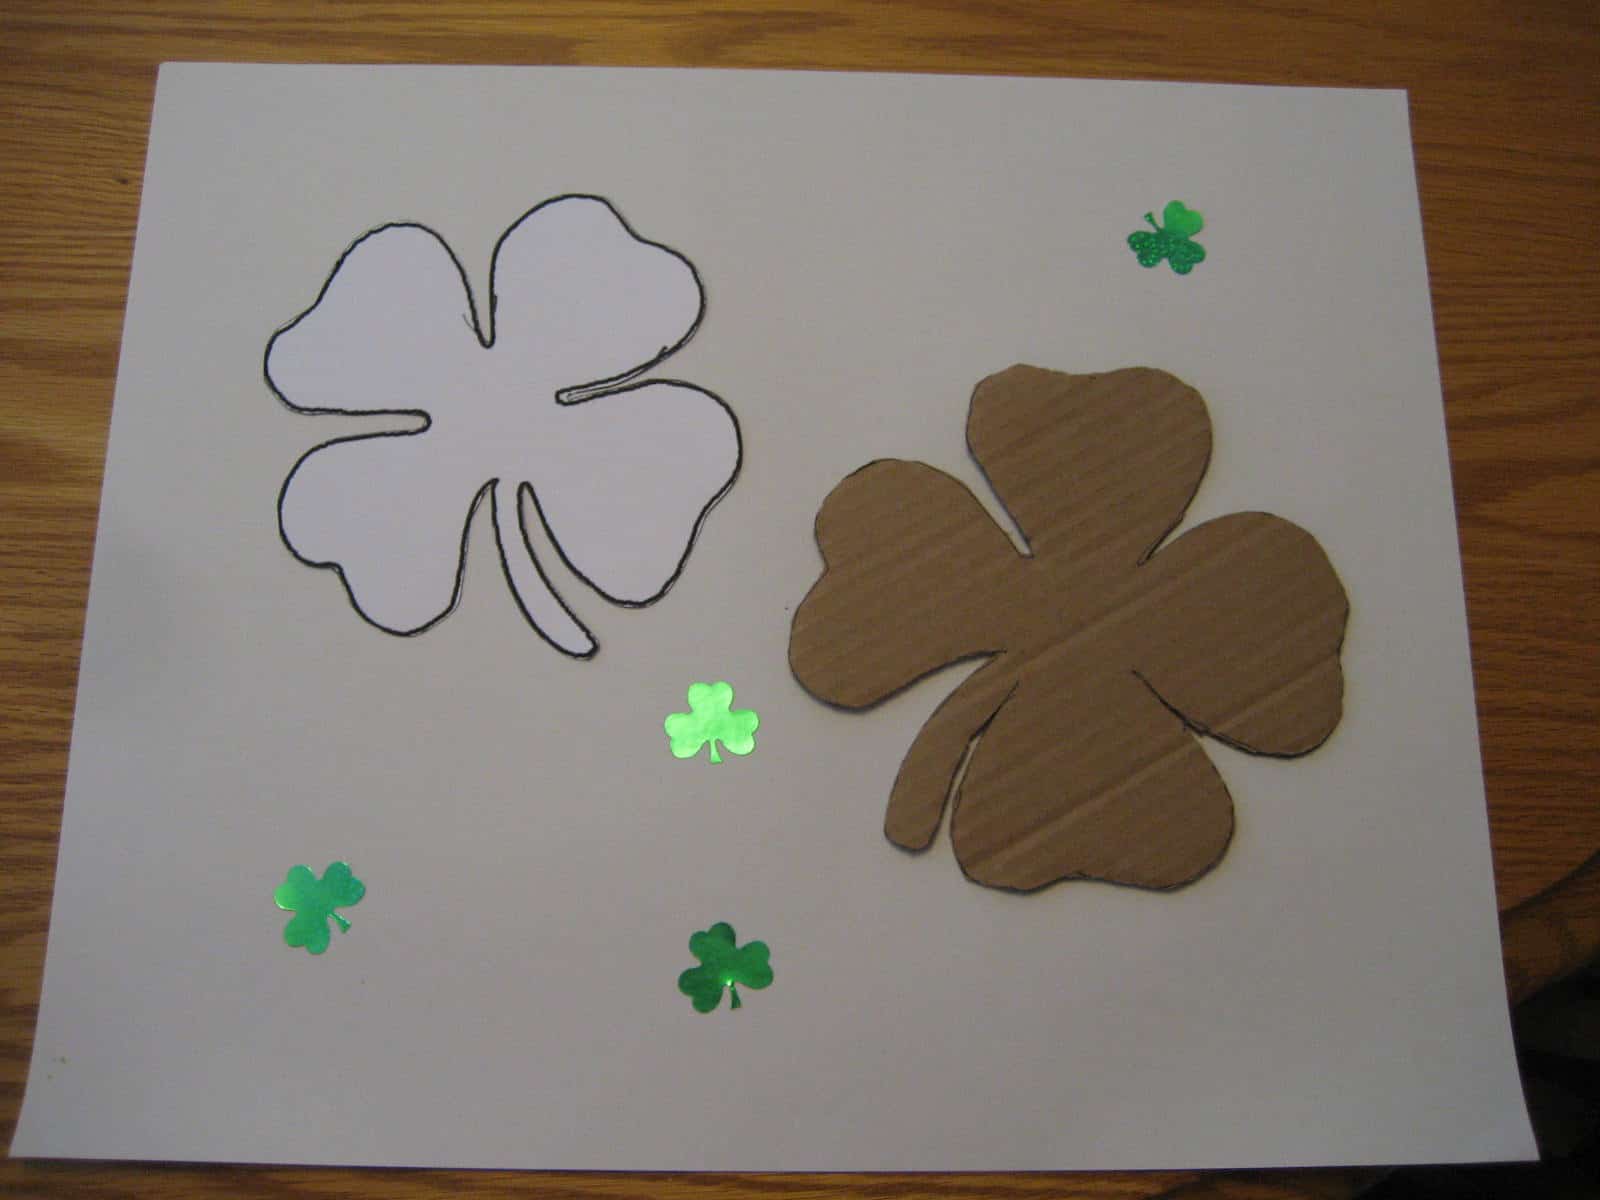
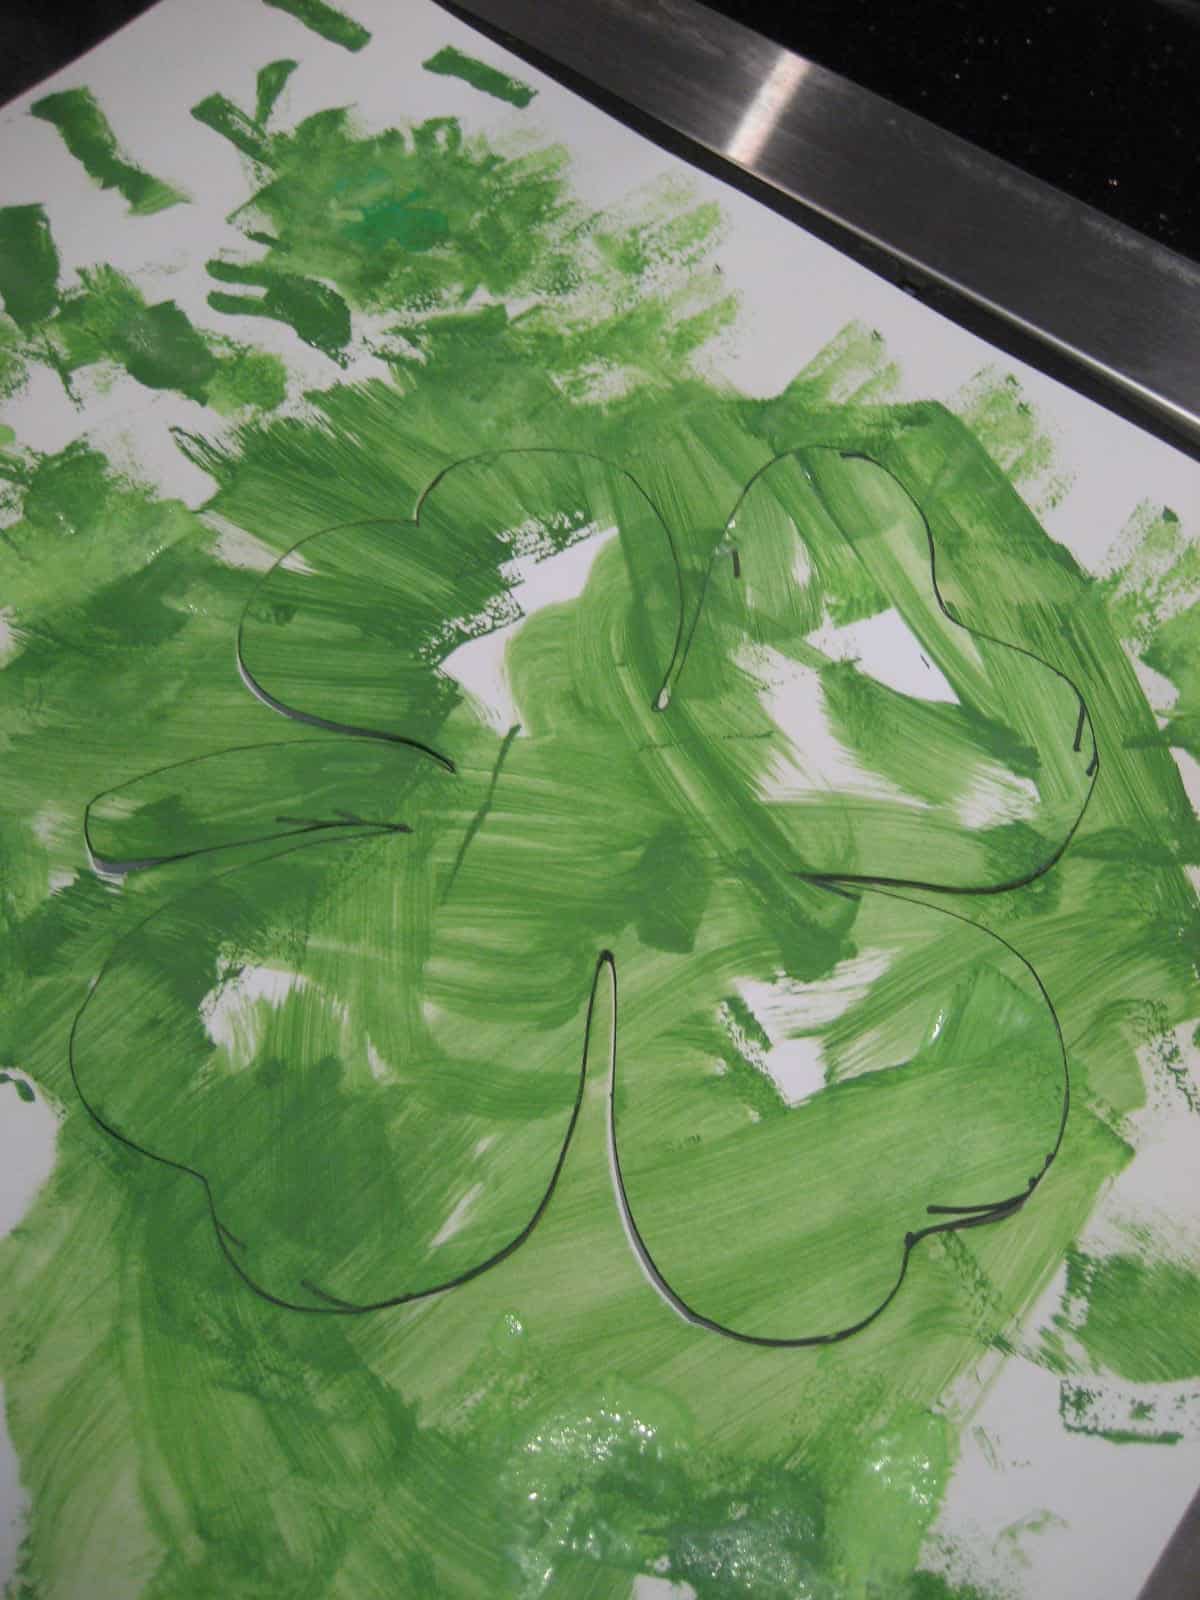
2. Tape the shamrock shapes to your large piece of paper. Painter's tape works the best.

3. Add some shamrock stickers to your paper.
4. Load up your paper plate with paint and dip your brush in.
5. Let your toddler cover their paper with paint- dab, dot, swish, make lines, whatever they want.
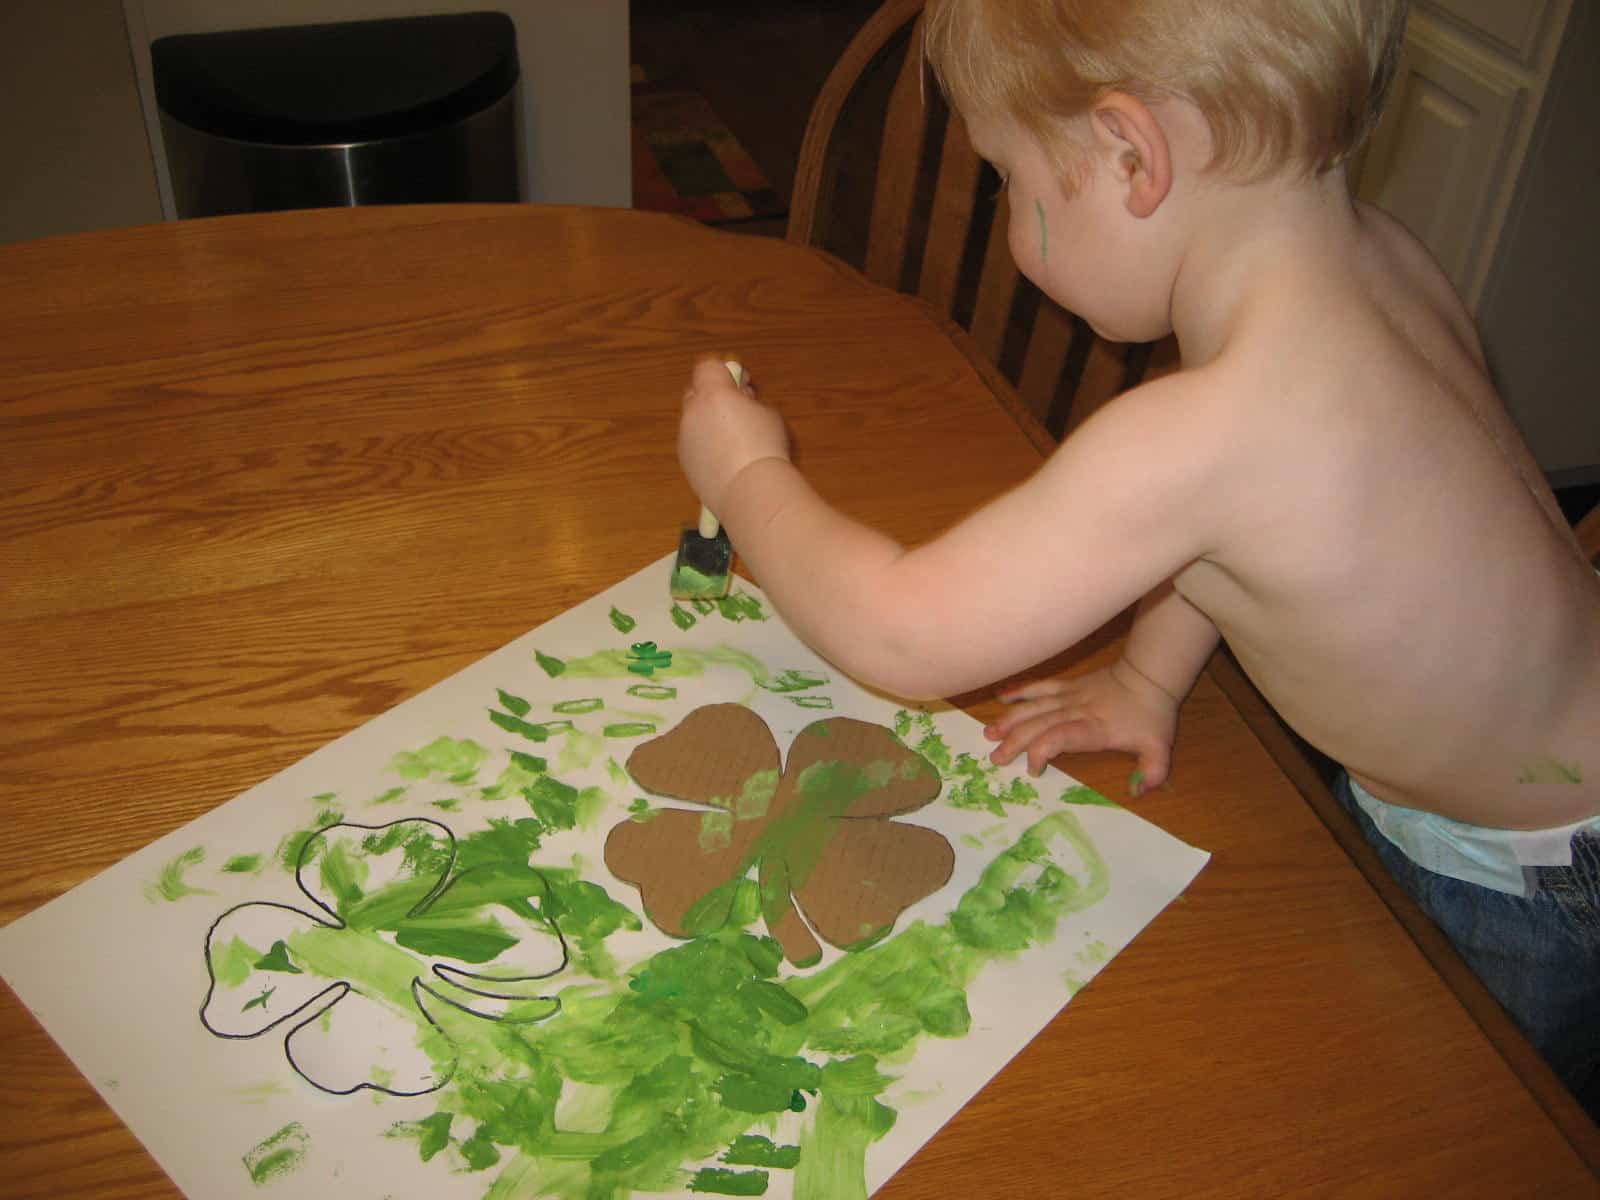
6. Encourage them to cover the edges of the shamrock cut outs with lots of paint.
7. Let the paint dry.
8. Peel off the shamrock shapes.
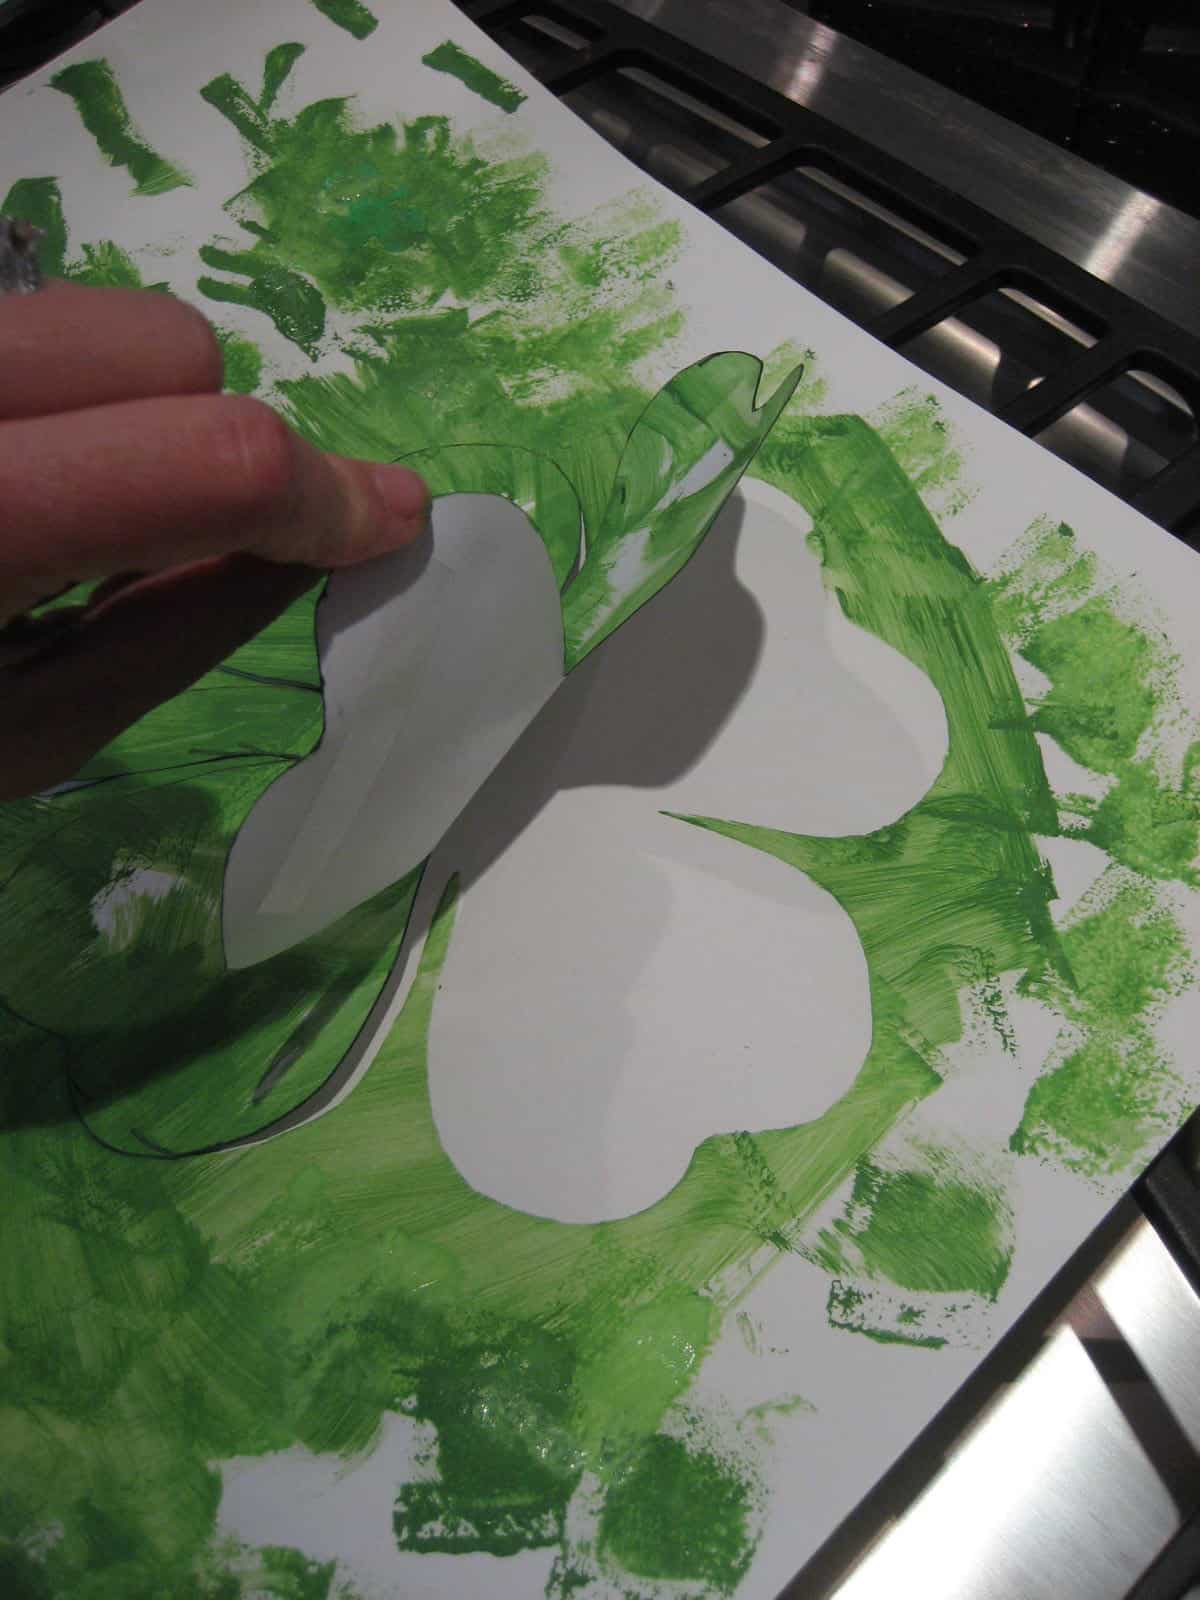
9. Check out the shamrock shadows that were left after the cut outs were removed!
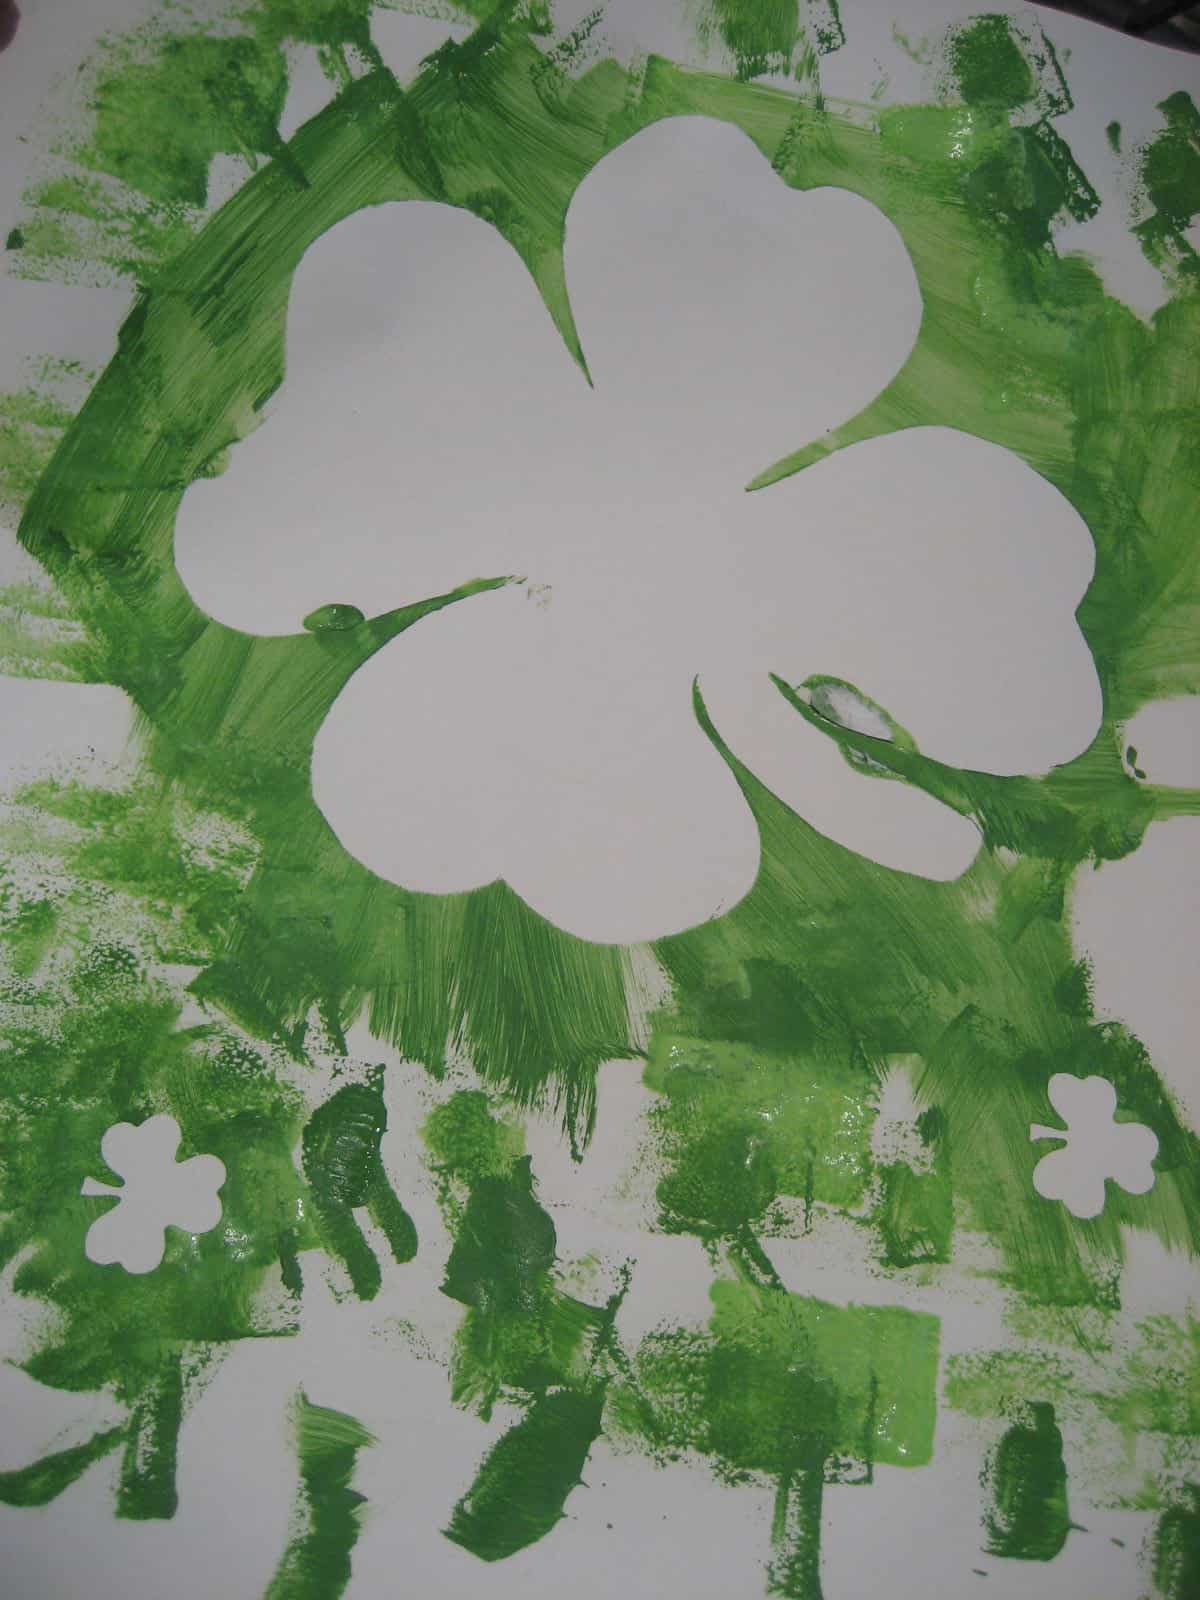
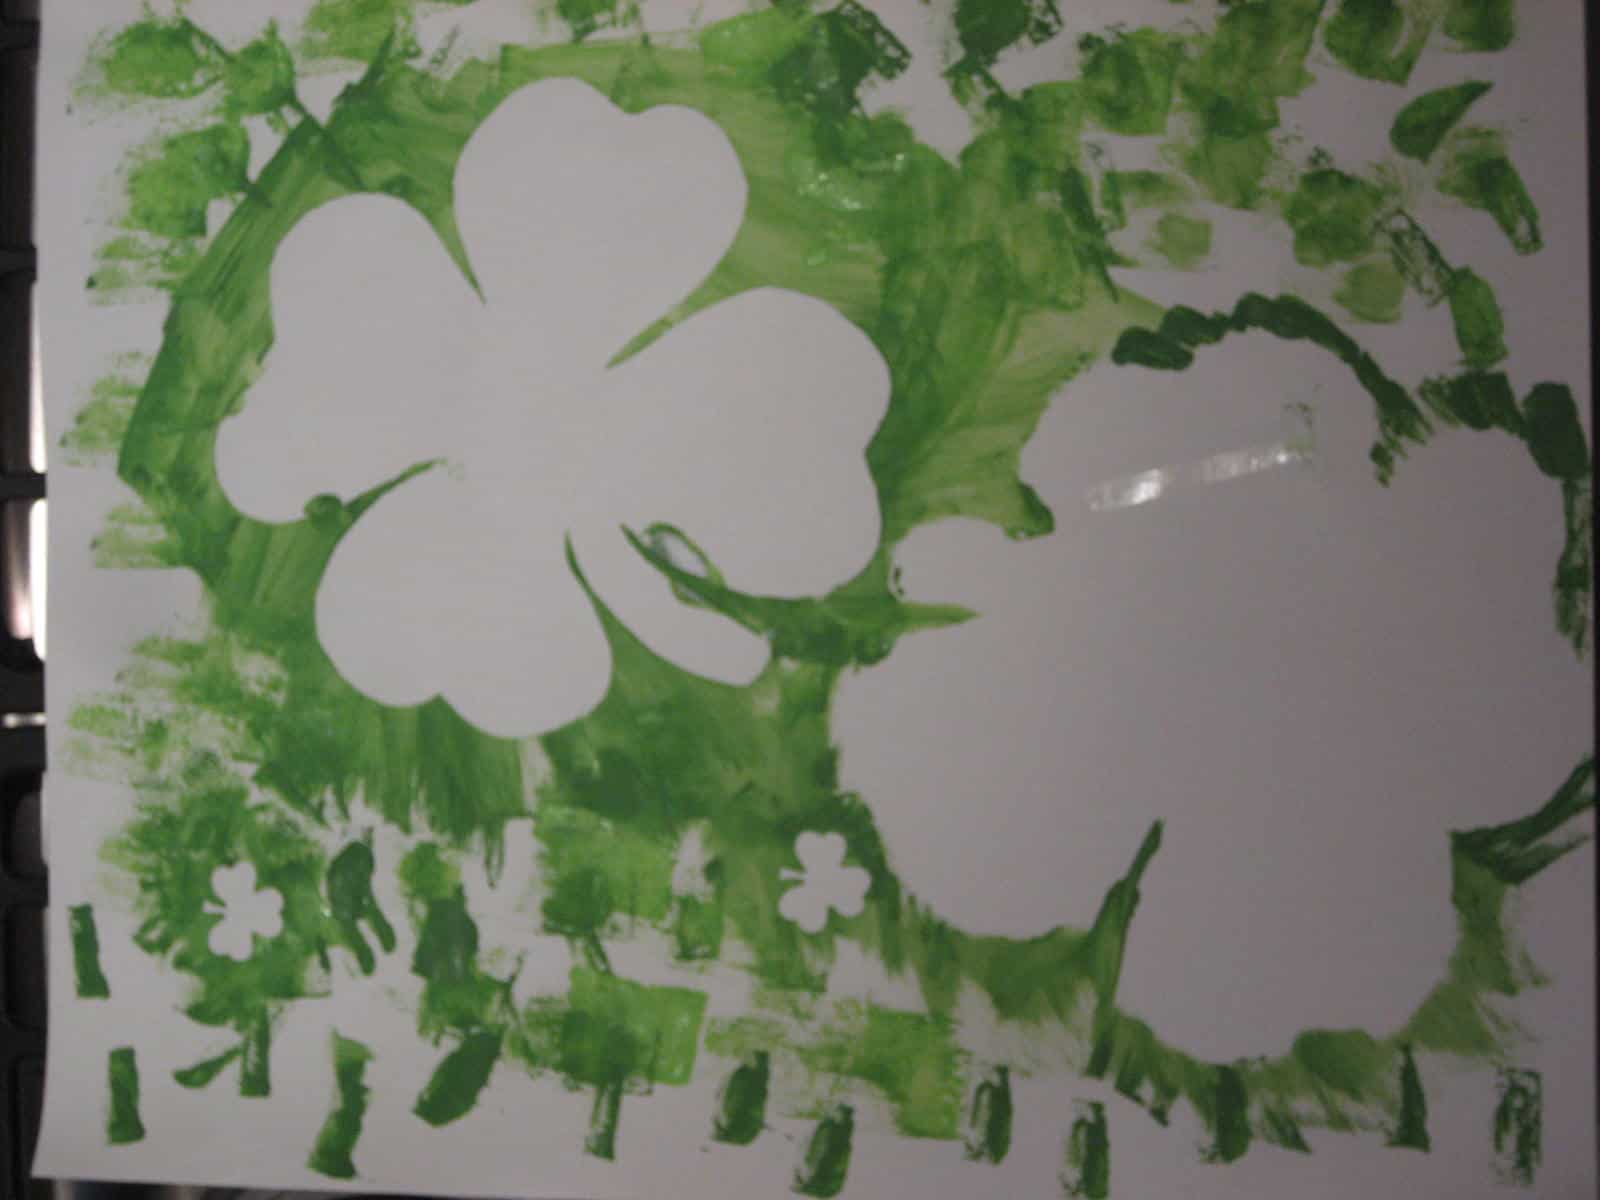
10. You can even use the paint covered cut outs to decorate other pages.
The cardboard cut outs stayed in place better, but didn't look as cute when they were painted around... so next time I would just use the cardstock cut outs.
Language Development:
Words we talked about were shamrocks, stickers, dot, dab, light green, and dark green. My little guy was mostly interested in exclaiming, "more green paint!" "light green please," or "dark green!" so I let him lead the conversation and tried to stretch the language to things like "more green paint please." I also modeled statements like "look at the little green shamrocks" or I counted his dots as he made green polka dots on his paper. At one point he started counting with me. Mostly I just modeled language and tried to have little conversations with him while we painted.


Leave a Comment