
This activity was inspired by my friends over at Made on Maple who created fabric Halloween garlands last week. We decided to work on creating patterns and make our own garlands today to liven up our kitchen.

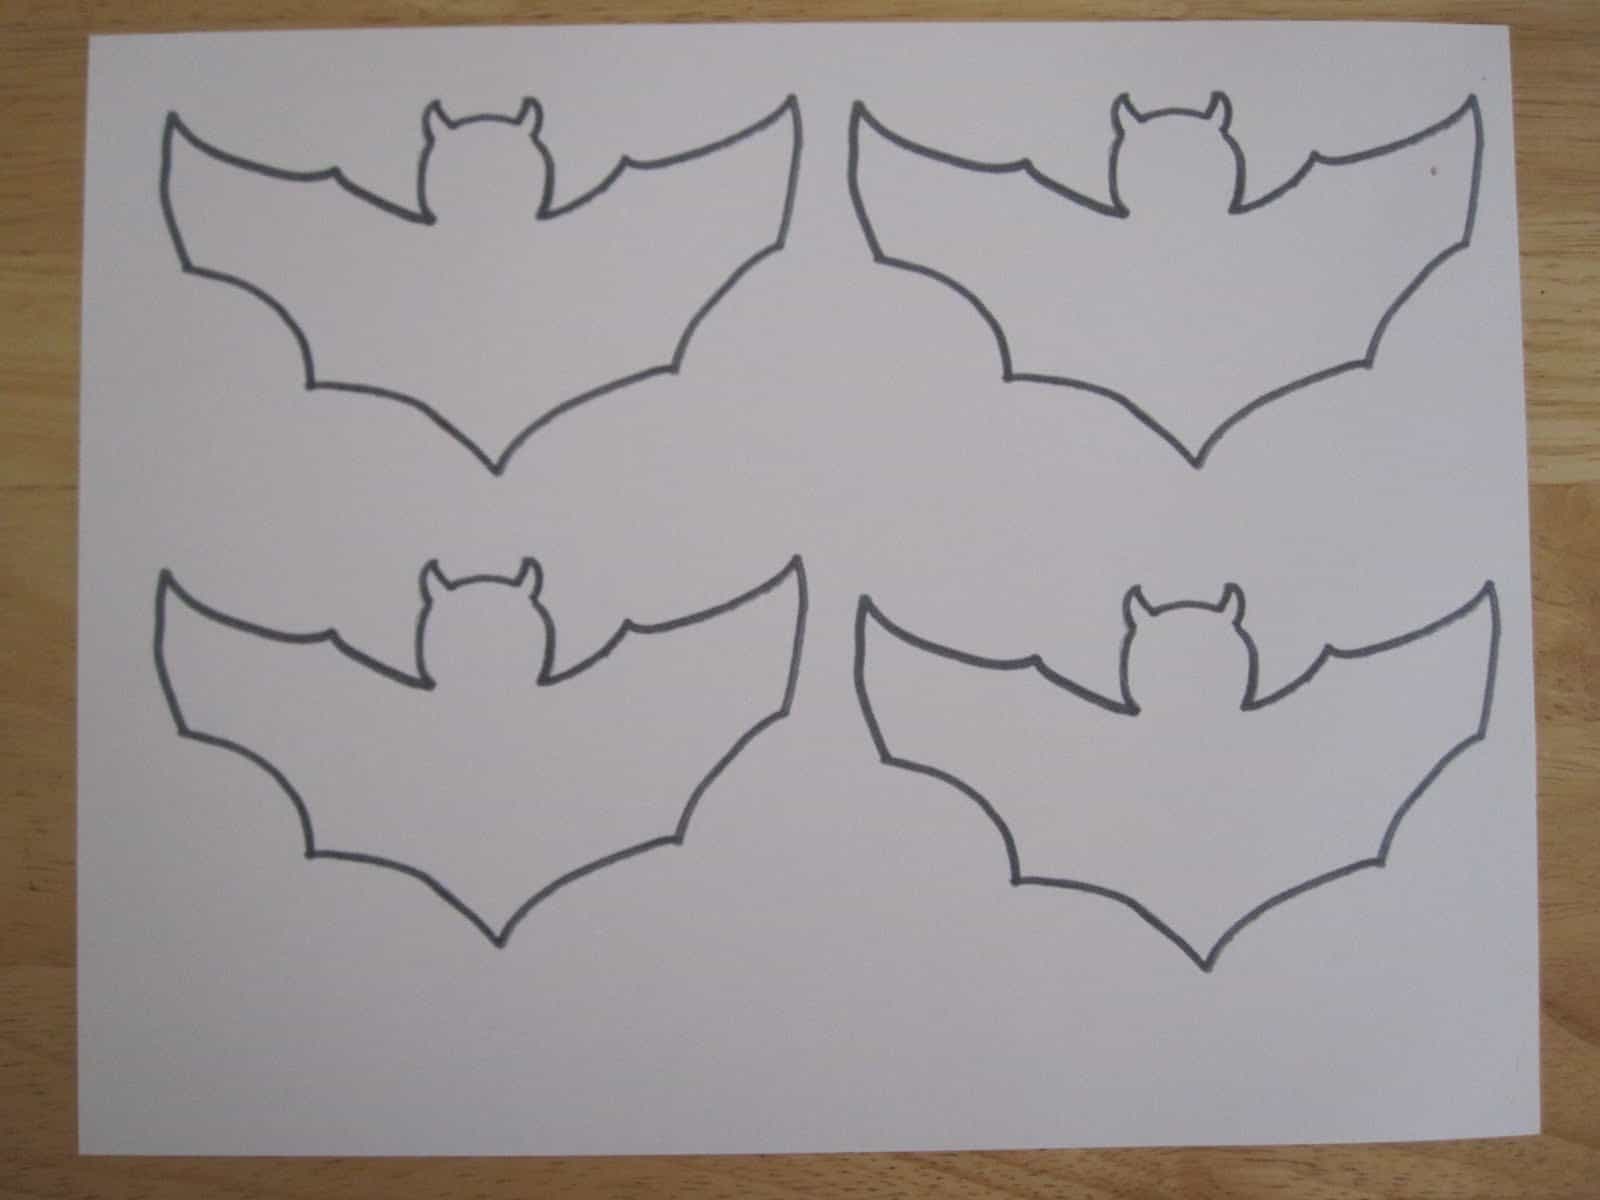
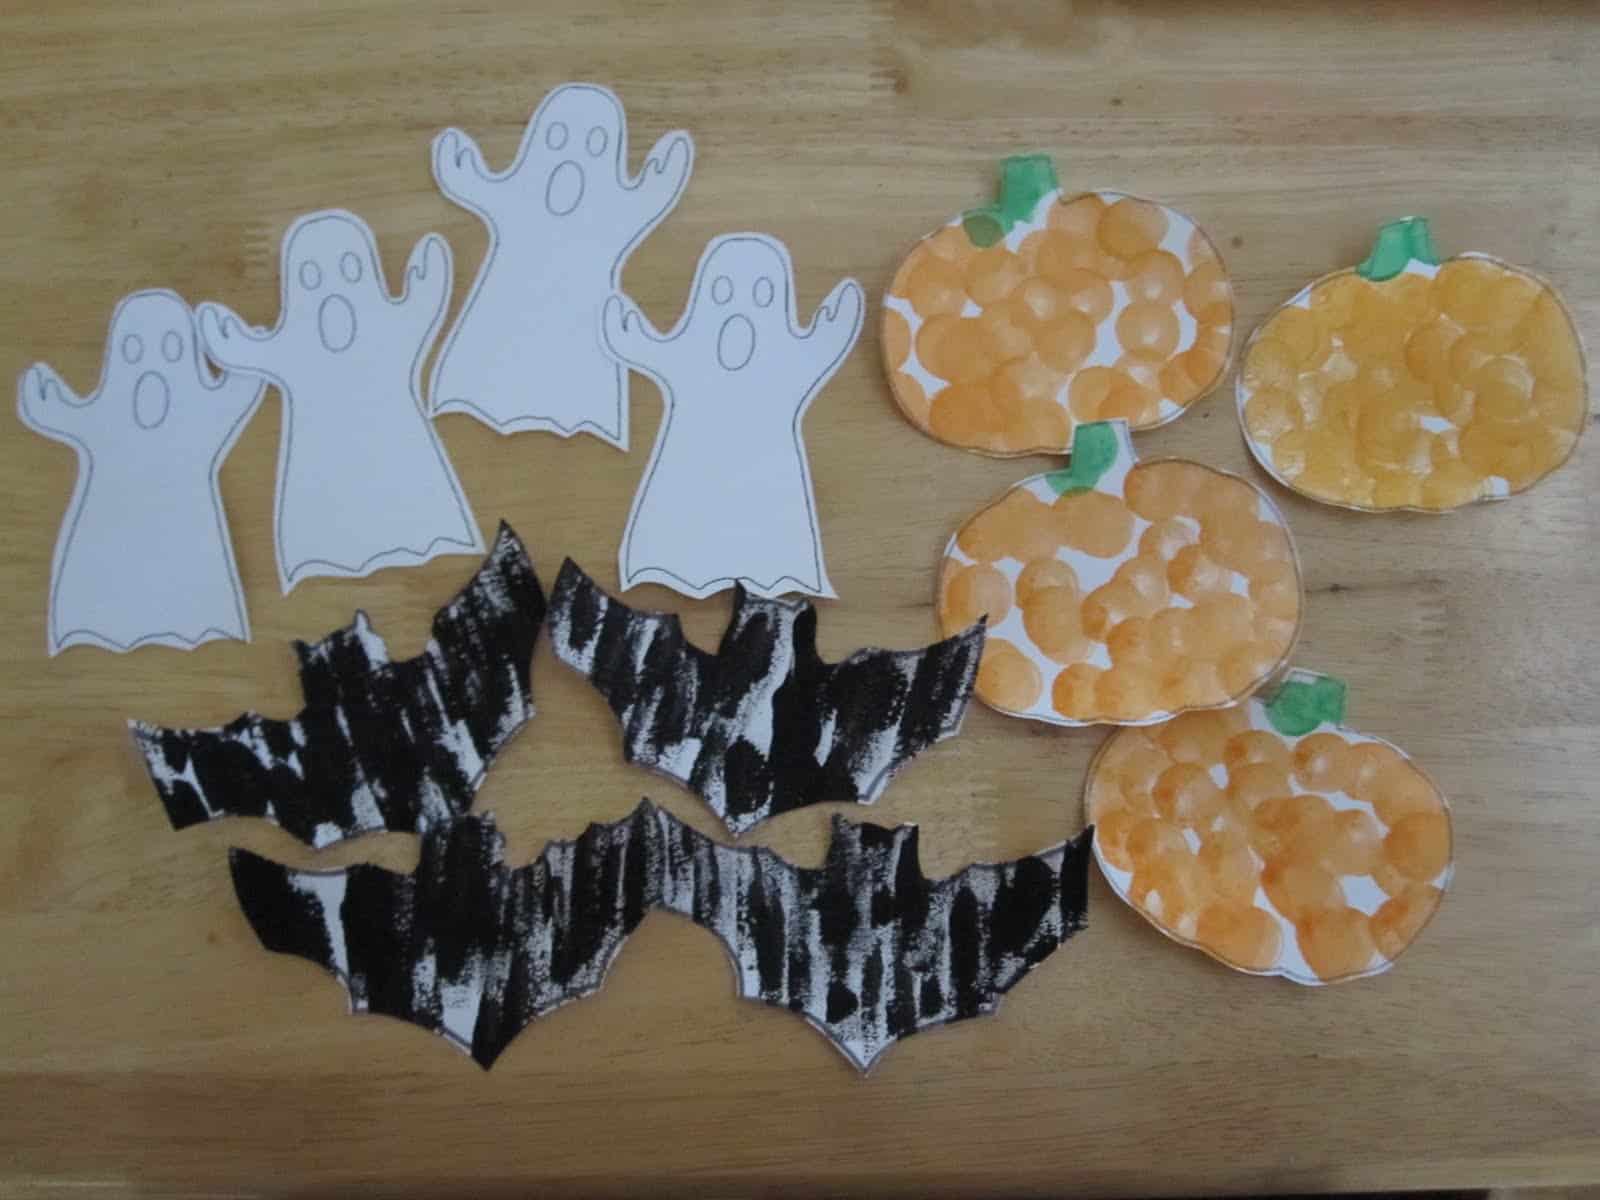
Materials Needed: white cardstock, patterns (I used these bat, ghost, and pumpkin images to create my patterns- printed 3-4 on a page), paint (we used black acrylic and orange & green do-a-dot markers), paint brushes, paper plate or something for a palate, scissors, tape, and white ribbon.
Directions:
1. Print out the images onto cardstock.
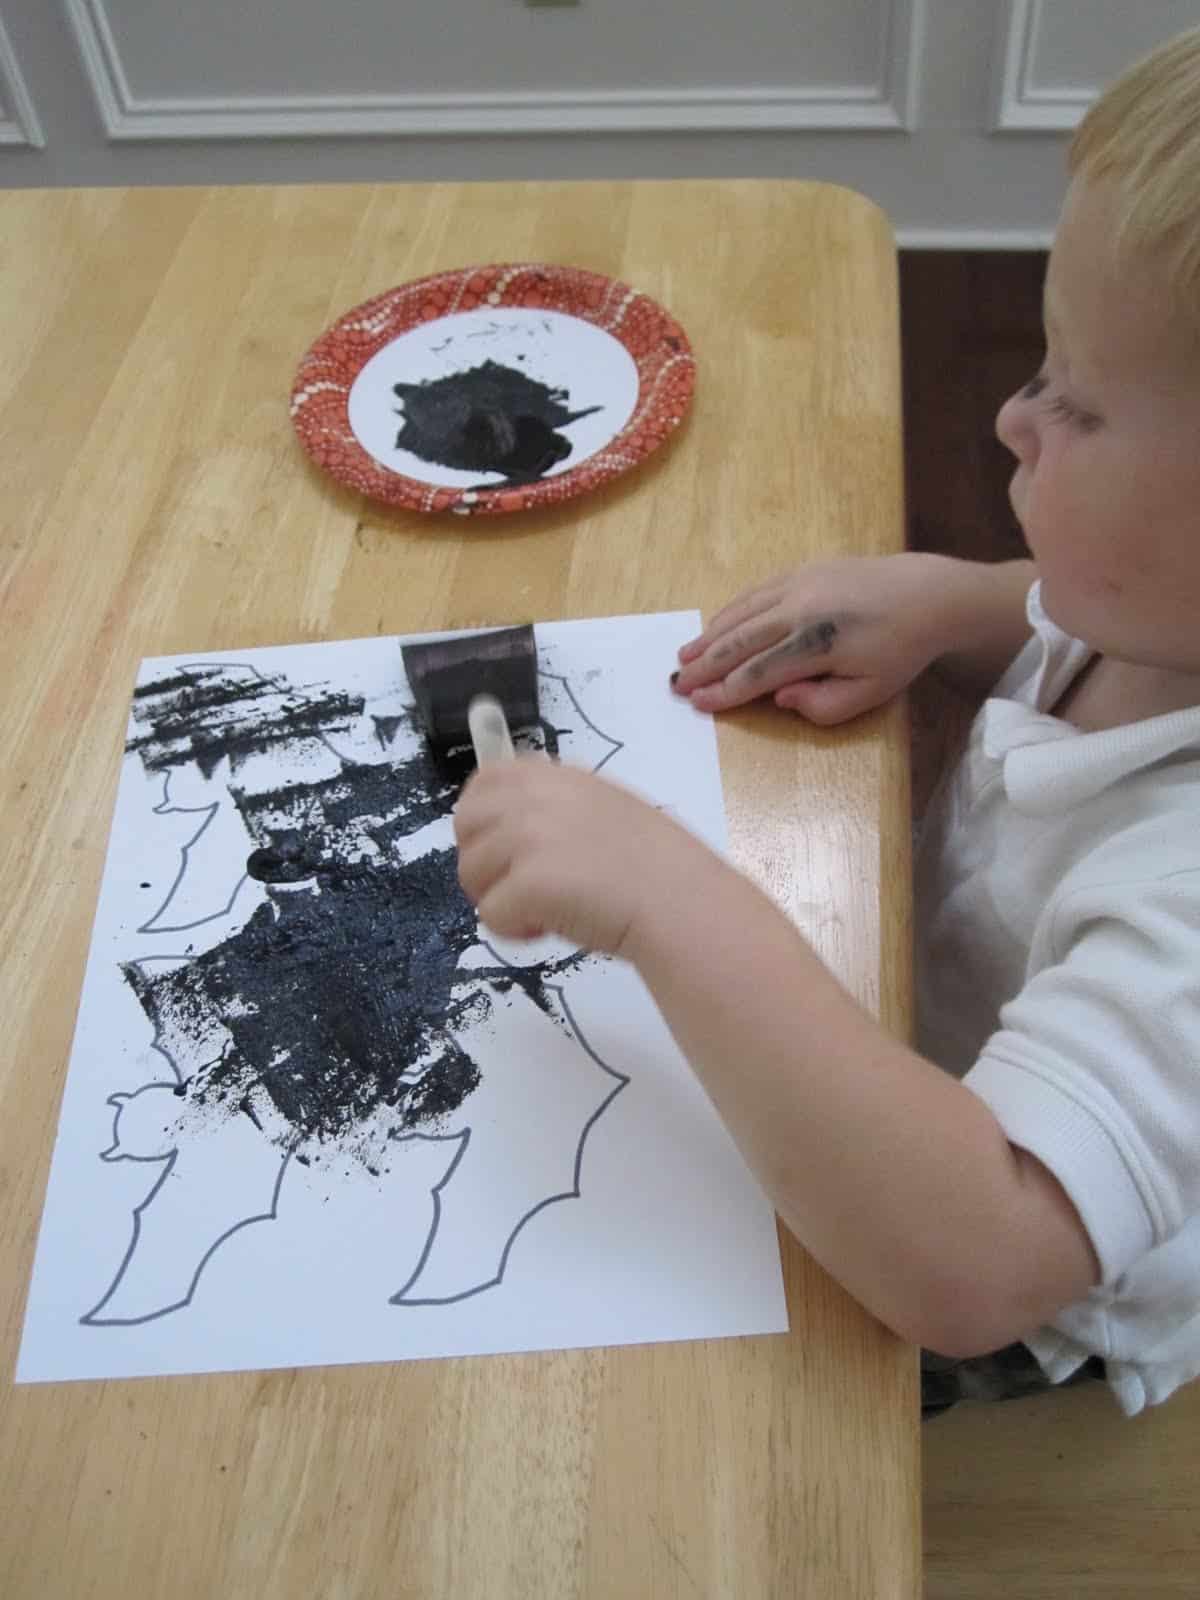
2. Start painting! We covered the bats with black paint...
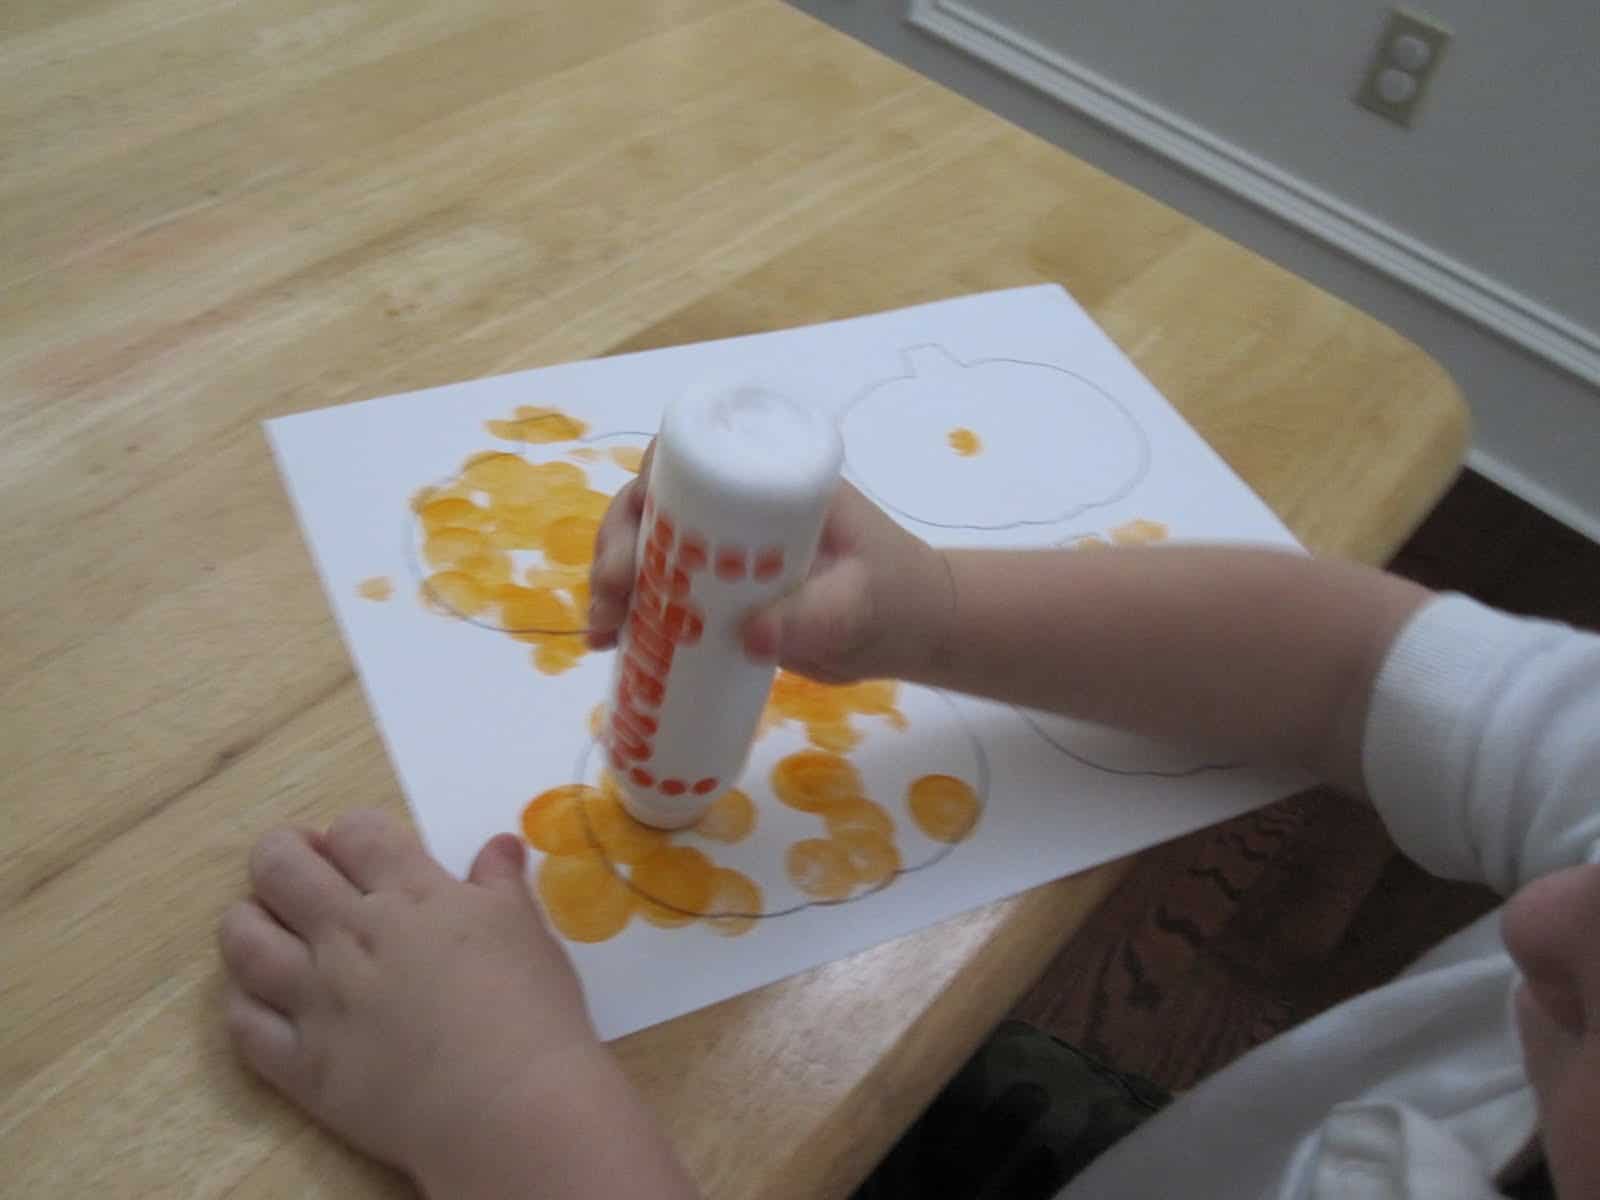
and then used the dotters to cover the pumpkins... and put green paint on the stems...
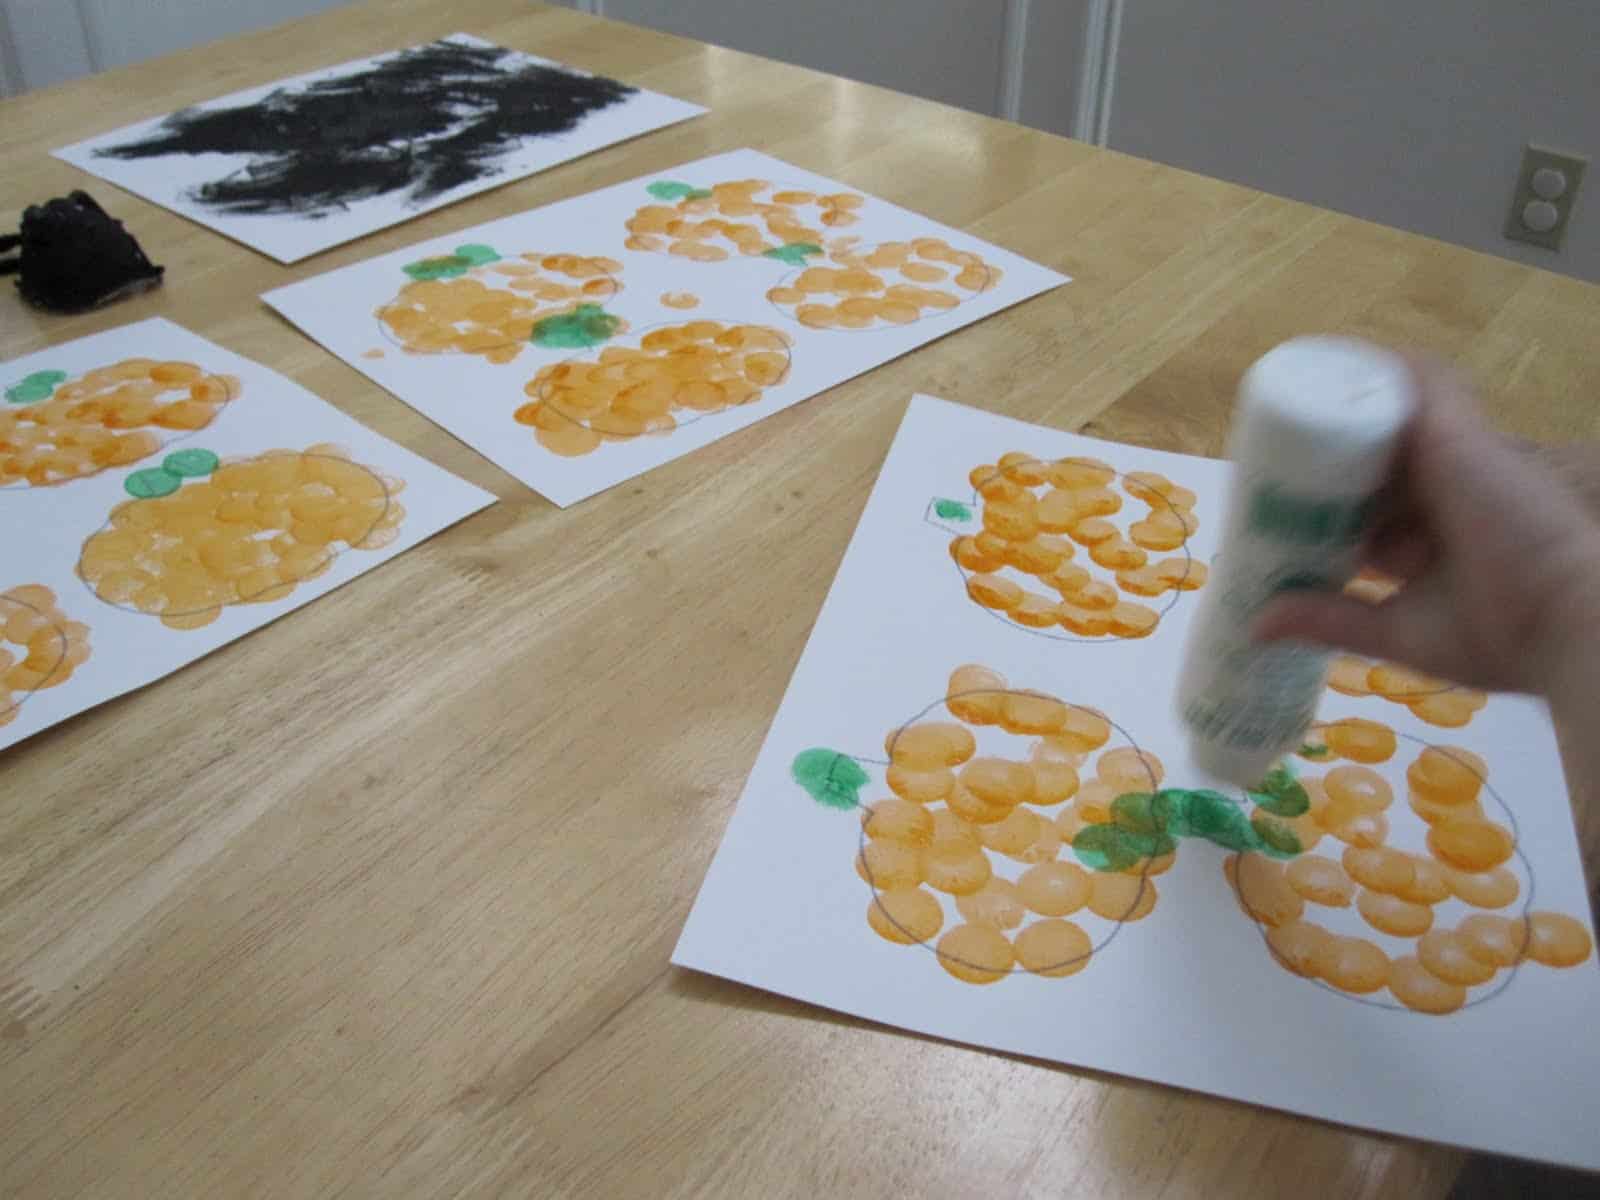
3. Let the pages dry!
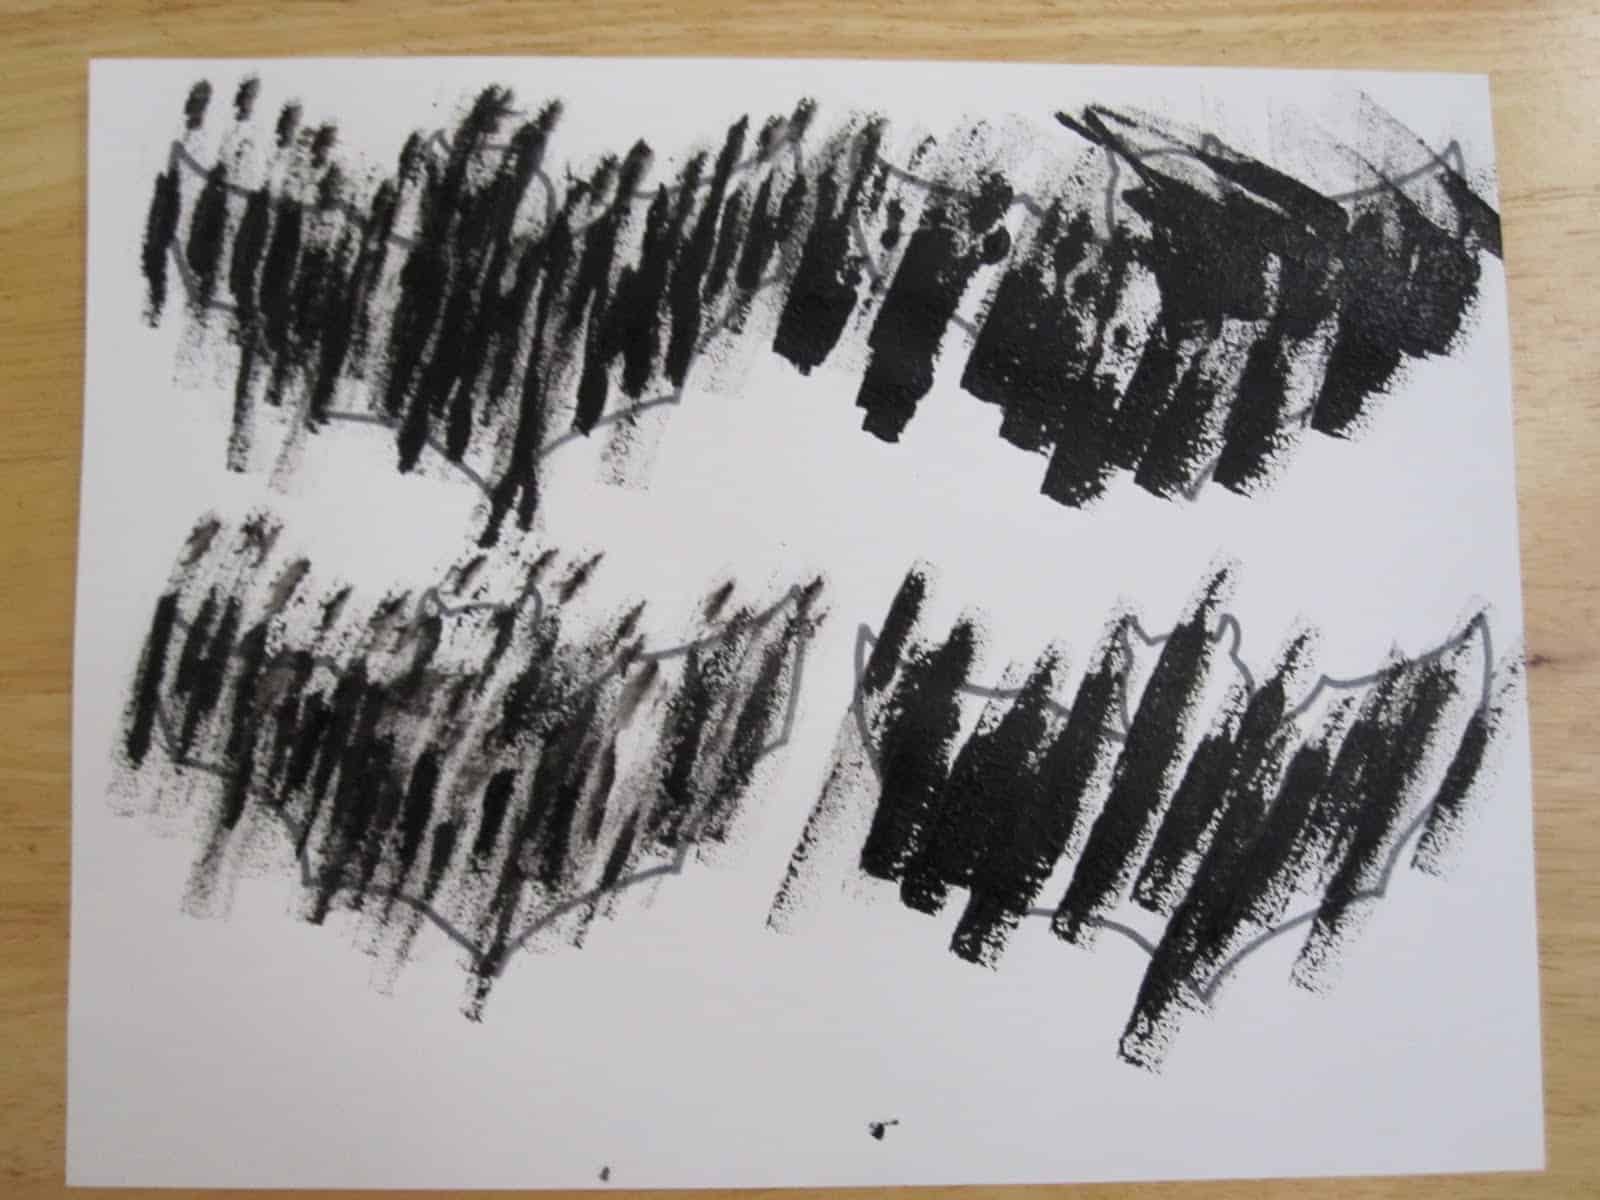
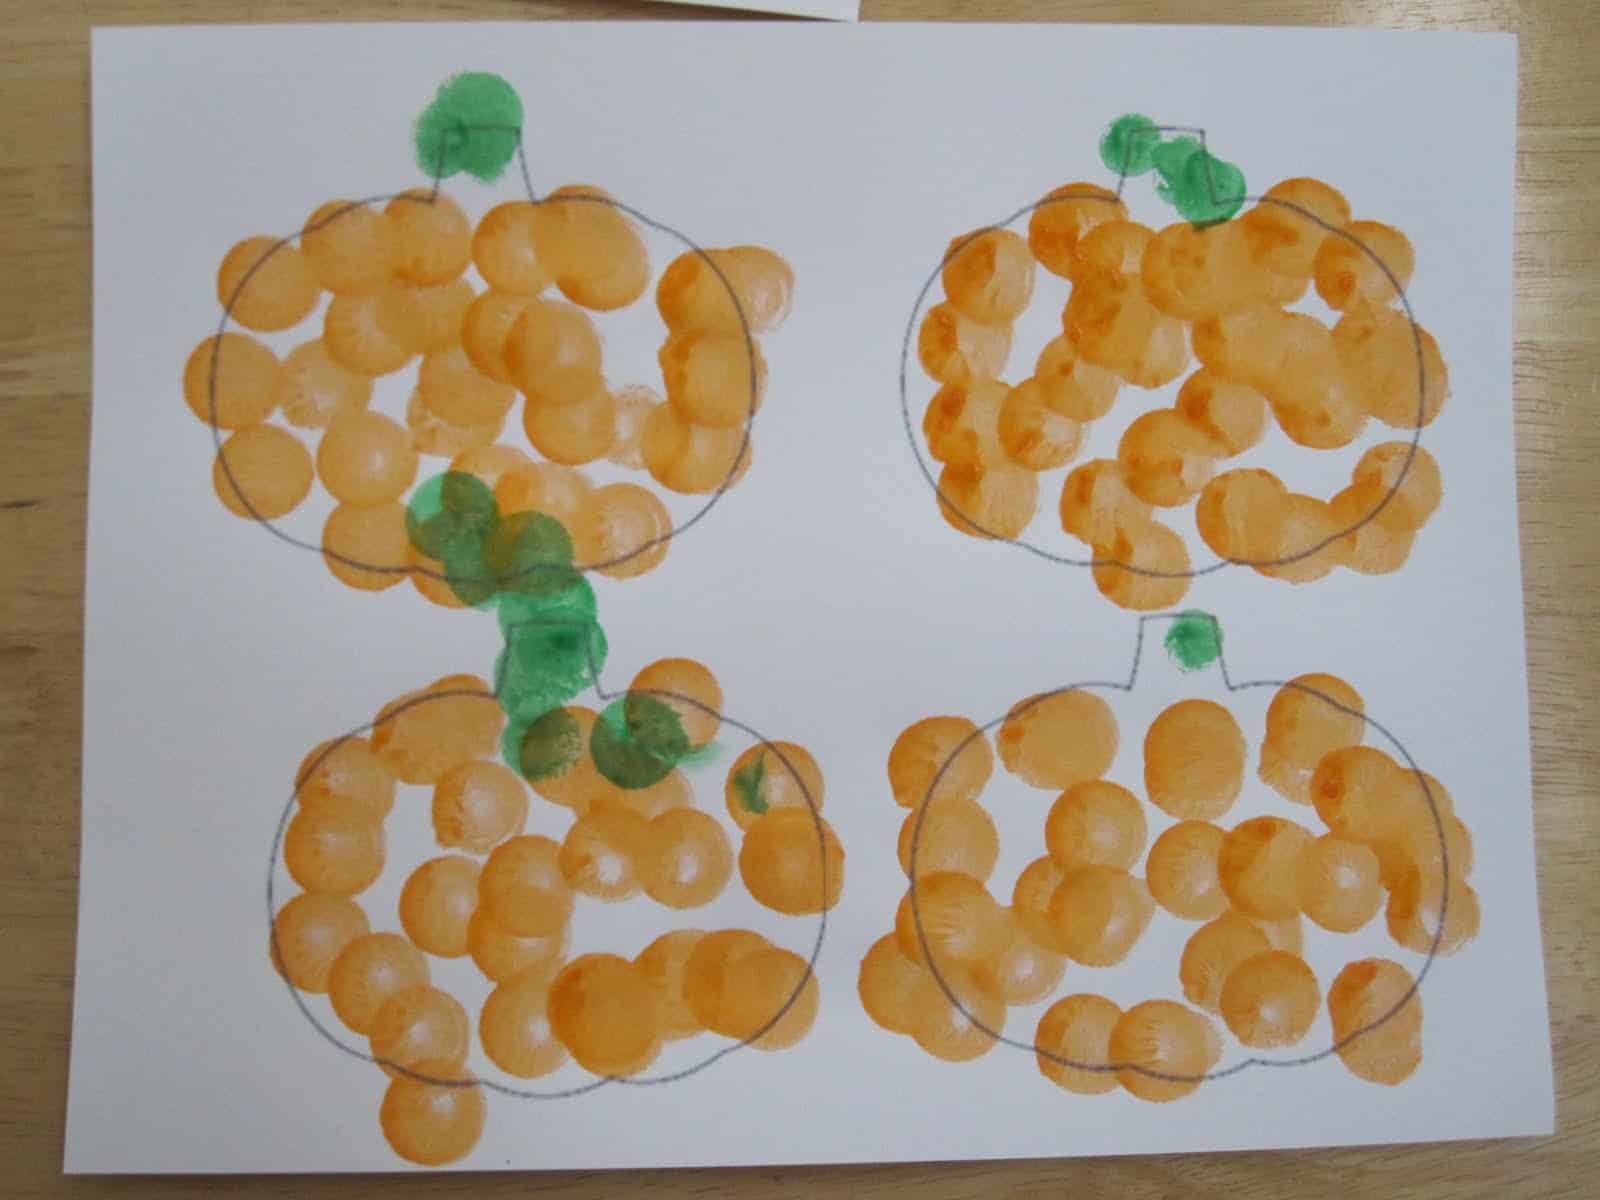
4. Cut out all the images. We didn't do anything but cut out the ghosts. Next time I would use some sort of material to make them textured (cover the ghosts with hole-punched white pieces of paper or other white confetti material... or just cotton balls).
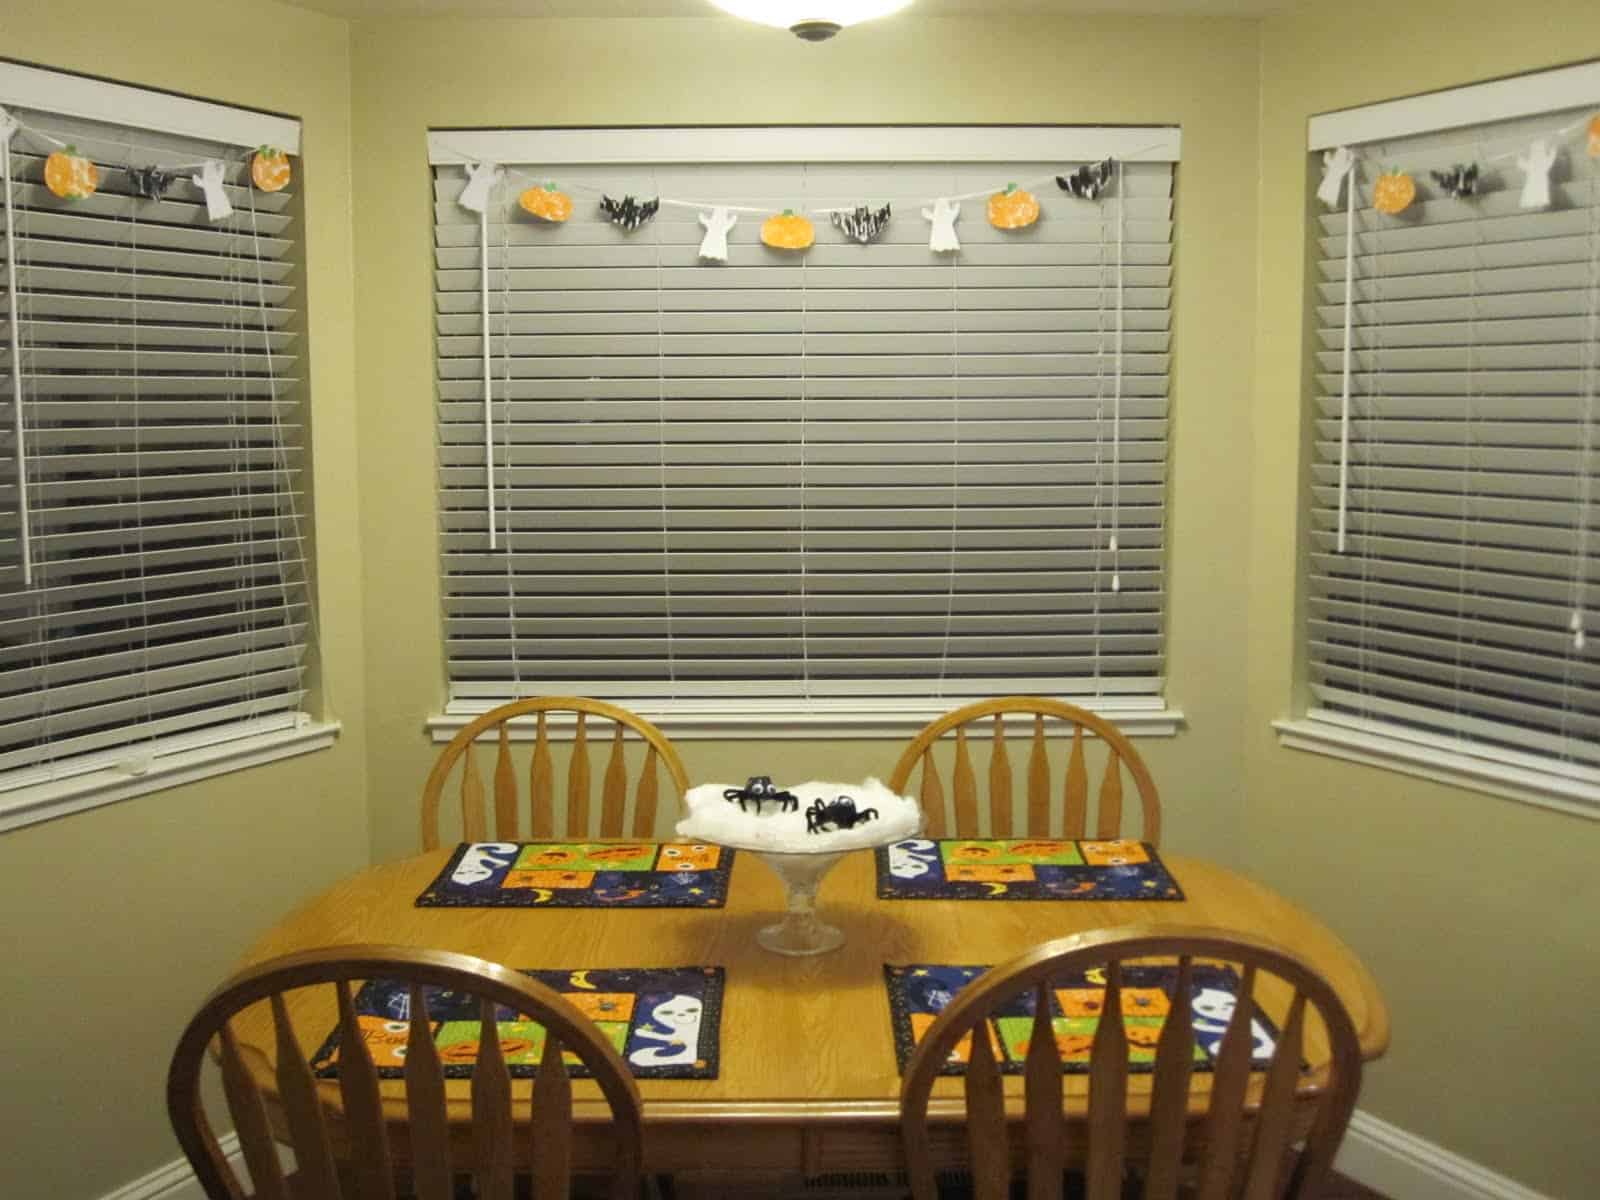
5. Work together to come up with a pattern. Ours was "ghost-pumpkin-bat." My son repeated it over and over again and as I taped the images to the ribbon, I would stop and wait for him to tell me what would come next. The older the kid, the more complex your pattern can be. Ours was very simple!
6. Hang your garland and admire it!! My little guy kept pointing to the garland once his dad got home and kept saying, "Do you see what we made dad?"
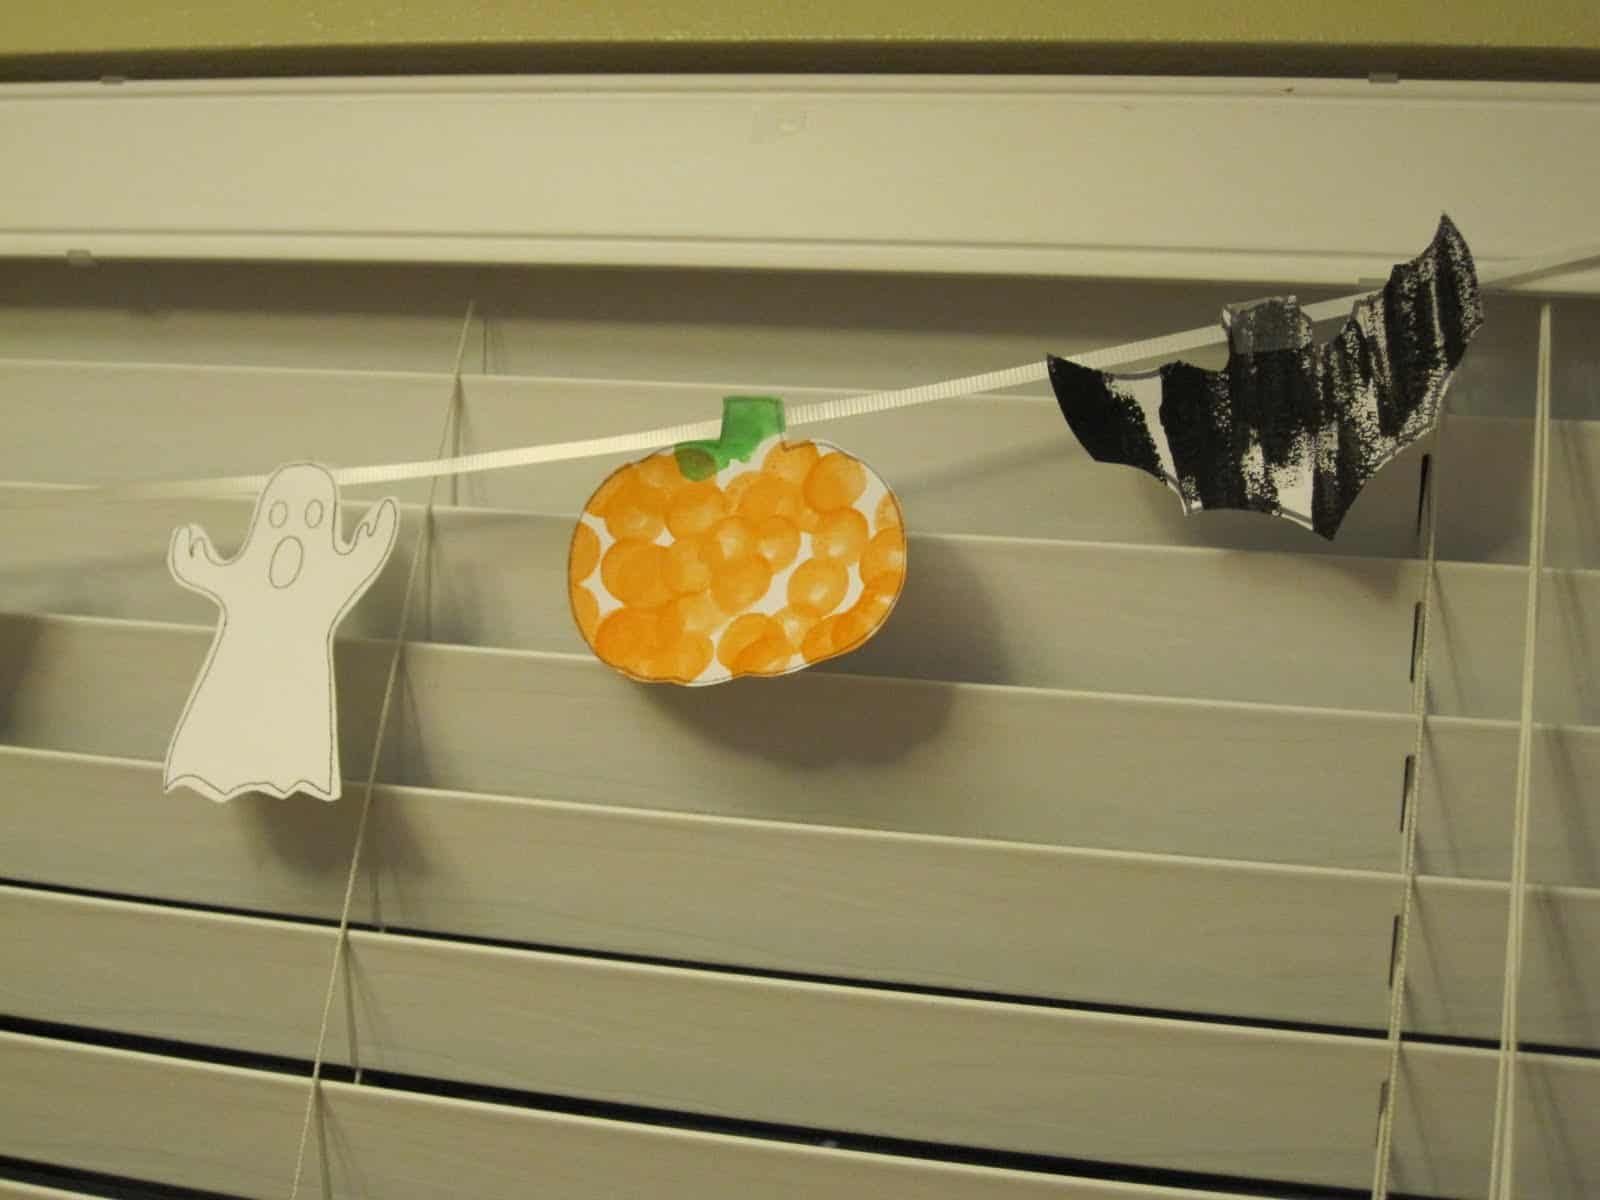
Definitely made our kitchen look much more festive... and now we can talk about our pattern and the different images all month!


oo man! Love this as well!!