
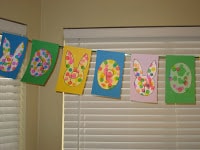
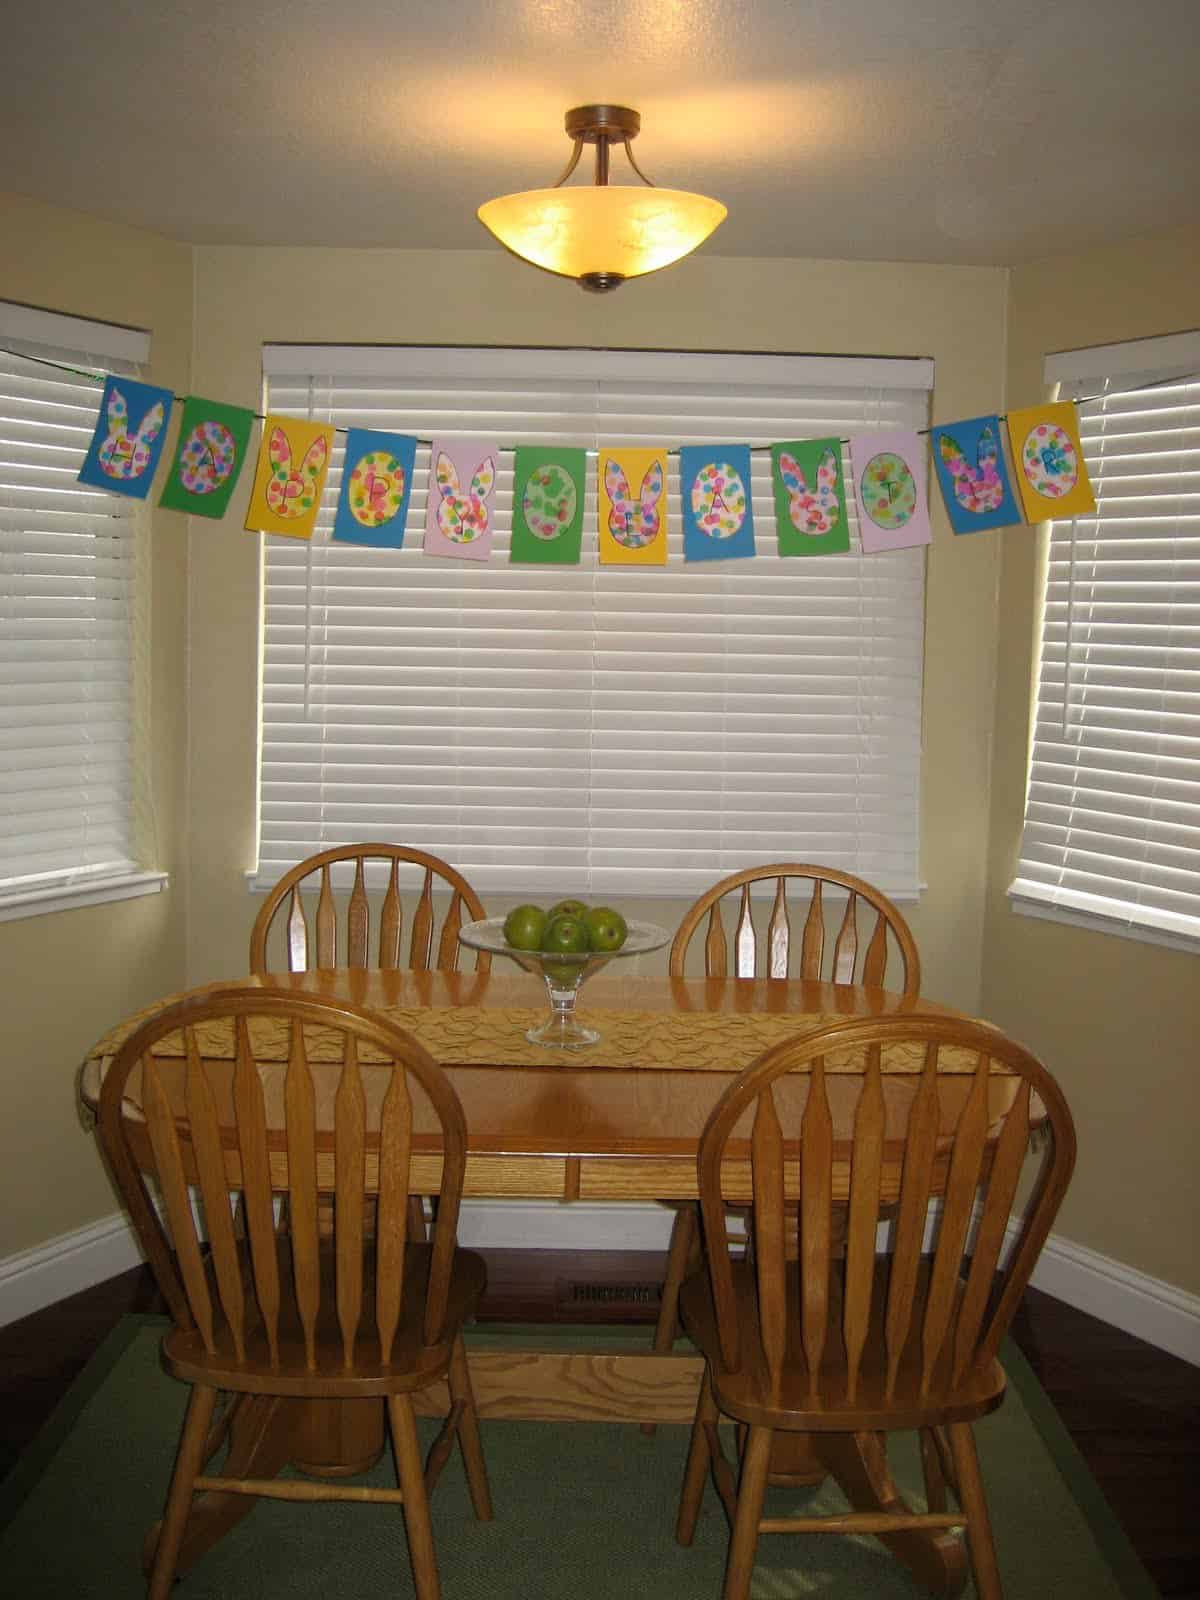
Since Easter is on it's way, we thought it would be fun to welcome Easter with a banner! Now we have lots to talk about every time we walk into our kitchen!
Materials Needed: bunny and egg pattern (I got the egg one here and made my own bunny), Sharpie, scissors, variety of pastel and light colored paper cardstock (we just used what we had- we need to restock, we don't have any pink!), Do-A-Dot paints or just some tempura paint and a paint brush, ribbon, glue stick, and tape.
Directions:
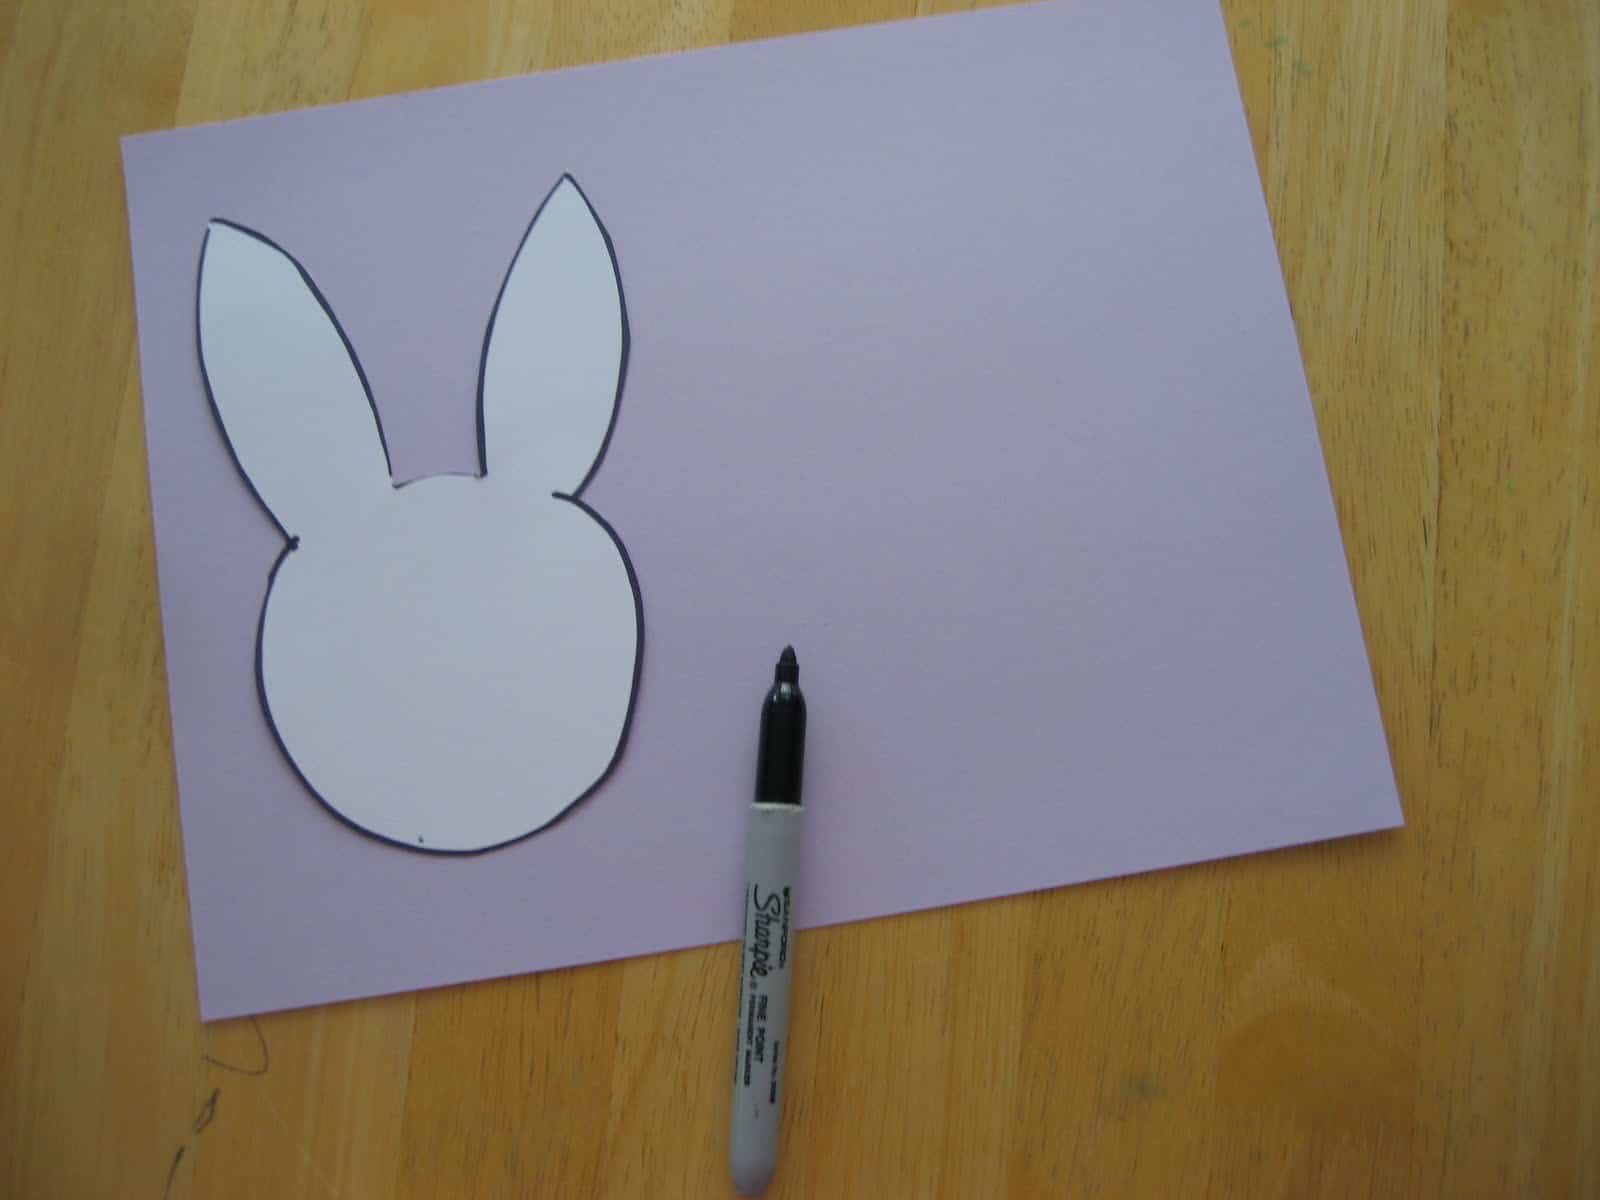
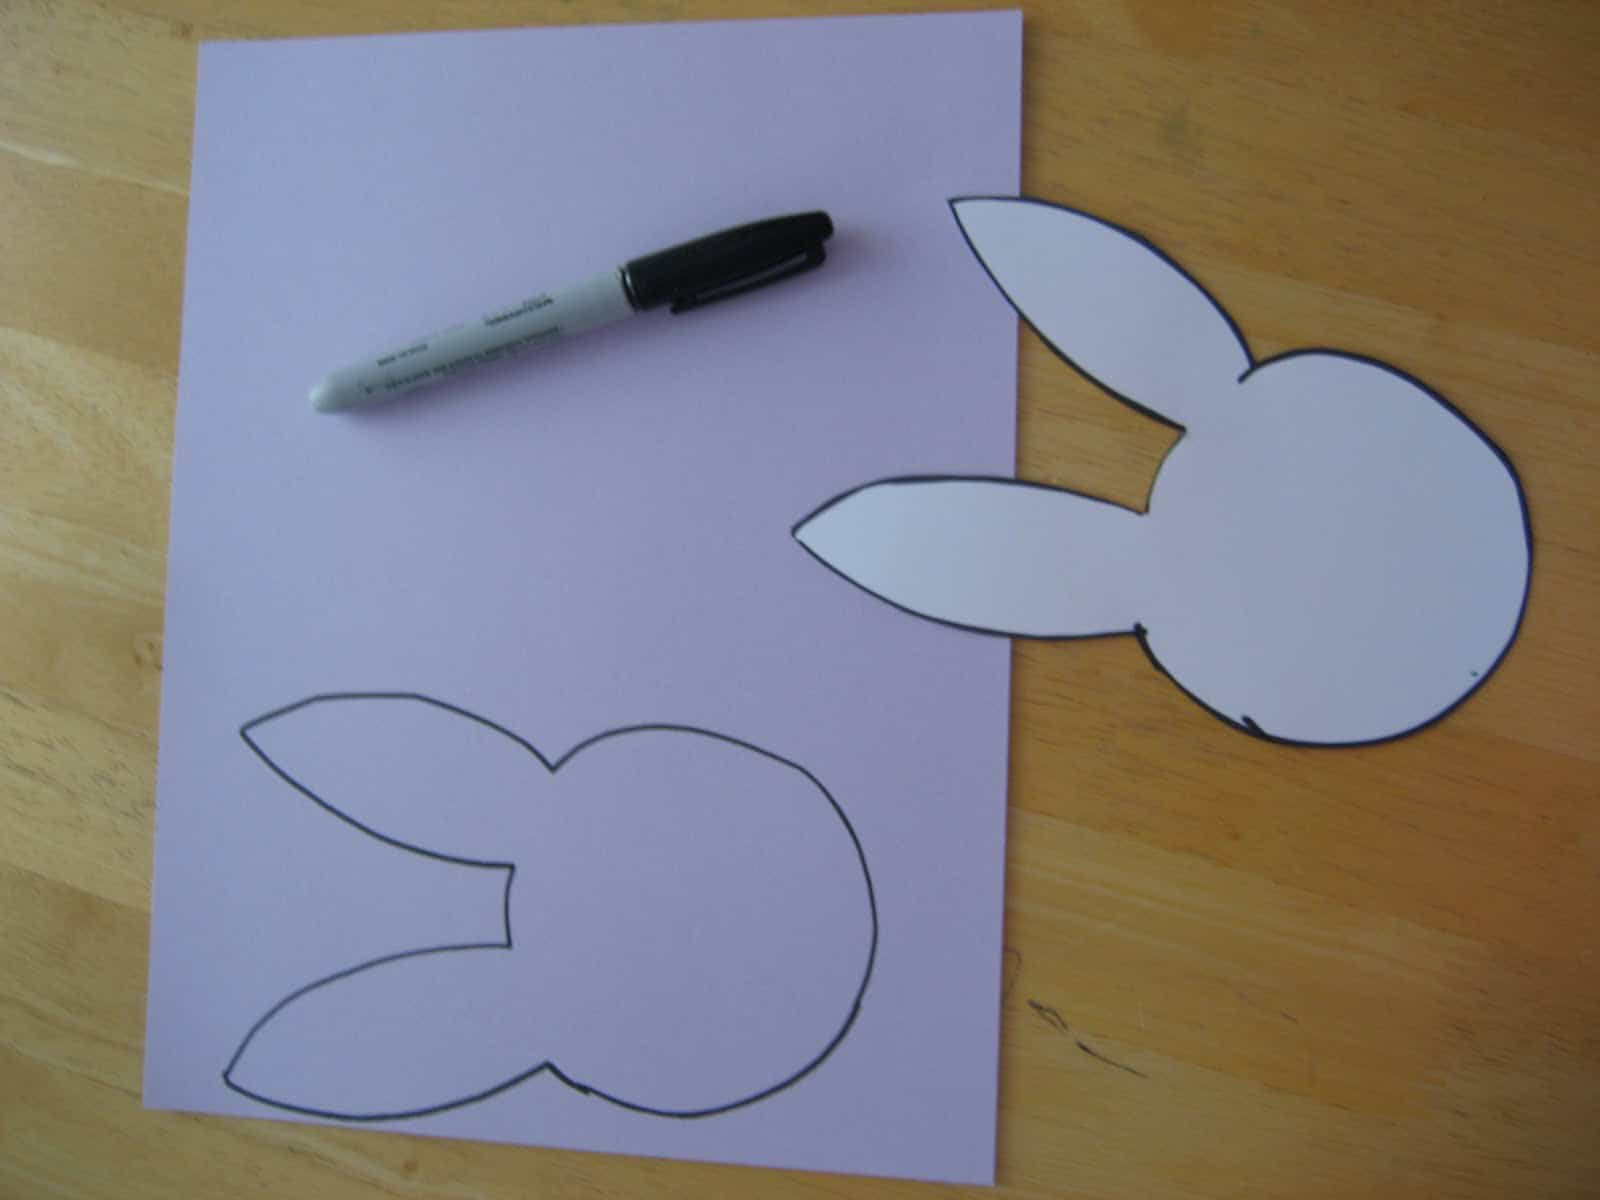
1. Make your bunny and egg patterns on cardstock so they don't rip easily when you are tracing them. Cut out the bunny and egg pattern.
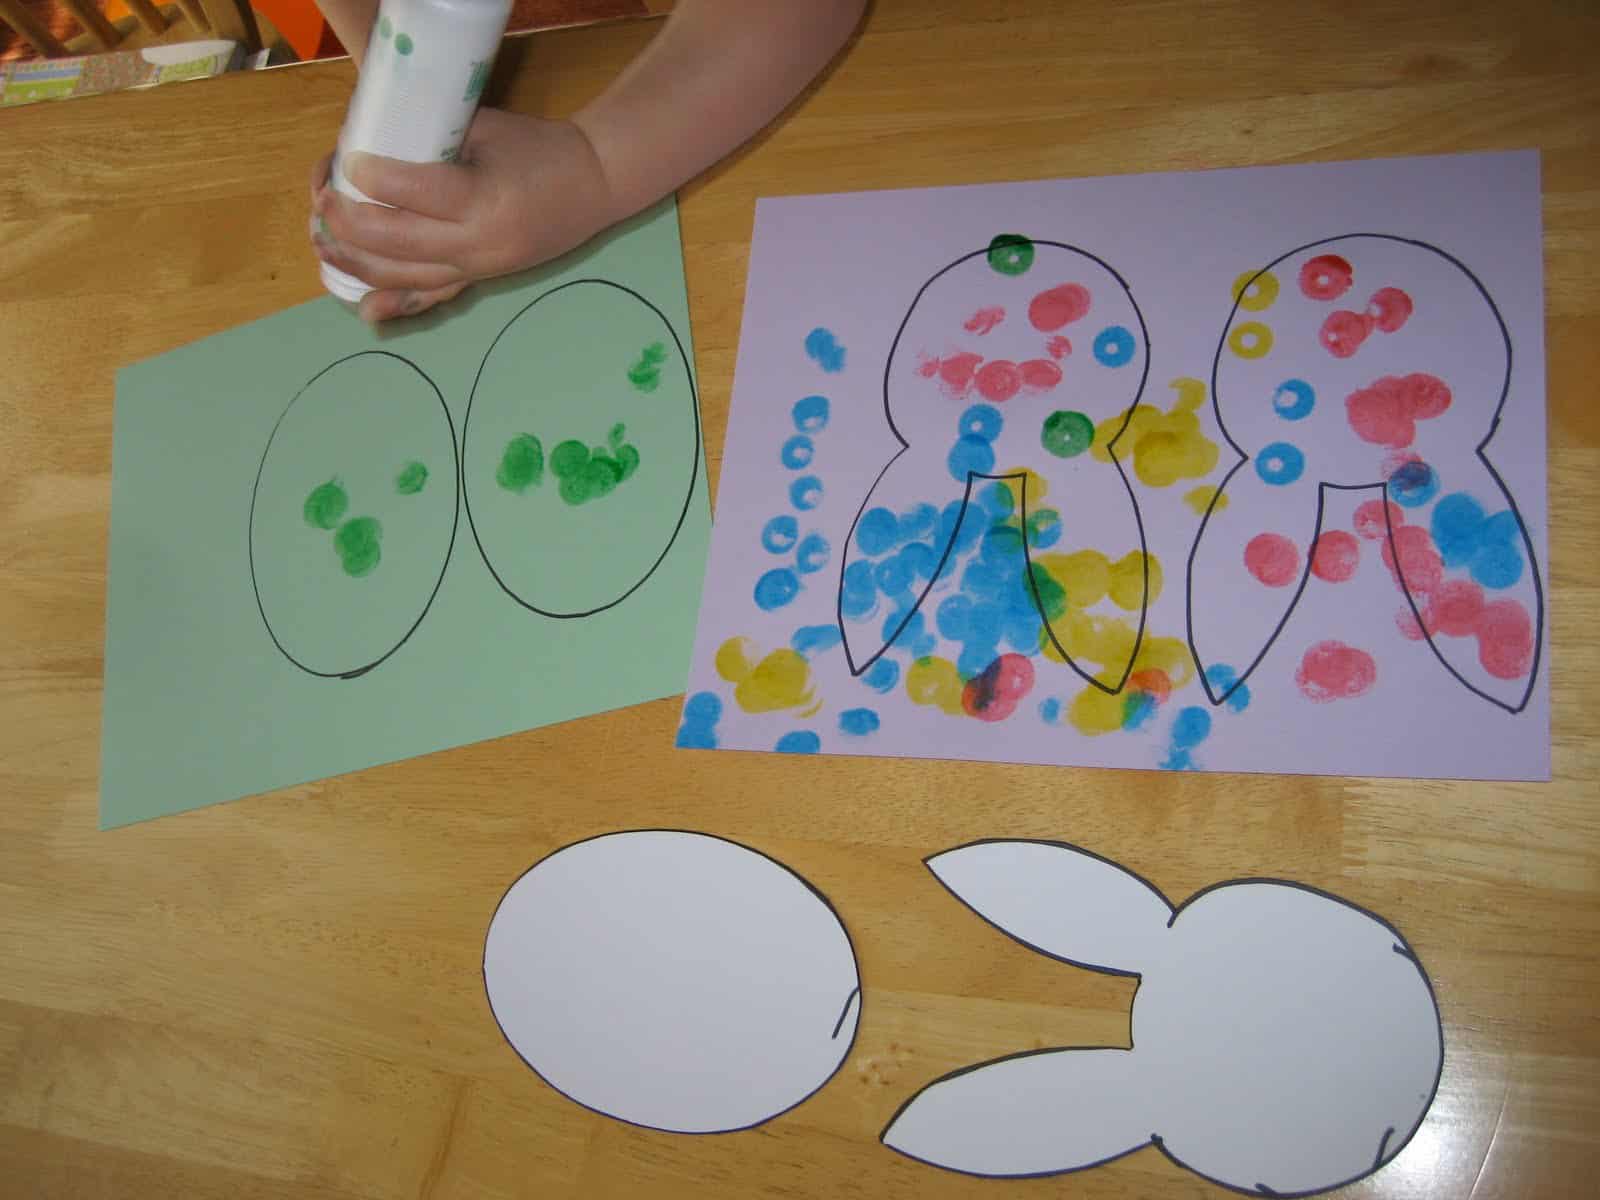
2. Trace the bunny and egg pattern onto a variety of pastel colored papers using your Sharpie.
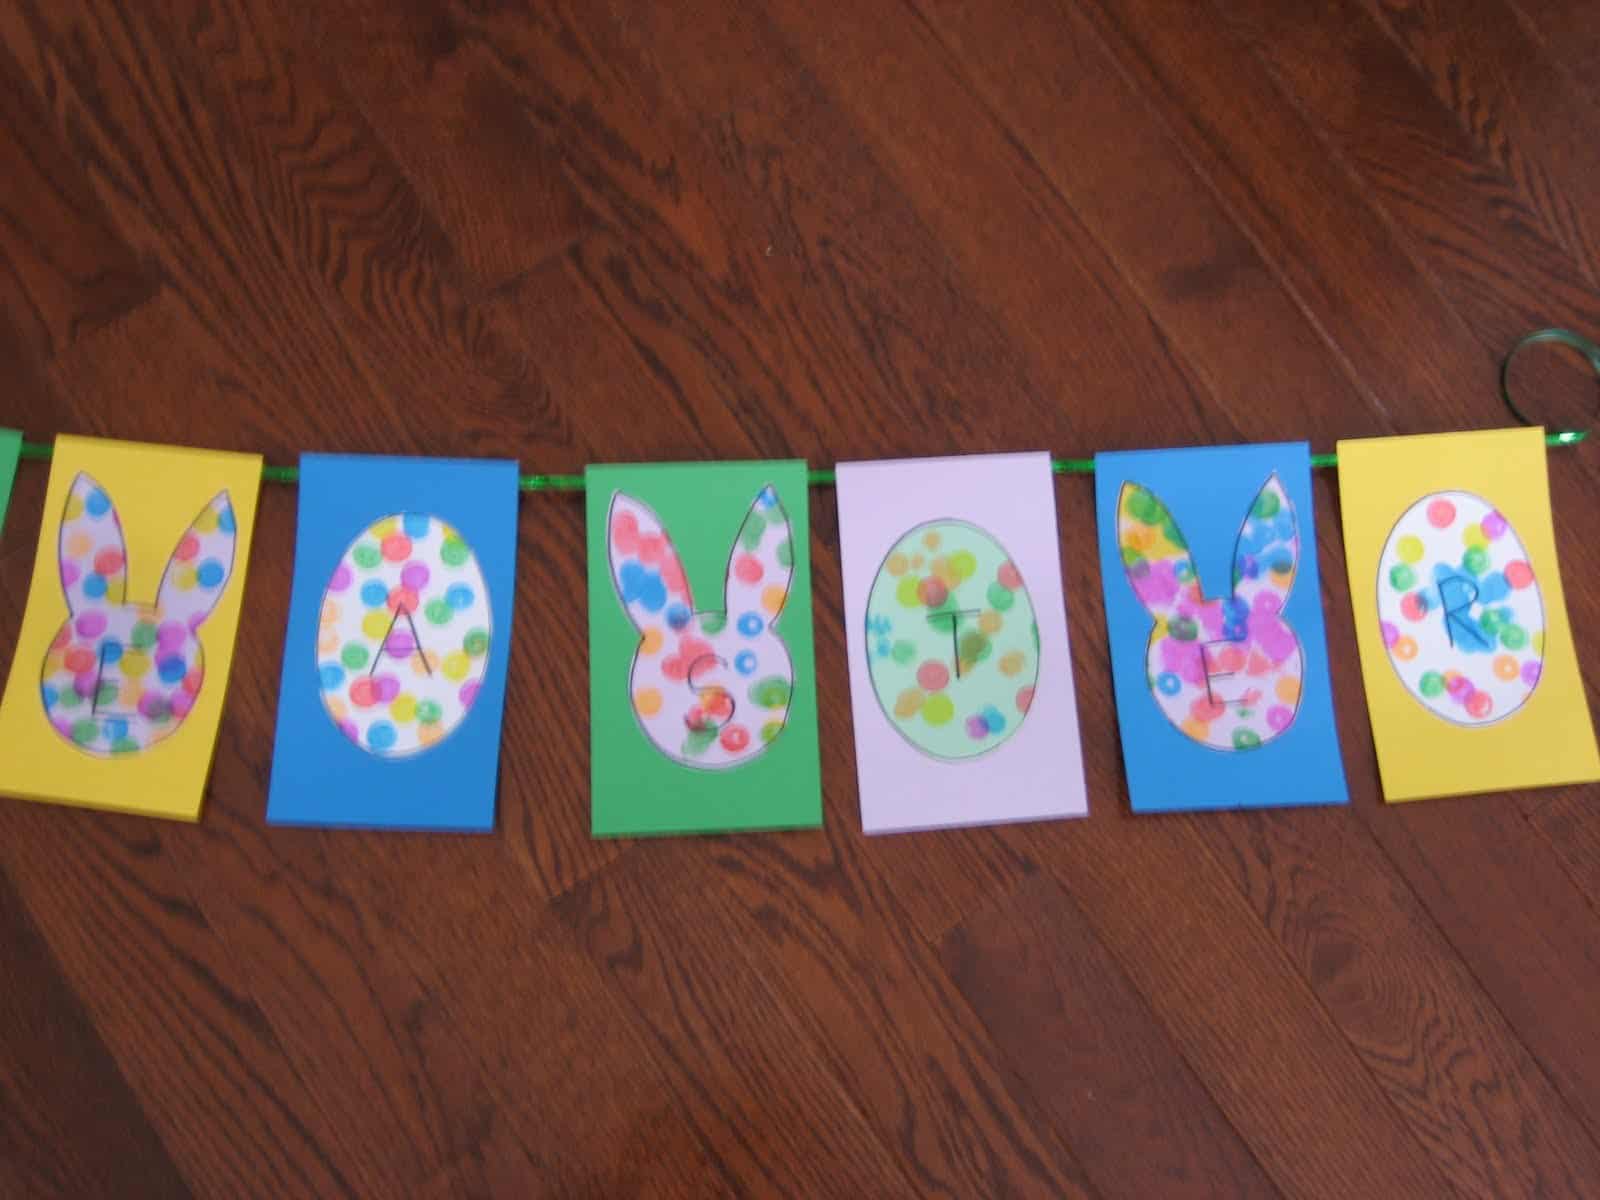
You need 11-12 bunnies/eggs in order to write "Happy Easter." 11 if you want to leave a blank space, 12 if you want to leave a blank egg/bunny.
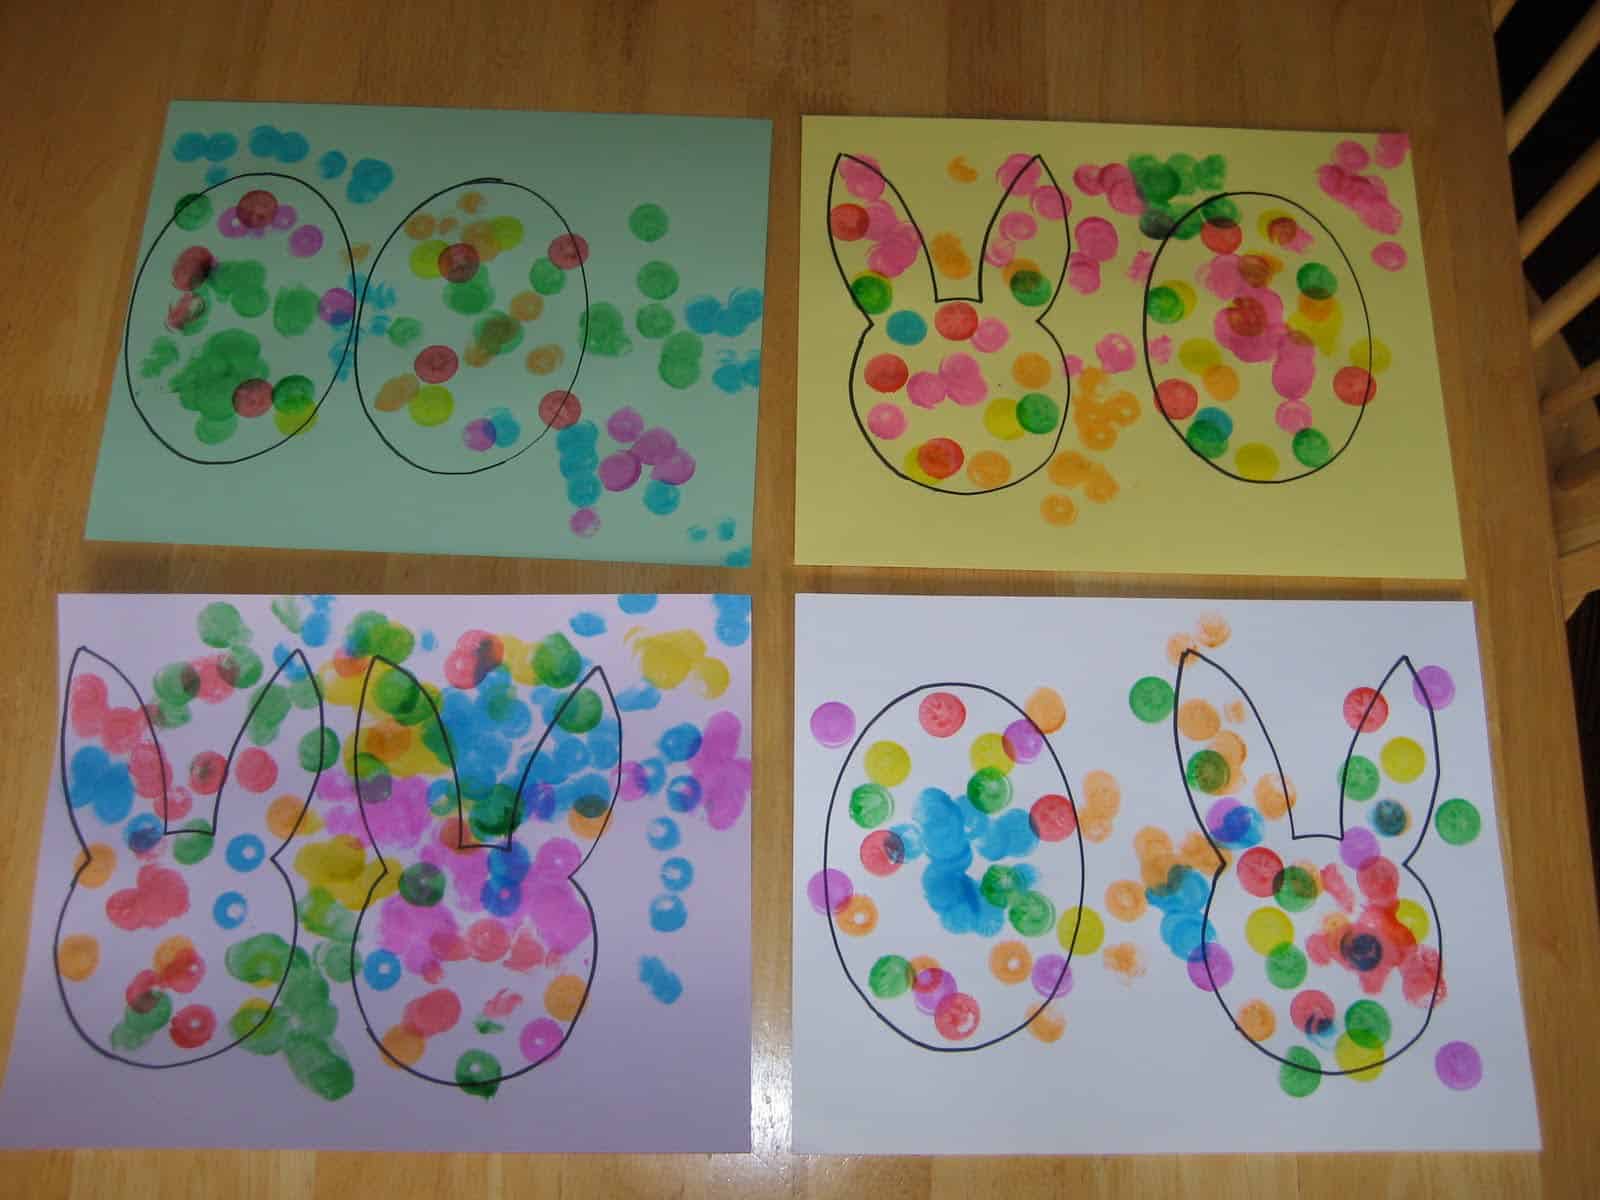
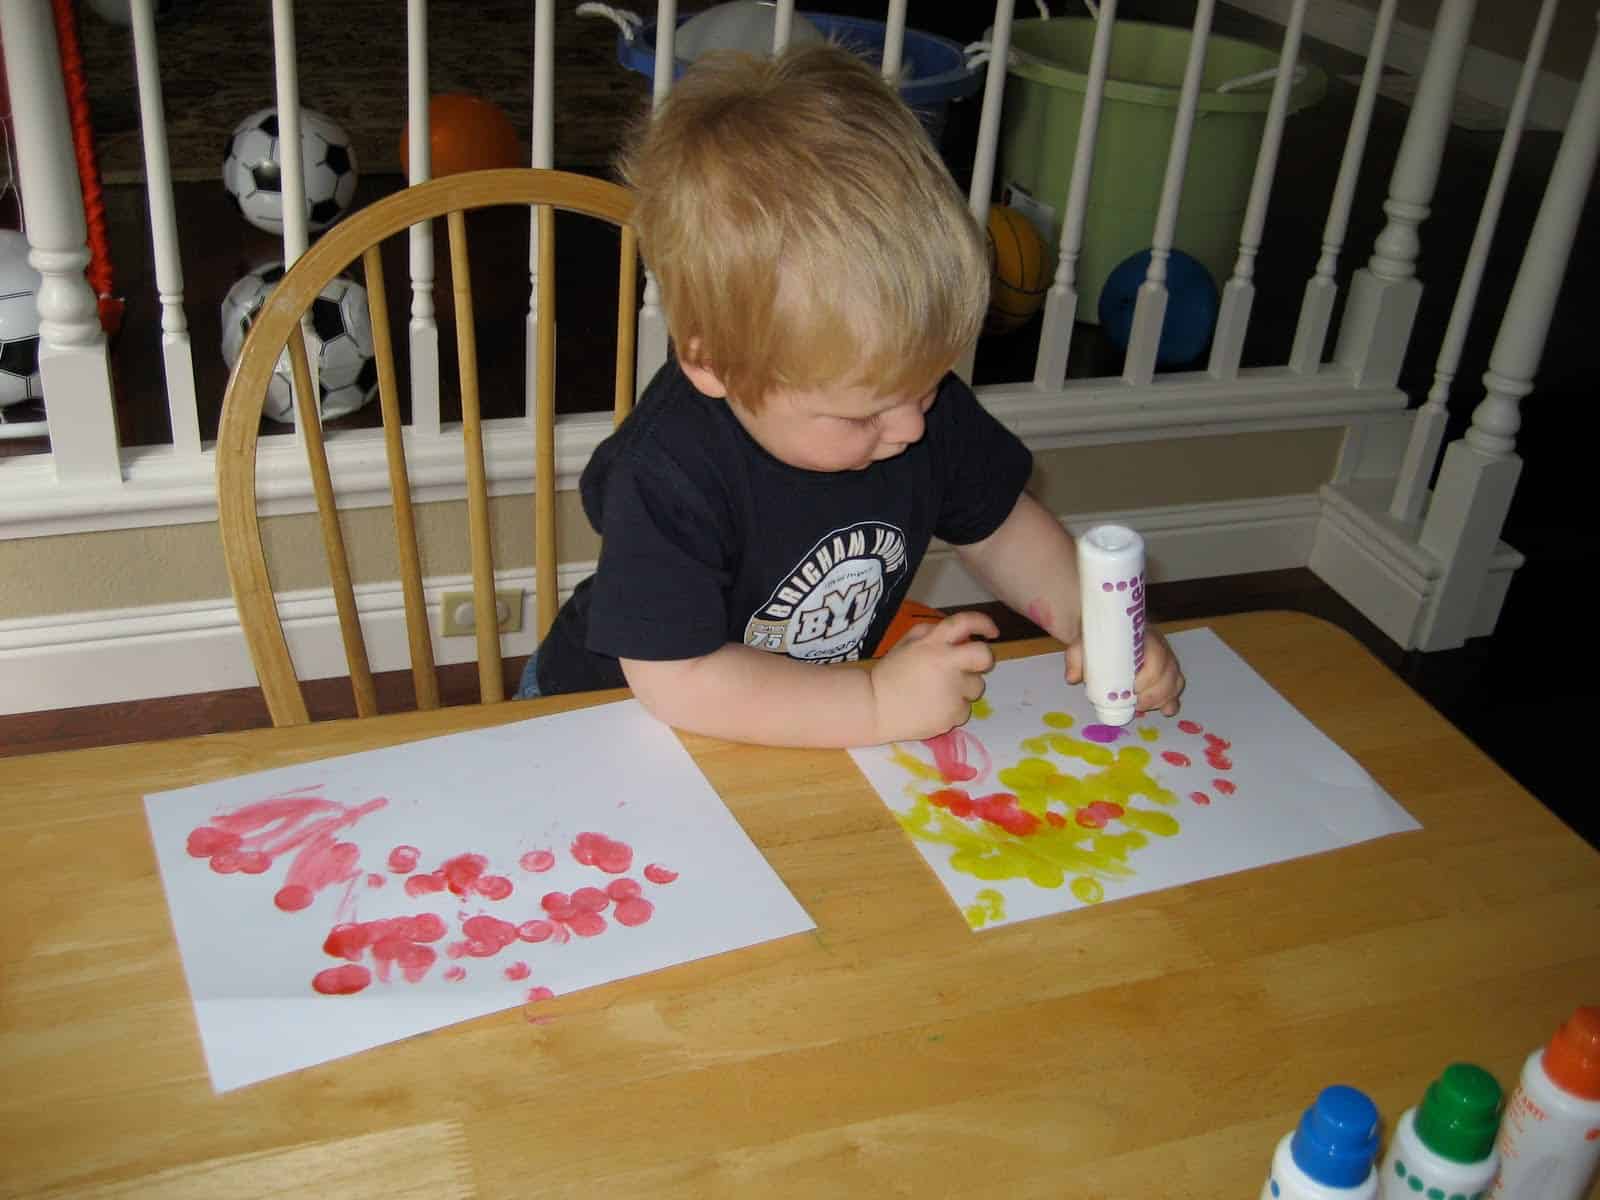
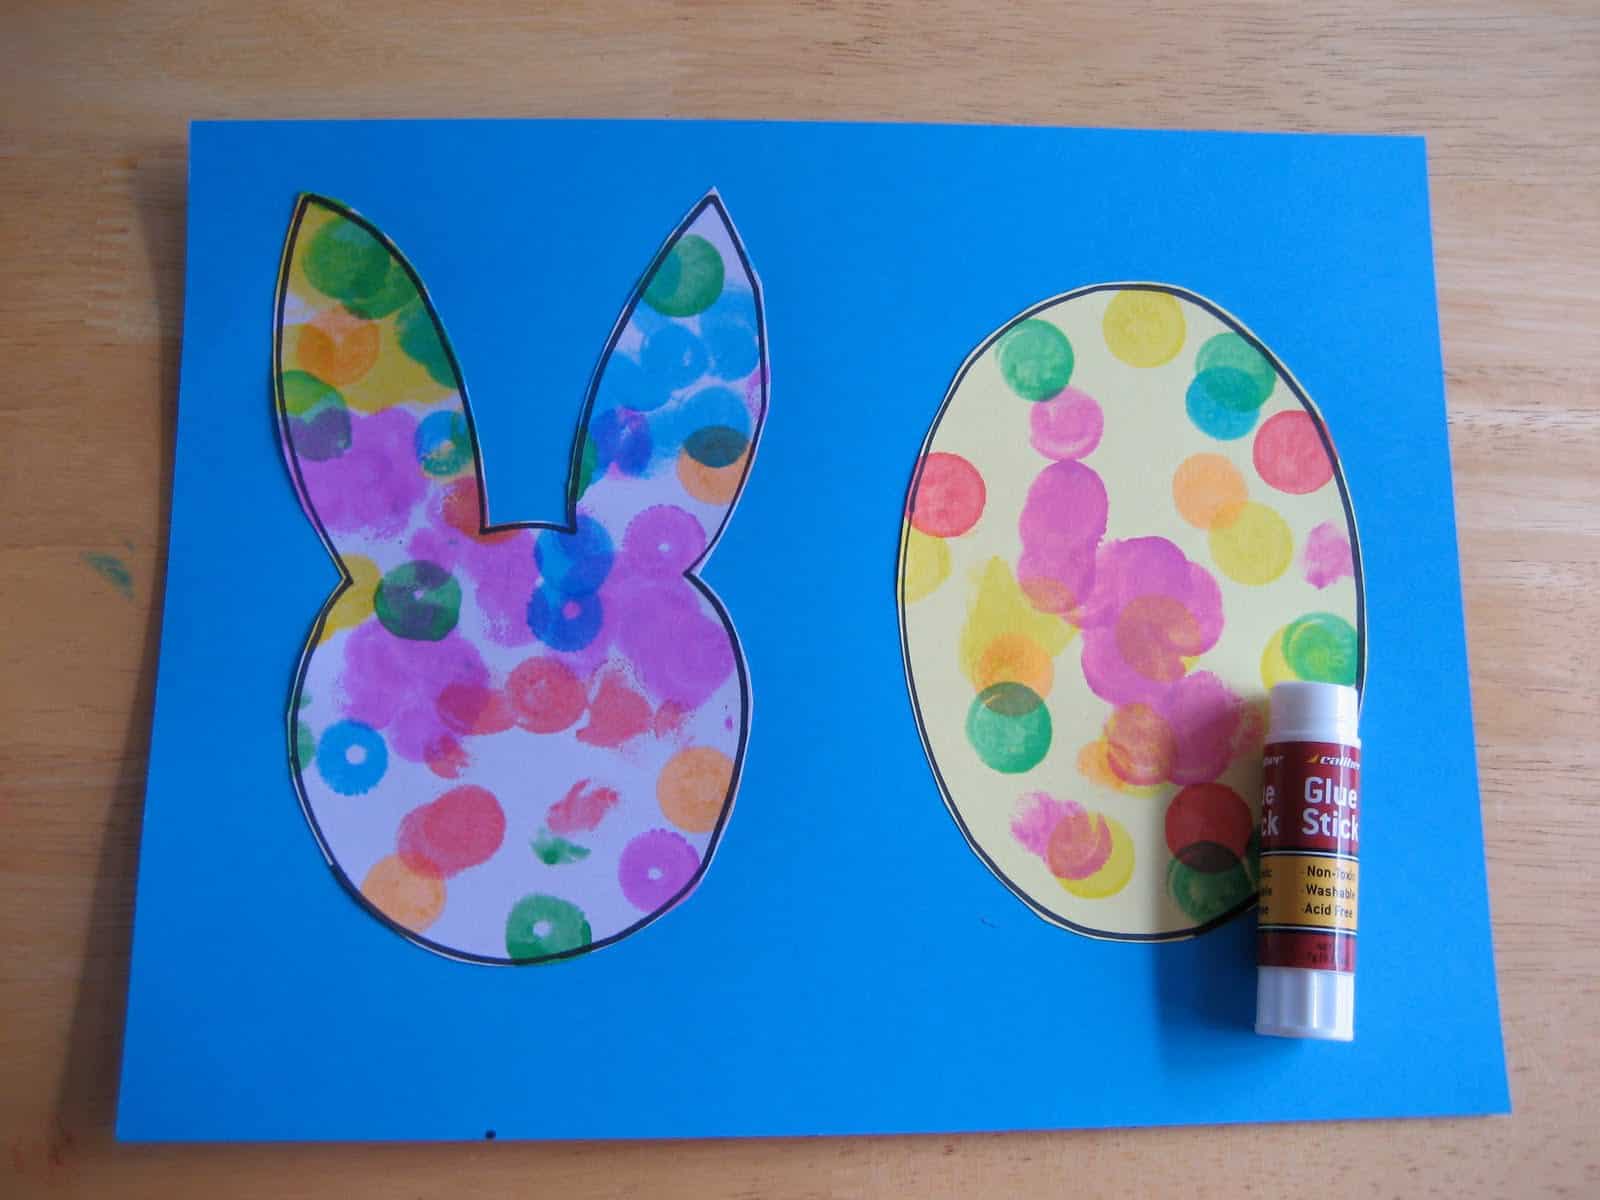
3. Pass the papers over to your child and let him decorate the eggs and bunnies with paint. I have tried lots of different paint dotters and these Do-A-Dot ones are my favorite!!! They are very durable, dry quick, aren't that messy (much better than paintbrushes!), and you don't need to clean your brush.
4. Let your papers dry.
5. Give your child some more paper so he can paint while you start cutting and assembling the banner.
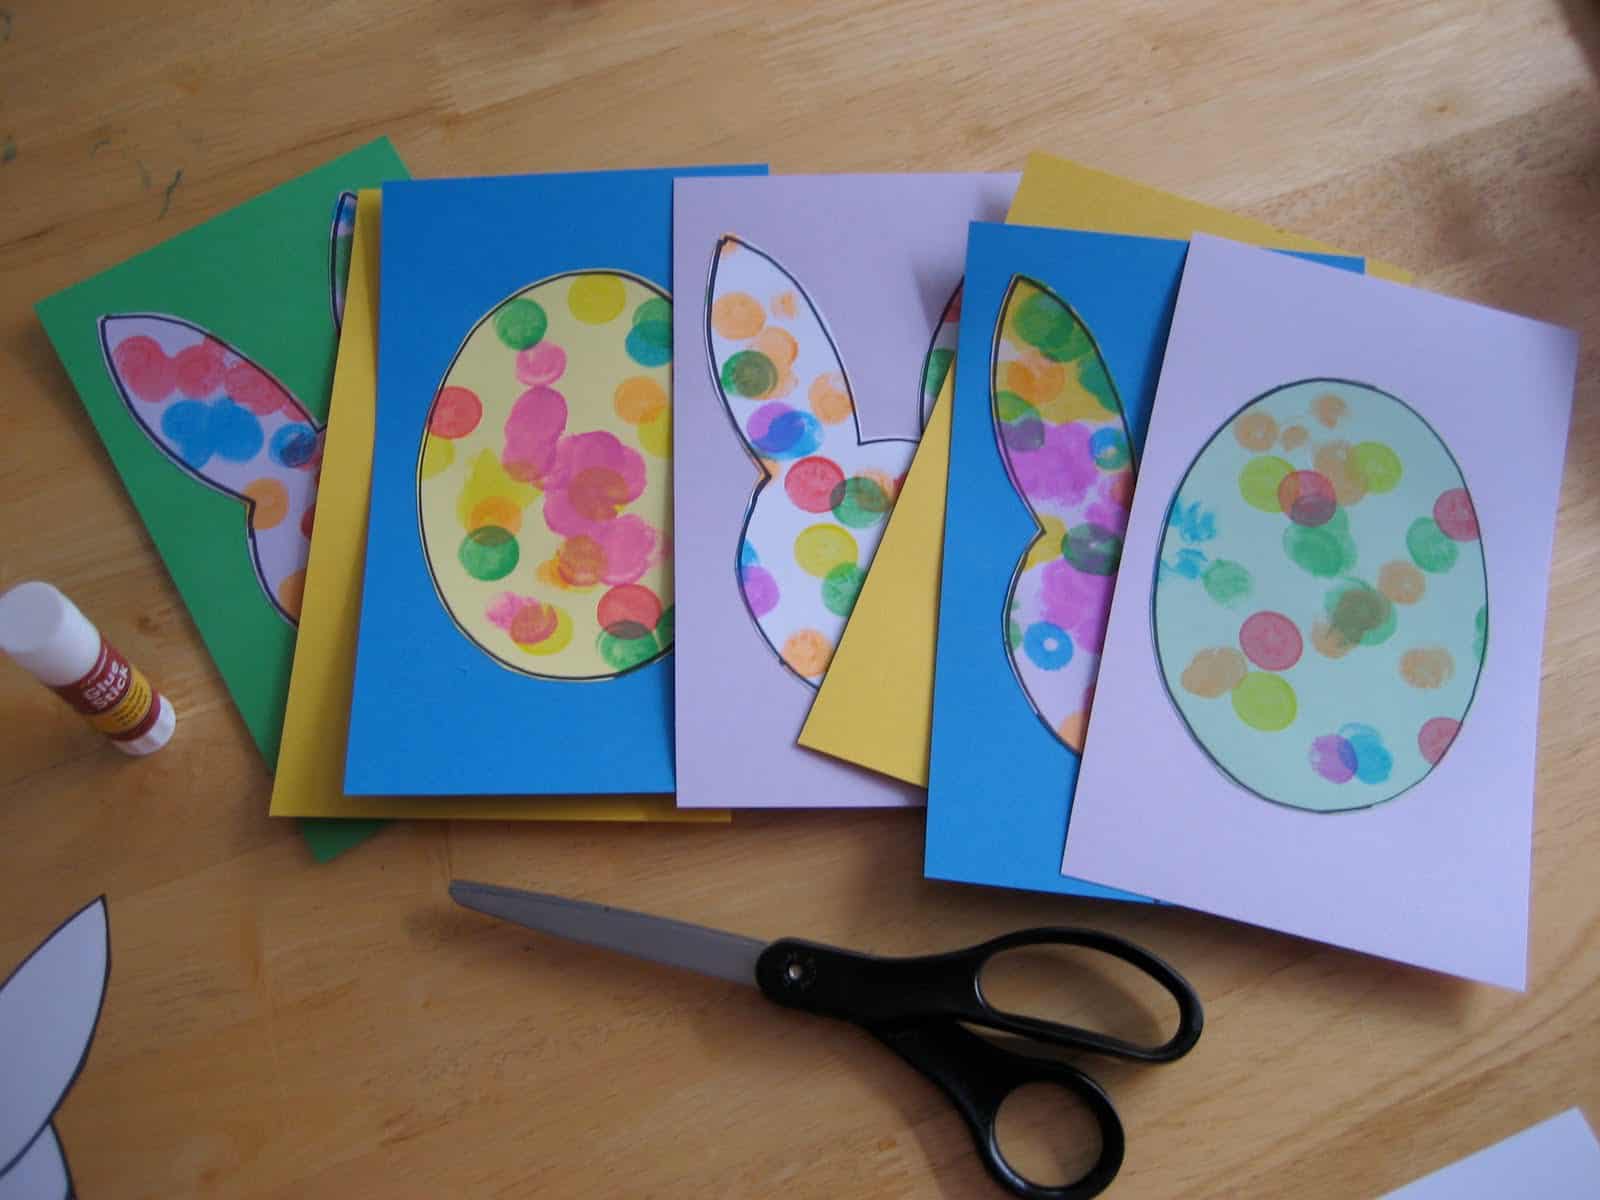
6. Cut out the eggs and bunnies once they are dry.
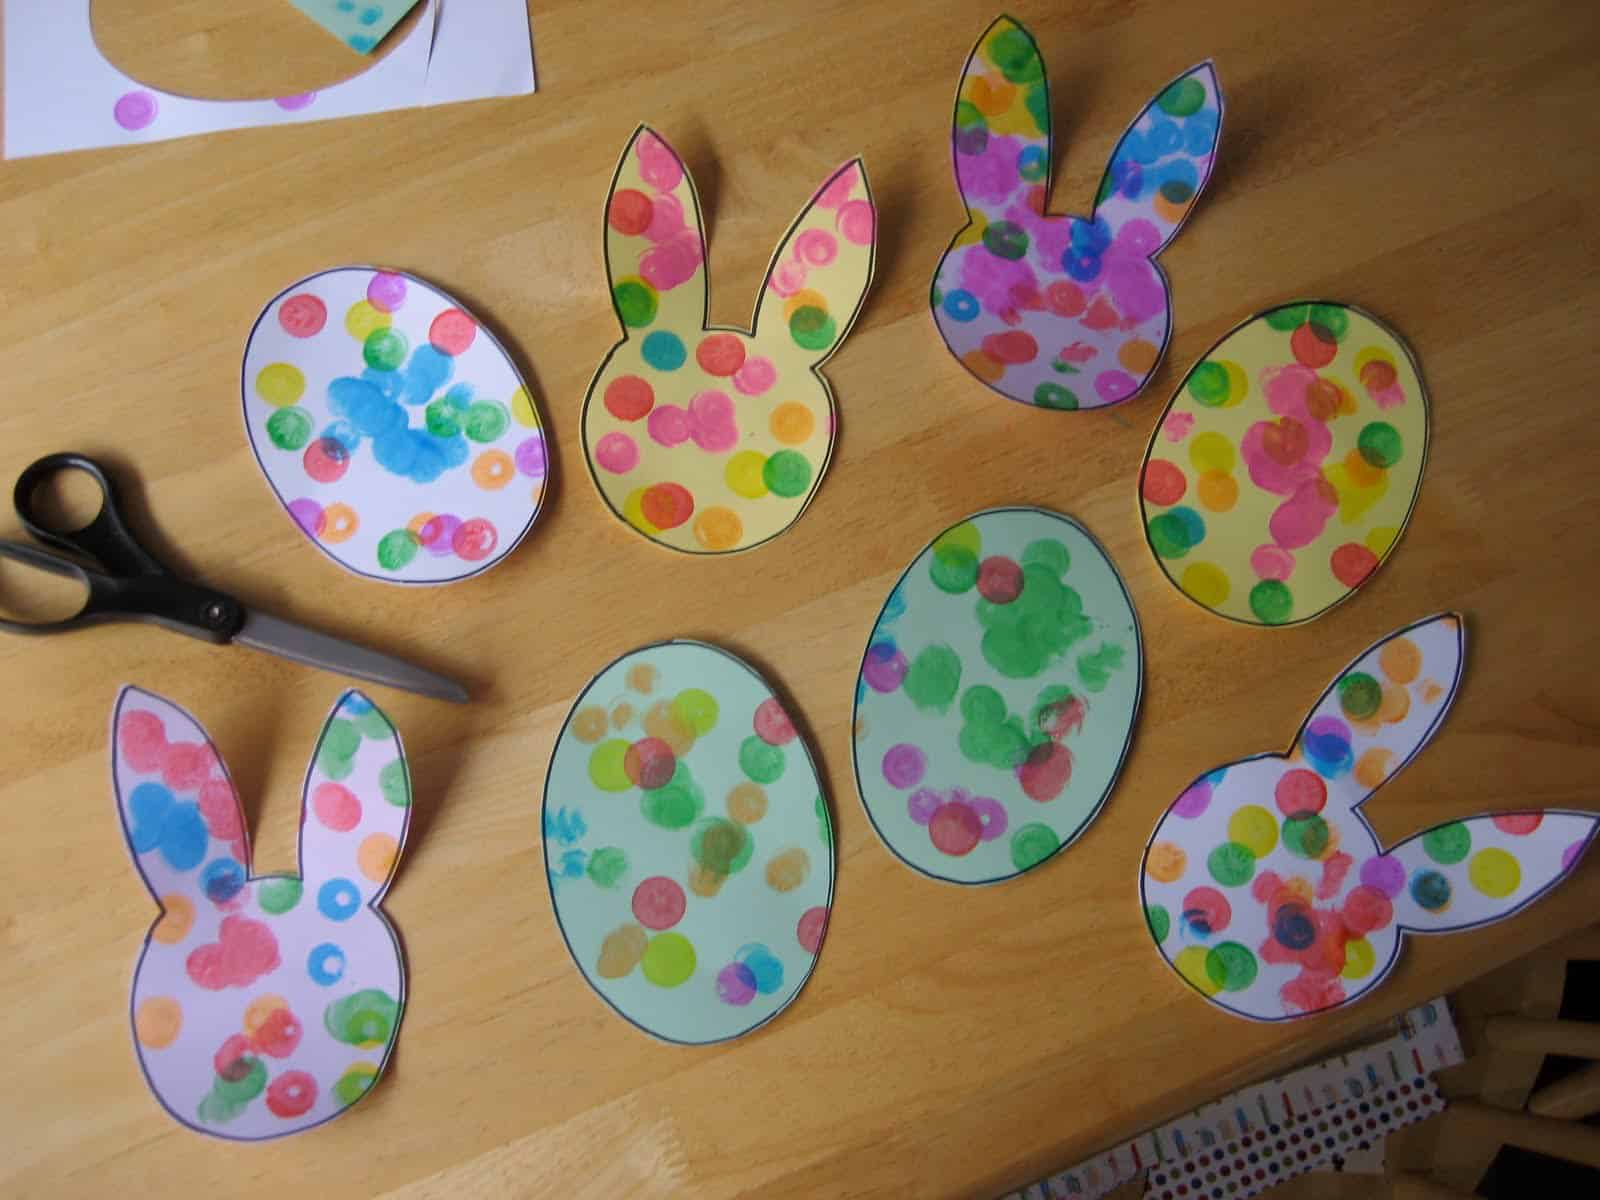
7. Glue the bunnies and eggs onto cardstock.
8. Cut the cardstock into pieces that are approximately 5 X 8.5 (It is easier to cut the paper first, then glue your eggs and bunnies onto the already cut pieces... so I'd recommend doing that instead)
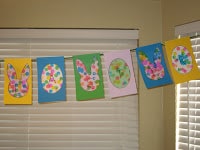
8. Arrange your pieces in order so that they are in a pattern. You can have your child come back and help with this. You can order it by color. We did ours so that we had a bunny-egg-bunny-egg pattern.
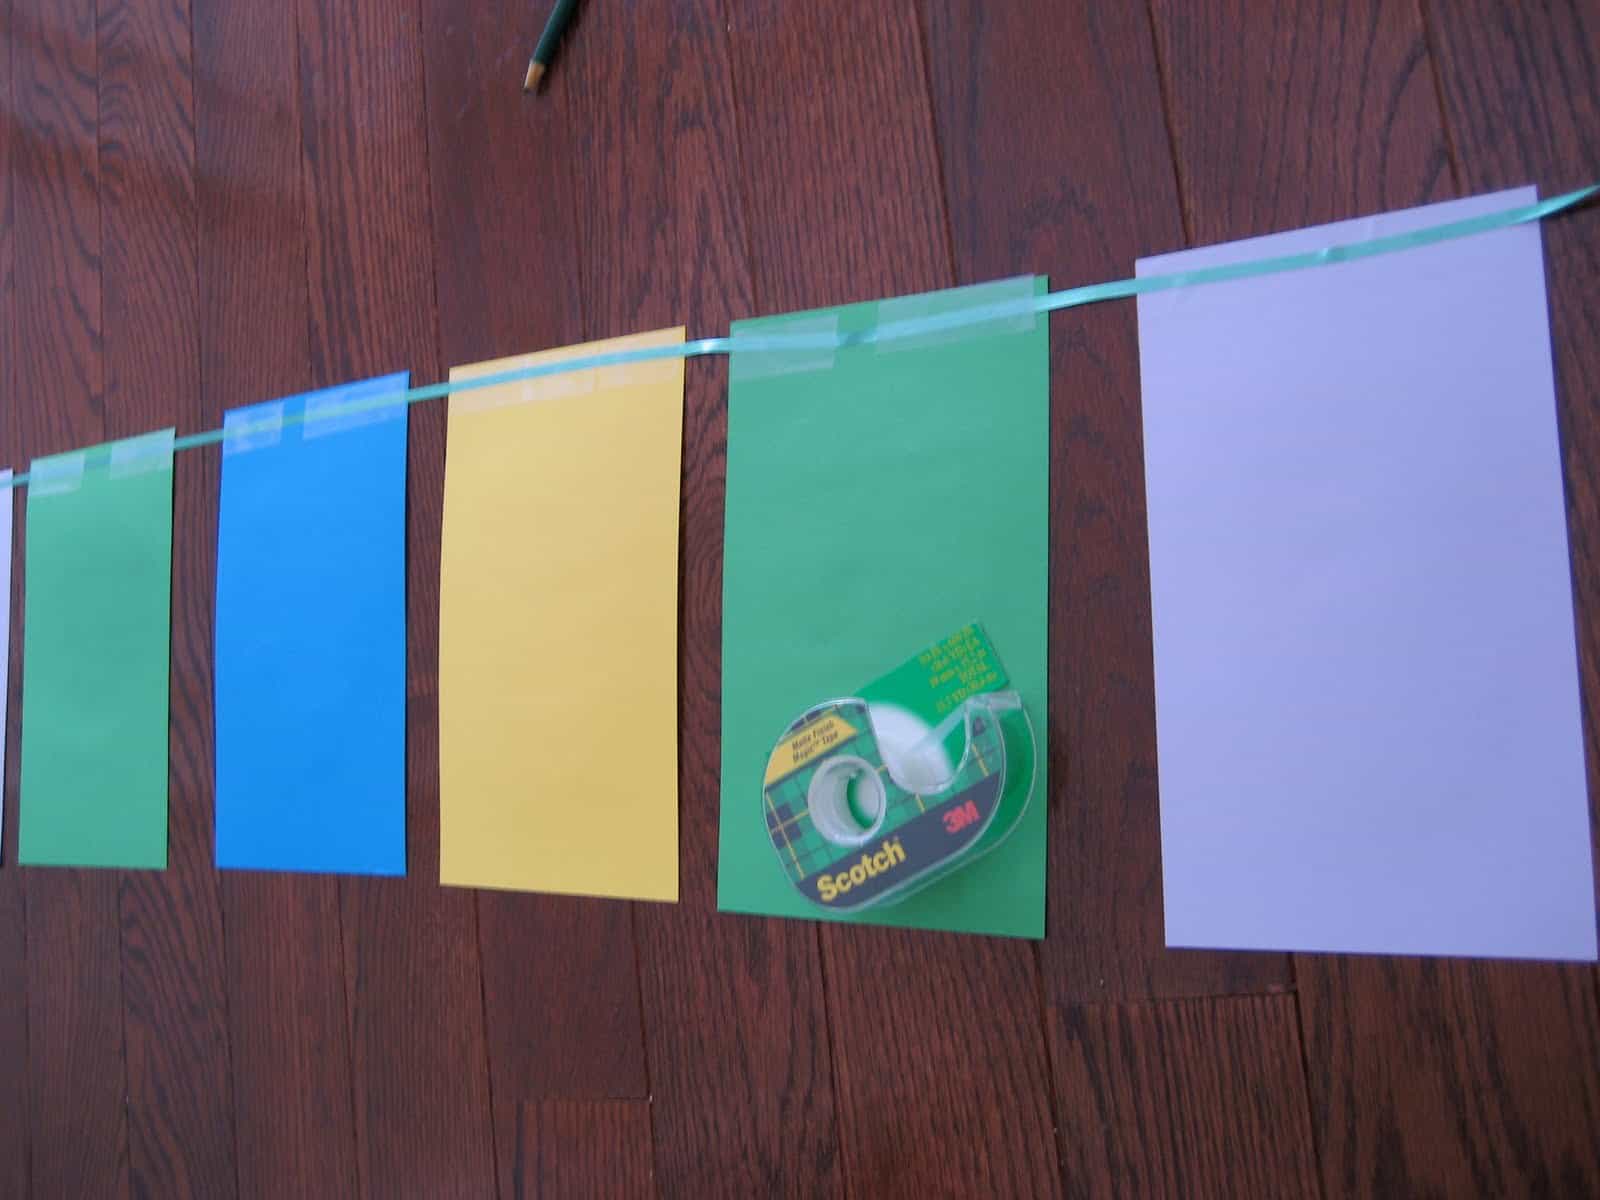
9. Measure your ribbon to make sure it will fit all the papers and so that it is long enough to hang where you want to put it.
10. Turn your papers over and attached the ribbon to the back of the papers using tape.
11. Write "HAPPY EASTER" on the eggs/bunnies with a Sharpie or colored markers, putting one letter on each egg or bunny. I left a blank egg as a space between the words "Happy" and "Easter."
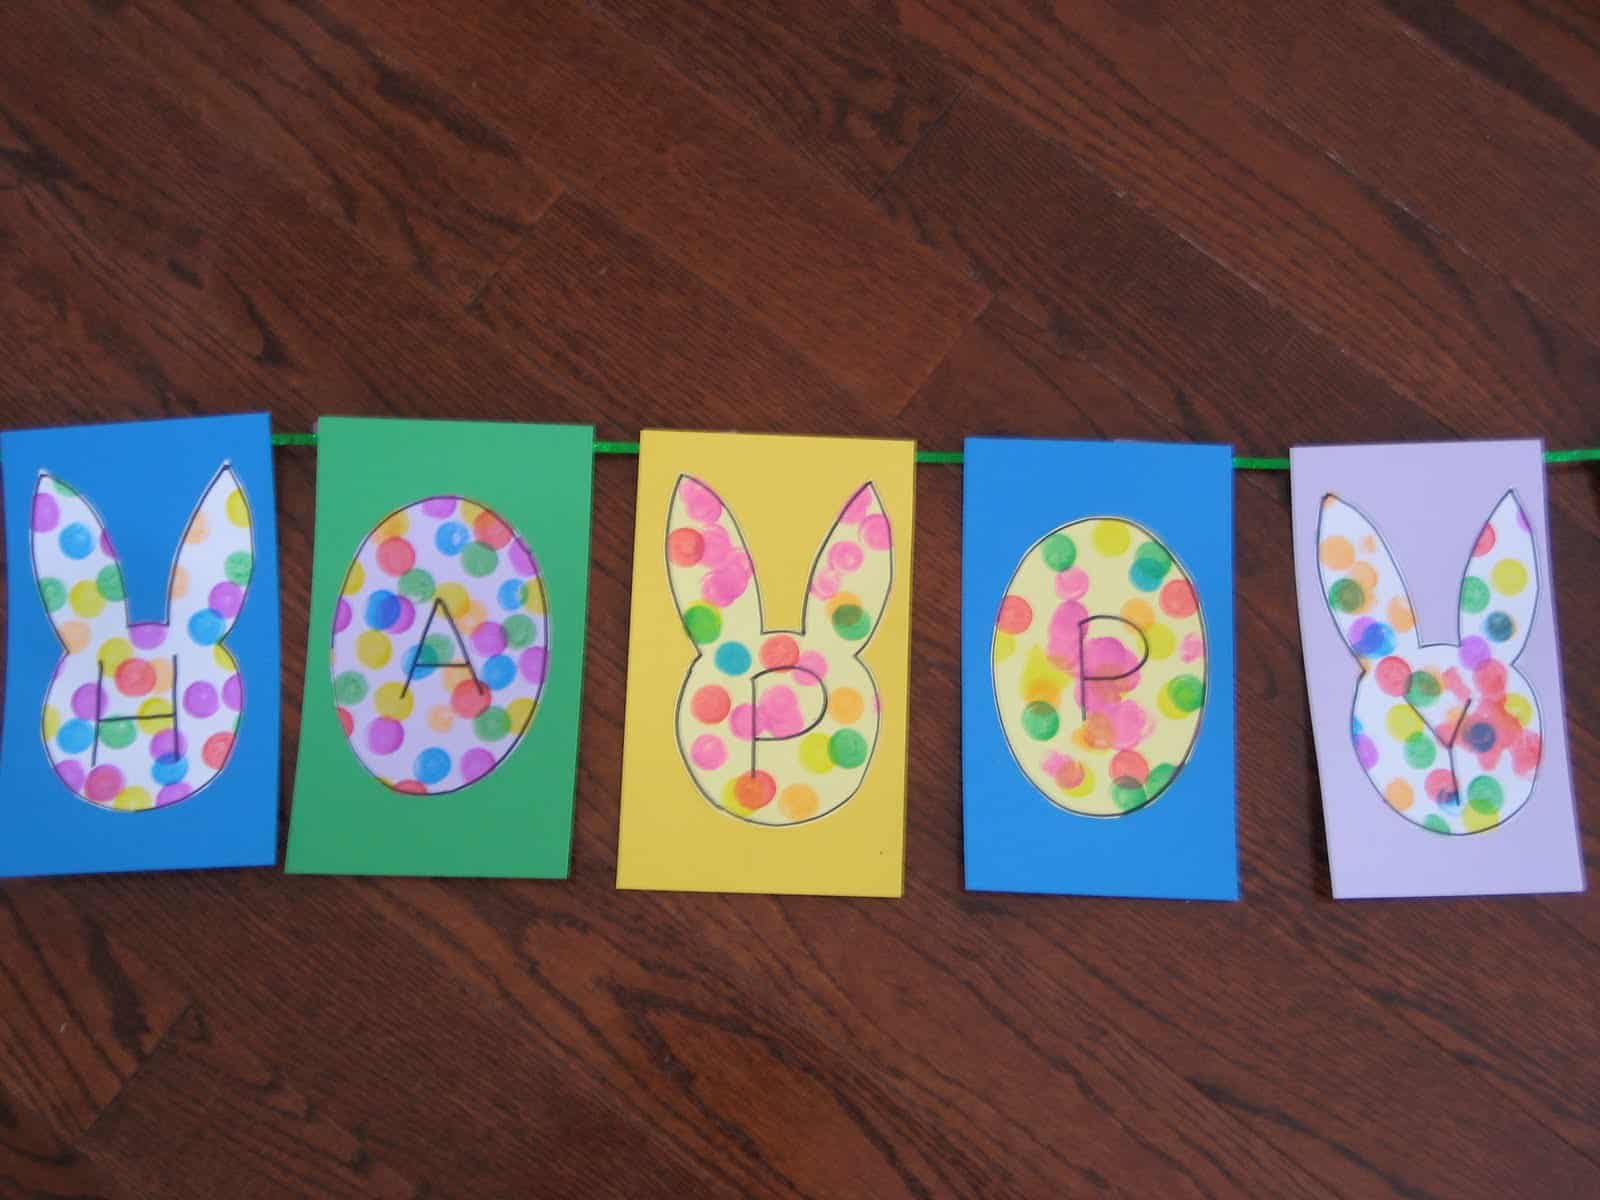
12. Hang your banner and enjoy!
For older kids you could write the letters with a pencil and then have them trace the letters with a marker... or if they can write, you can have them write the words all by themselves.
Language Building Activities:
- Talk about the letters and the sounds they make as you write them on the paper with your child.
- Talk about the colors you are using while you paint.
- Practice simple requests while you paint. Keep the paints across the table from your child and have him/her ask you for a new paint using a complete sentence/phrase as much as they can- " Yellow paint please," "Mommy, green paint please," "Can I have the blue paint please?" Practice modeling the correct complete sentence/question each time for your child (even if he can't say that many words yet). It is surprising how quickly kids learn and pretty soon he'll be politely asking you for what he needs in longer and longer sentences.
- Talk about patterns as you lay out the colored papers. Take time to experiment with your child and come up with patterns before you tape the banner together. You can show your child different pattern examples and then see what he comes up with. Pattern examples: egg-egg-bunny; bunny-egg-bunny; egg-egg-bunny-bunny, bunny-bunny-egg, etc.


So cute! We will have to make one of these for our Dinning room 🙂 Thanks for the wonderful idea!
Thanks for the Do-A-Dot Link – I've been searching for them!
This is adorable!