
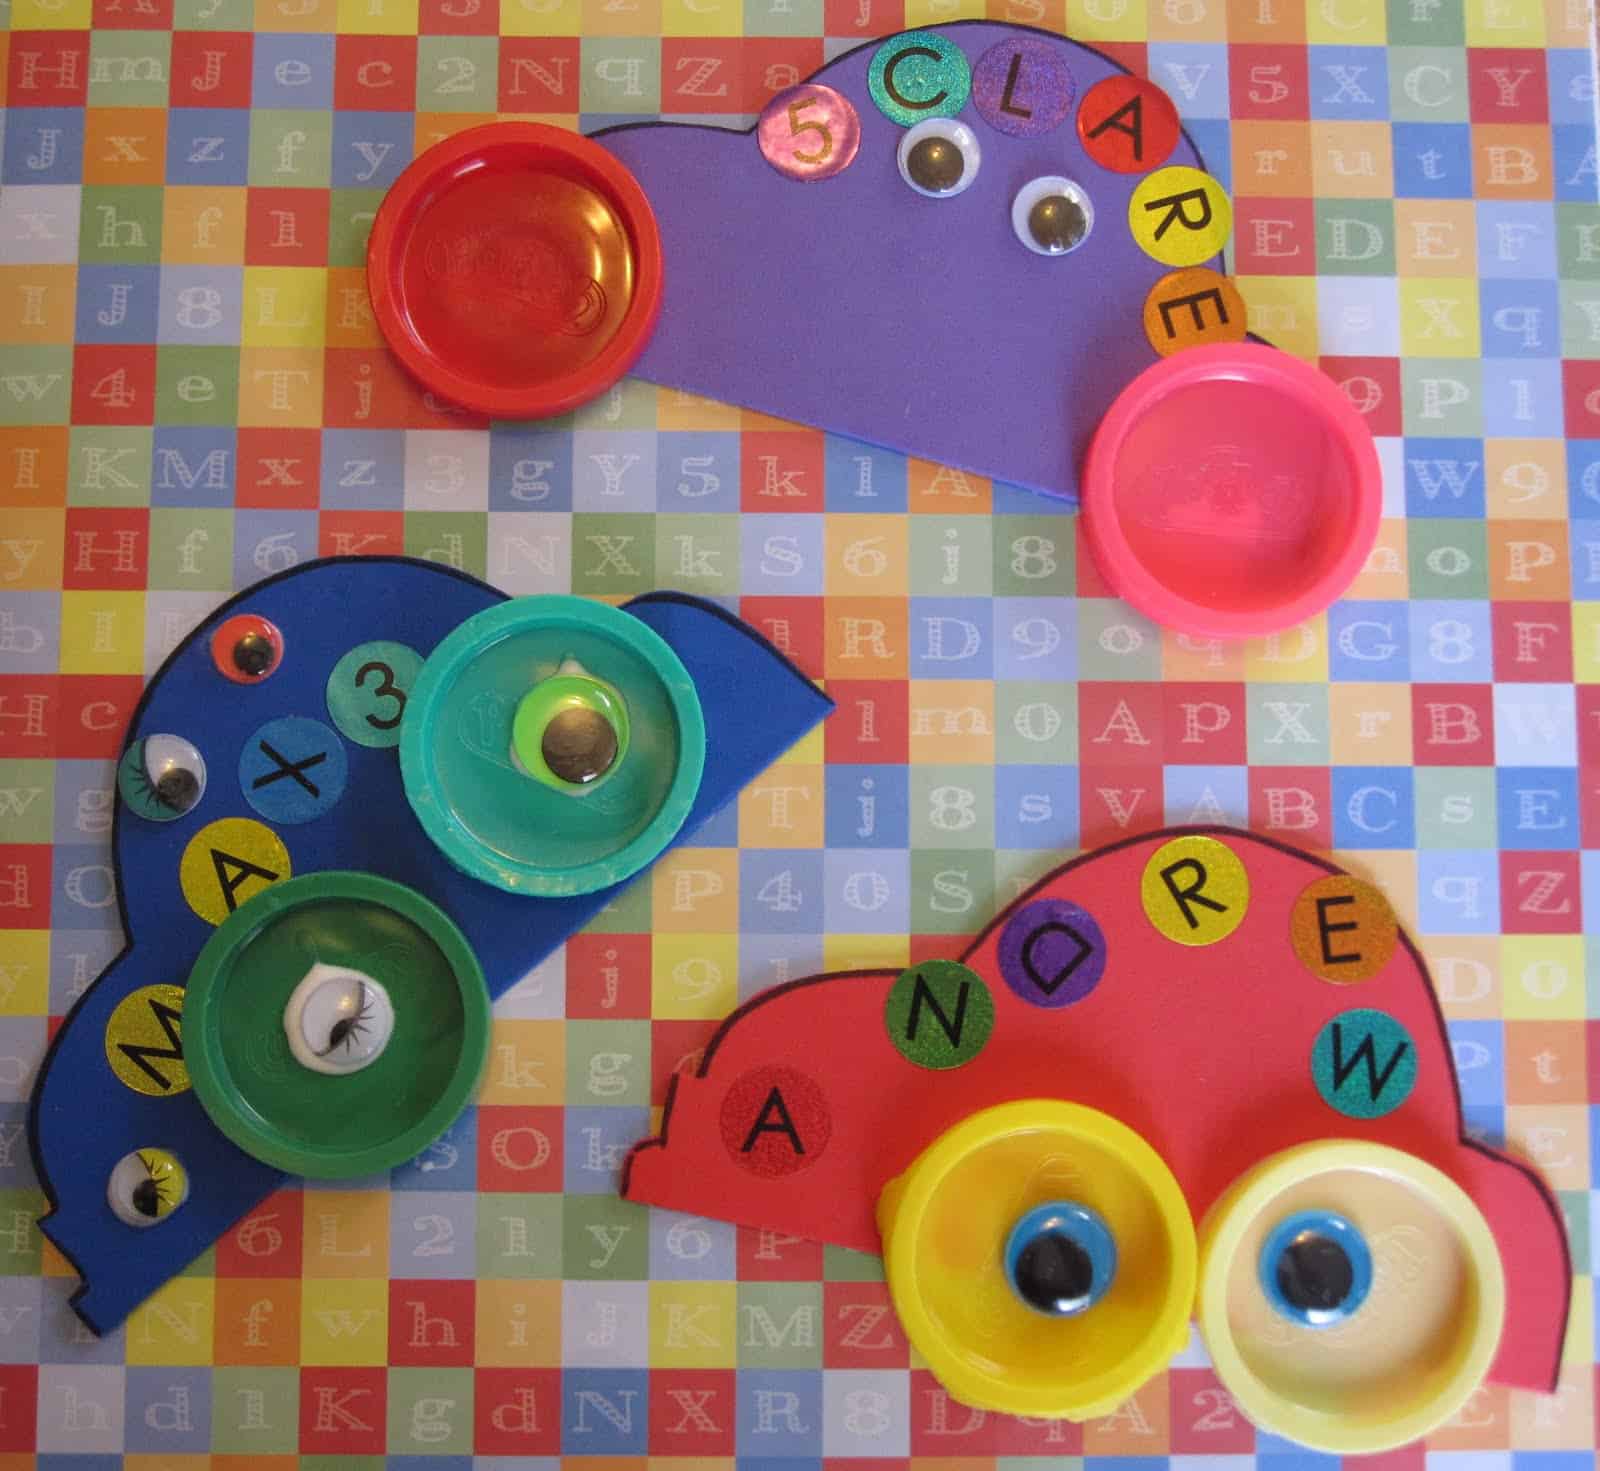
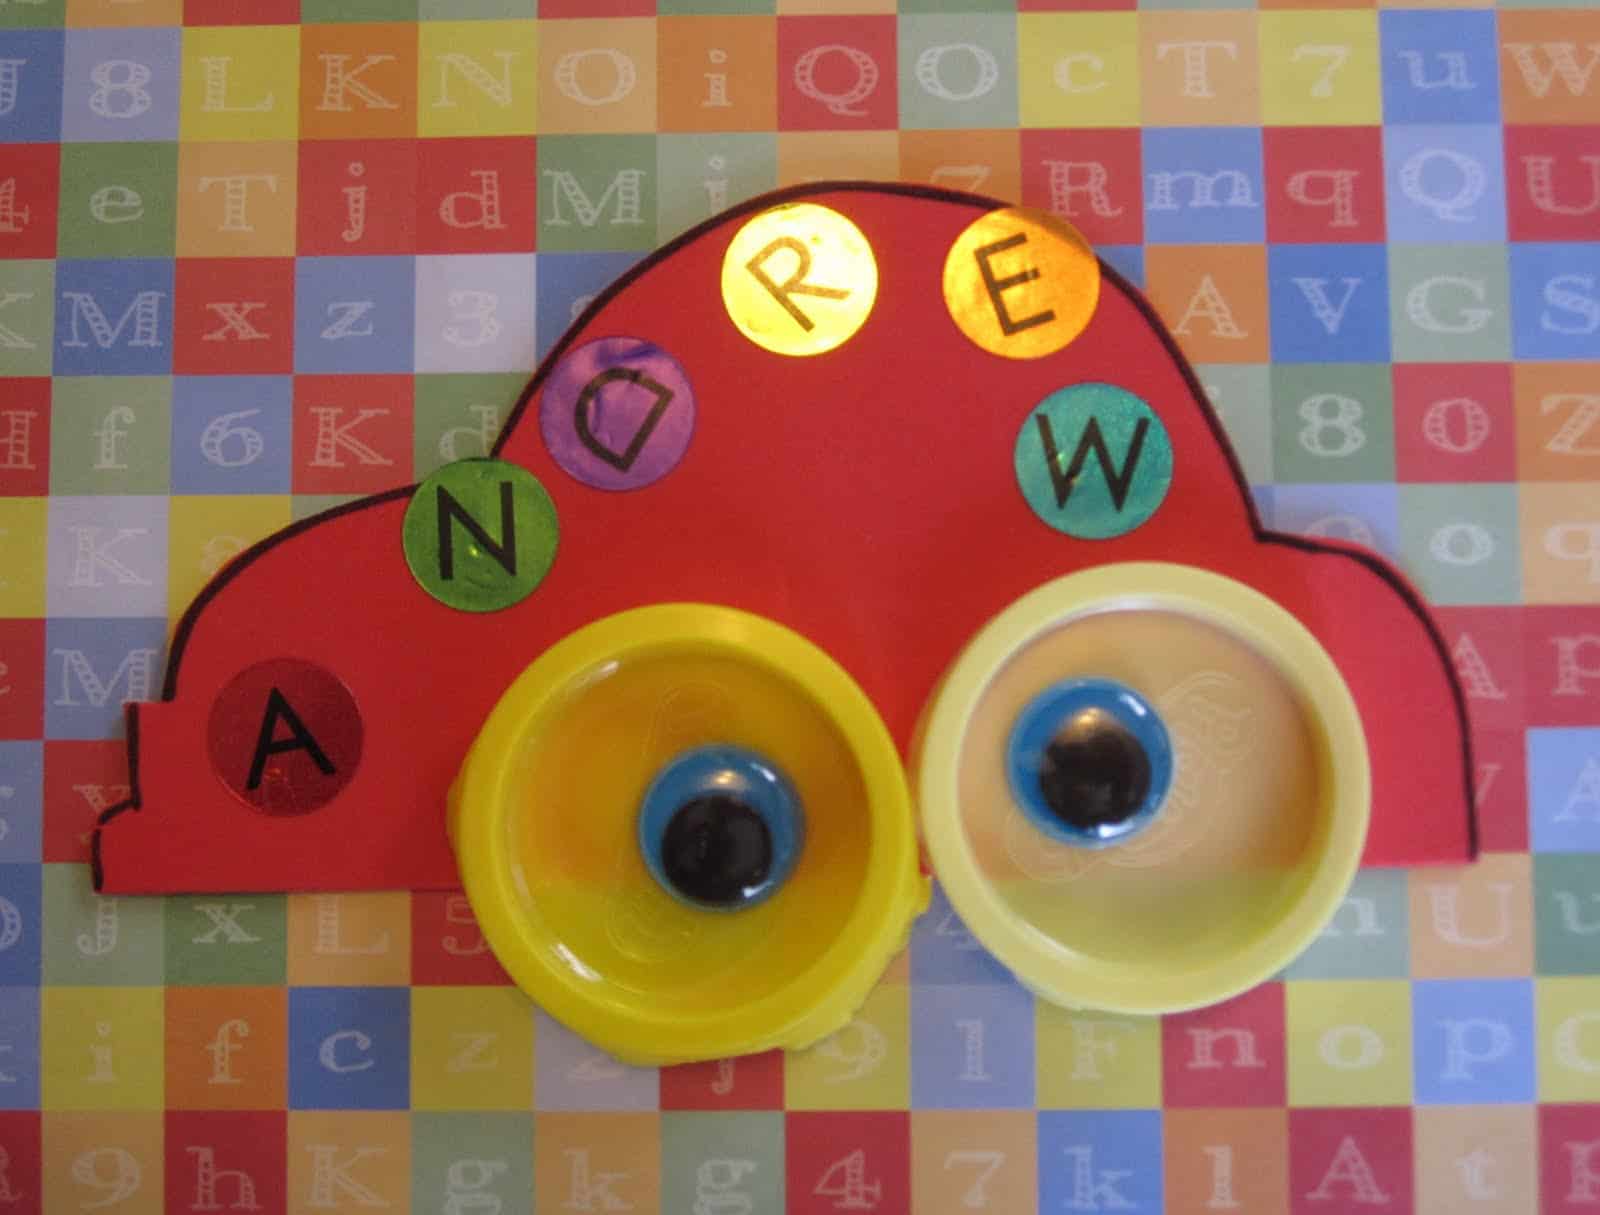
This week's Camp Mom theme is "Things that go!" These play-doh cap name cars were our first activity this morning.
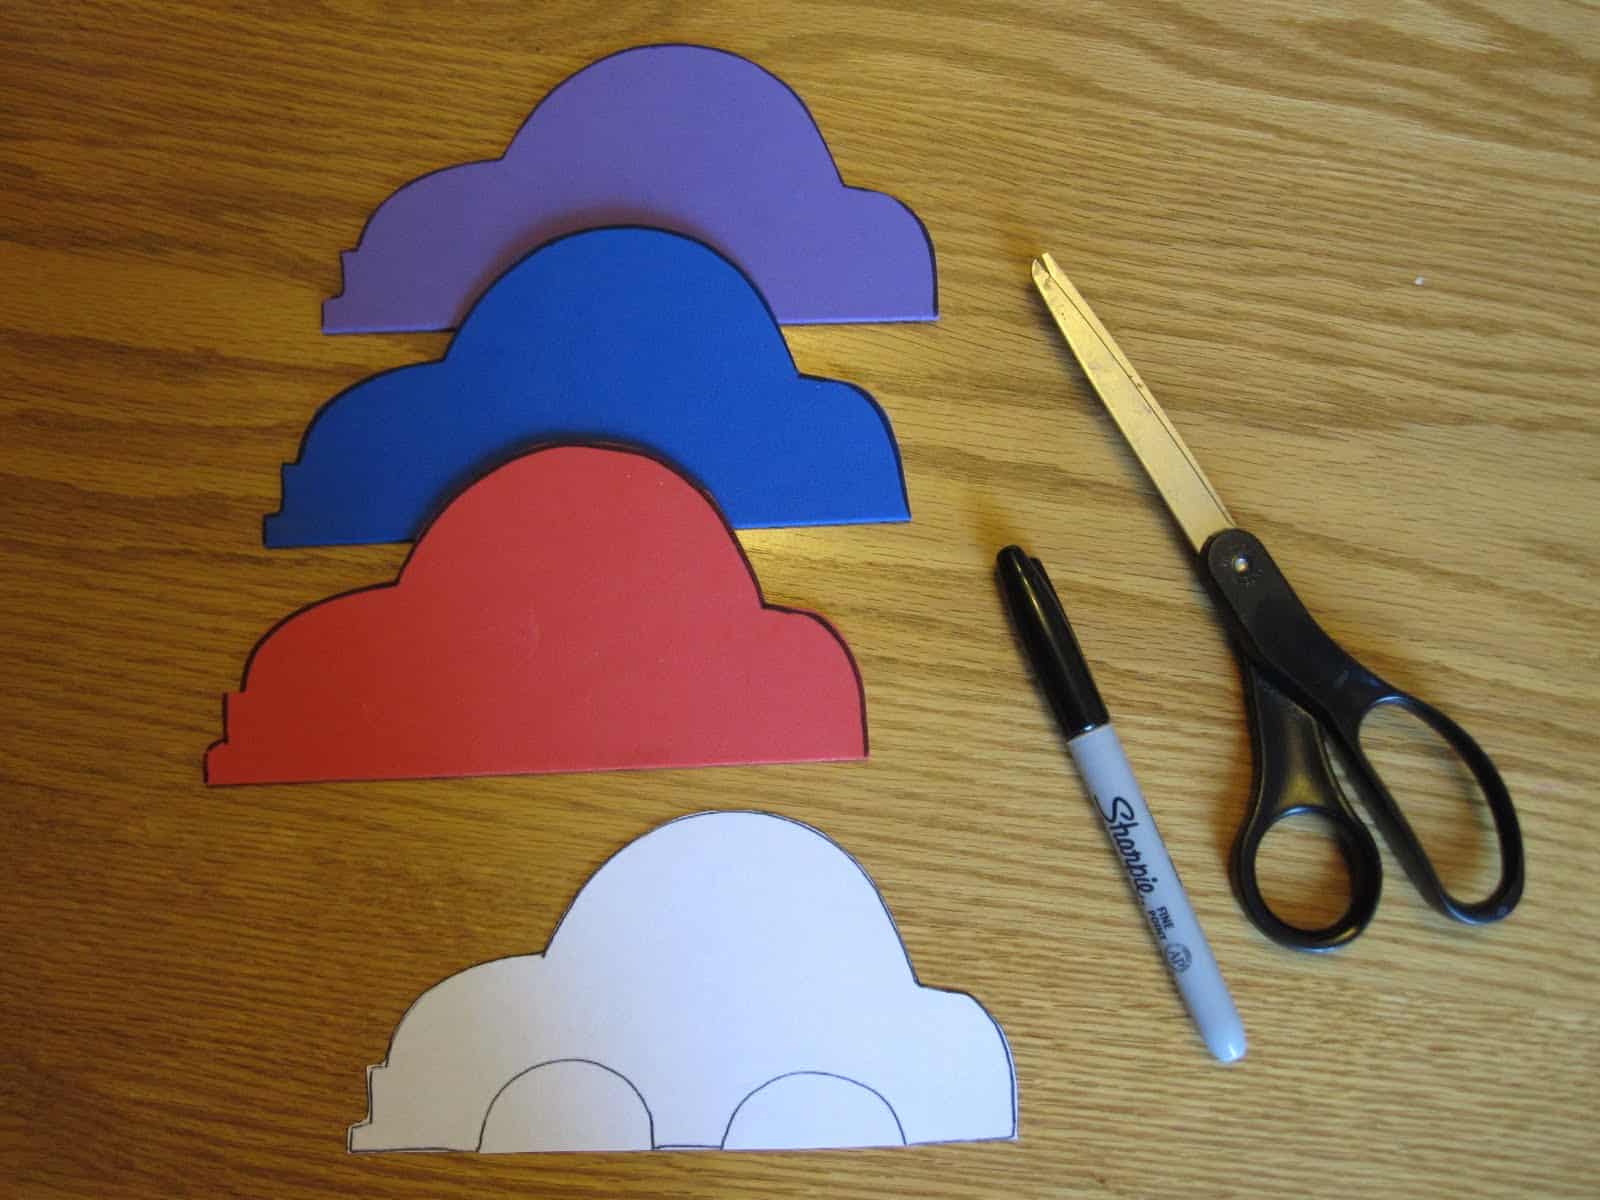
Materials Needed: Foam sheets, scissors, Sharpie, car template (I used this one), ABC stickers, play-doh lids, glue, and googly eyes.
Directions:
Prep-ahead- Use template to trace the cars onto foam and then cut them out.
1. Use ABC stickers to have child add their name to their car. I made little name cue cards for my son and his 3-yr-old buddy, since they don't know how to spell their names yet. His 5-year-old friend that was over could do this independently.
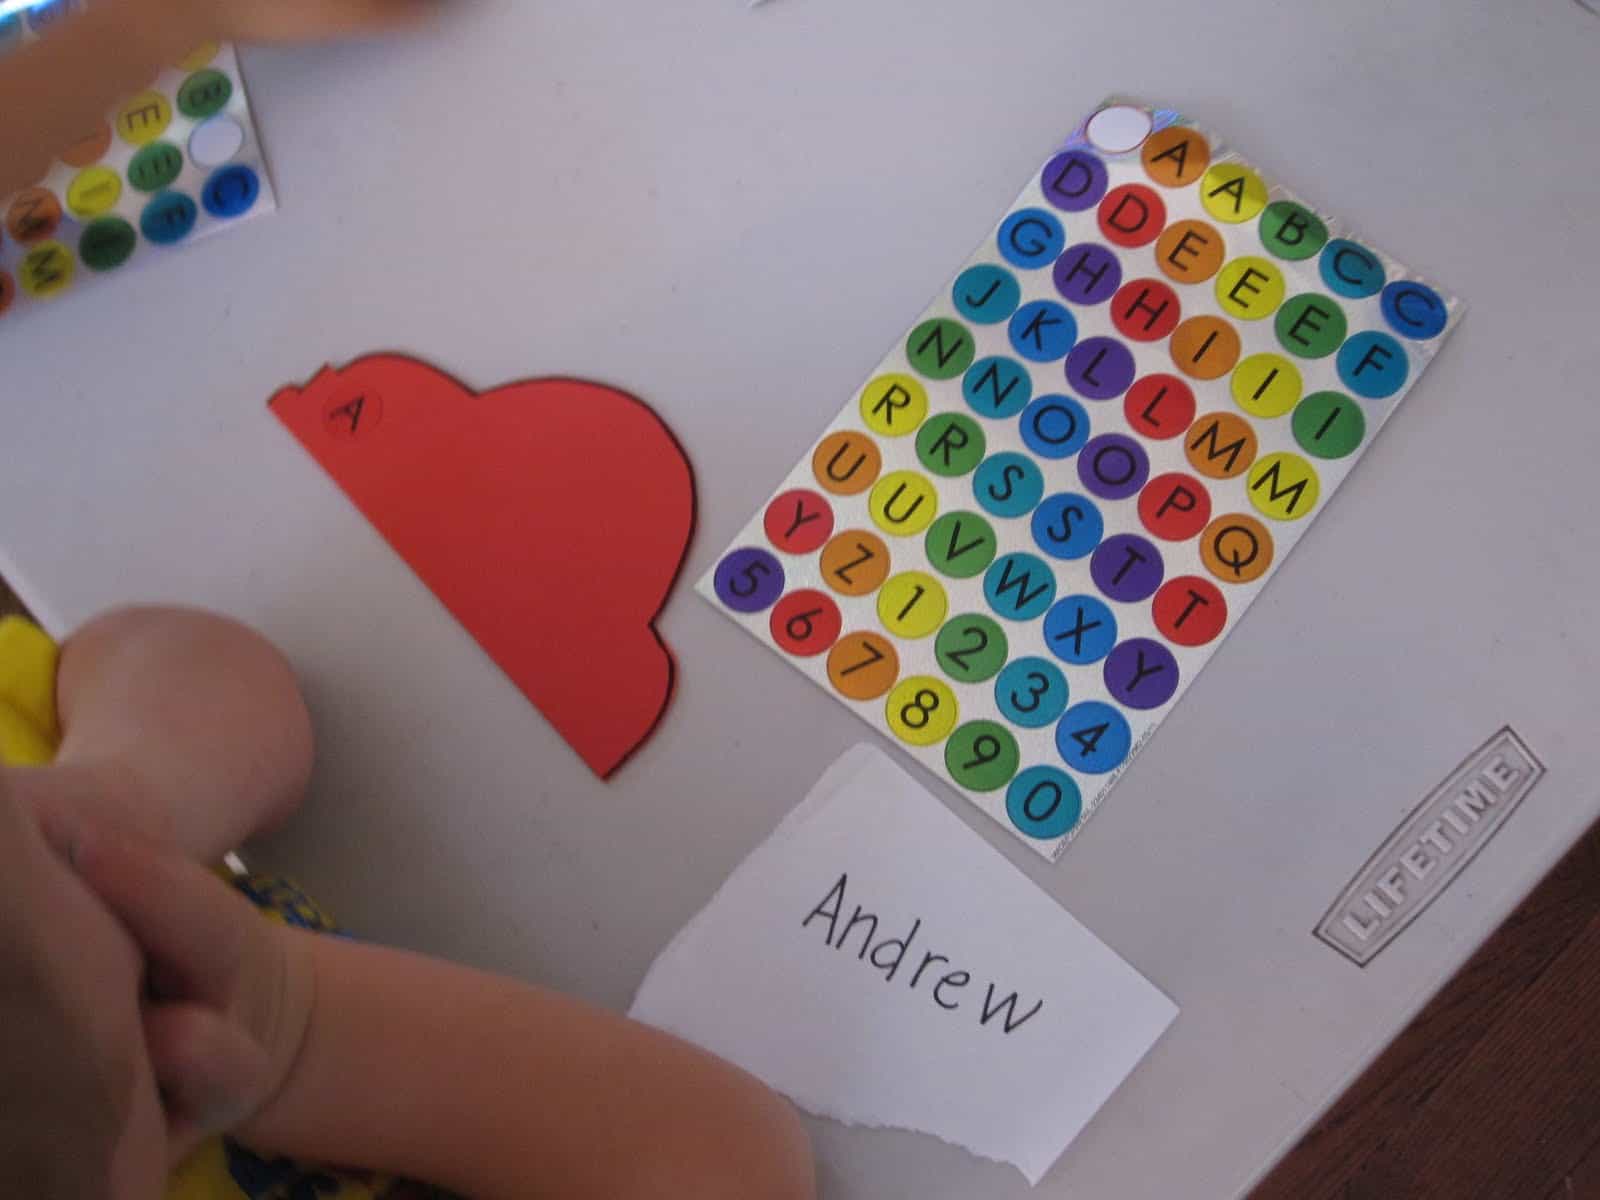
You could also write the child's name with Sharpie on the car and then have them find the matching sticker and cover up the Sharpie letter with a sticker letter.
I love doing projects to help my son learn about his name (even more so after reading about the importance of kids learning to write/spell their names in Fountas and Pinnell's book, Names: A Powerful resource for Literacy Learning. Teach Preschool has a great summary of the chapter here. Definitely check it out!)
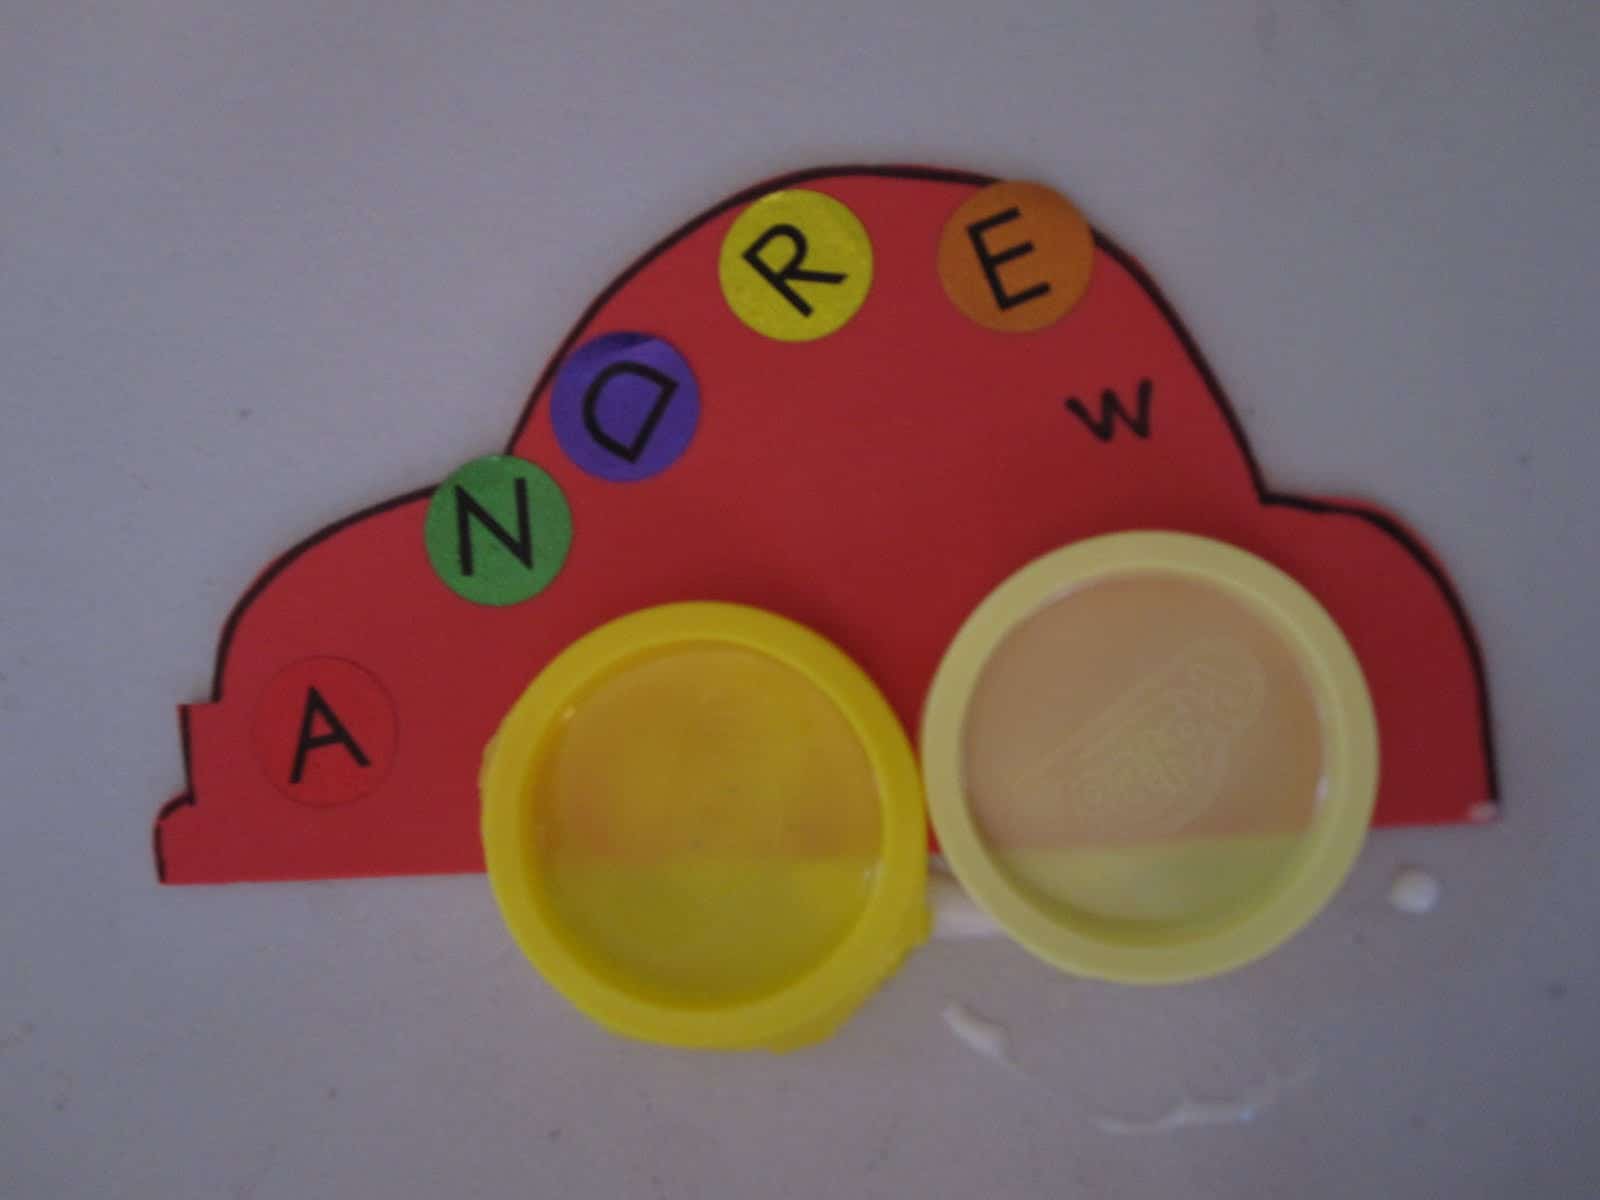
2. Add the wheels to the car by gluing on some play-doh lids! We always seem to have tons of these around and I love finding ways to use them 🙂
3. Glue on some googly eyes. The kiddos just giggled when I told them I had eyes for their cars. They had some much fun trying to decide where to put them.

Or where not to put them 🙂 One of the little boys wanted to put eyes everywhere! I loved it! Who says cars only need two eyes after all, right?

I loved how simple this project was. The kids also immediately clicked with it because it had something to do with their names.
We're excited to spend more time this week sharing some fun with "things that go!" If you're doing some of your own projects that relate, please pass along links. I would love to check them out!


This is a very cute idea and simple to make.
I knew I kept these caps for something – 🙂 Great idea!