
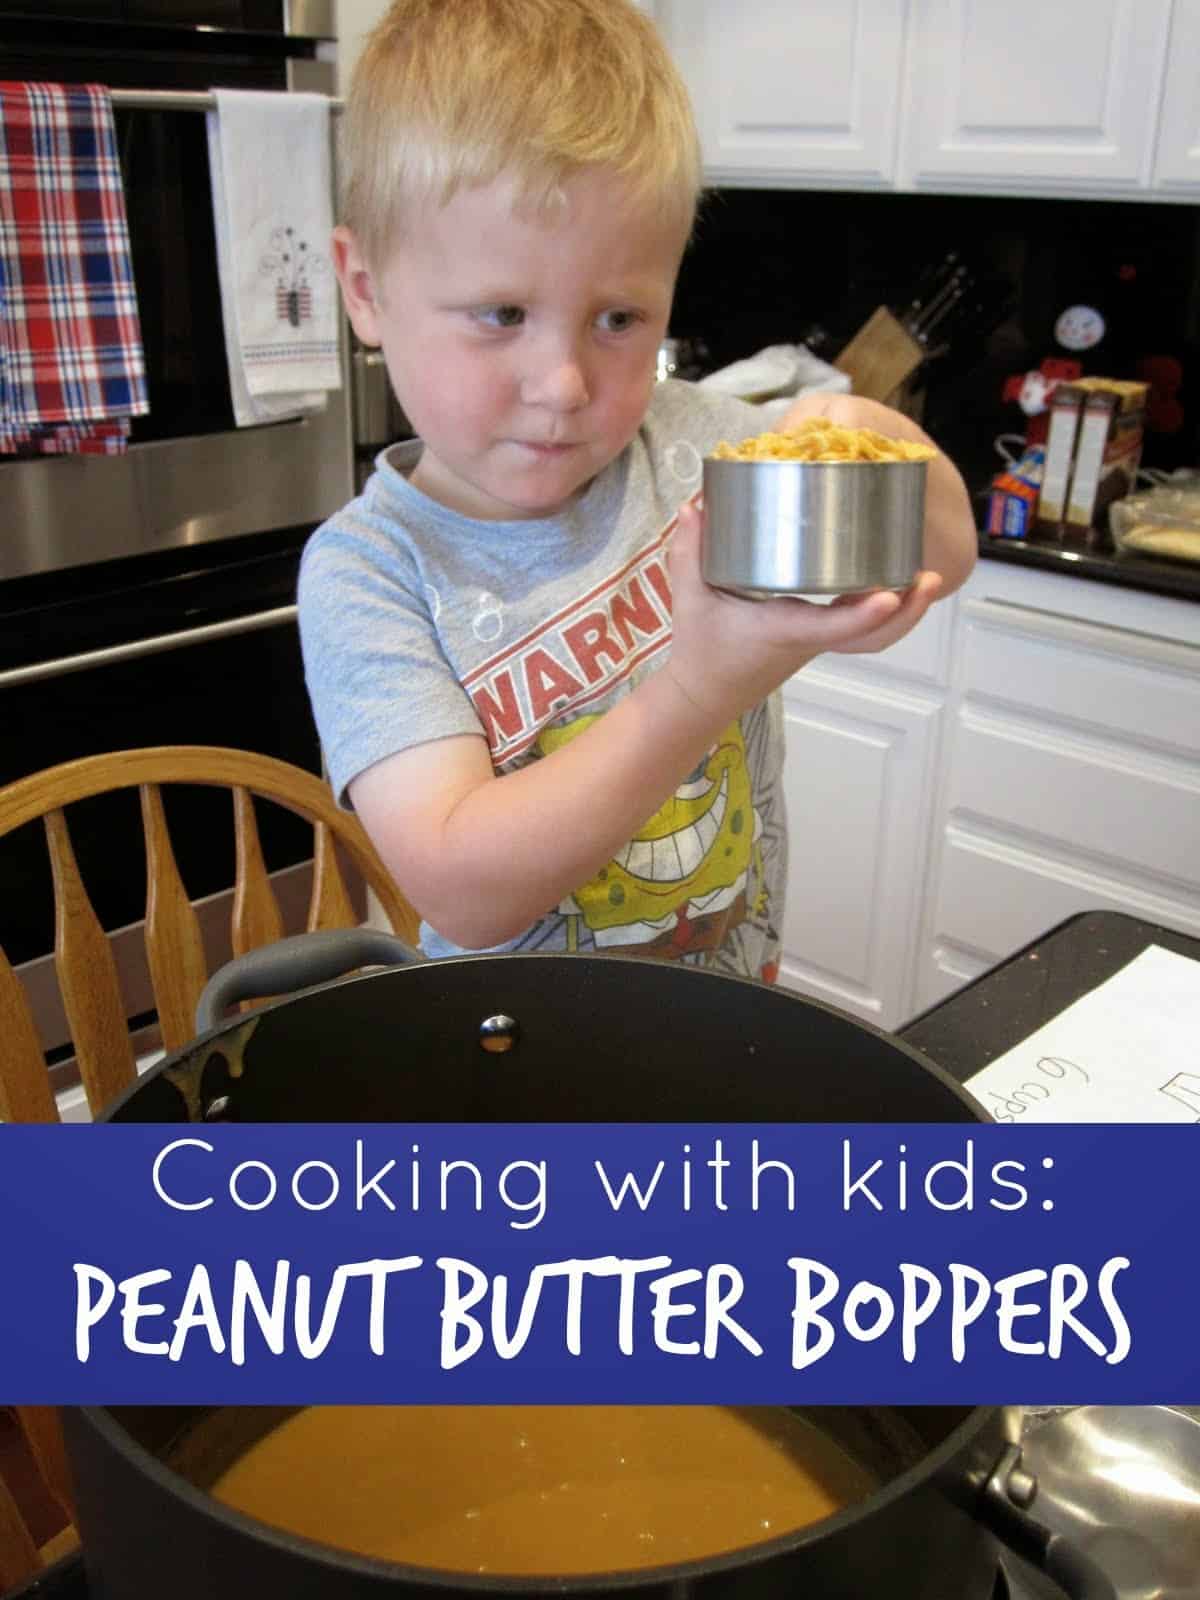
Cooking or assembling food with kids sure is a lot of fun! We recently shared our 10 favorite cooking activities to do with kids. These peanut butter boppers made the list because they are so easy to make and yummy!
You can check out the recipe and instructions below for more details! If you have any other favorite simple treats to make with kids I'd love to hear about them.
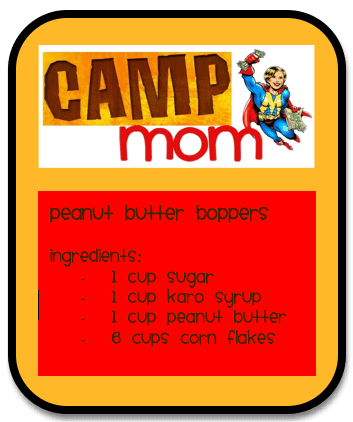
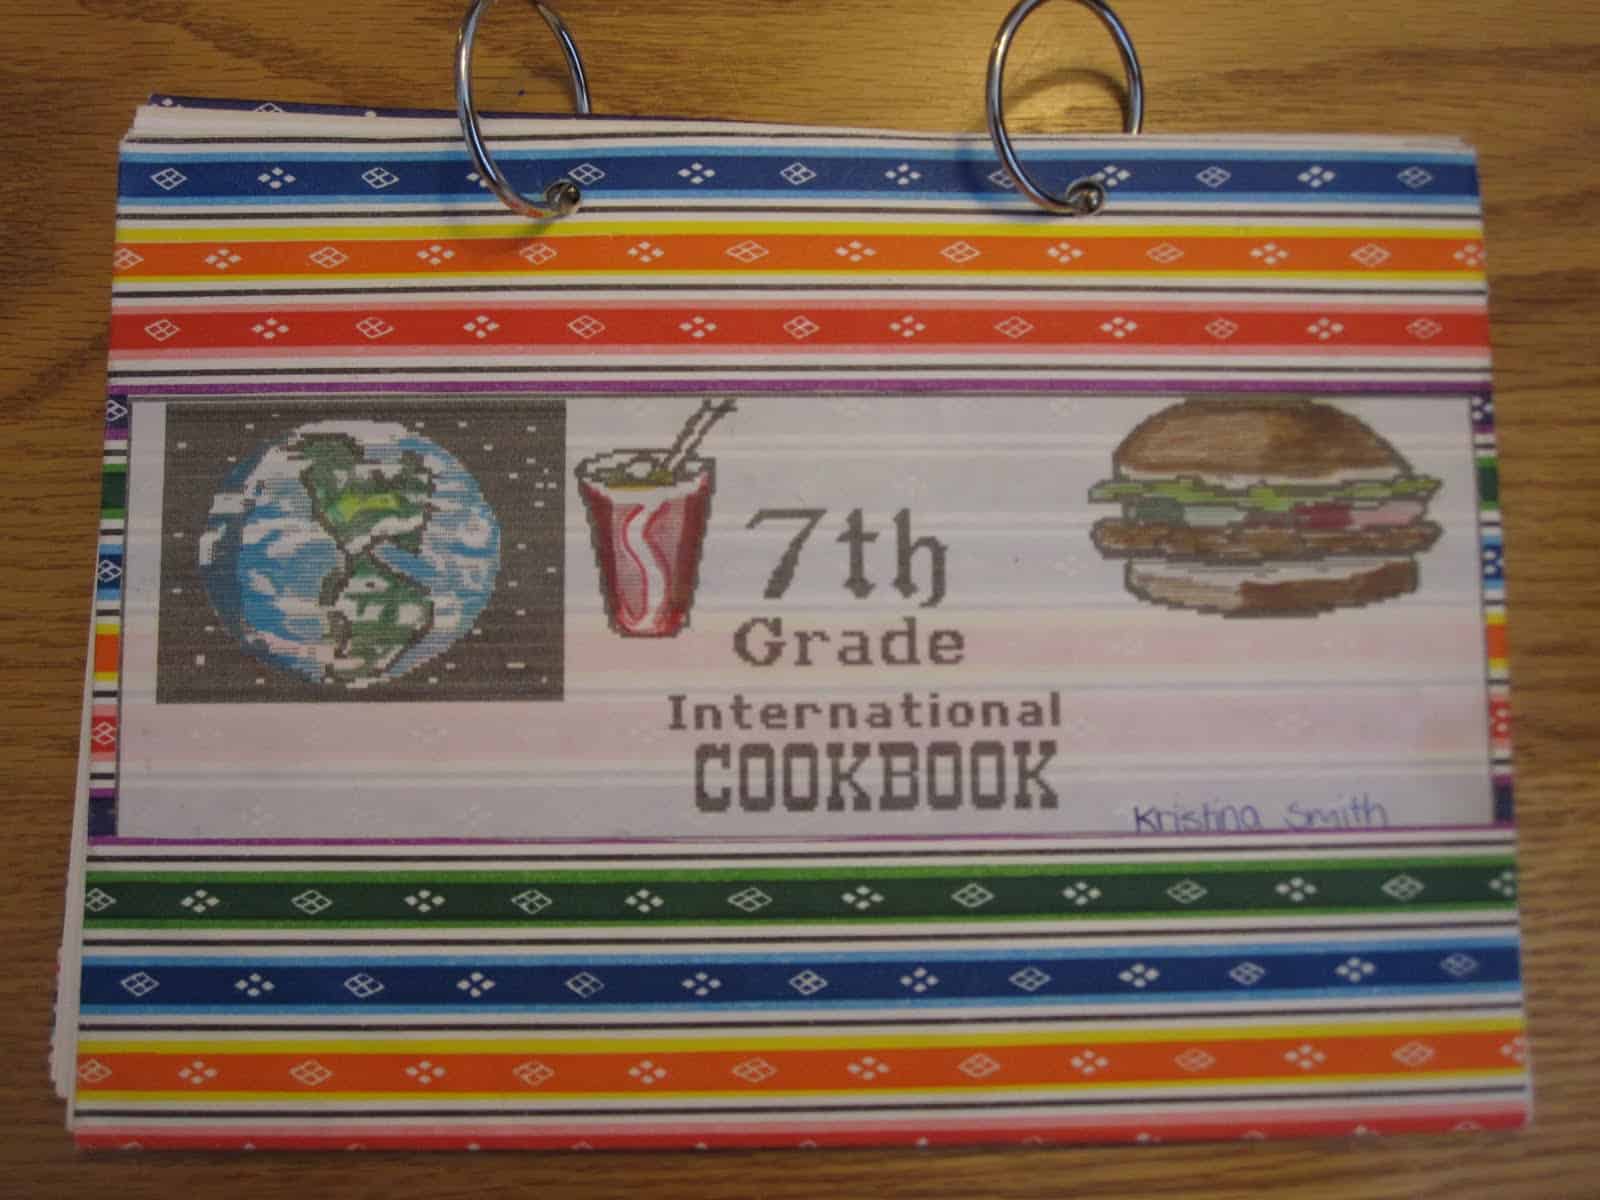
The first day of our little cooking camp was a blast. I whipped out this special cookbook (from 7th grade when I lived in Tokyo) and decided to teach my son one of my favorite simple and delicious recipes- peanut butter boppers.
Materials Needed: measuring cups, big pot, wax paper, wooden spoon (for stirring), and a plastic spoon (for scooping).
Directions:
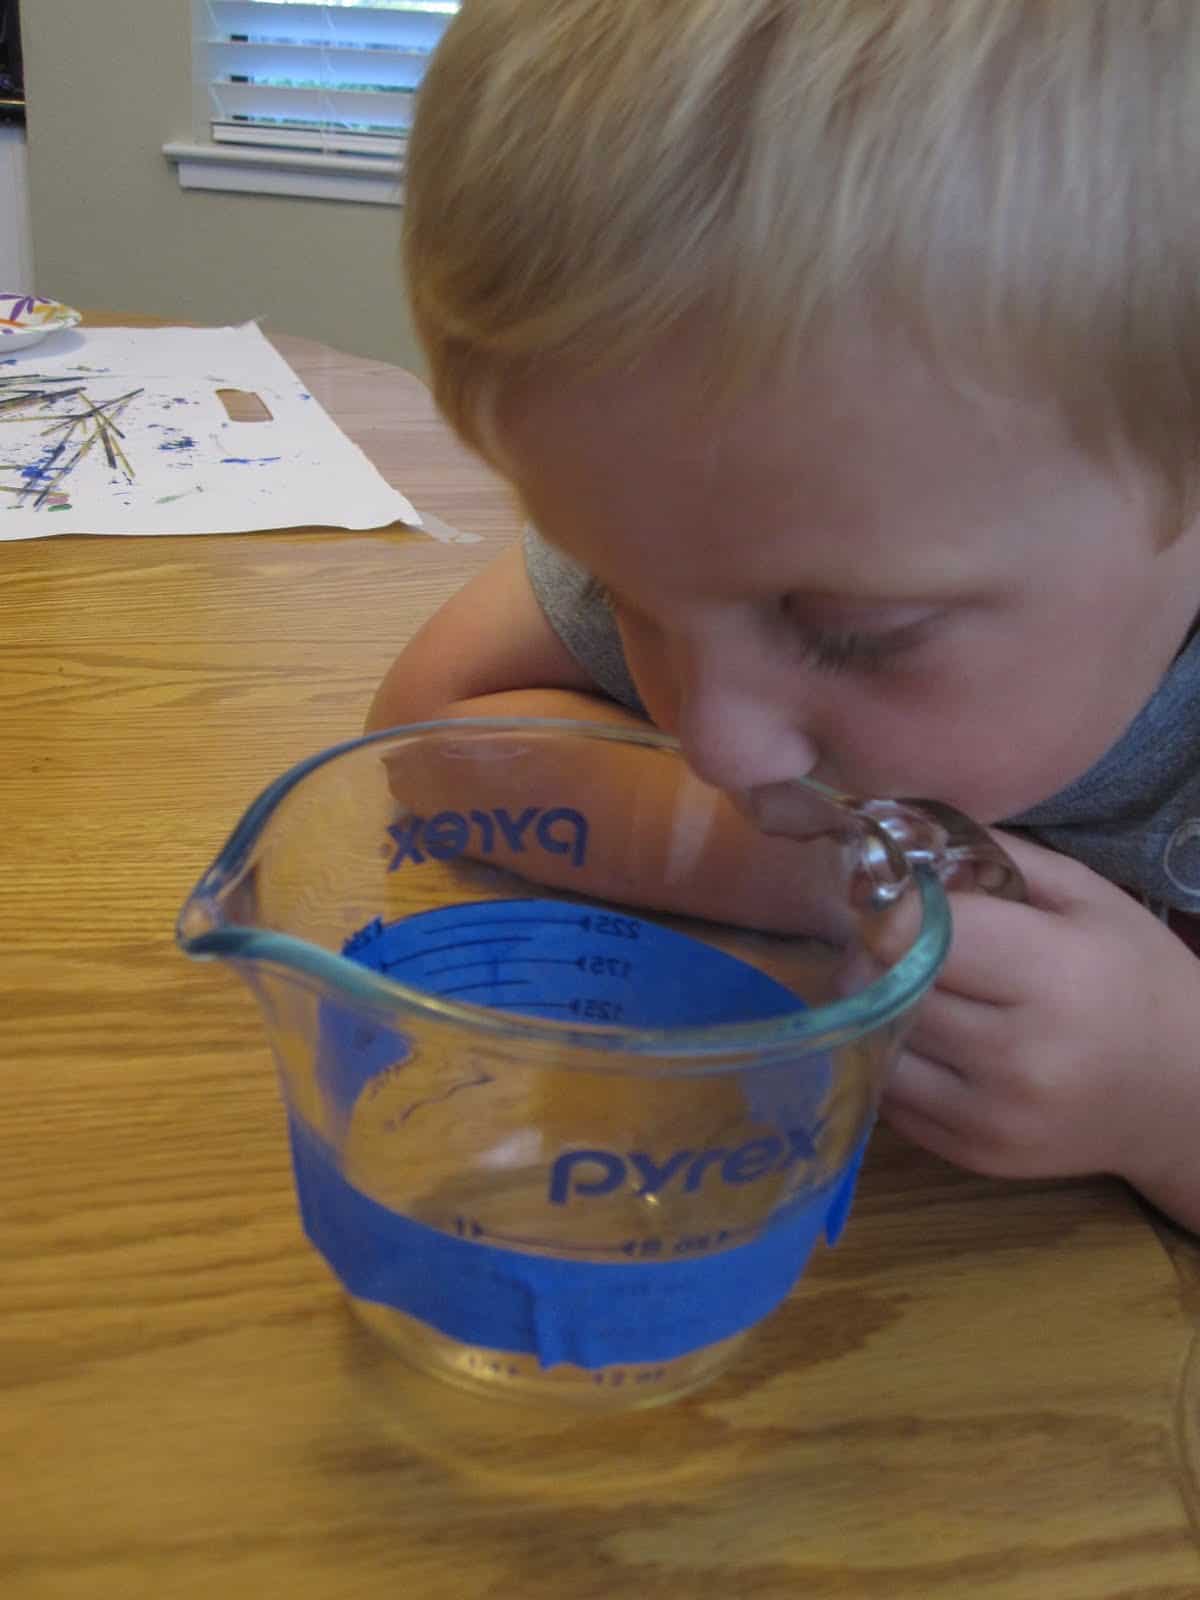
1. Measure out the Karo syrup in a measuring cup for liquids. I put colored tape around the cup as straight as possible so that my little guy could tell how high the liquid was supposed to go. I like the squeezeable Karo syrup bottles because they are great for little hands 🙂 and build strong finger muscles.
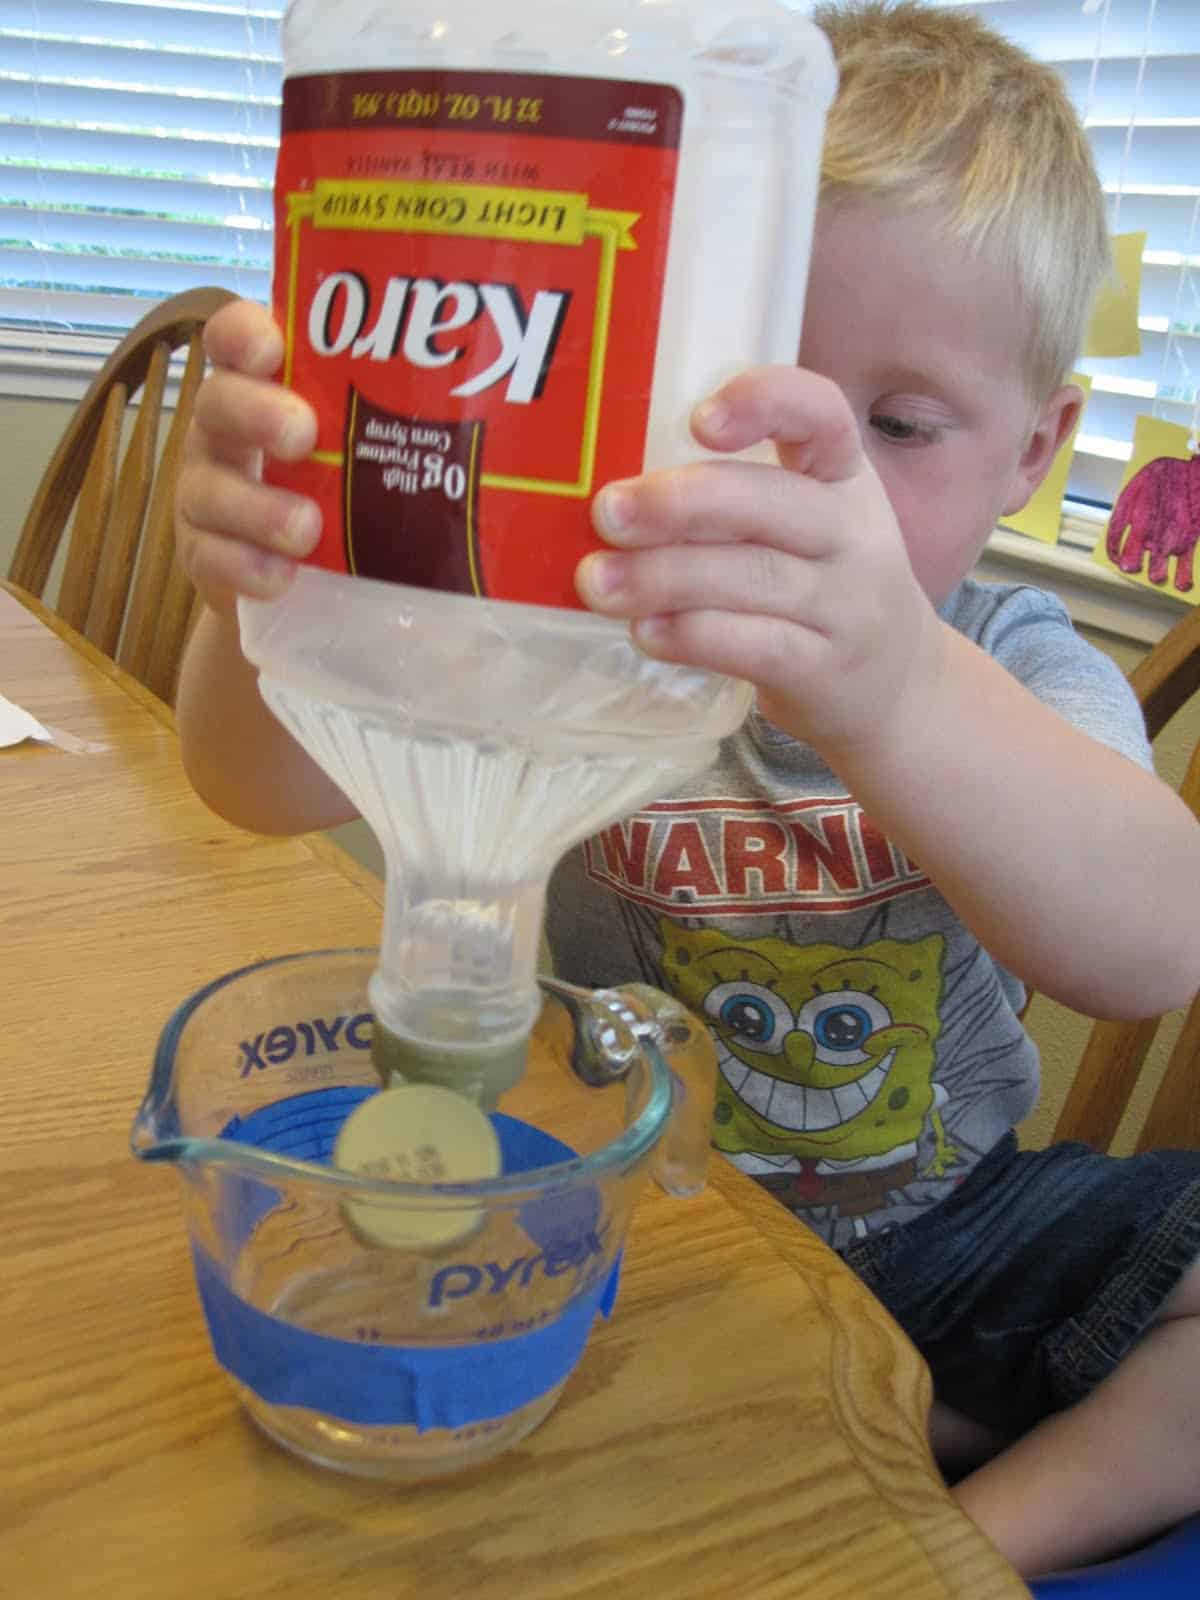
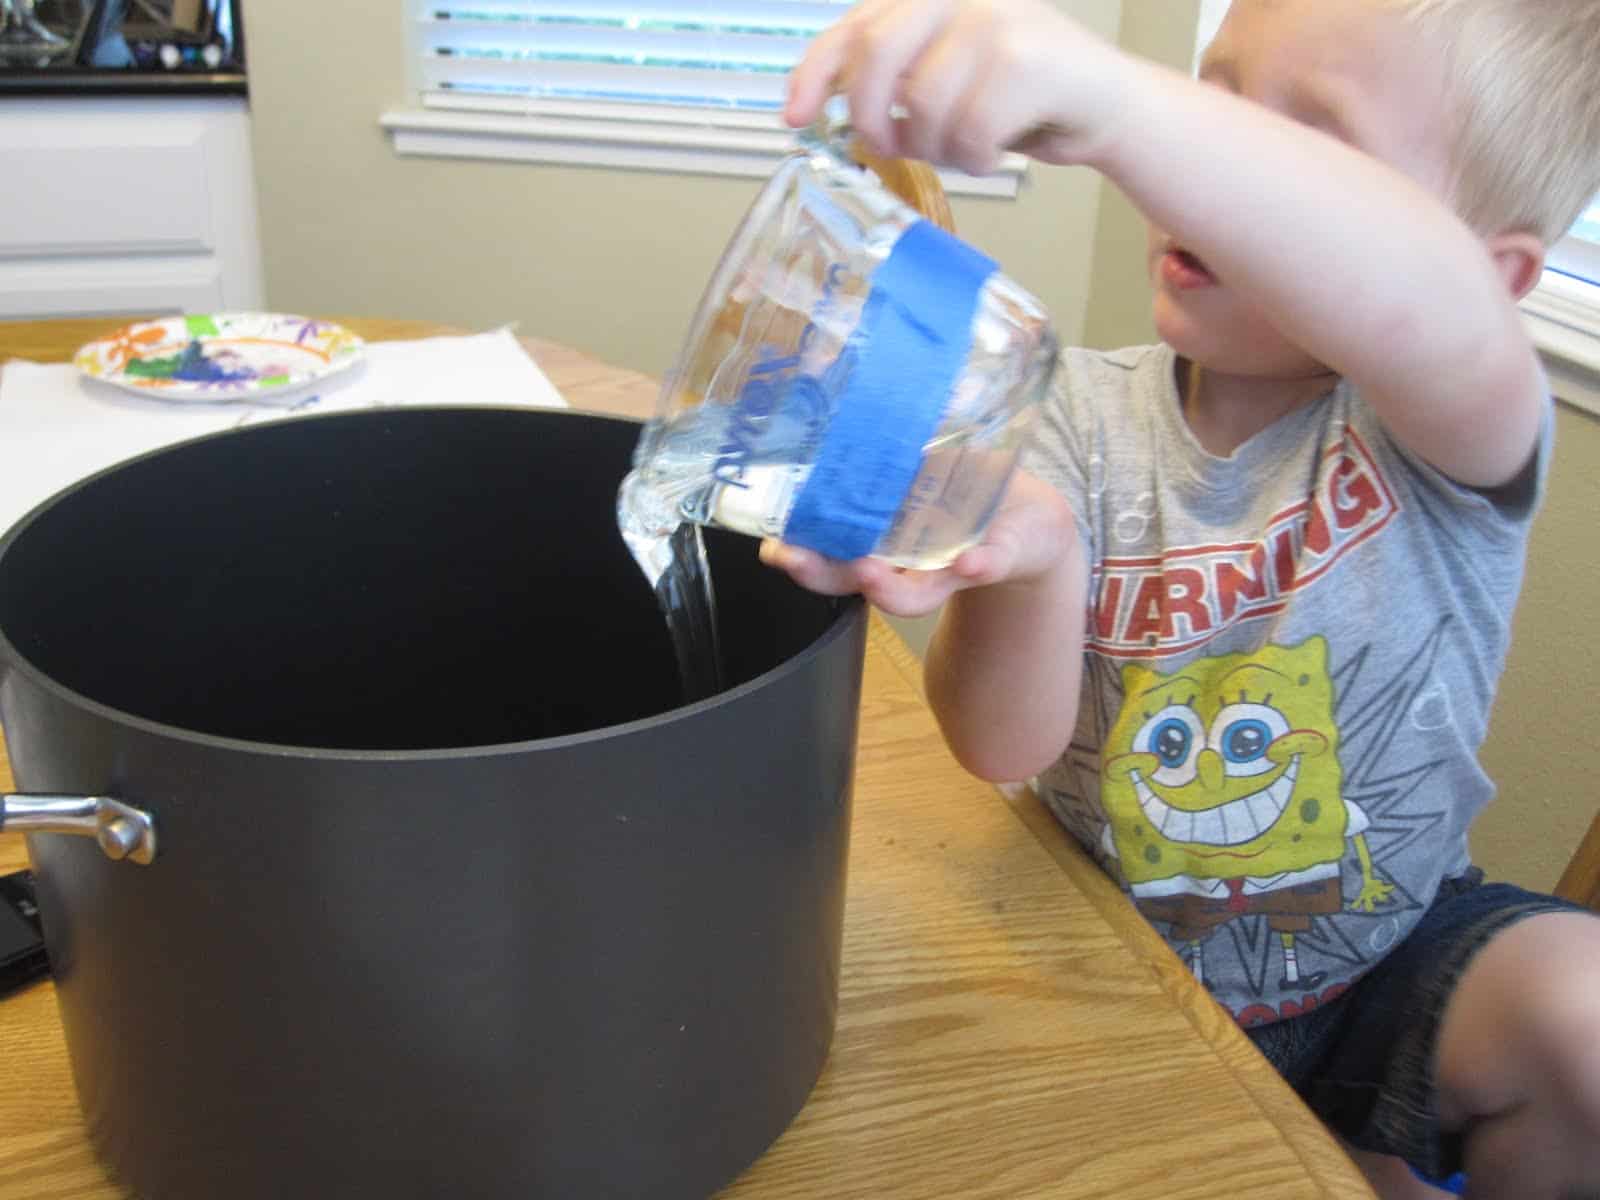
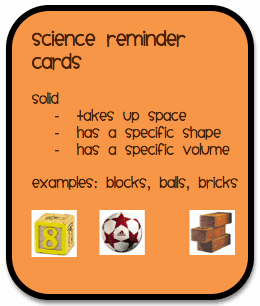
2. Pour the Karo syrup into the pot. I had to remind my little guy to be patient since the syrup is slow. We talked about the difference between liquids and solids. Karo syrup is a liquid. We talked about how Karo syrup is a slow liquid and water is a fast liquid.
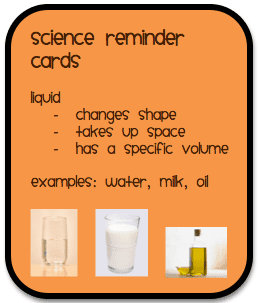
Just in case it has been awhile since you've been in a science class... here are a few liquids/solids reminder cards that I have used with students.
3. Scoup out the sugar. Oh... and I forgot, make sure to taste everything along the way!! Karo syrup is delish (according to my little guy) and there is a whole mess of descriptive words you can talk about as you eat it (sticky, thick, goey, etc.). The same goes for sugar. Try it and talk about it!
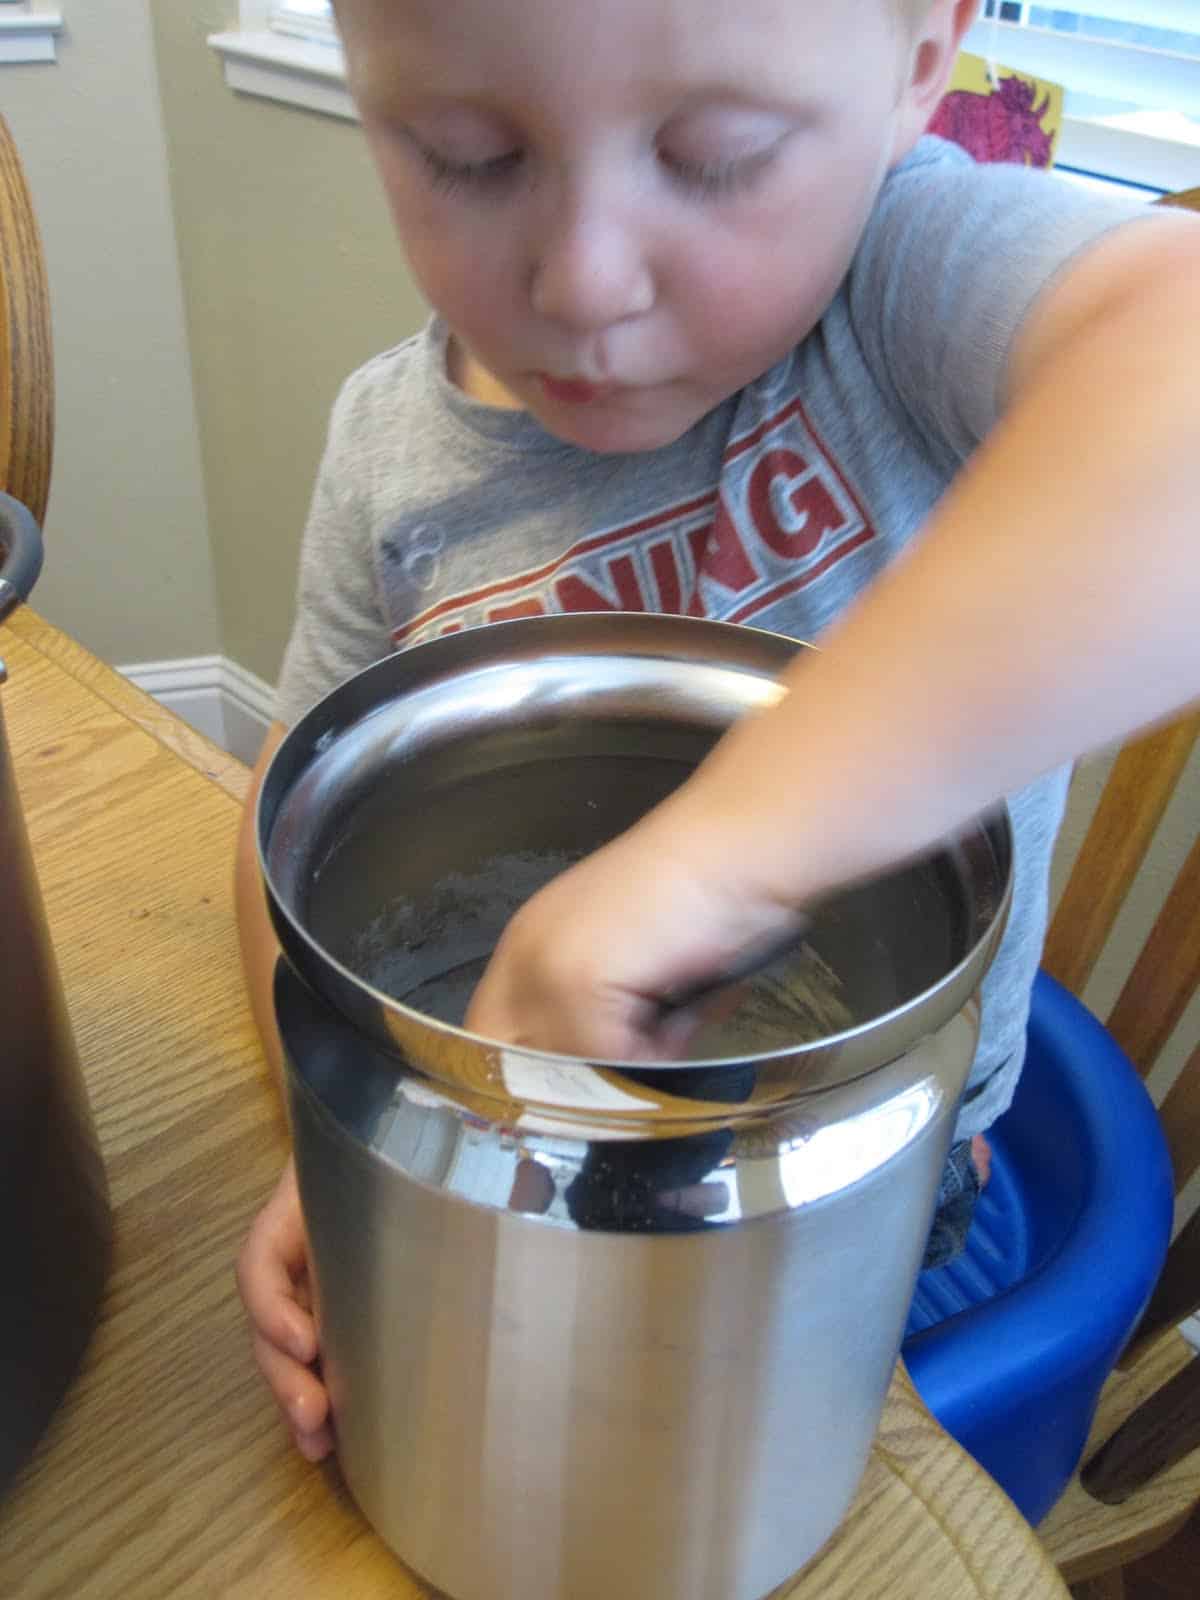
4. Dump the sugar in the pot and then take the pot to the stove (Adult job).
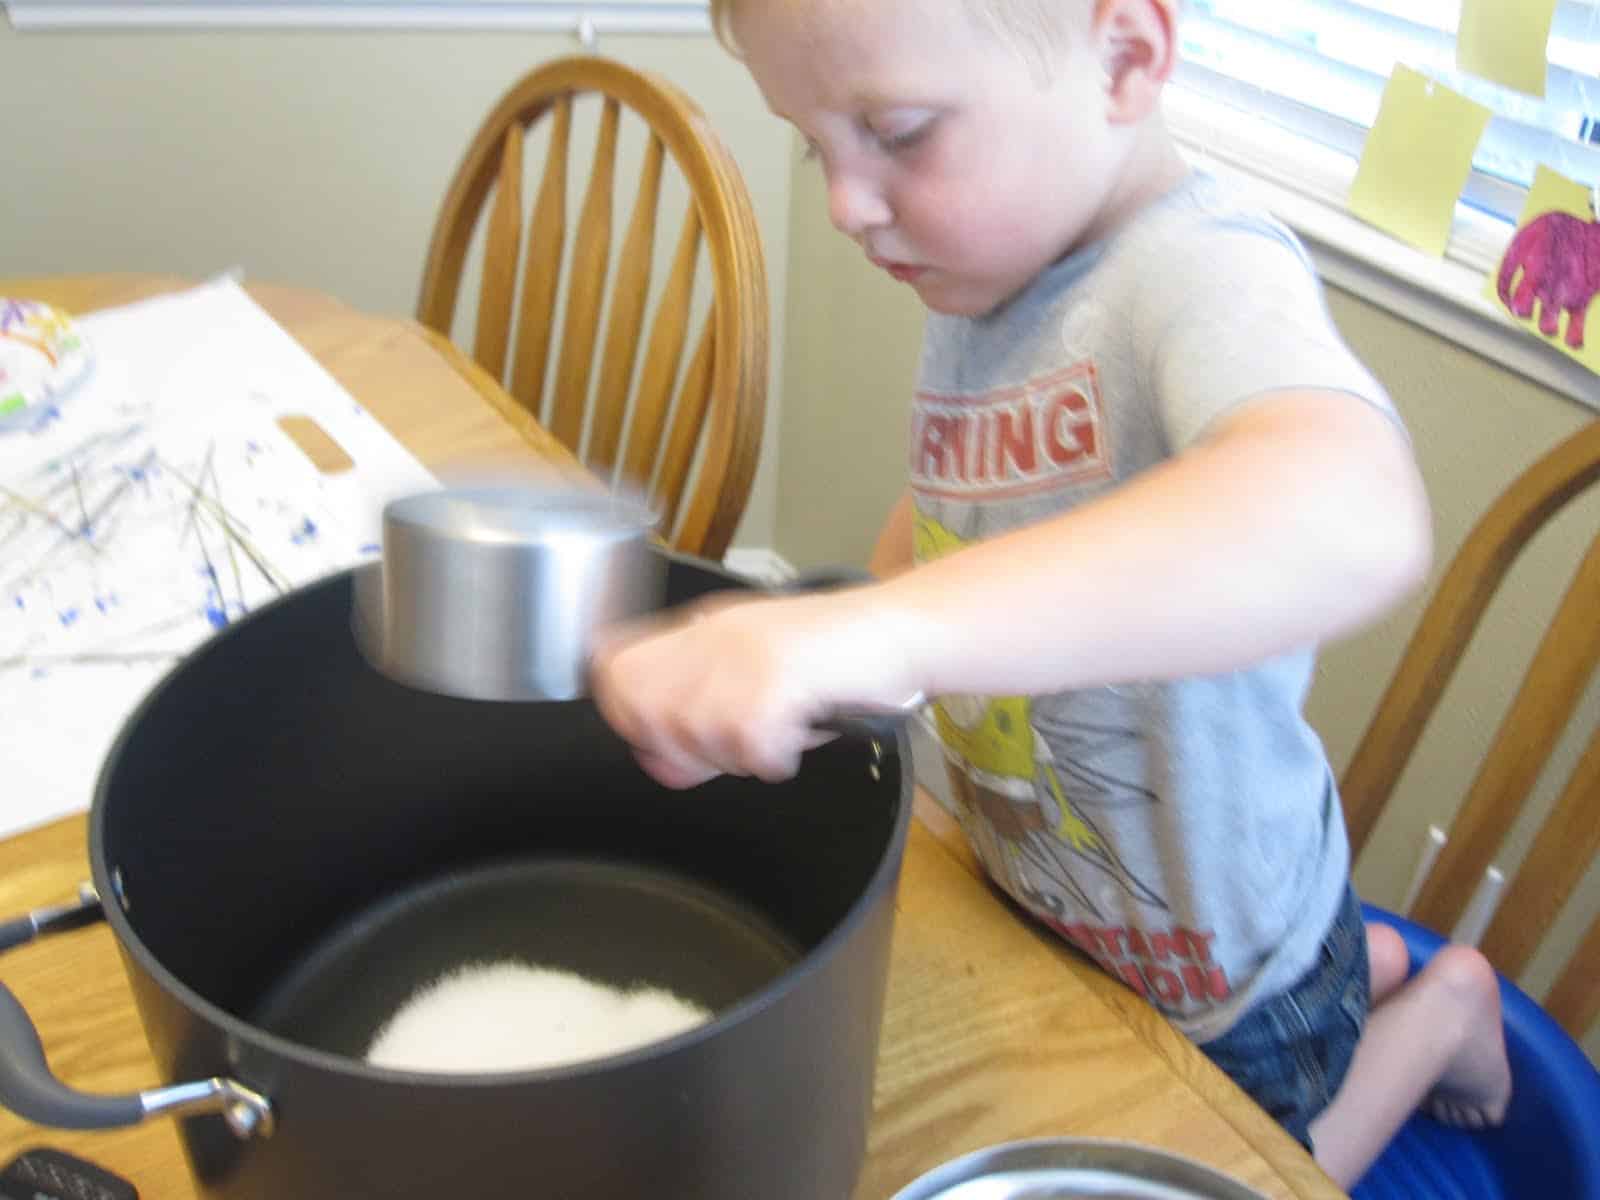
5. Turn the stove on low. I have my son watch me and tell me when the flame was high and when it was low. Then I had him tell me to stop once it was low 🙂 Keep and eye on the stove... but then head back to measure the pb.

6. I don't have one of those cool peanut butter measuring things, so instead we stuck some waxed paper in the measuring cup. I think it is easier to use than trying to get little fingers to somehow unstick all the pb from the measuring cup. Saves me some dishes too!
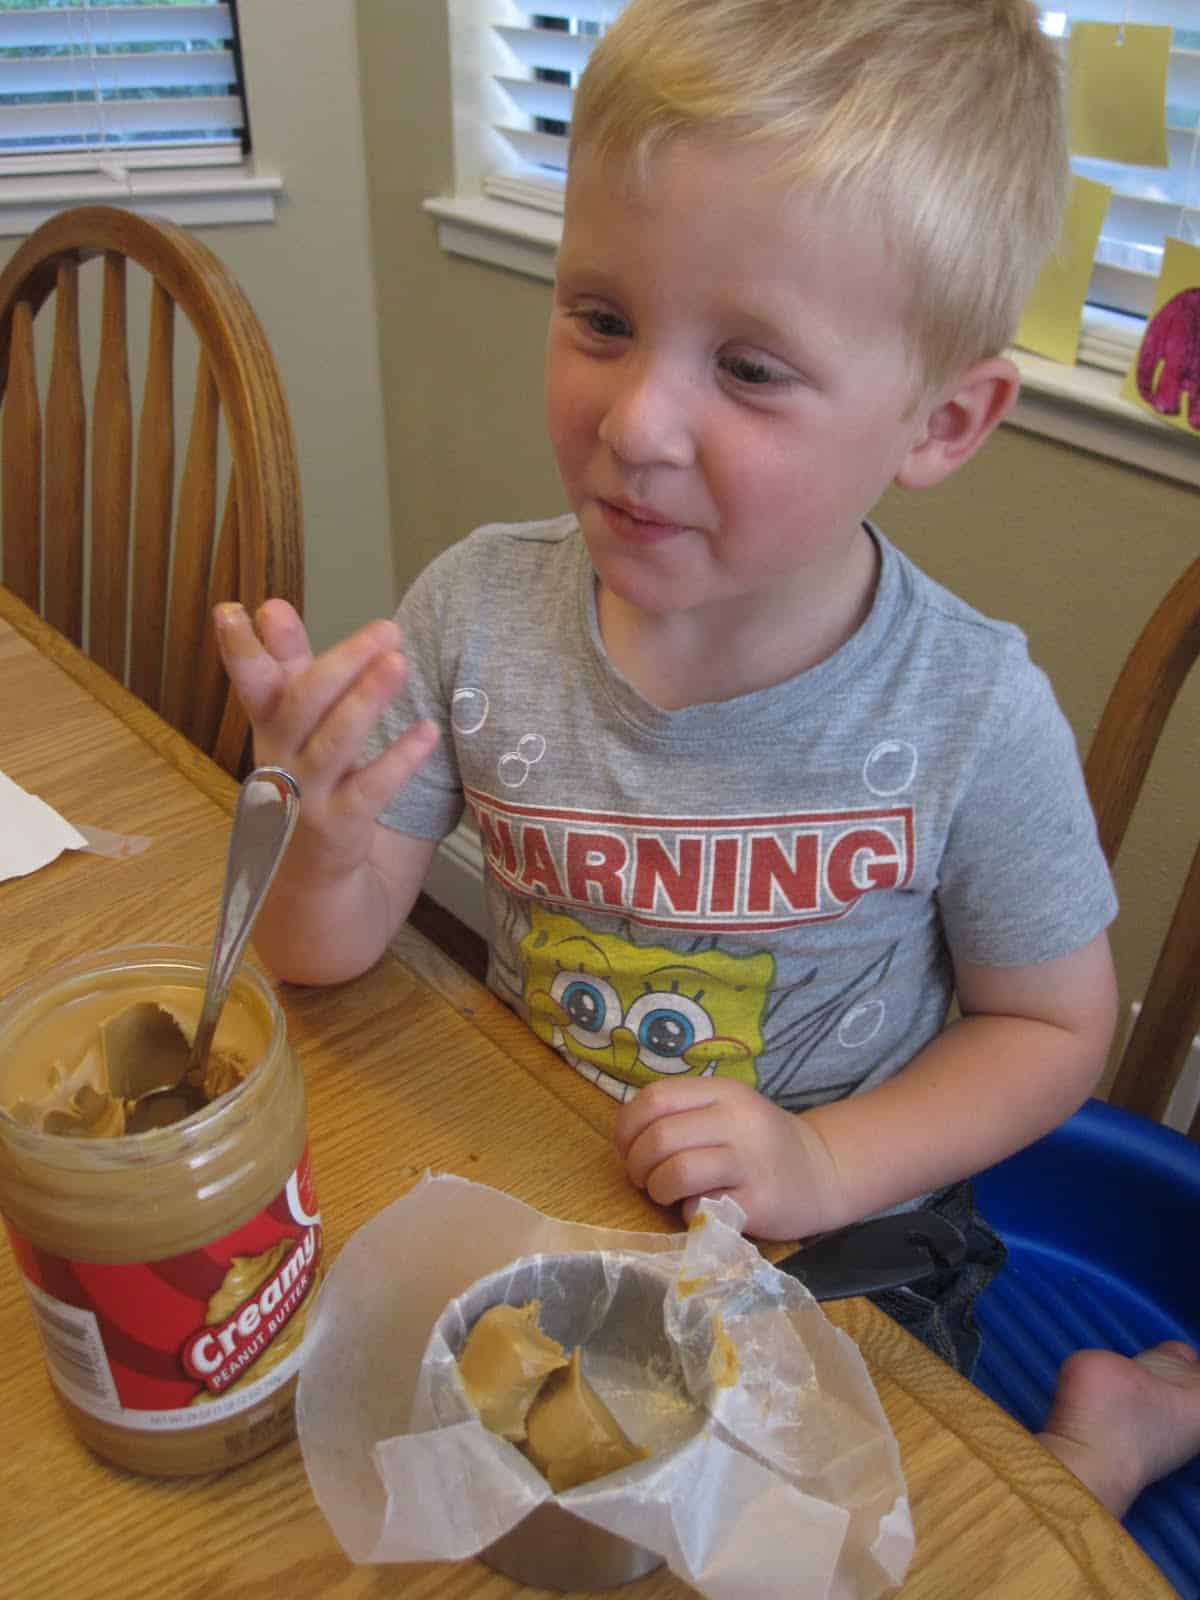
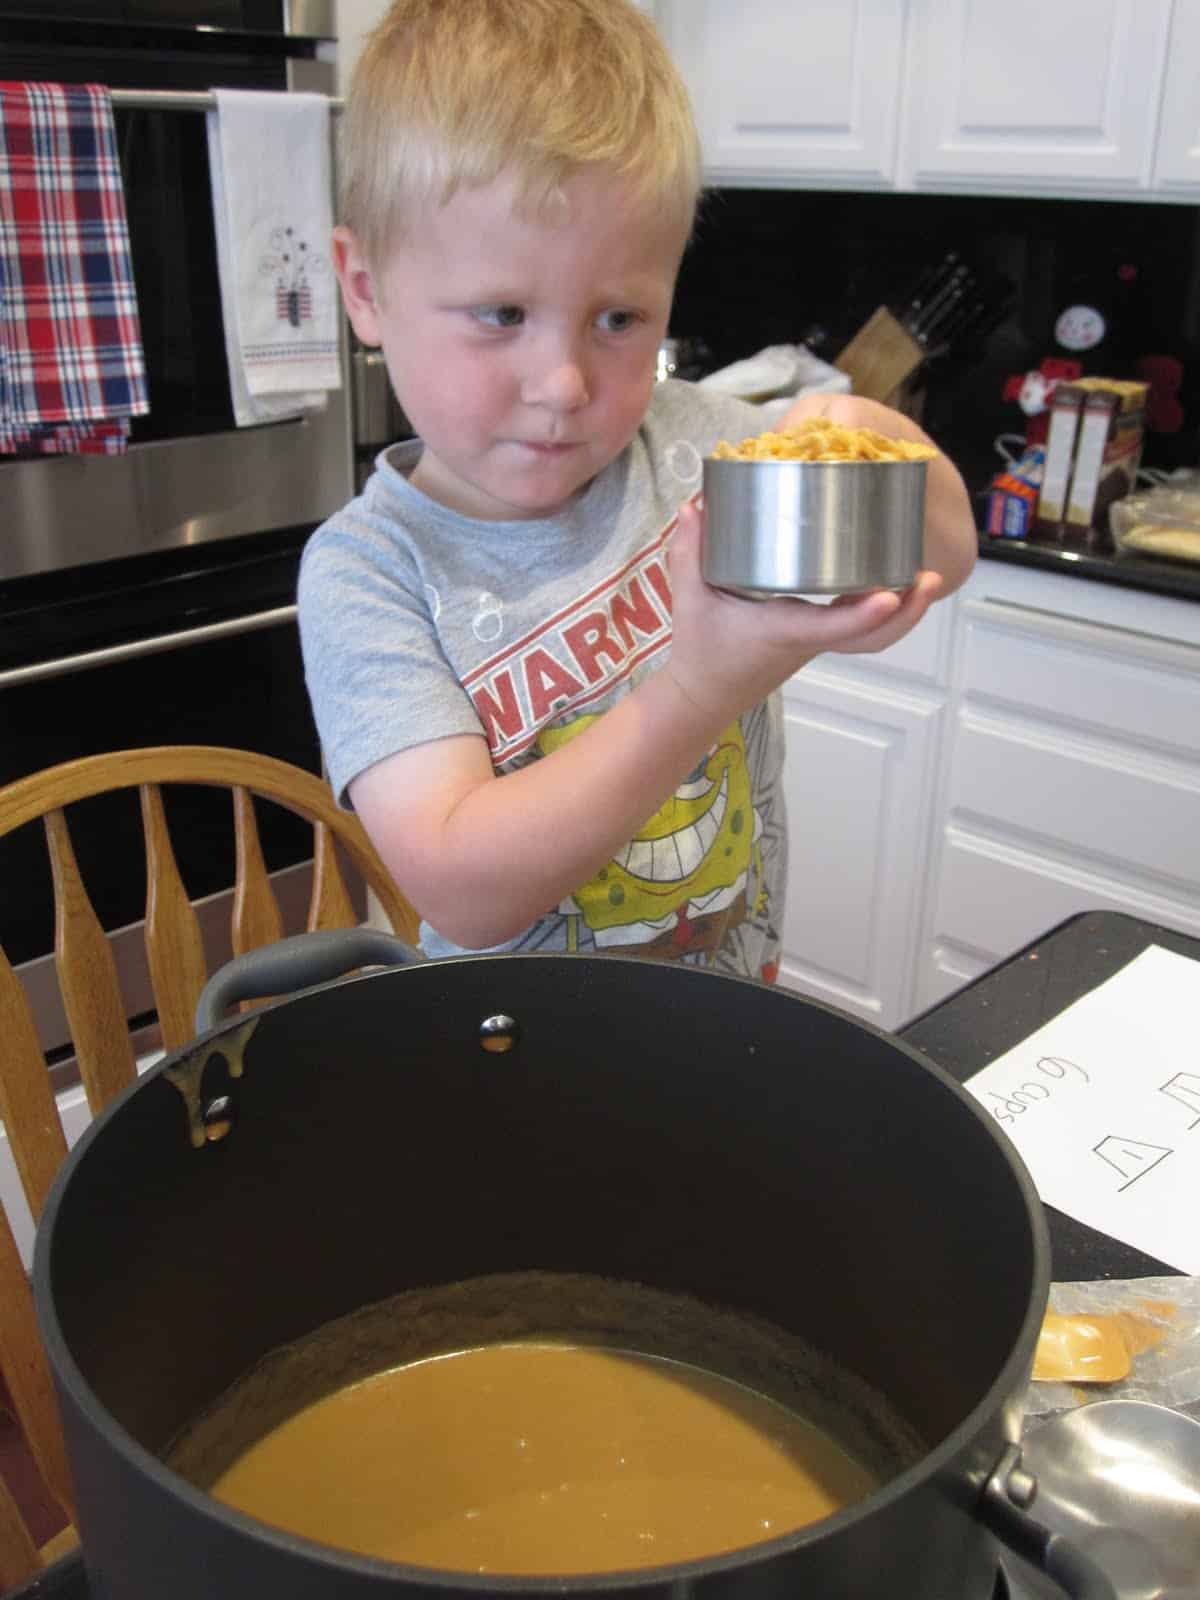
7. Measure out the peanut butter.
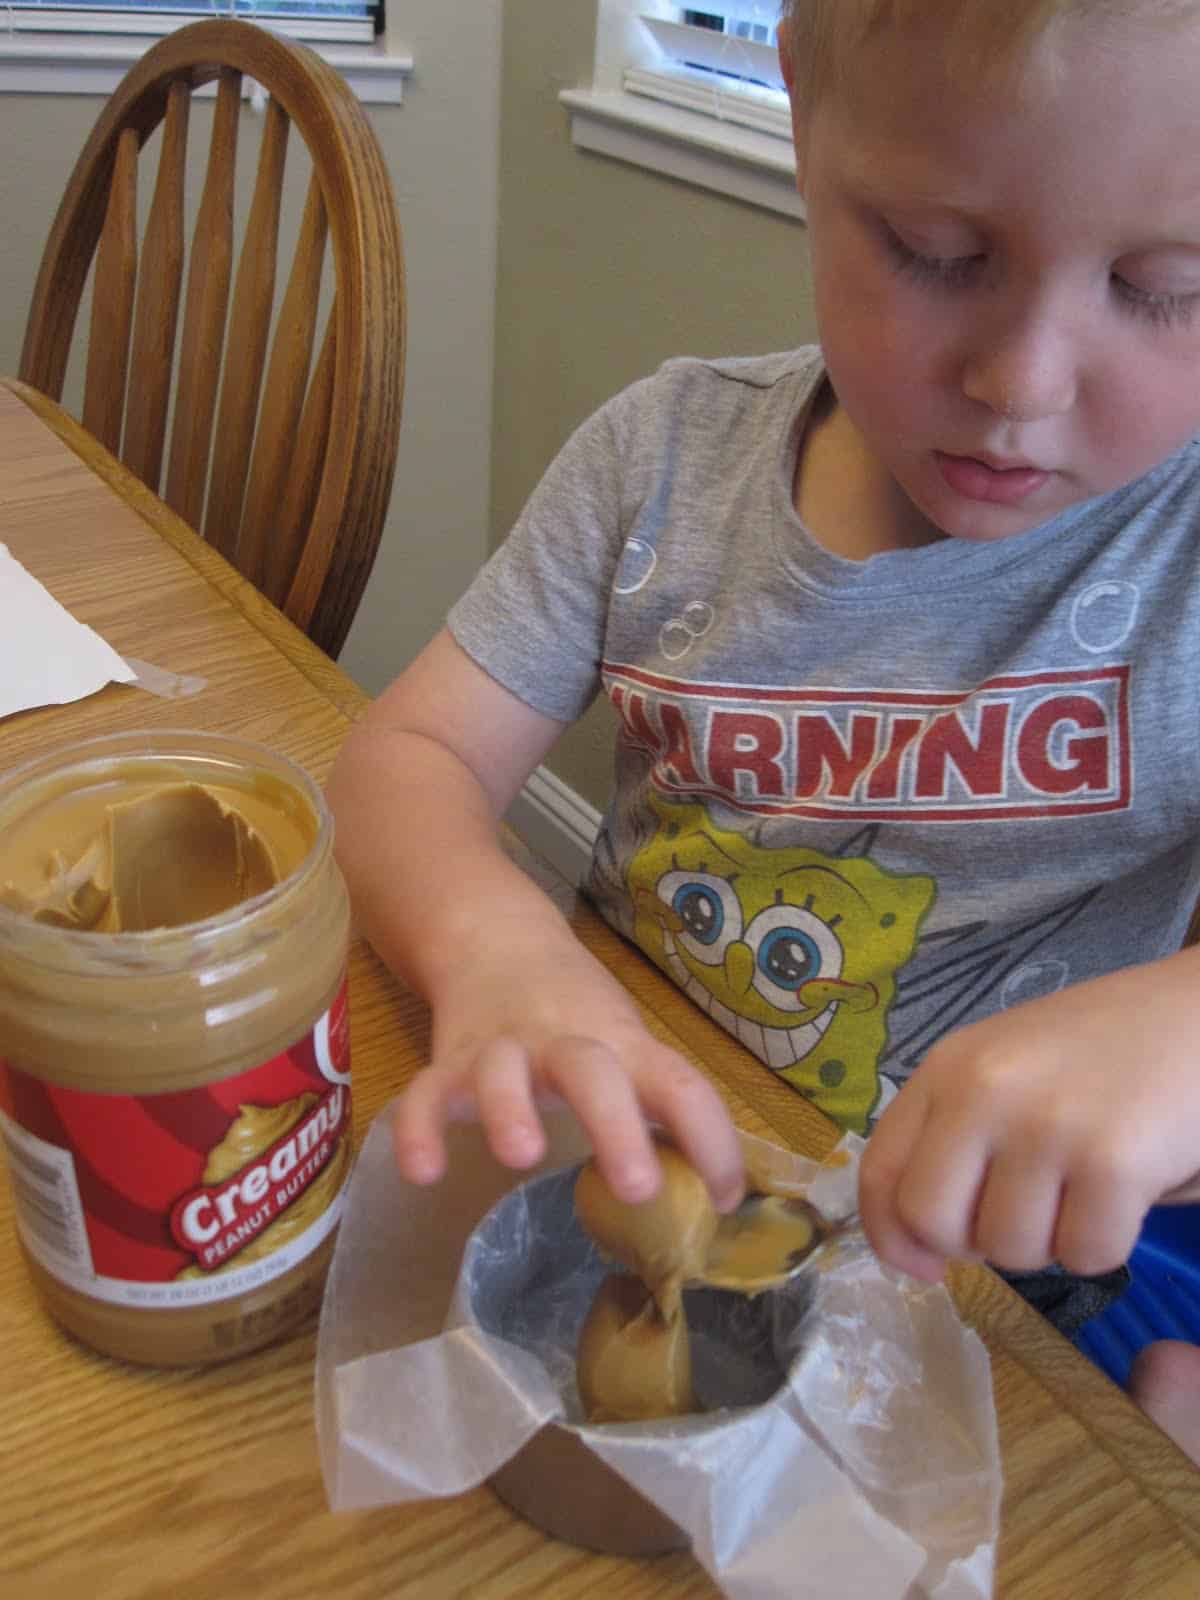
8. Taste it! It is sticky, chewy, slippery, oily, thick, brownish, etc.
9. Check out the pot. Have an adult stir the sugars mixture until the white sugar dissolves. Two more great words to talk about during this activity! (Mixtures are two or more materials that are put together. Dissolve means the sugar breaks into tiny pieces that you can't see.)
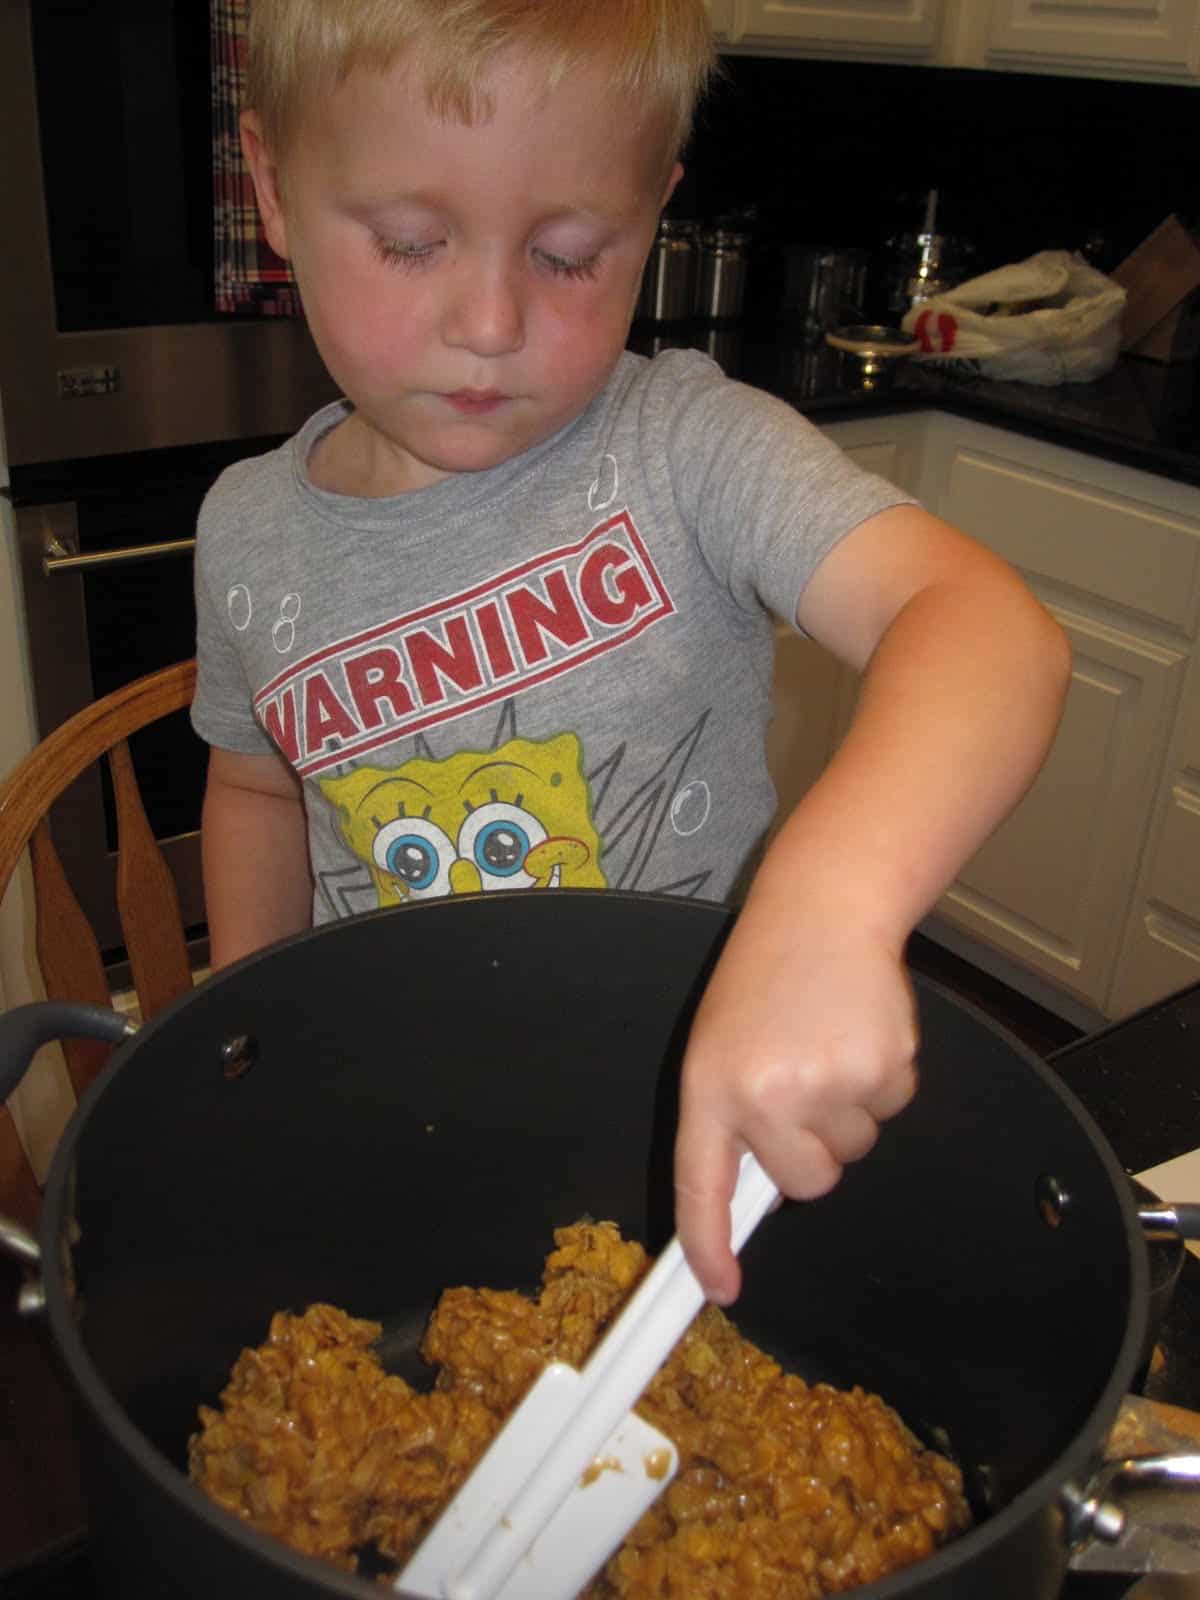
10. Remove the pot from the heat . Drop the peanut butter into the warm mixture of dissolved white sugar and Karo syrup. (Both Adult jobs)
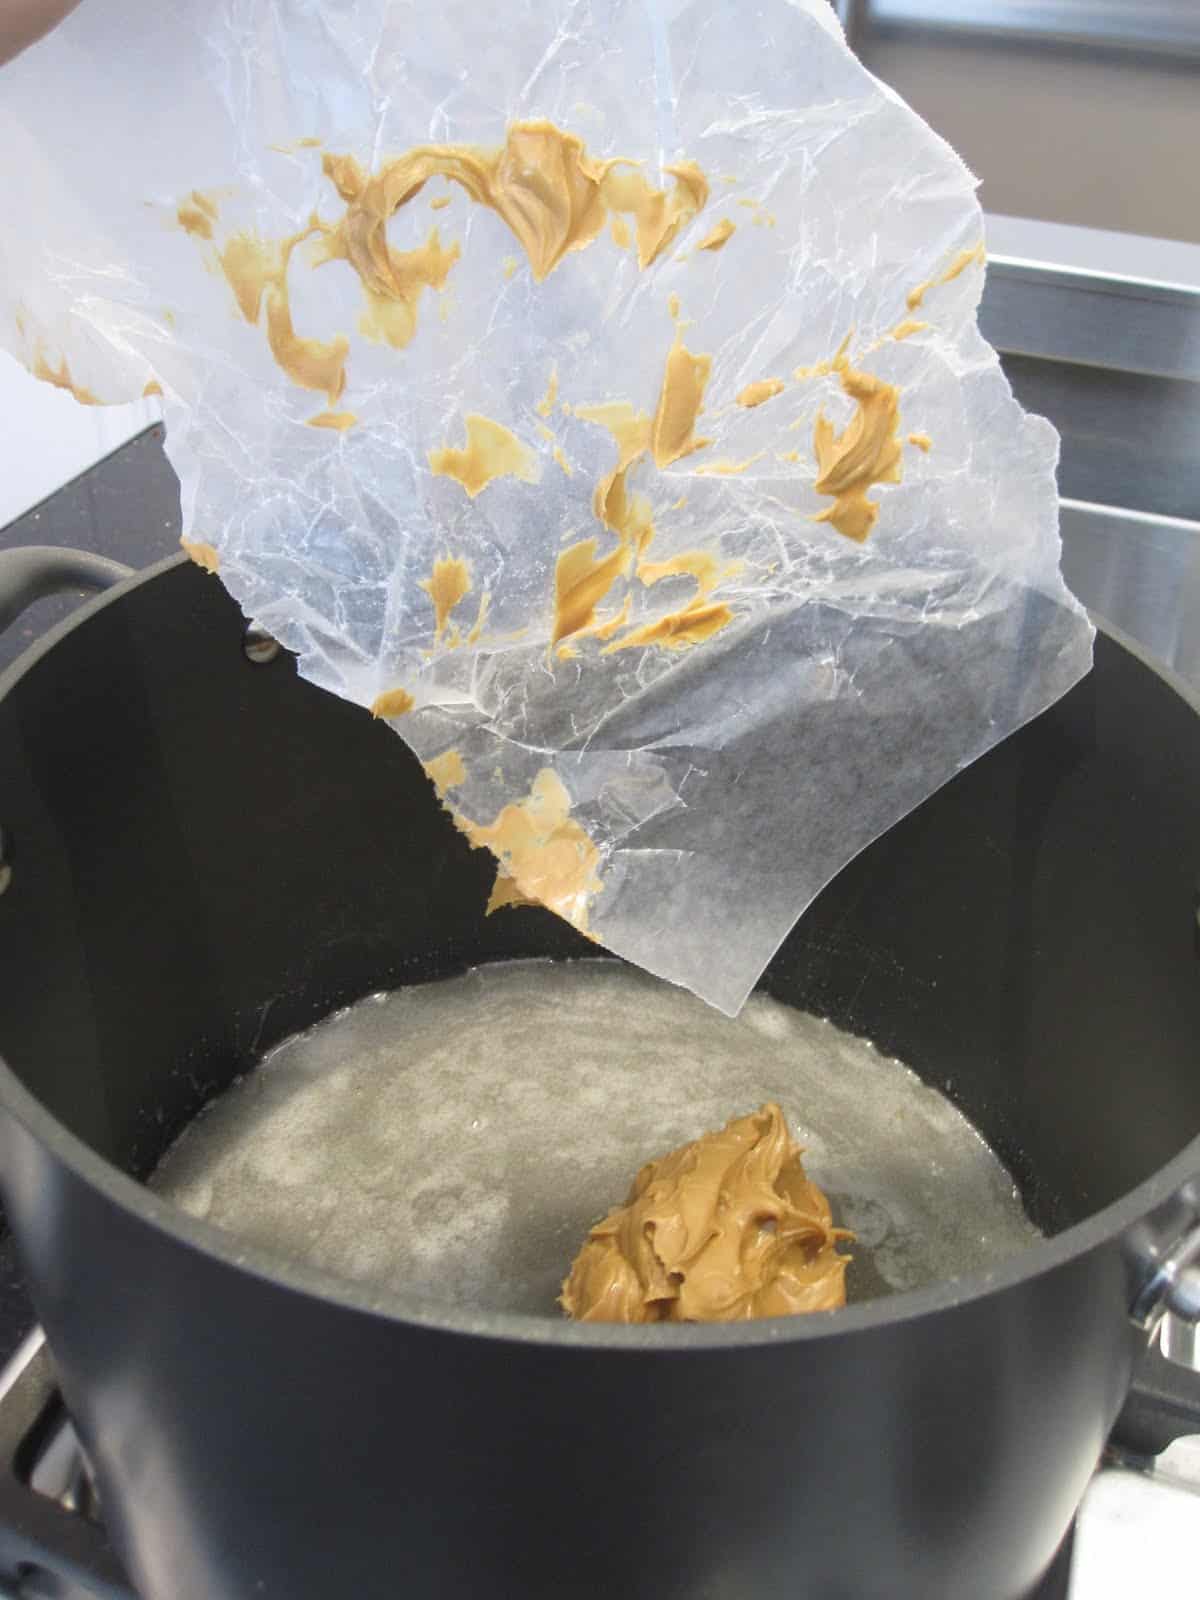
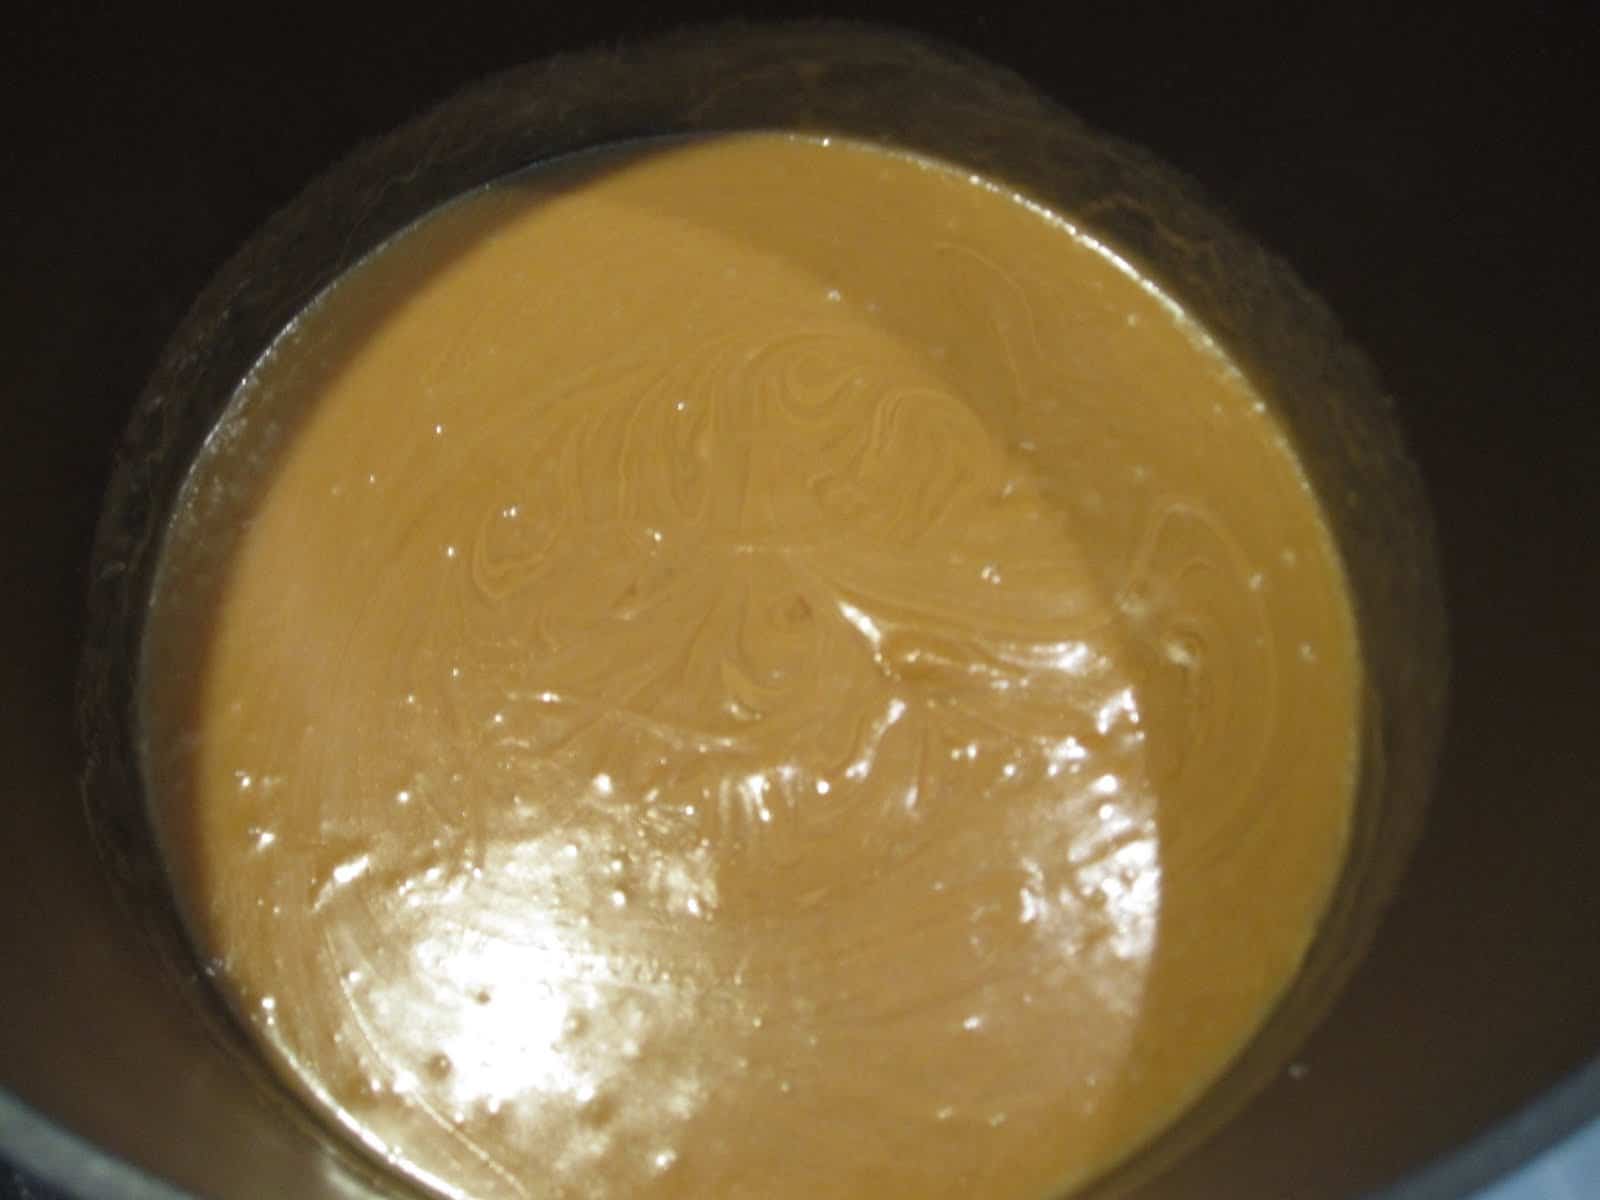
11. Mix the peanut butter into the sugars mixture with a wooden or plastic spoon until it is all melted.
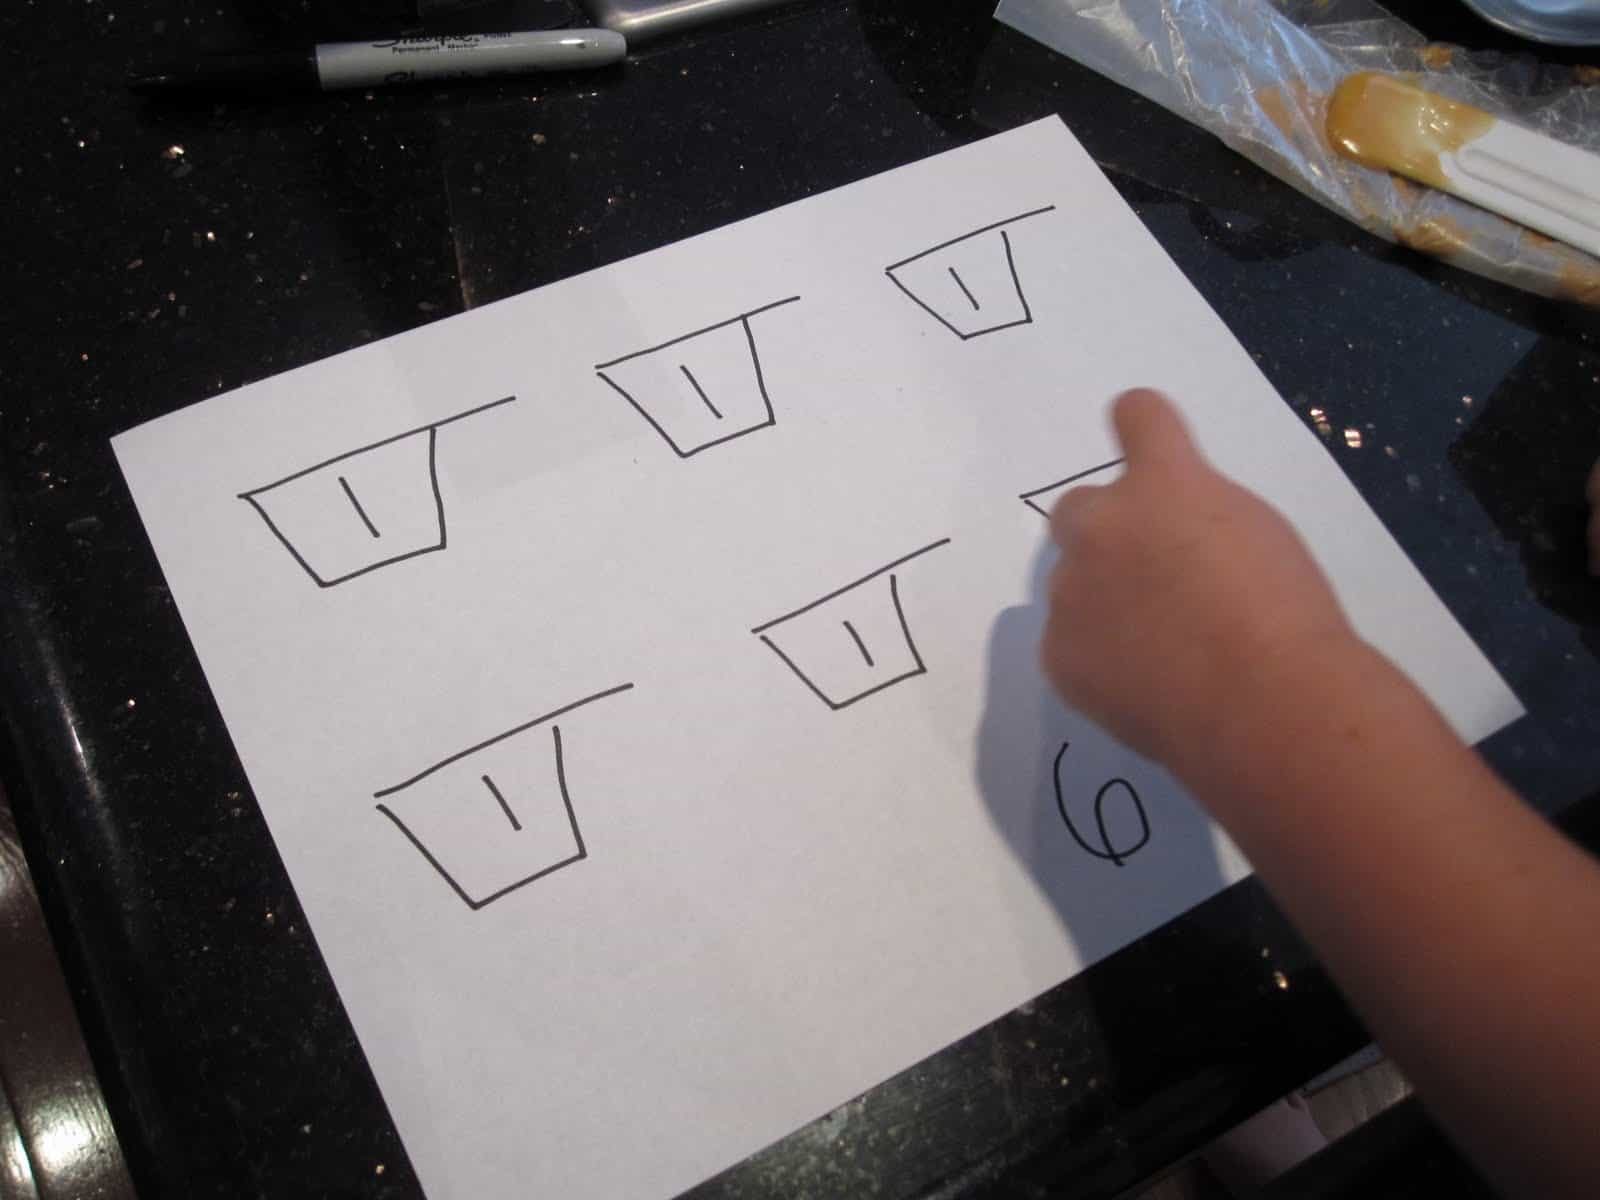
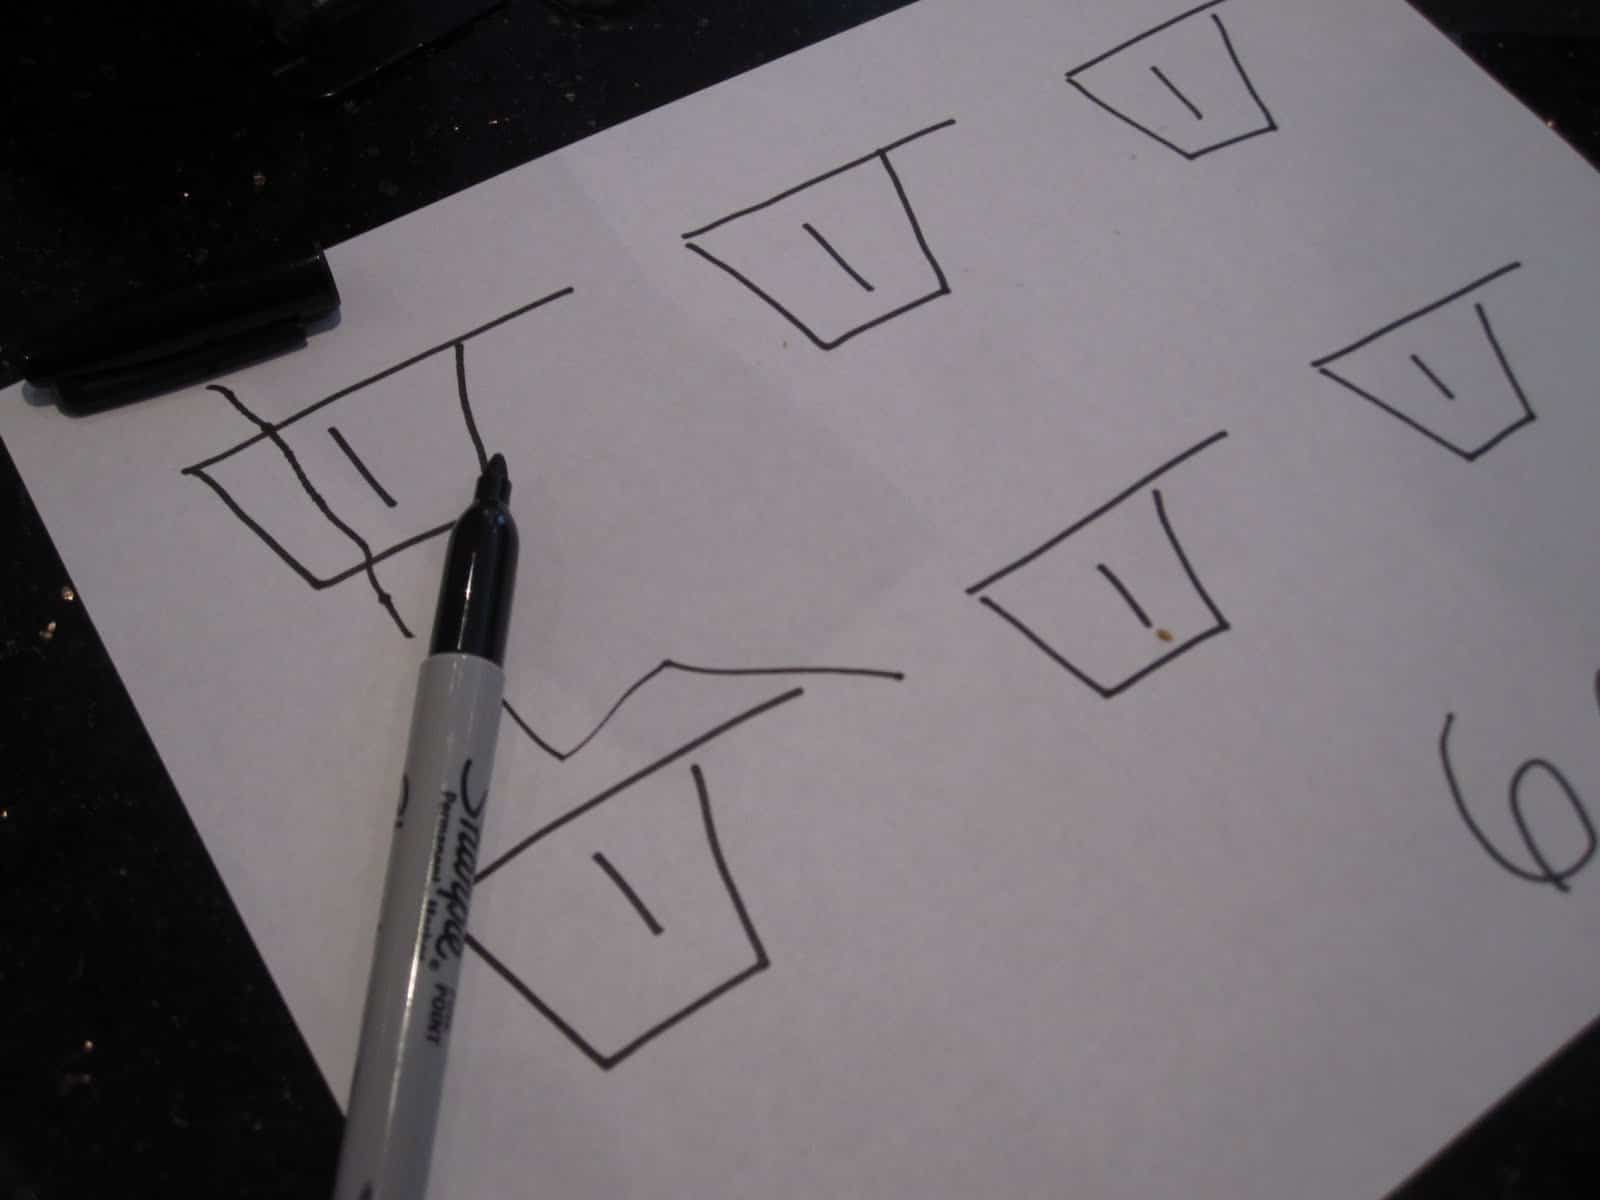
12. Grab your measuring cup for solids and your corn flakes. I made this quick cup reminder for my little guy so that he could keep track of how many cups of corn flakes he put into the peanut butter mixture. We counted the cups on the paper... and then started measuring the corn flakes. As we put each cup in, we crossed it off and counted to see how many cups were left.
13. Add in all the cornflakes. Remember that cooking with kids is FUN and their measurements won't be exact all the time. 🙂 They also might make a mess and dump a bunch of cornflakes on the floor. It isn't the end of the world... that is why brooms were invented.
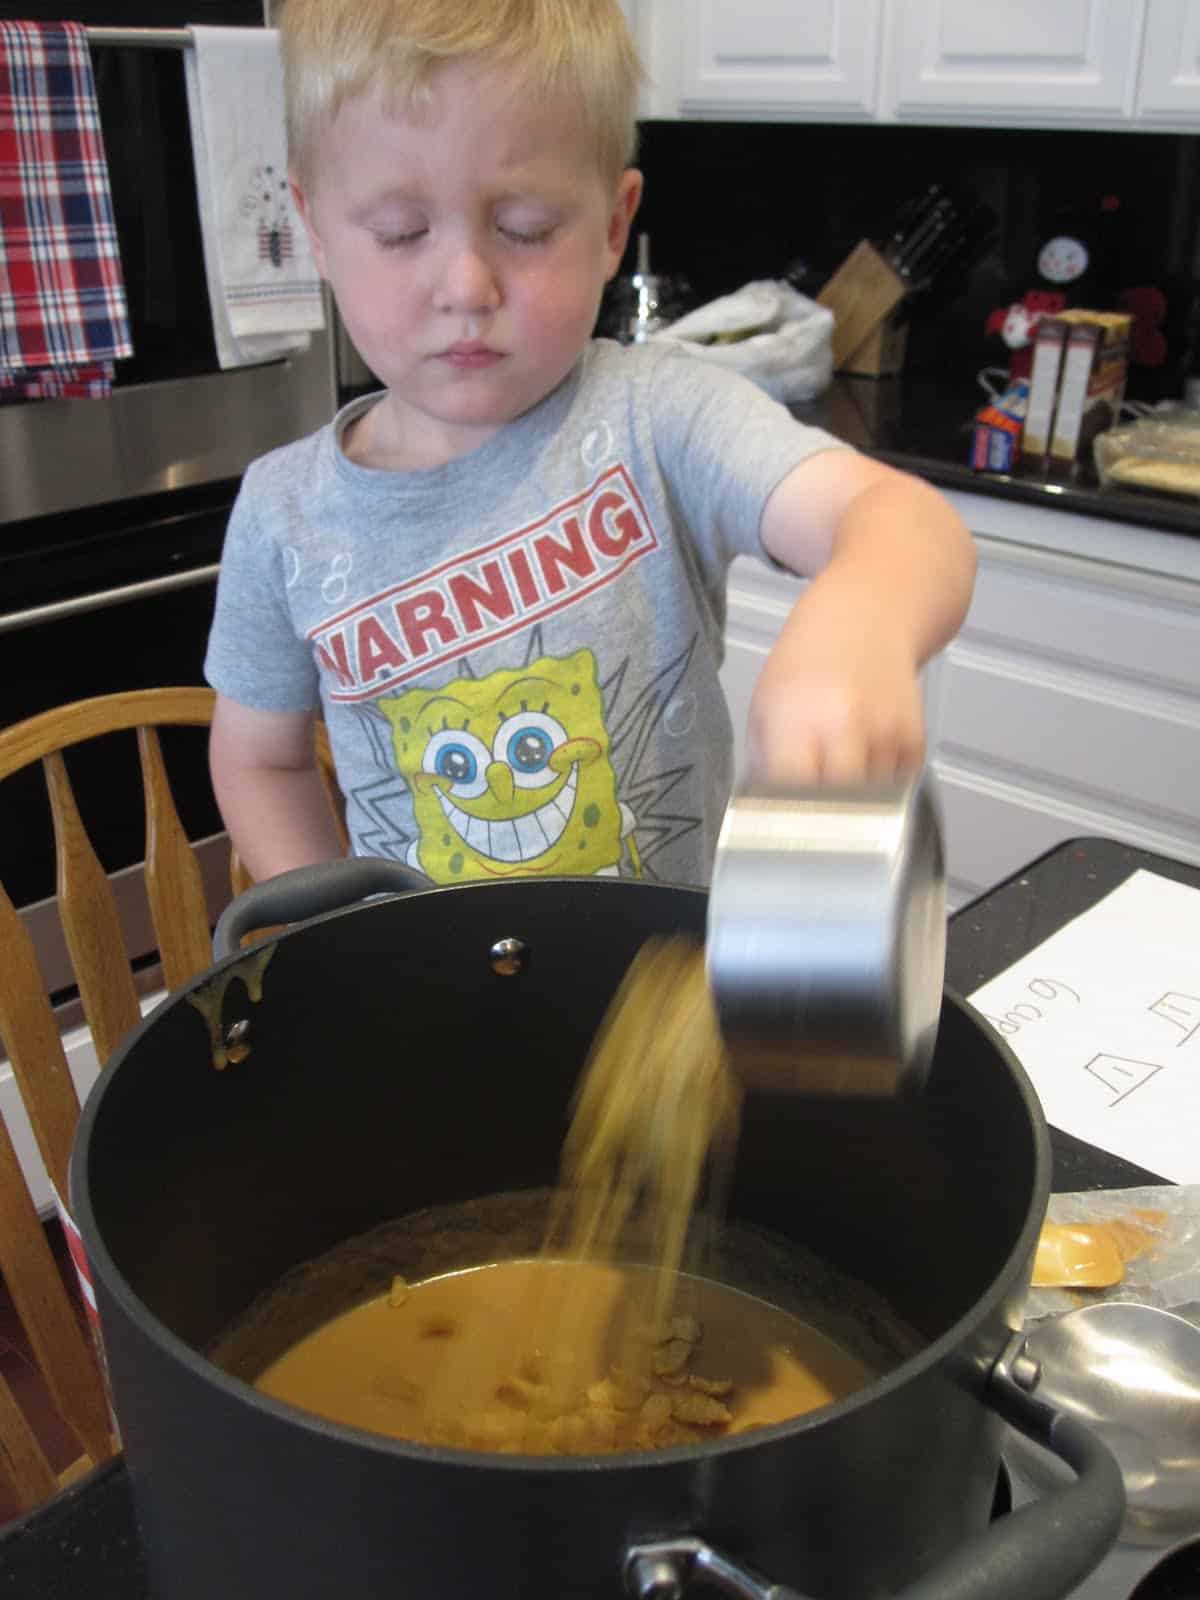
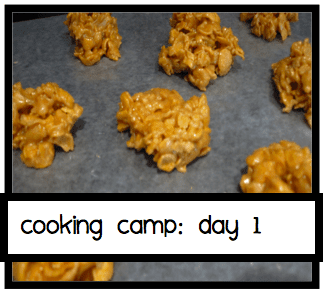
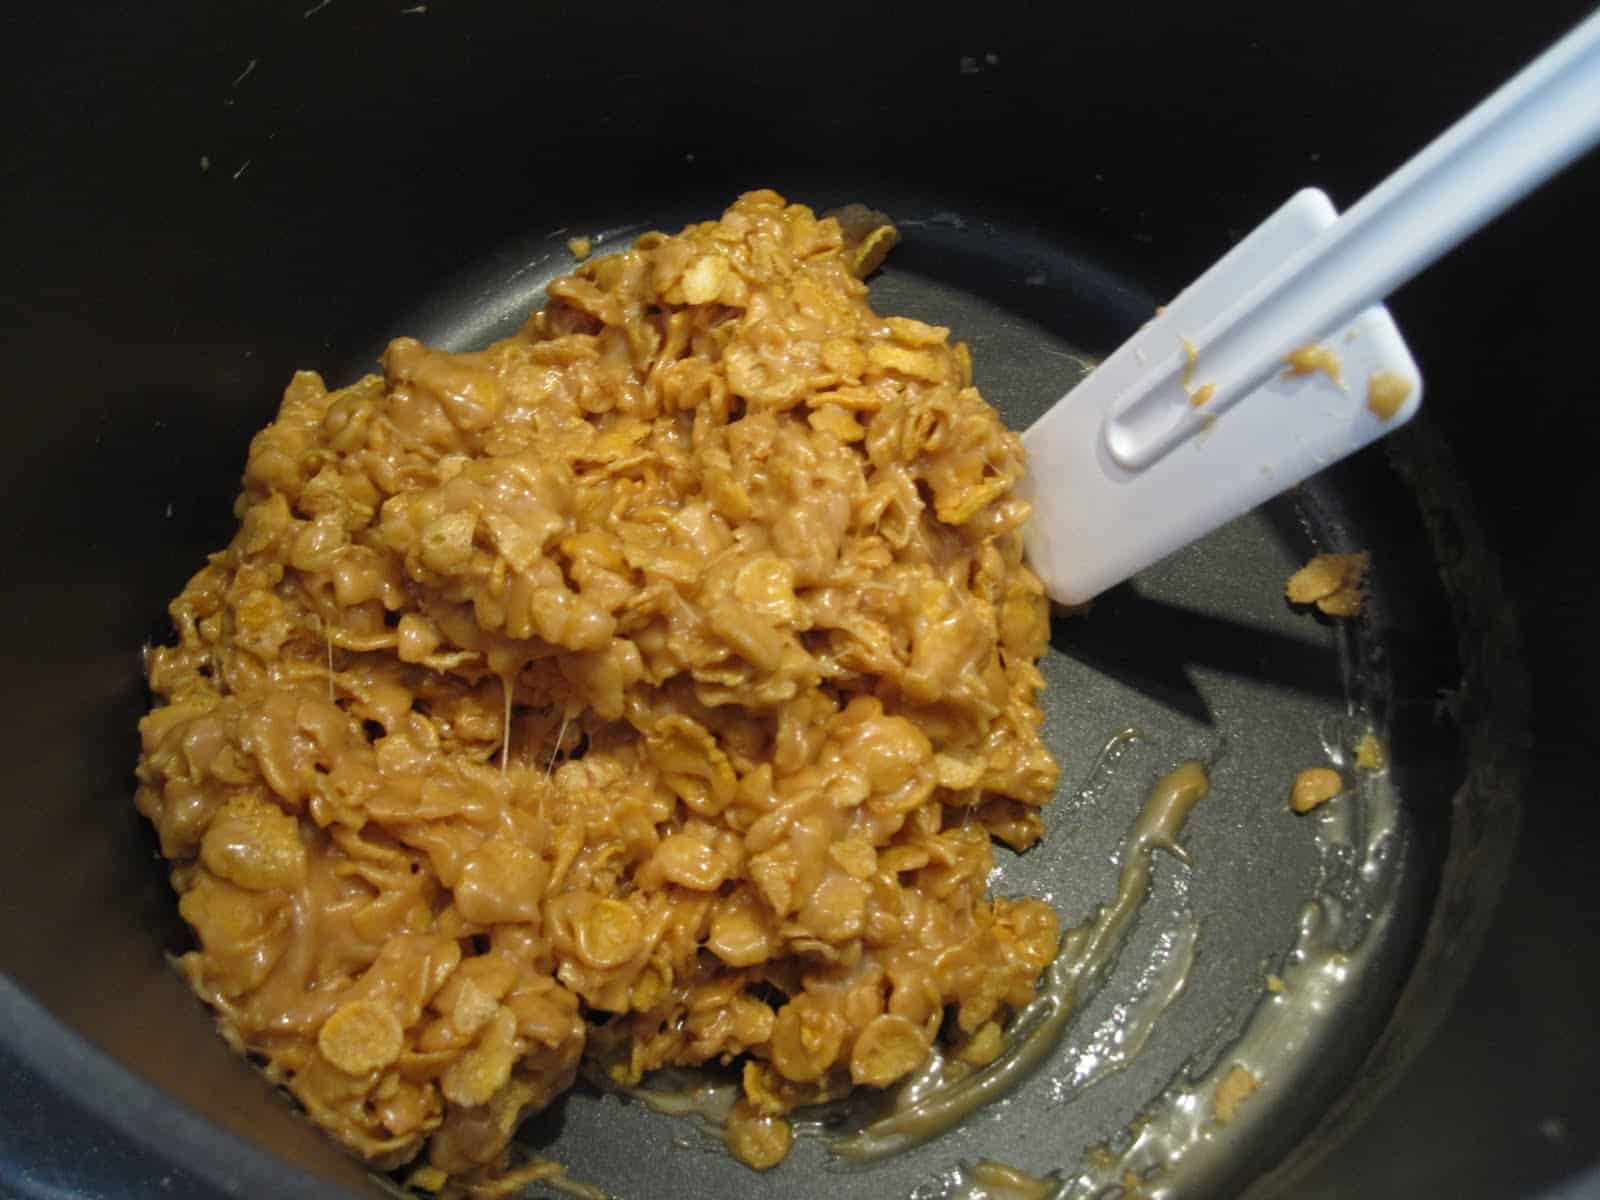
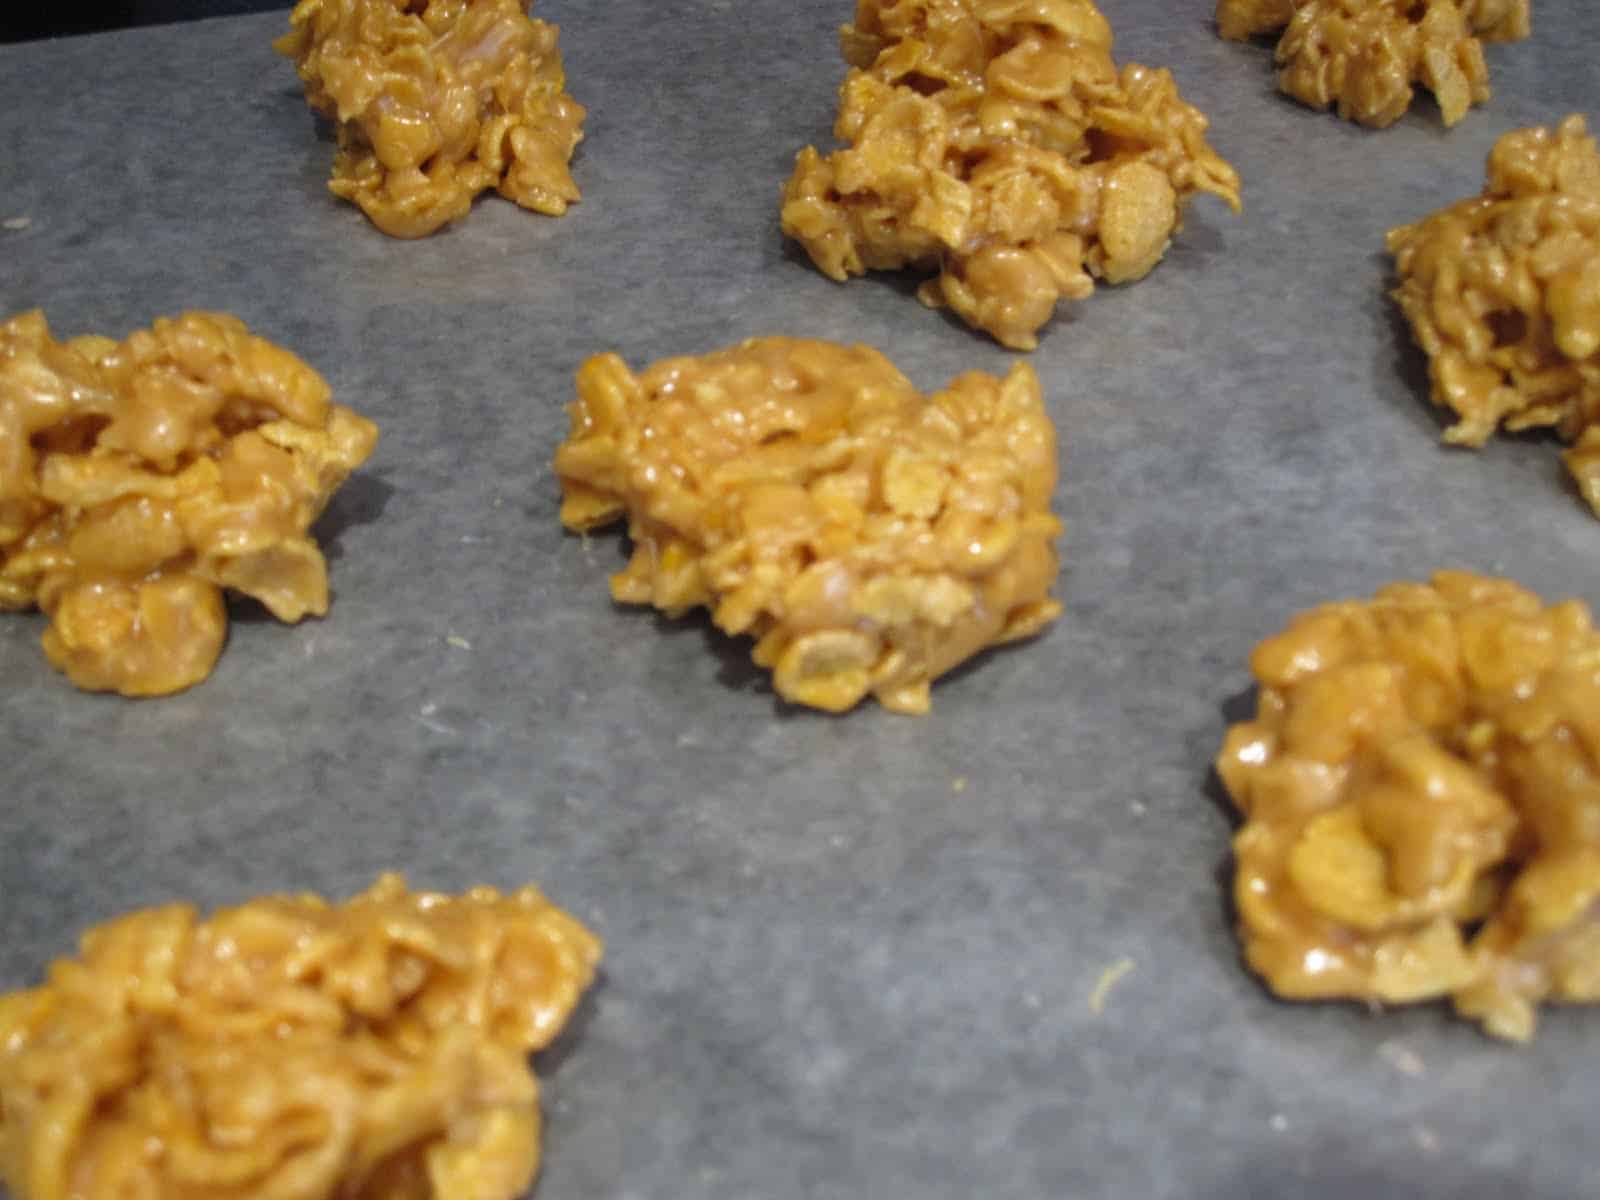
14. Mix everything together until you have a big goopy mess of peanut buttery sugary corn flakes.
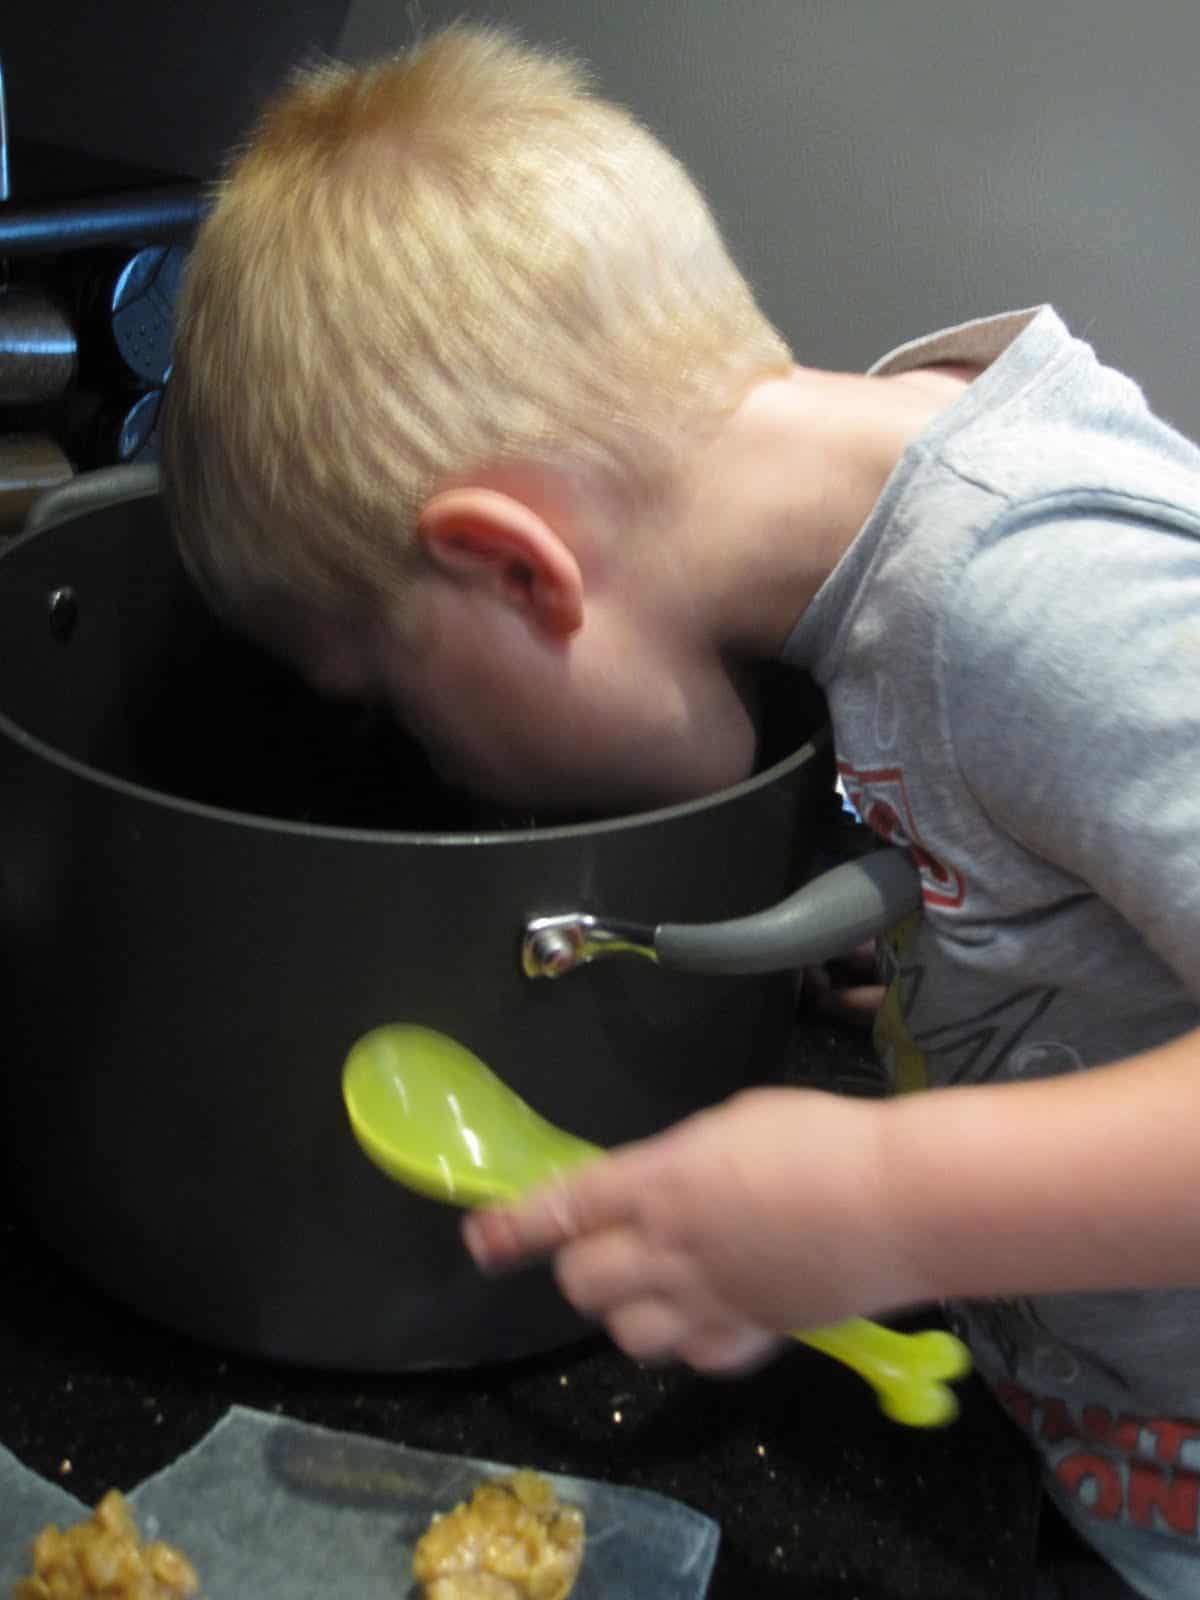
15. Set up some wax paper on the counter (or a kid table) and start scooping little balls of the mixture onto the wax paper. (Yes I know it is probably not smart for my little guy to be standing on a chair... but I was next to him the whole time except when I was taking this picture. I also made sure he didn't touch the knives. I promise!)
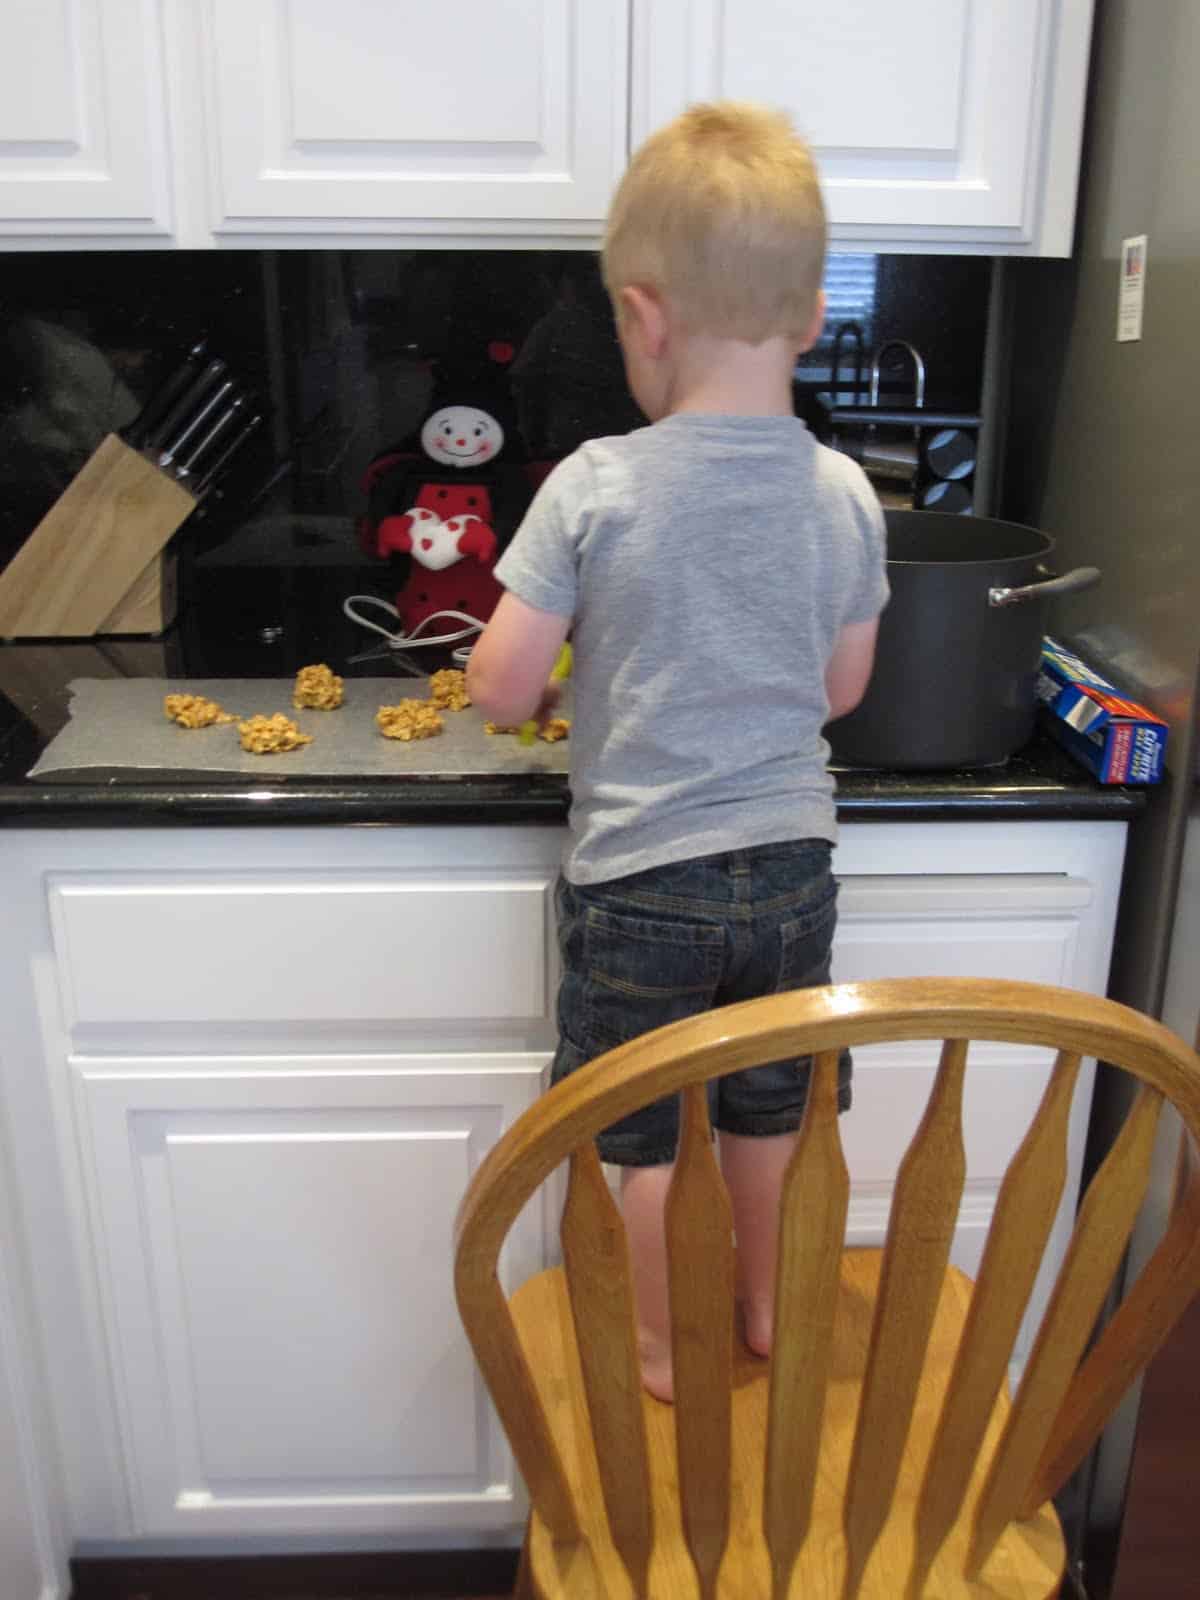
16. We talked about sizes and shapes while we scooped. My son was mostly excited about making little itty bitty boppers and big giant ones... so I also taught him a quick lesson about fractions while I helped break his giant boppers in 1/2s and 1/3s.
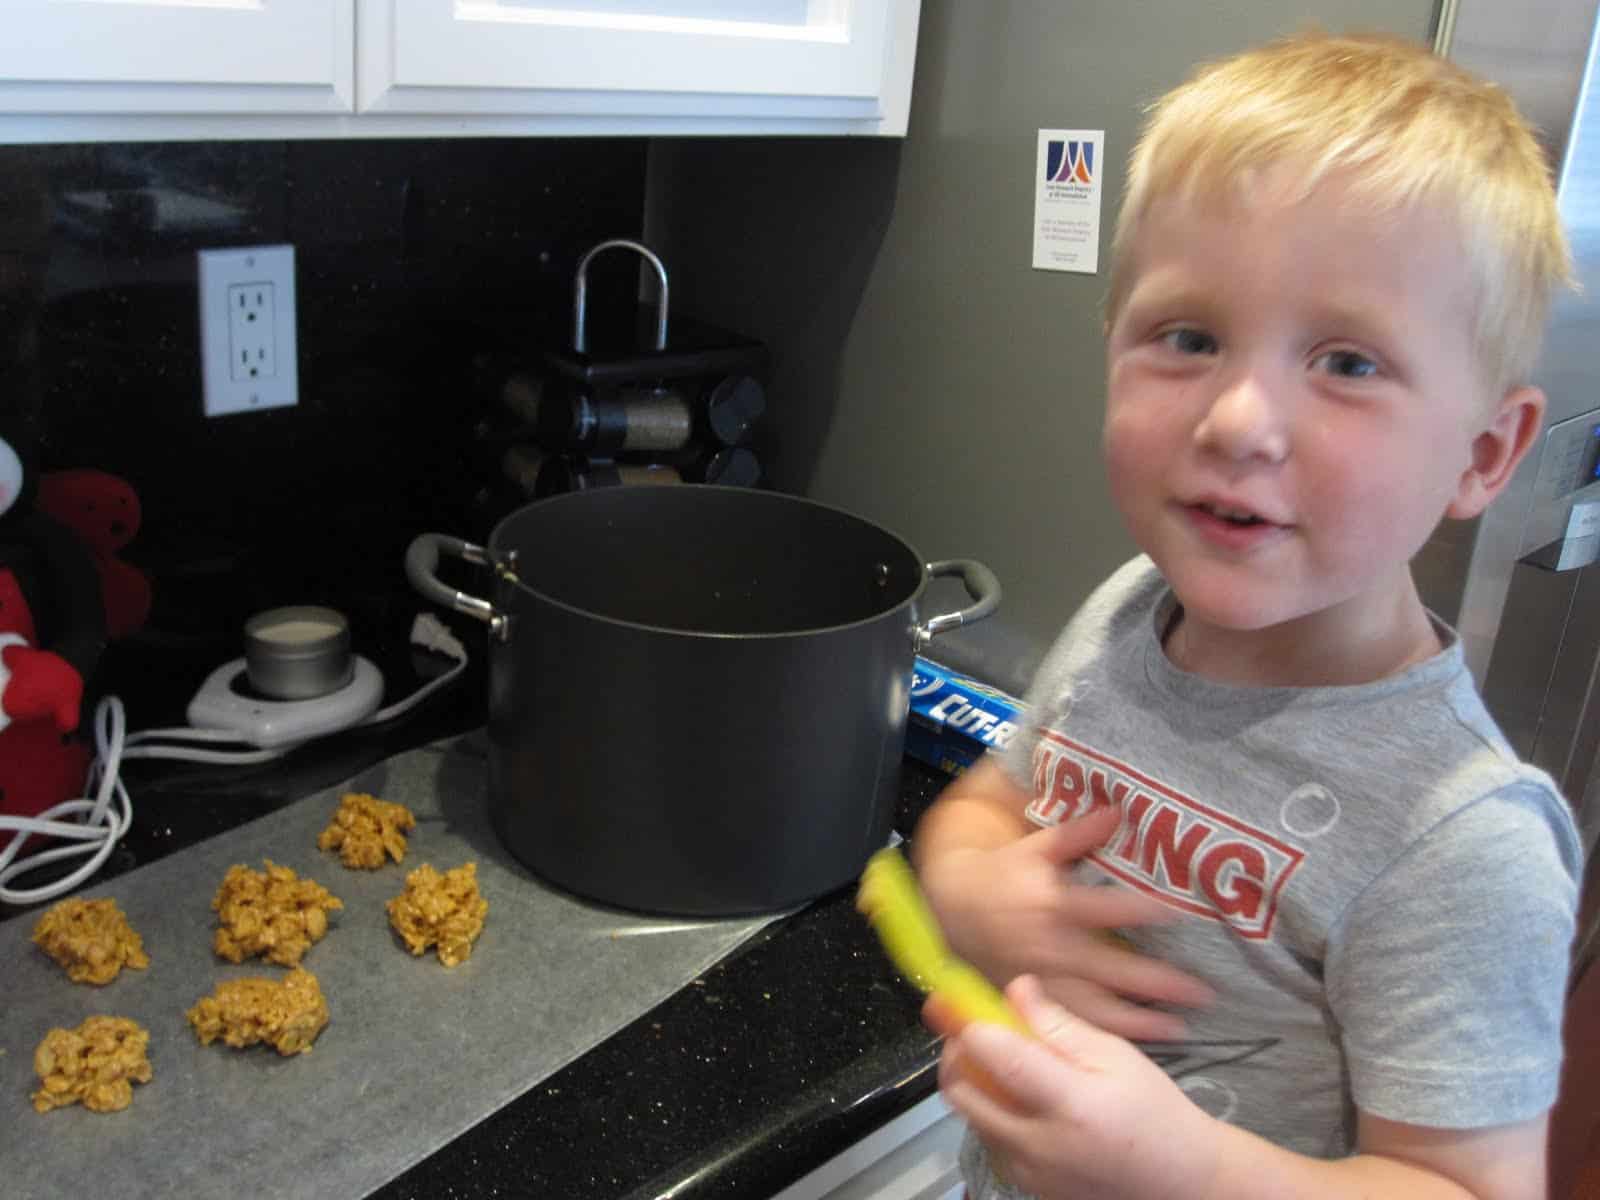
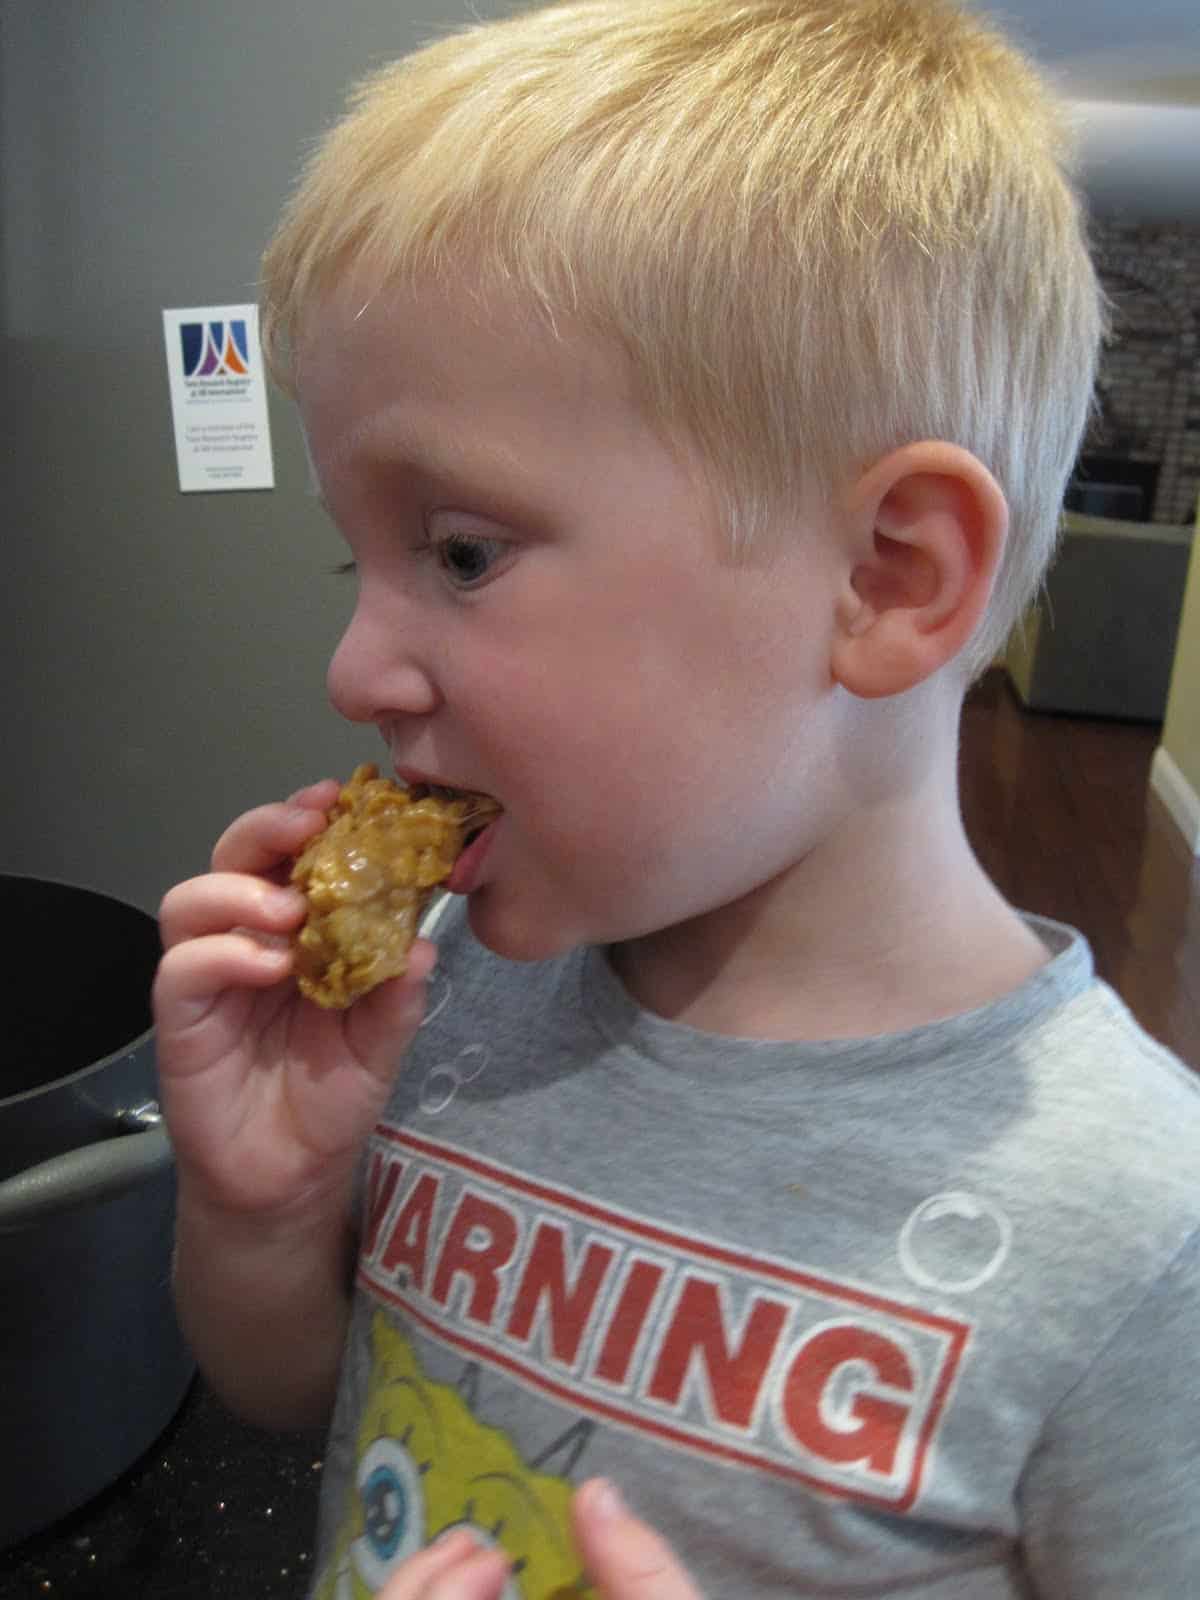
Yum! If you're feeling ambitious, melt some chocolate (I like semi-sweet with this recipe) and dip these partially in the chocolate. We just wanted to get started eating... so we stopped at this point...
Hello in there!
Am I a bad mom if my goal is to teach the little guy all my favorite recipes so that someday he'll make all the treats (instead of me) and I can just chill and watch? 😉
Hooray for Cooking Camp! The rest of the day he asked when we could cook again.
We'll be back tomorrow with more cooking fun!
Pass along any other favorite simple recipes (meals and treats) for kids to make with only a small amount of adult help.


Thanks @CountryFunMaine! I am always looking for fun kids cooking projects, so I will have to check your site out. The cards were SO helpful! I need to cook with my son more often and use them. We had such a great time together!
I do cooking/baking activities with my early learners almost weekly. I love the learning that this type of activity offers. Always on the look-out for a way to support these non-reader with following a recipe – love the measuring cup cards you made. Think I'll be heading to google docs and see if I can come up with some cards to be used around here.