
 This week's theme is BUILDING! I can't contain it to just one day... so we have several ideas I'll be posting about over the next day or so.
With the nesting phase that is kicking in right now, I could probably redo every room in my house... so with that in mind, we headed to one of my favorite stores today- Lowes!
Building Materials Sensory Hunt
The goals of this activity were to introduce my son to some new vocabulary words, expose him to different textures and sights that were unfamiliar, and give him an introduction to building materials and some of the components of buildings (windows, doors, lighting, pavement, tile, walls, etc).
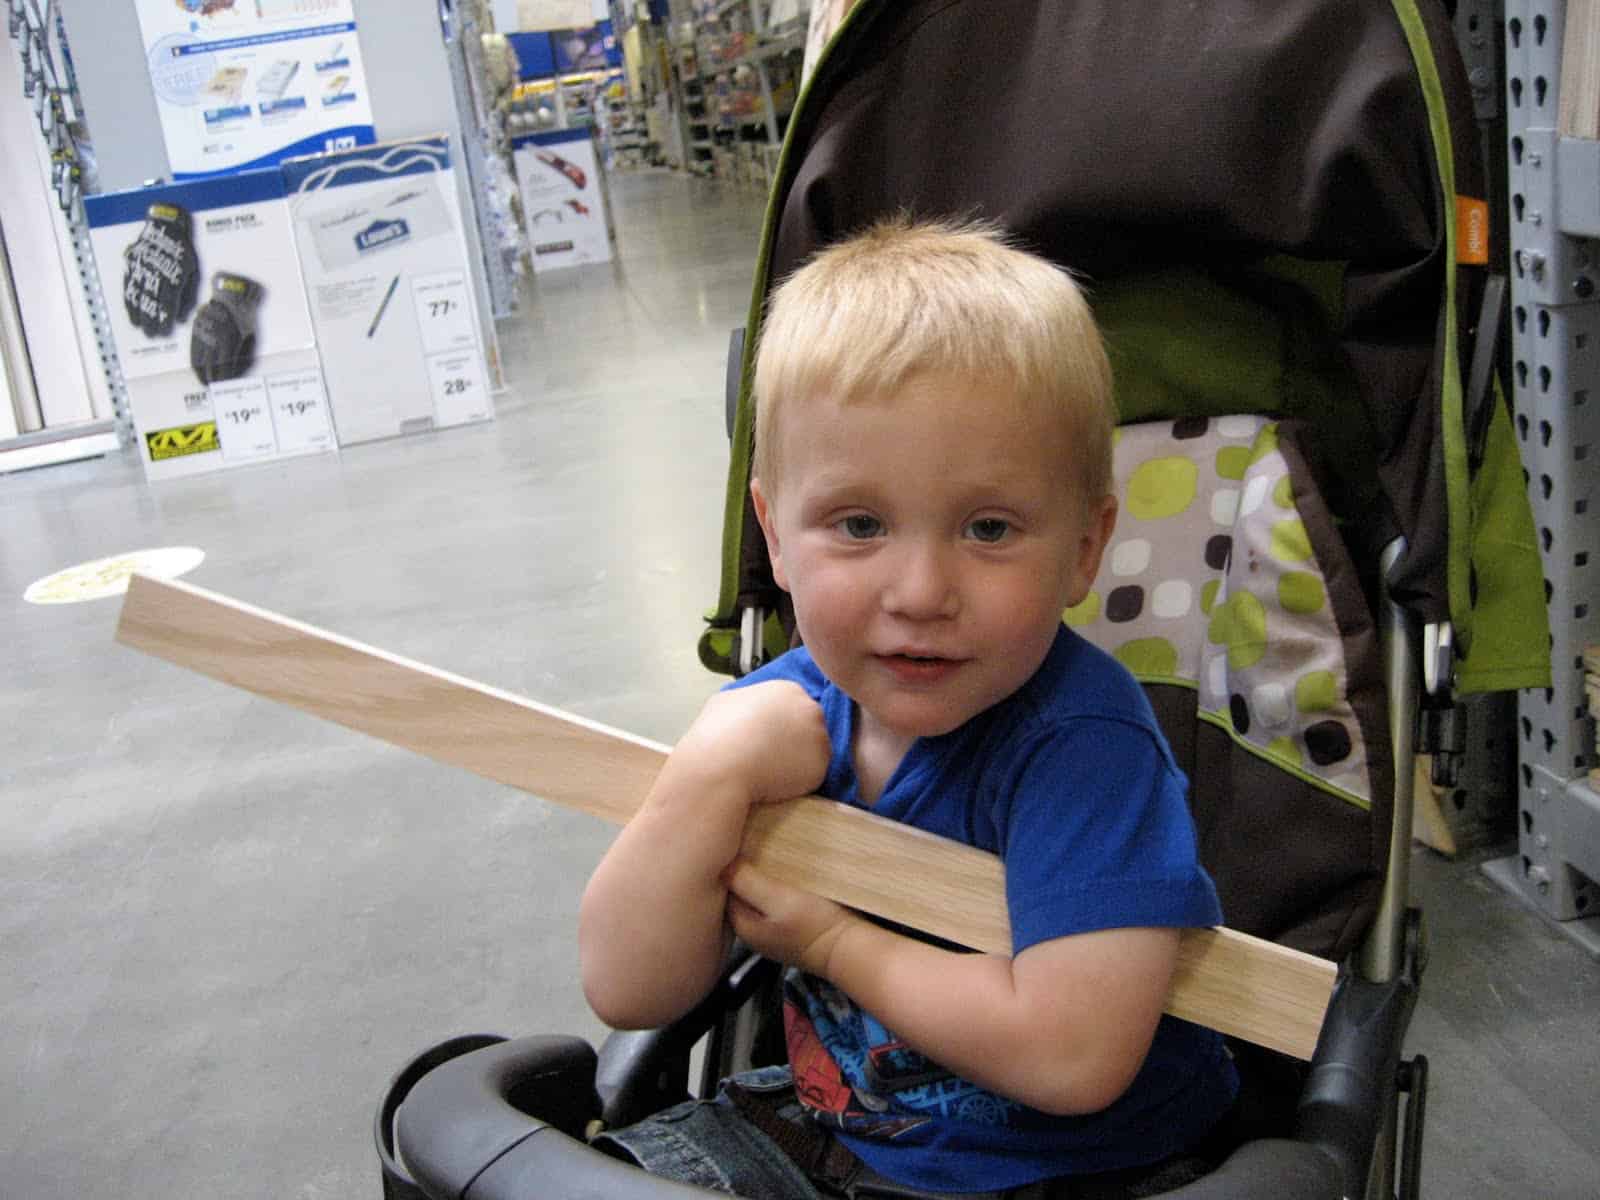
We spent our time at the store exploring different aisles. We started in the lumber section.
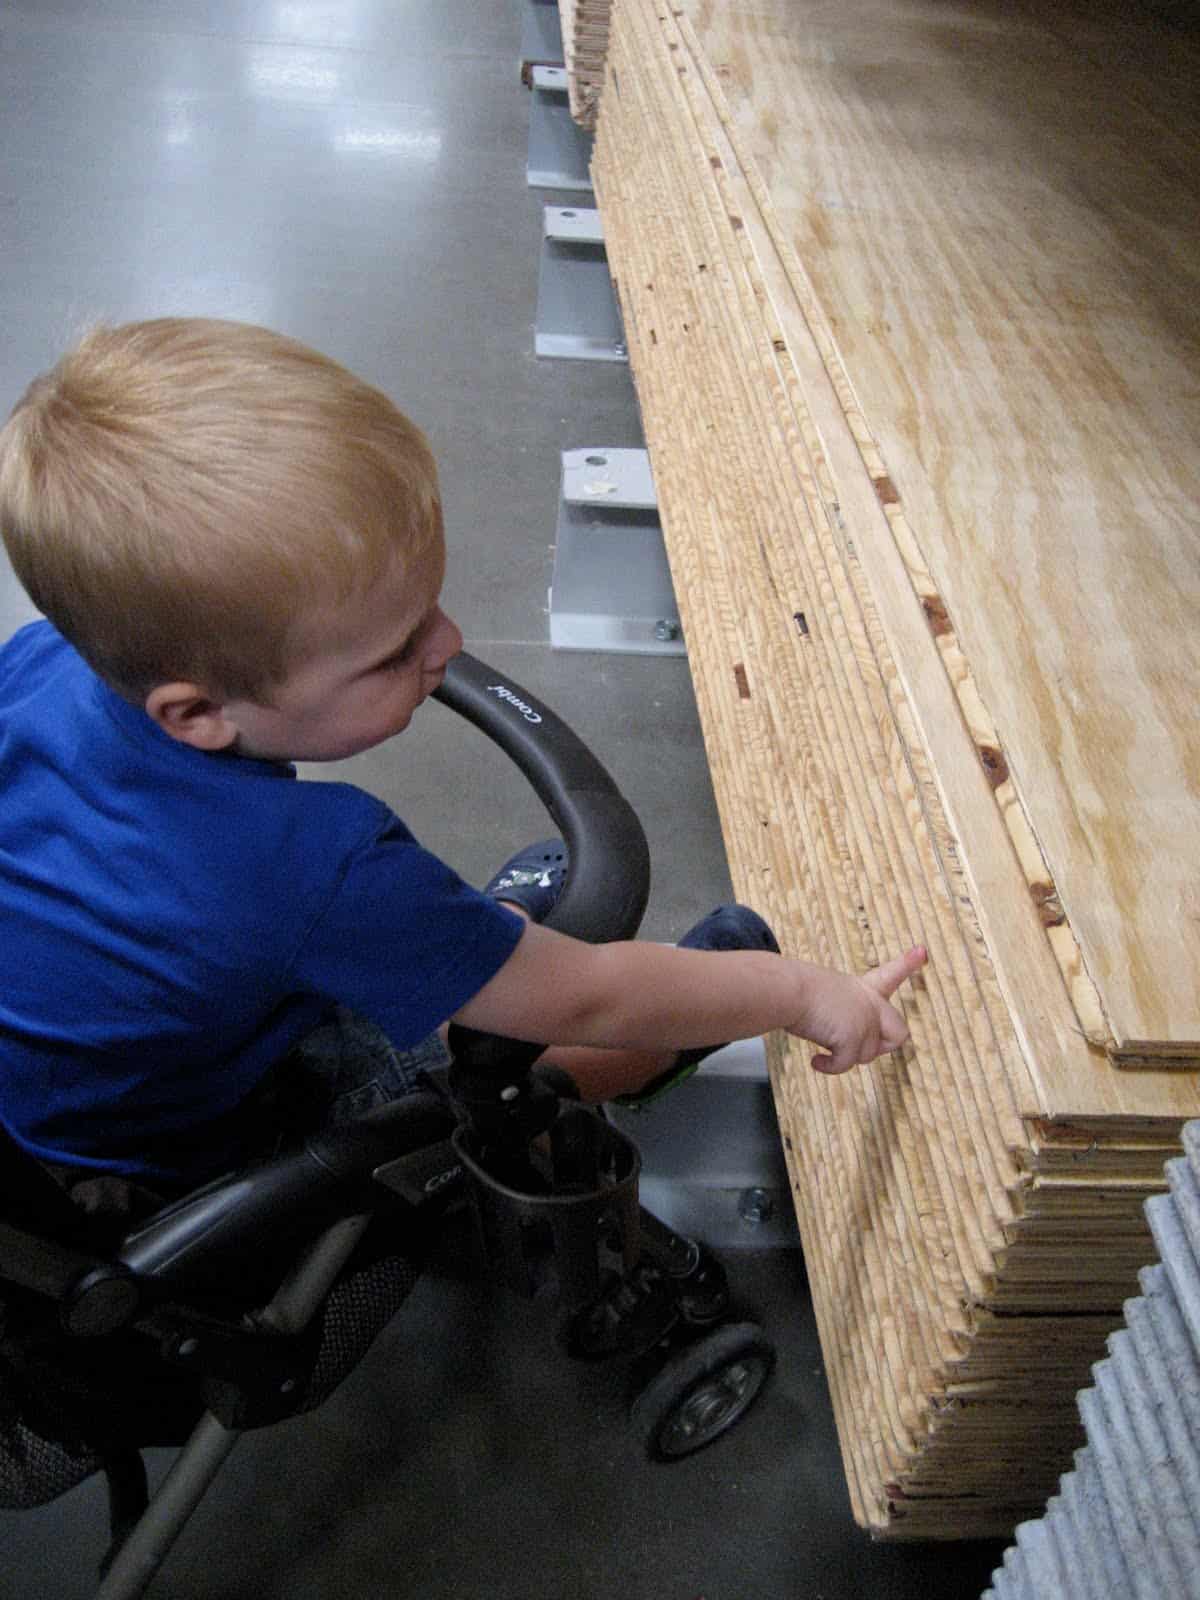
We talked about the sizes, thicknesses, colors, and texture of the large pieces of wood and flooring and wall materials. As we went down each aisle I had him look for objects that were rough, smooth, pointy, bumpy, soft, heavy, etc. It was like a little game for him to find objects that fit the descriptions I mentioned.

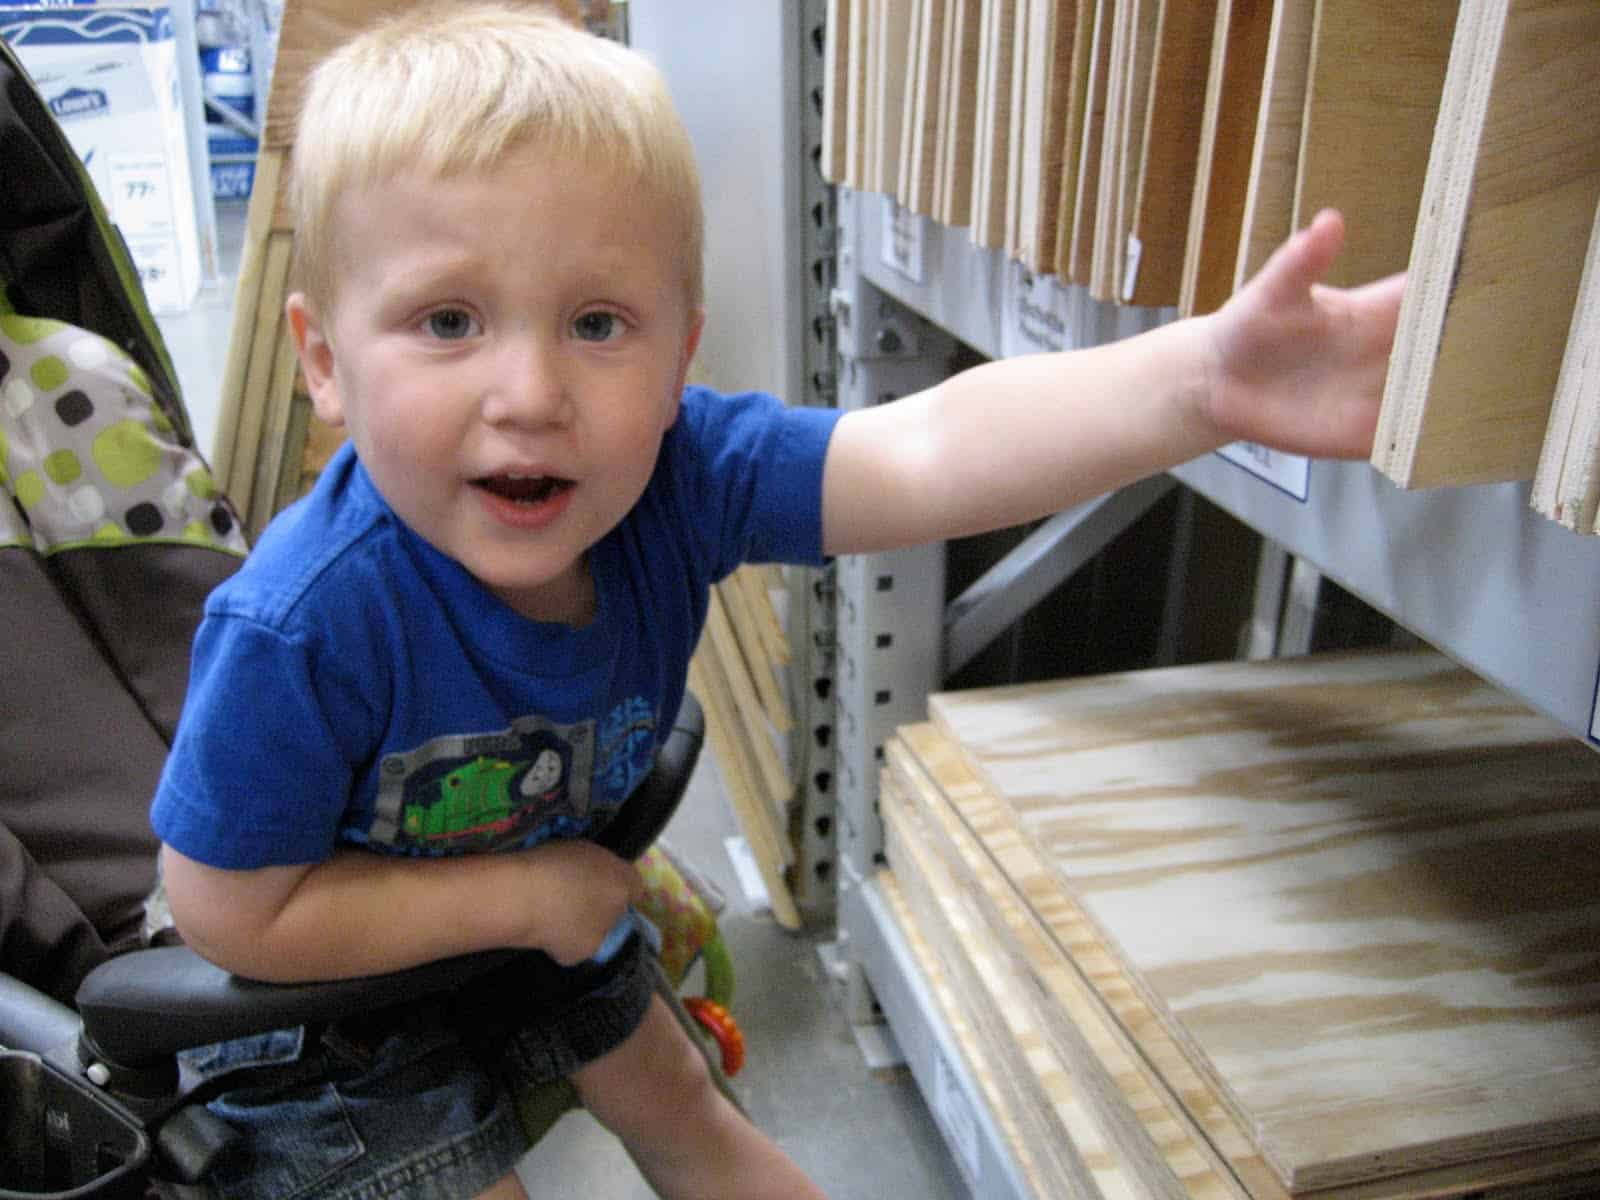
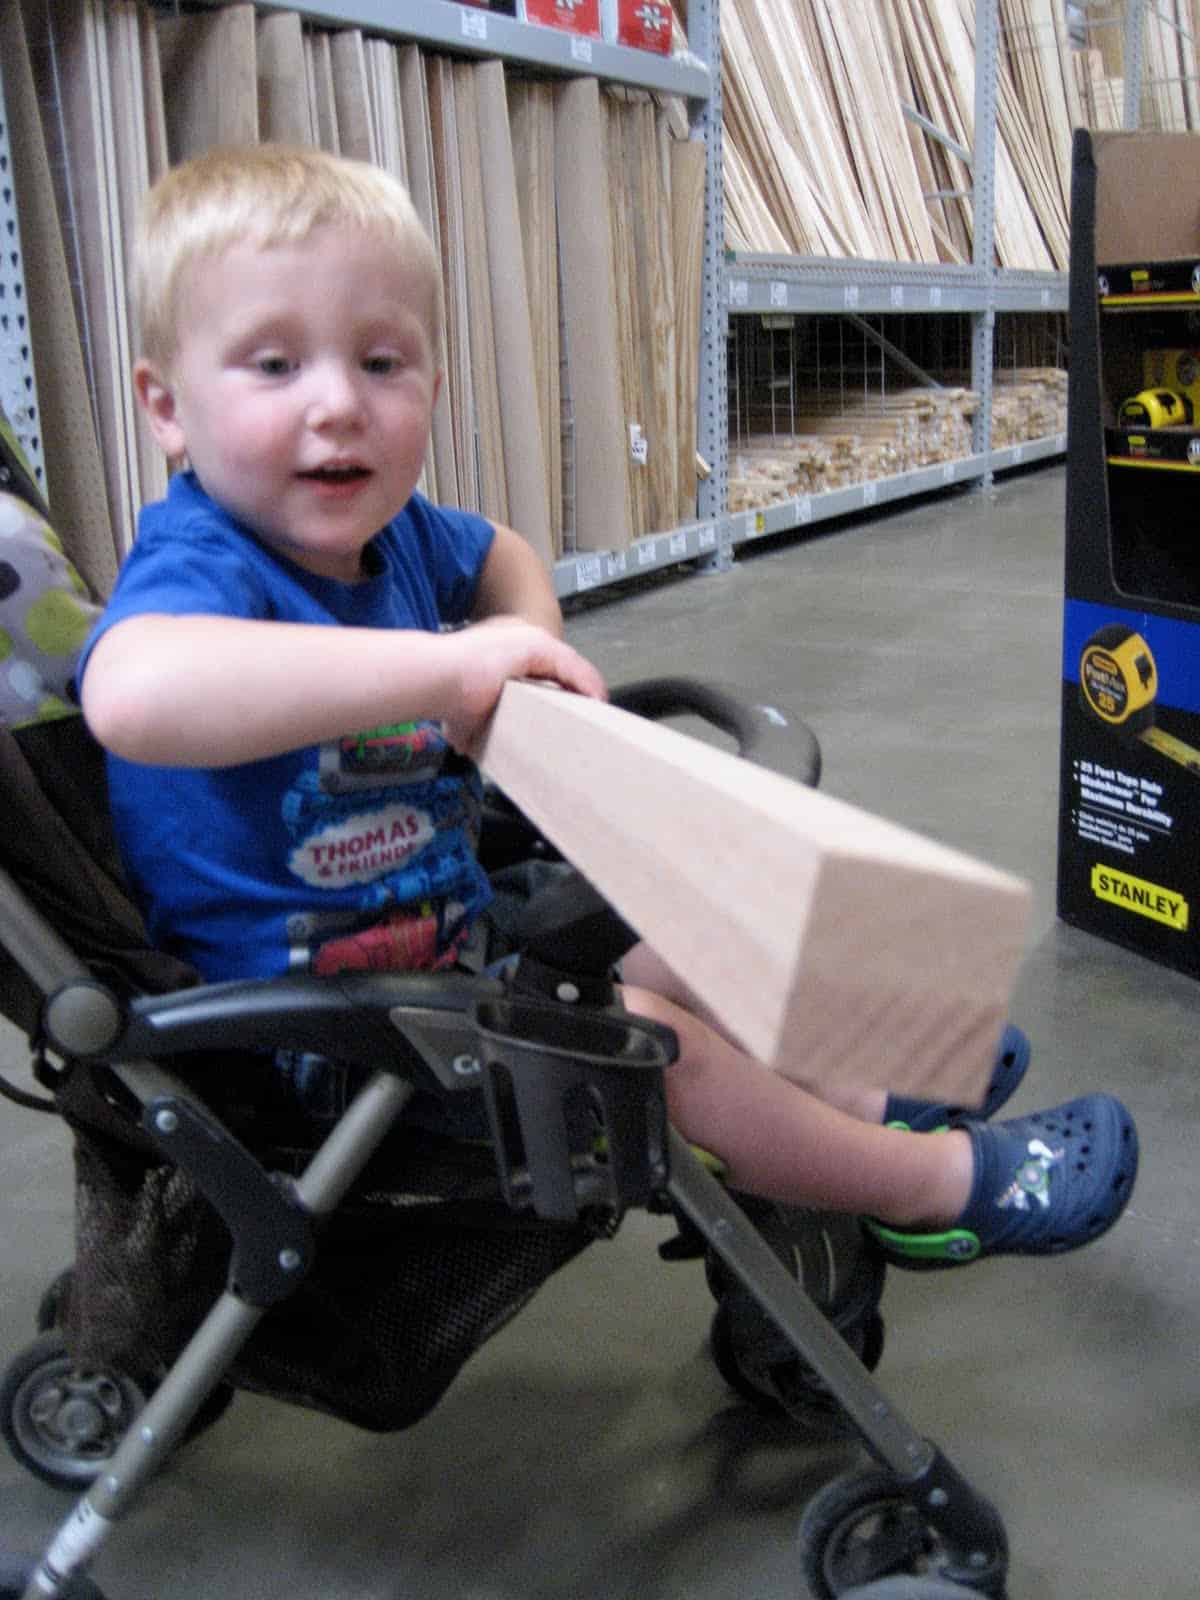
Next we moved on to the smaller pieces of wood. We picked them up, talked about their weights, lengths, thickness, and shapes- some were round, some were rectangular, etc.
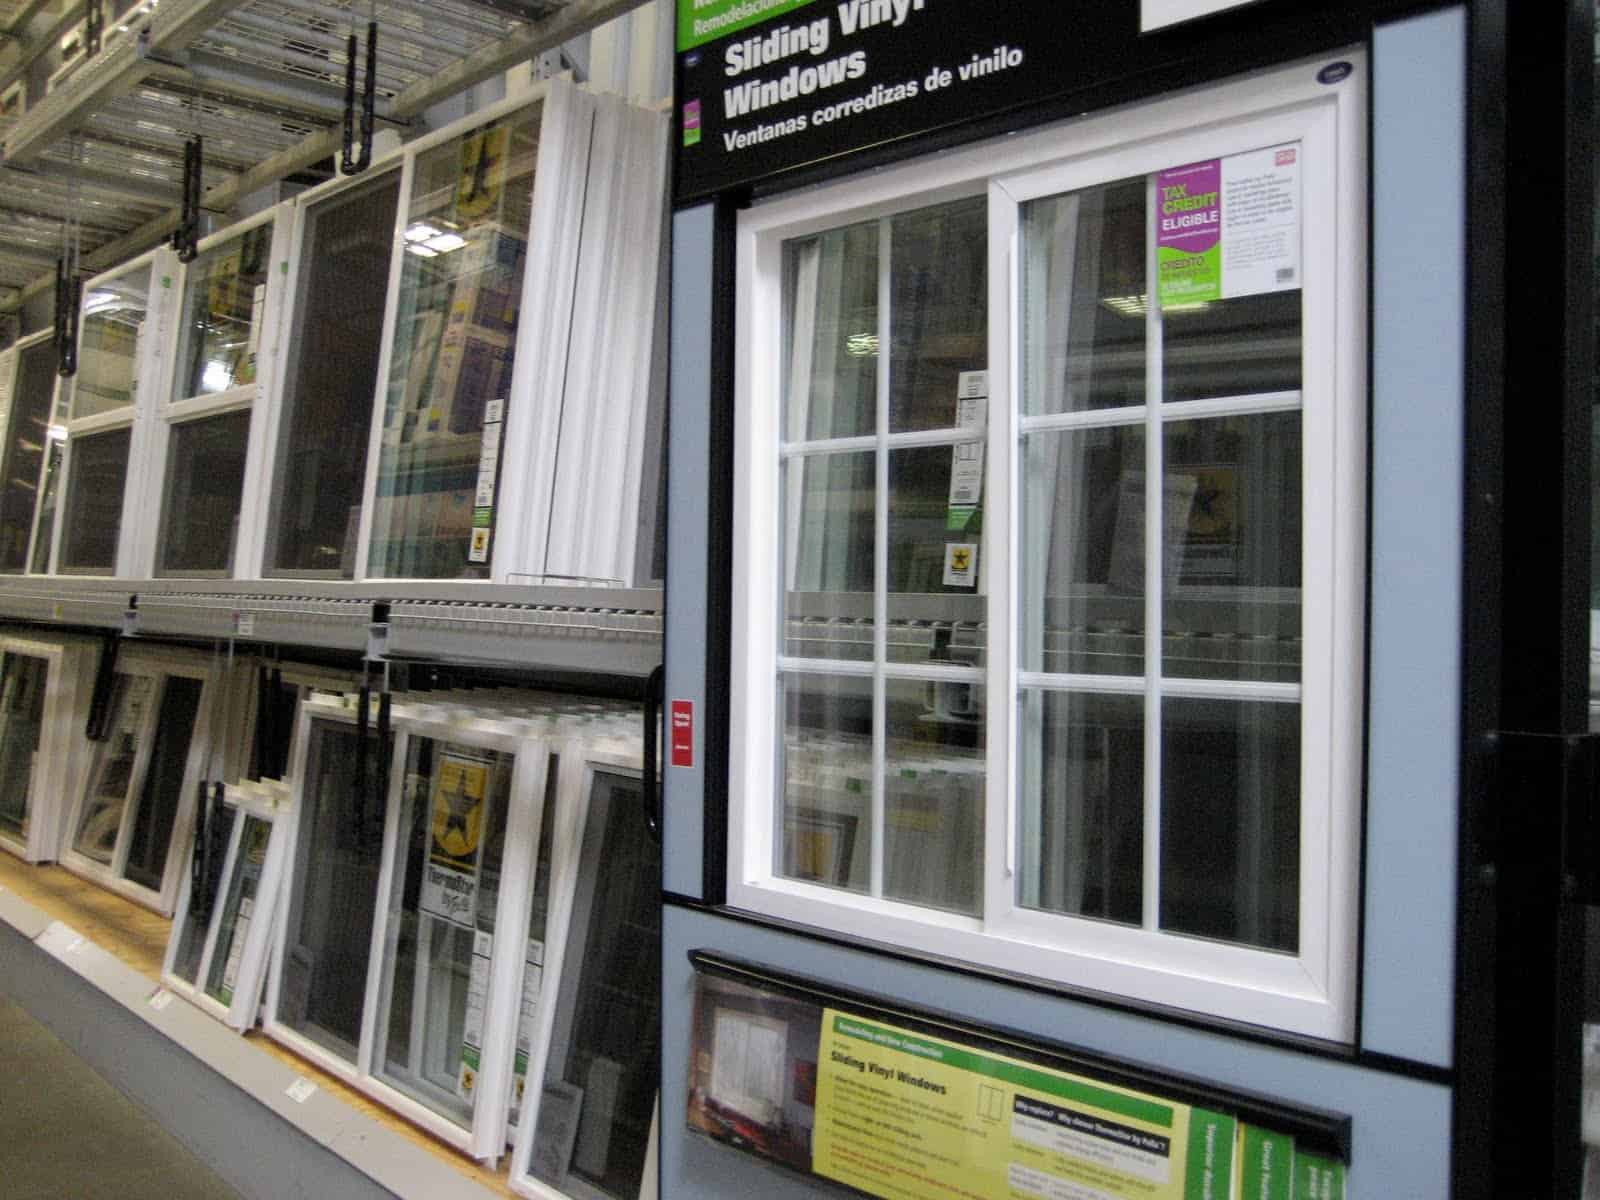
Then we moved on to other exterior features of houses, like windows and doors! We counted the window panes, talked about the colors and shapes, and even knocked on some doors to see if anyone was home.
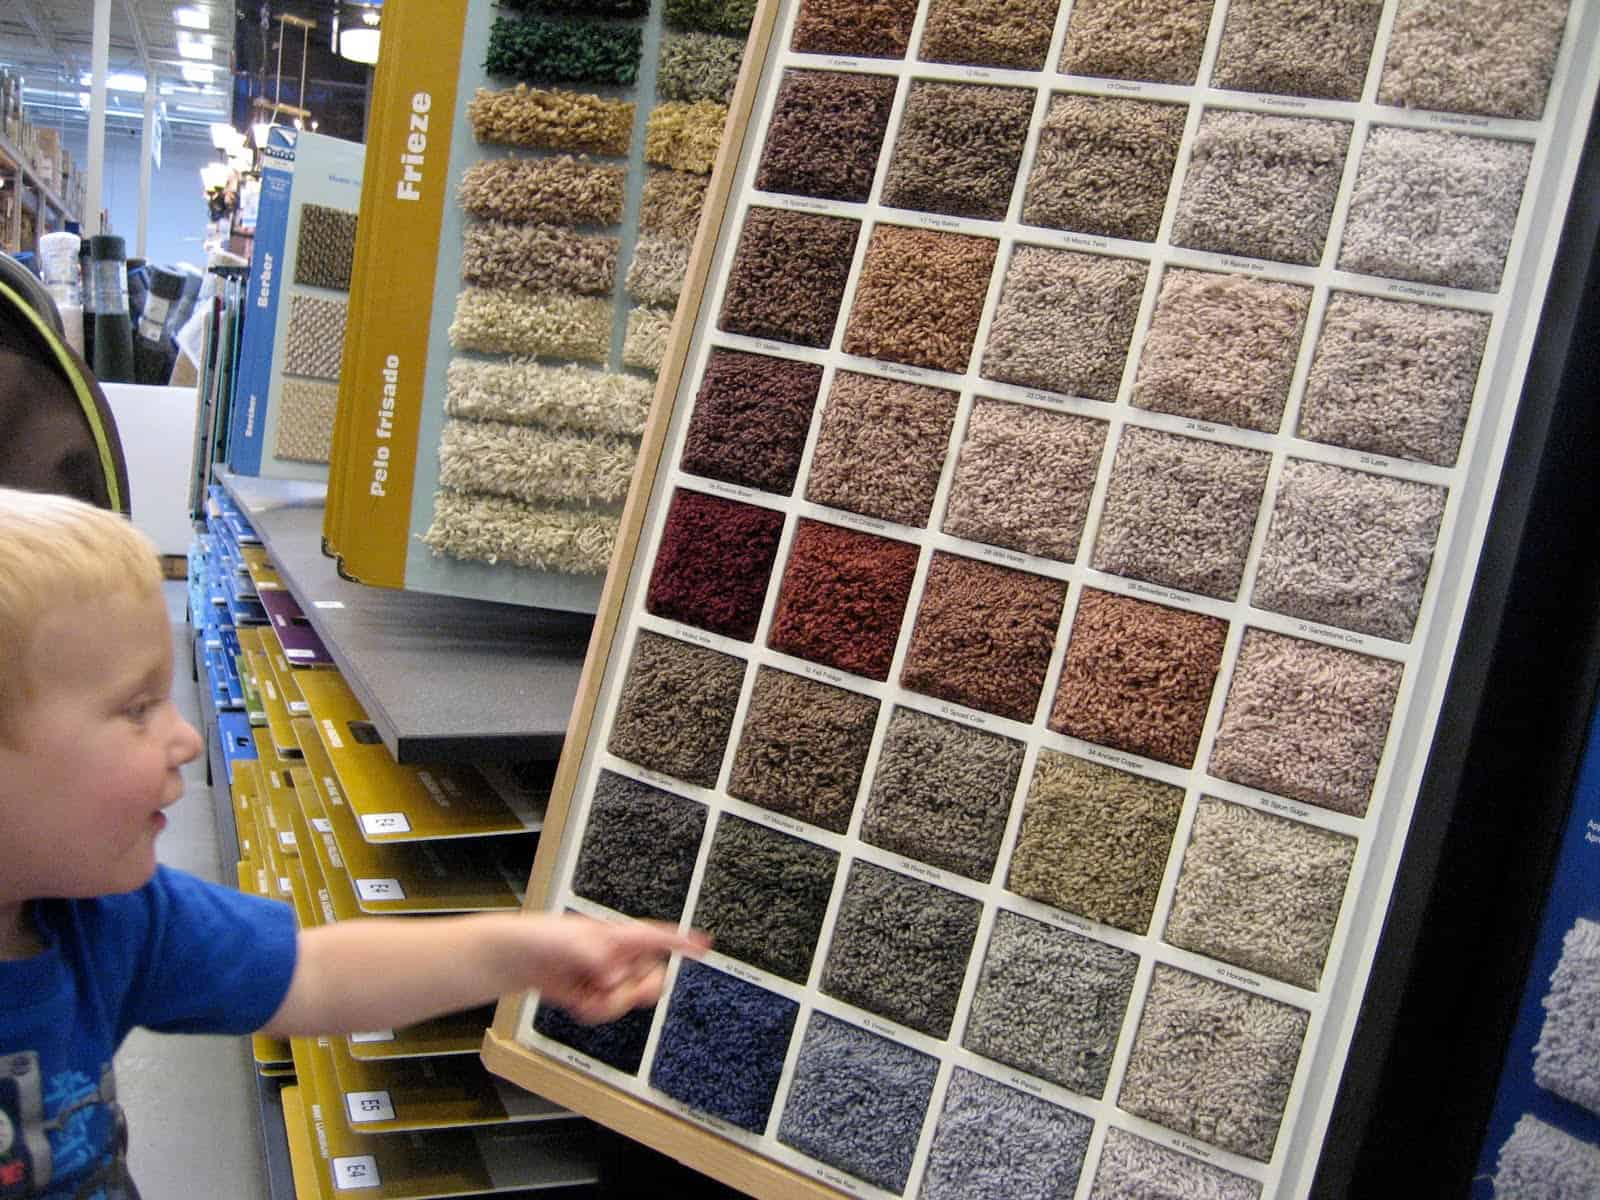
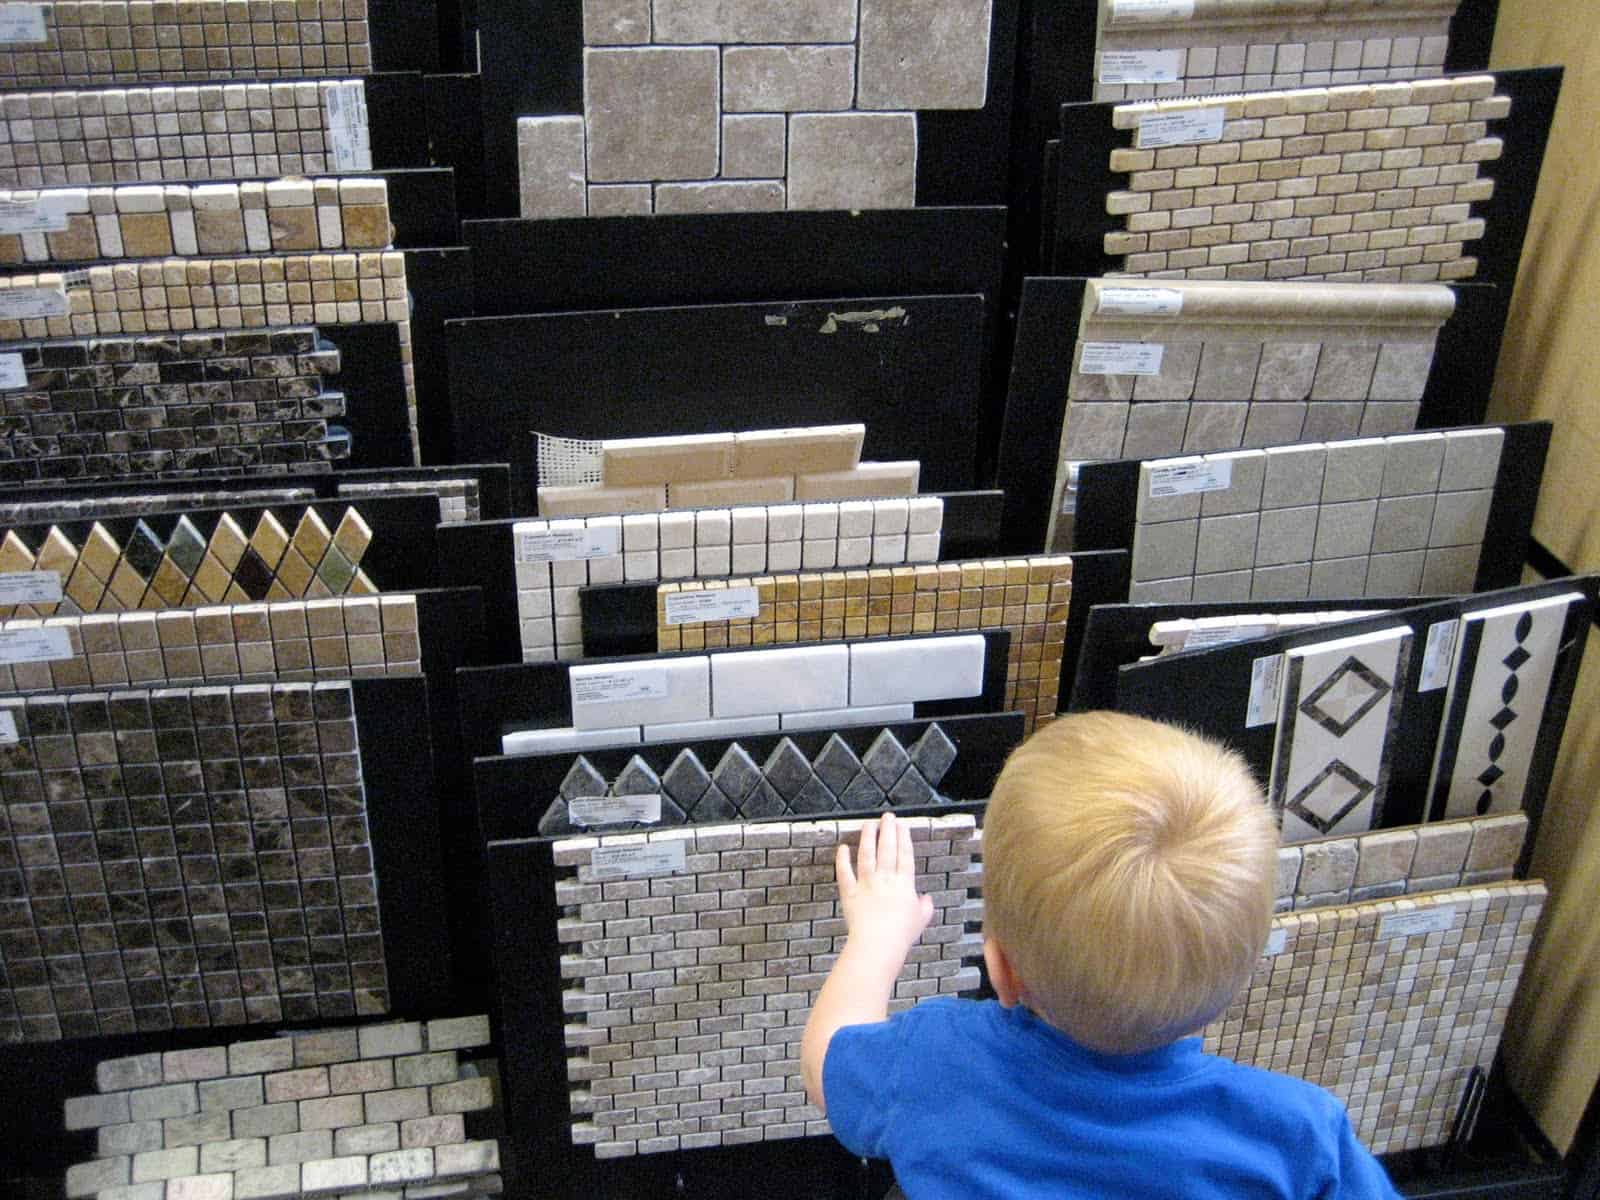
Lastly, we headed to flooring... mostly because there were so many fun textures and colors to explore. I would LOVE to have these carpet sample boards at home to use for projects. There were so many new colors to talk about and types of carpet and tile to touch.
We only spent 45 minutes at the store... we could've been there for so much longer!
Lastly we hit up the paint section and got many many paint samples to use for craft projects and to use as we decide what colors to paint the nursery. Who knew there were so many light pink color options??? On our drive home we checked out houses, walls, and different buildings and labeled what we thought they were made of... and then we got started on a little building art project.
Building with Paper Shapes

Materials Needed: Large drawing paper, scissors, glue stick, cardstock cut into a variety of shapes (I just used all our scrap paper), and markers.
Directions:
1. Pre-cut paper into a variety of shapes (rectangles, arches, squares, etc.)

2. Have glue, large drawing paper, and the pre-cut paper accessible. Tell the kids you are going to work to build a house (or whatever sort of structure they want to make). They can work together or alone. Have an example (or several) available for younger kids. Sometimes I don't like to have examples for older kids because they want to copy my idea and not come up with their own... In today's case, I showed both kids my example (which I hadn't glued down), and then I took it apart and let them use their imaginations to create their own houses. Notice how my son had to copy his little buddy and make a pink house just like she did?
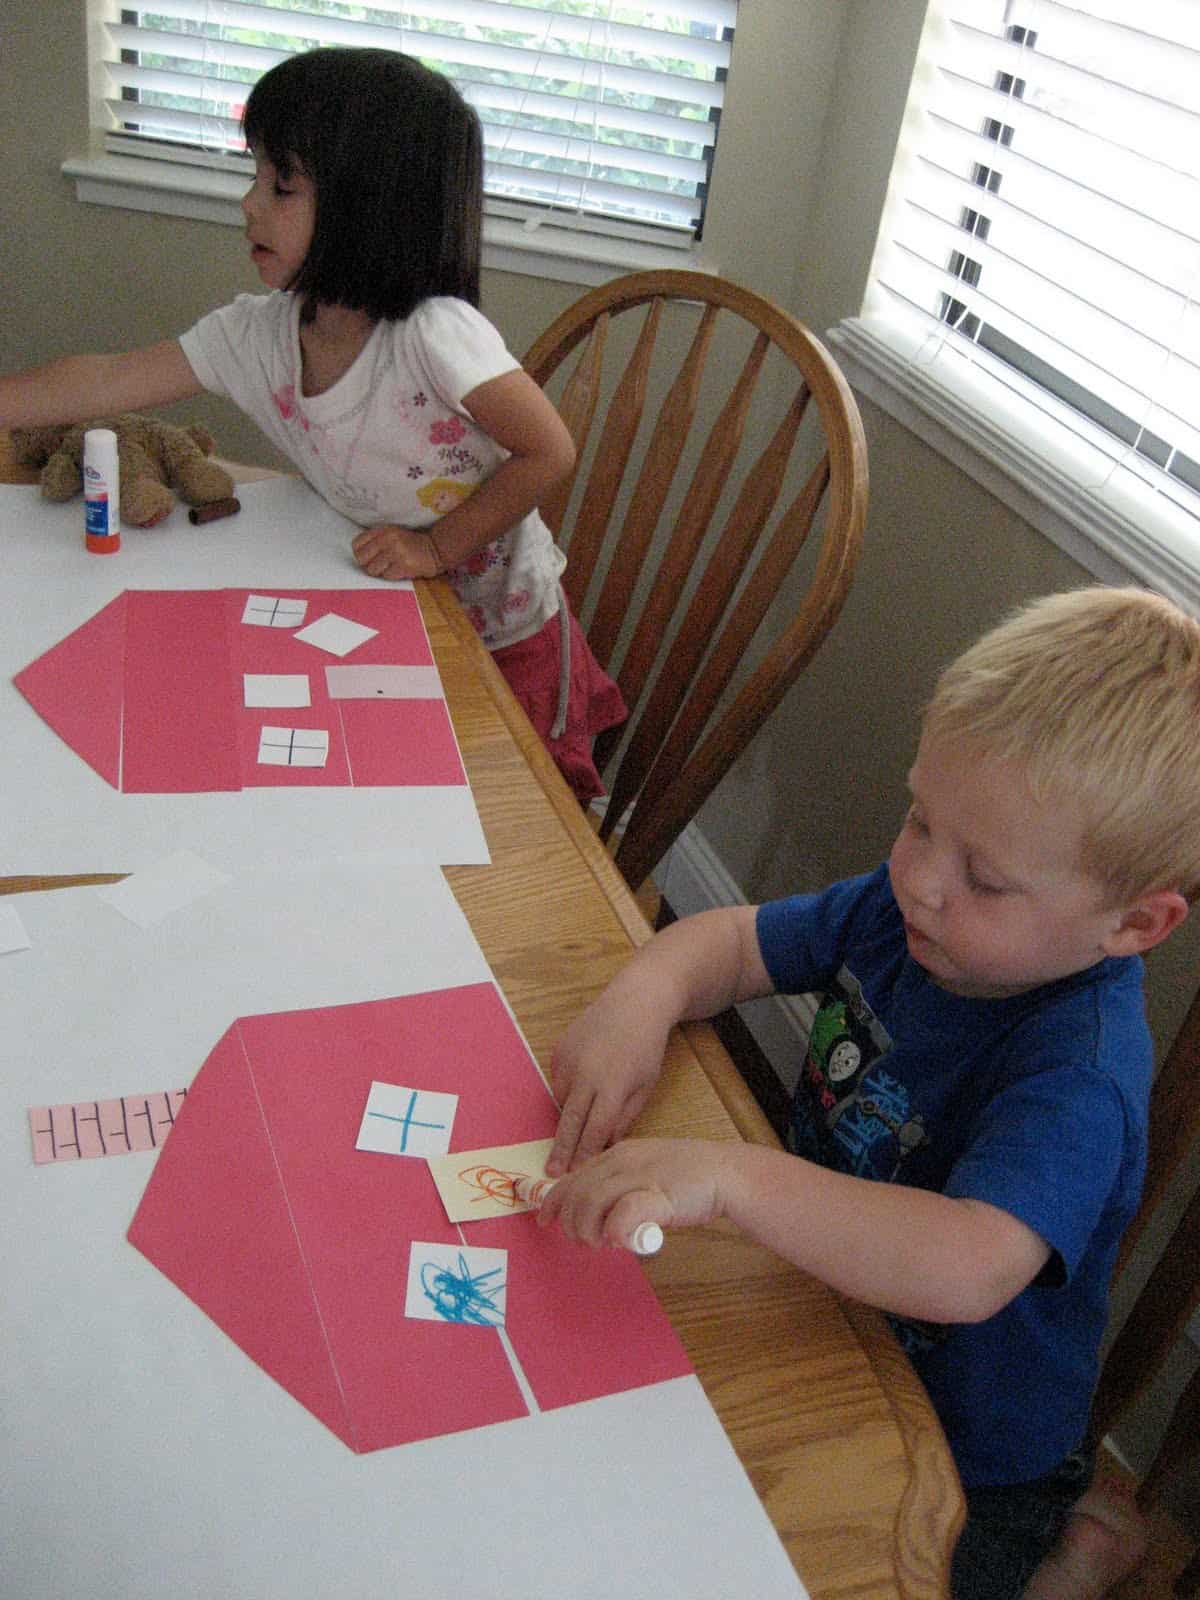
3. Talk about the different components to the outside of the house as you work. We talked about chimneys, windows, garages, doors, roofs, etc. Give the kids flexibility to add (or not add) whatever they want... I loved that our little friend had to add curtains to her windows. They were so cute!
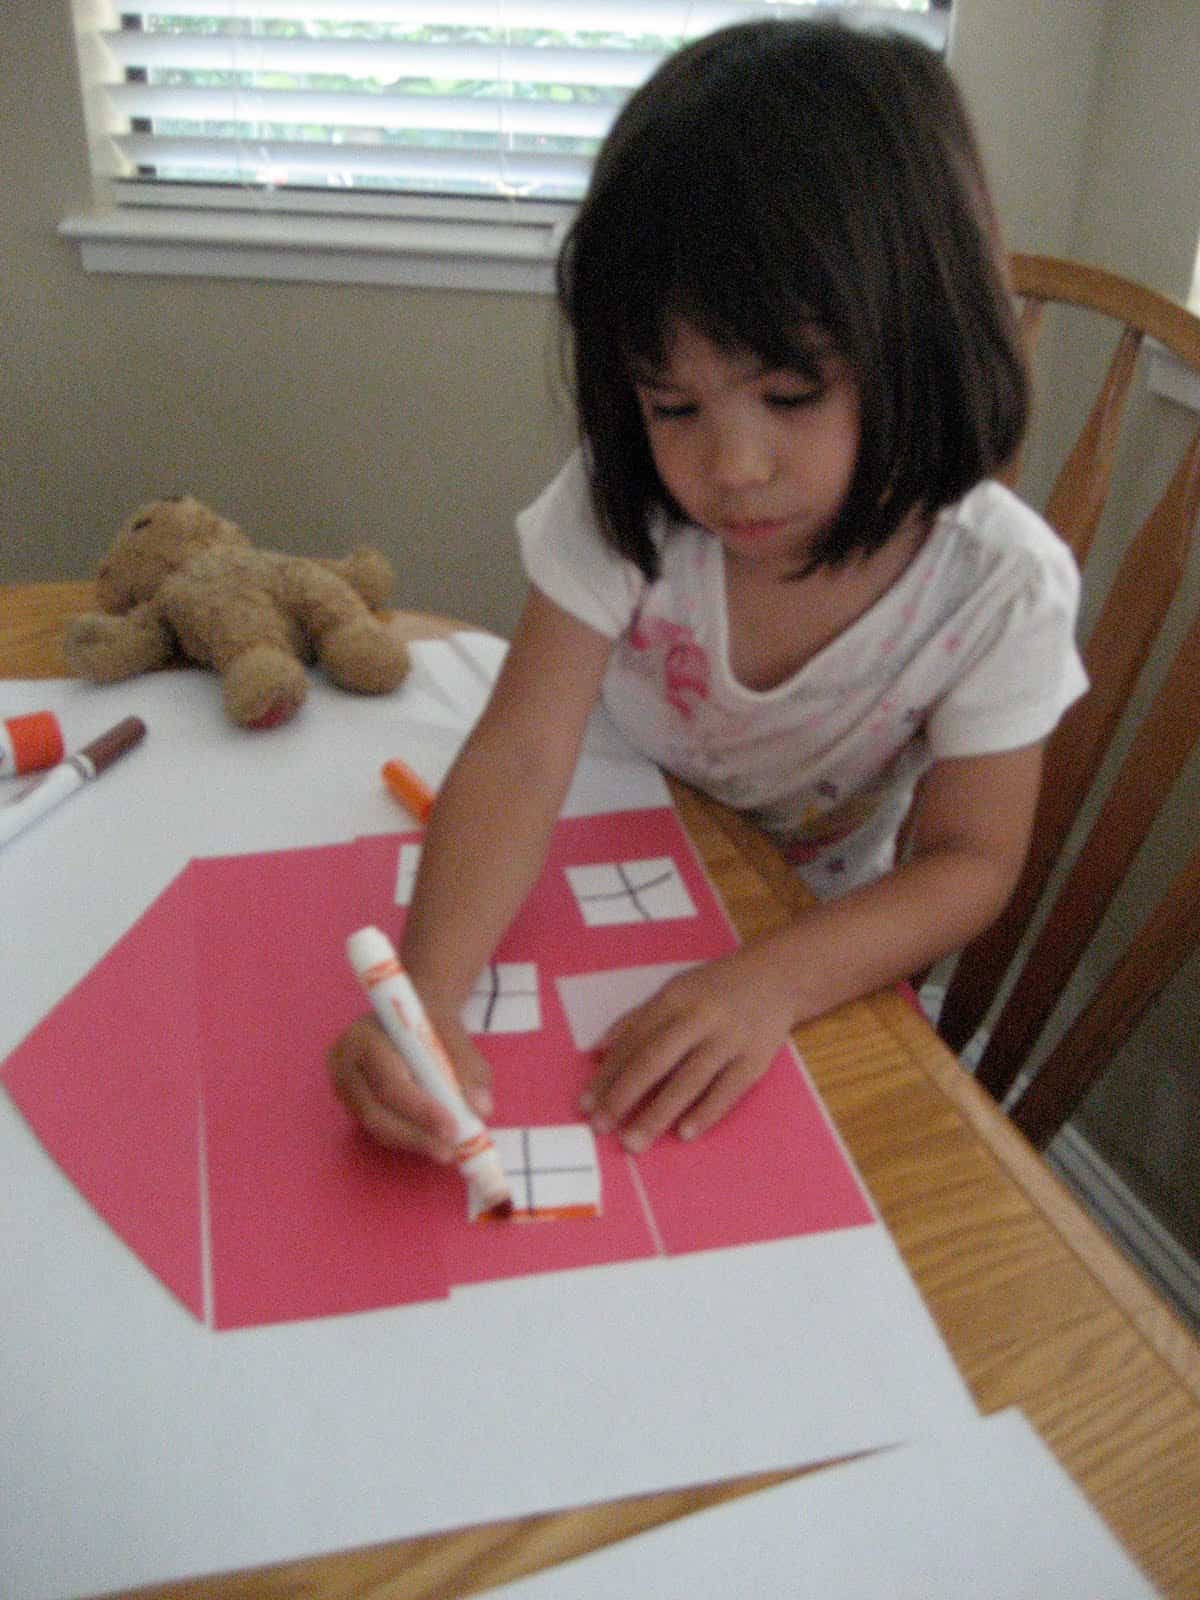
4. Try to let your littlest ones glue independently and decide on their own placement of objects. Can you tell which pieces my son wanted to do alone and which ones he wanted me to do?? (I always love when he says, "No, Mommy do it."
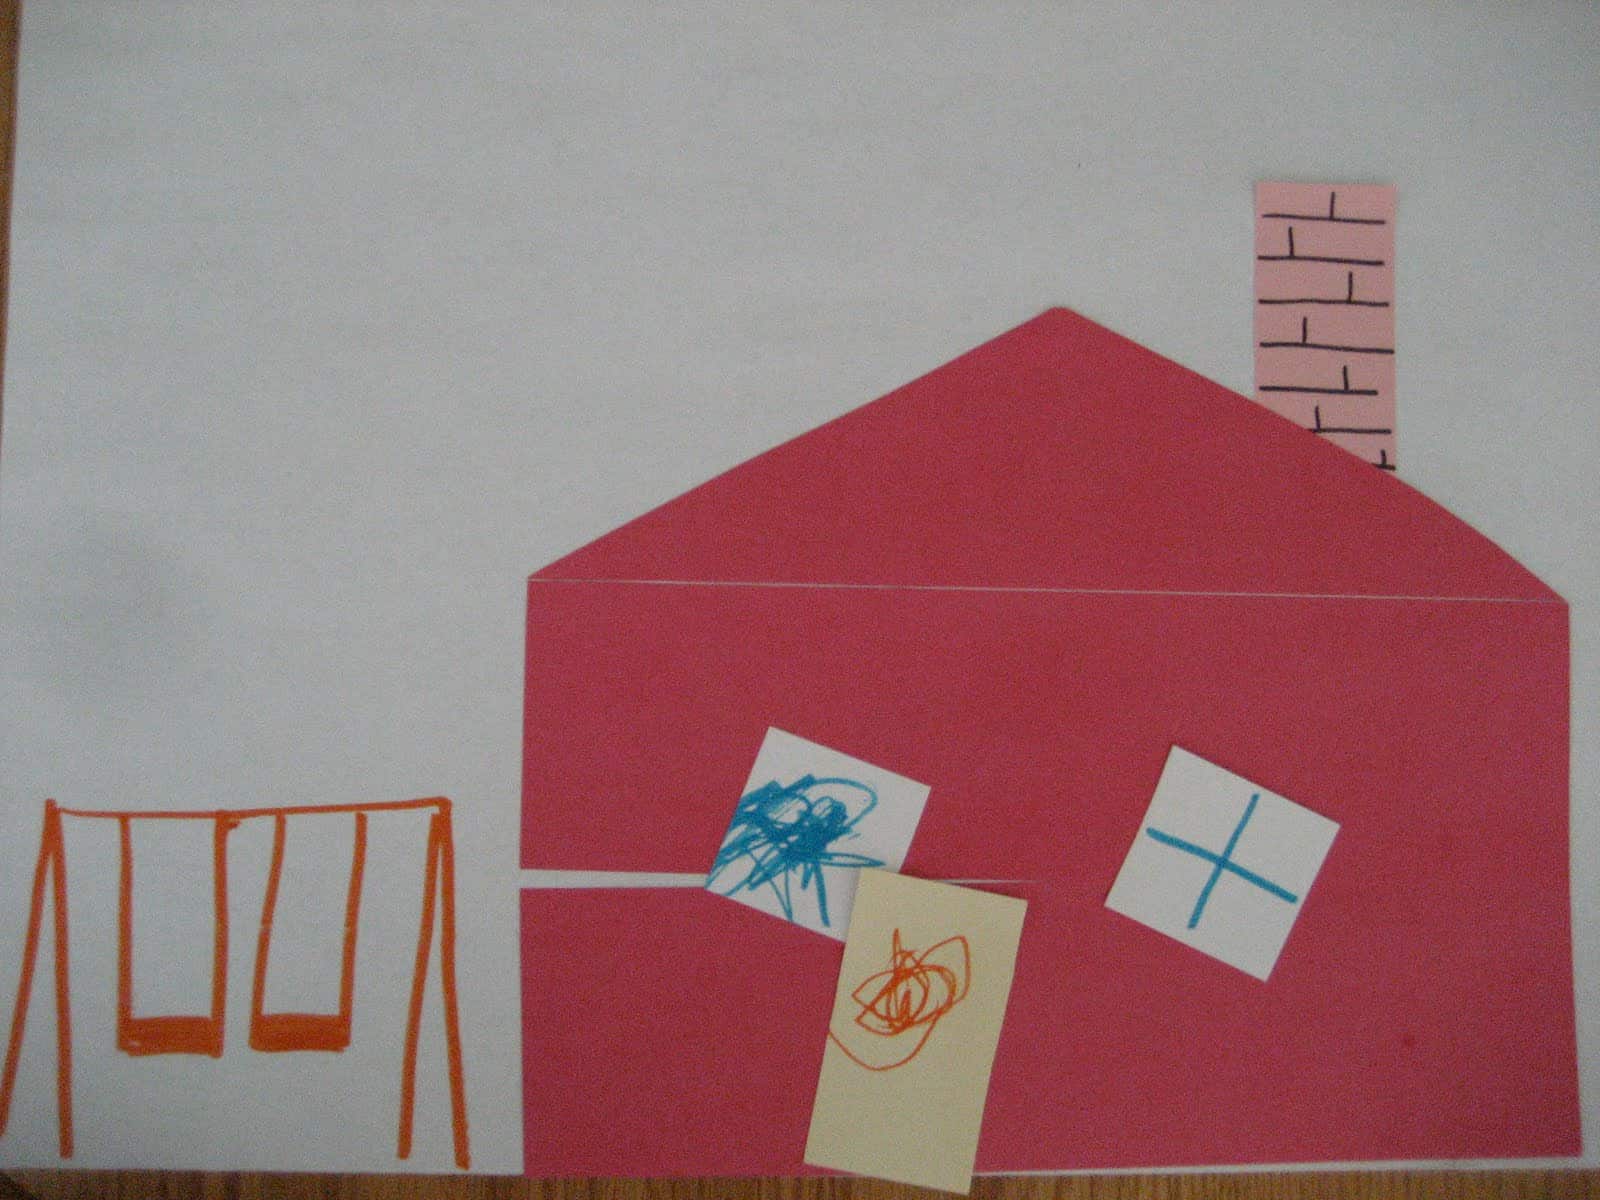
5. Admire your masterpieces and talk briefly about the different parts of the pictures that they like the best. With a class of kids I always like to display the artwork on the floor, put our hands behind our backs, and walk in a big circle around the art pretending we are in an Art Gallery. We walk around QUIETLY and admire all the artwork... then we stop and quietly talk about some of our favorite little details. Sometimes we even ask the artists some questions.
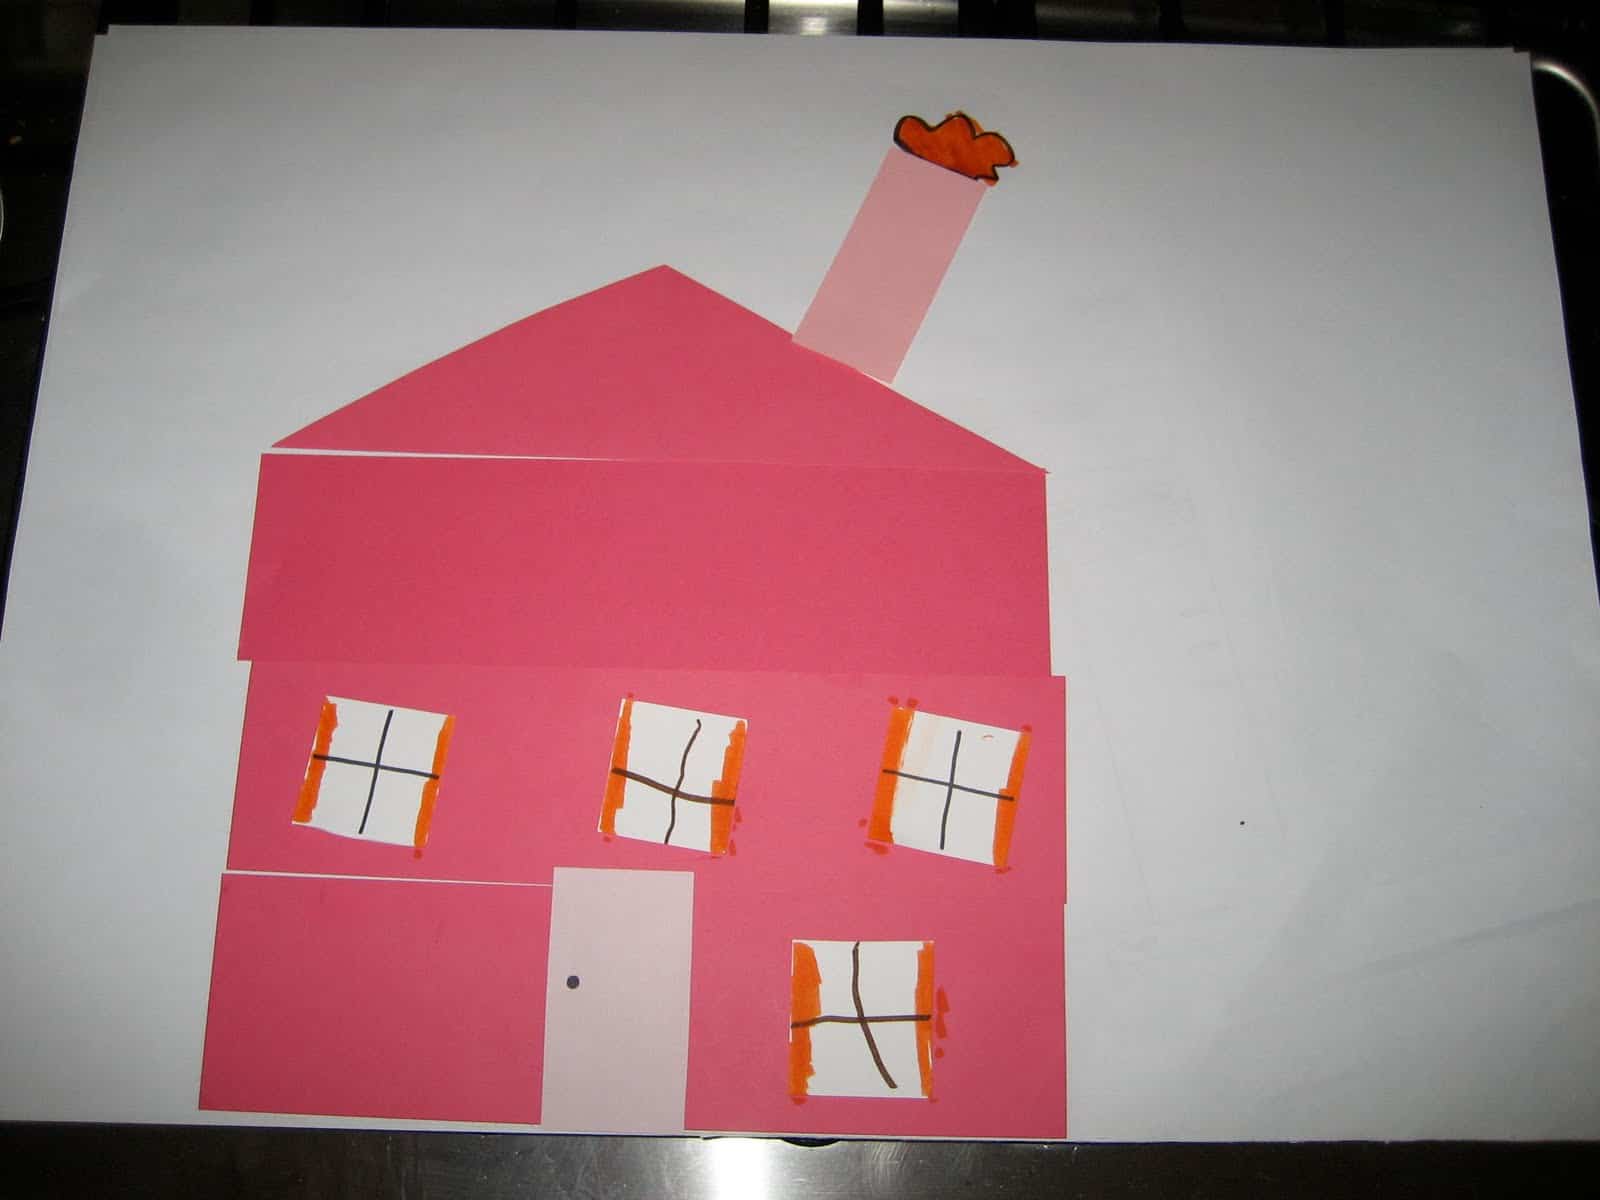
Next time I do this I will have more pictures of houses displayed around the room and I will cut out more variety of shapes. Today we tried to reuse some of the materials we already had. I would also LOVE to incorporate more textures next time... so maybe use pieces of plastic for windows, wood chips or something else fun for the roof, cardboard for the doors, etc.
Disclaimer: This activity is best suited for kids ages 3 and up. My son (2.5) loved it, mostly because he had a 4 yr old friend doing it with him. He needed a lot of help though and his little 2 yr old friend who was over wasn't interested in participating at all. The 4 yr old was mostly independent with this activity, other than needing a little help with cutting.


Thank you for this post! I've been searching for activities to do at my son's preschool tomorrow when we learn about shapes and this is going to be perfect!
Your blog is wonderful! I can't wait to come back for more ideas.
i really love it!
I love the lowes outing.. we are always stopping in there.. we will have to talk more about the things we see there! Looks like the paper house building was fun!