
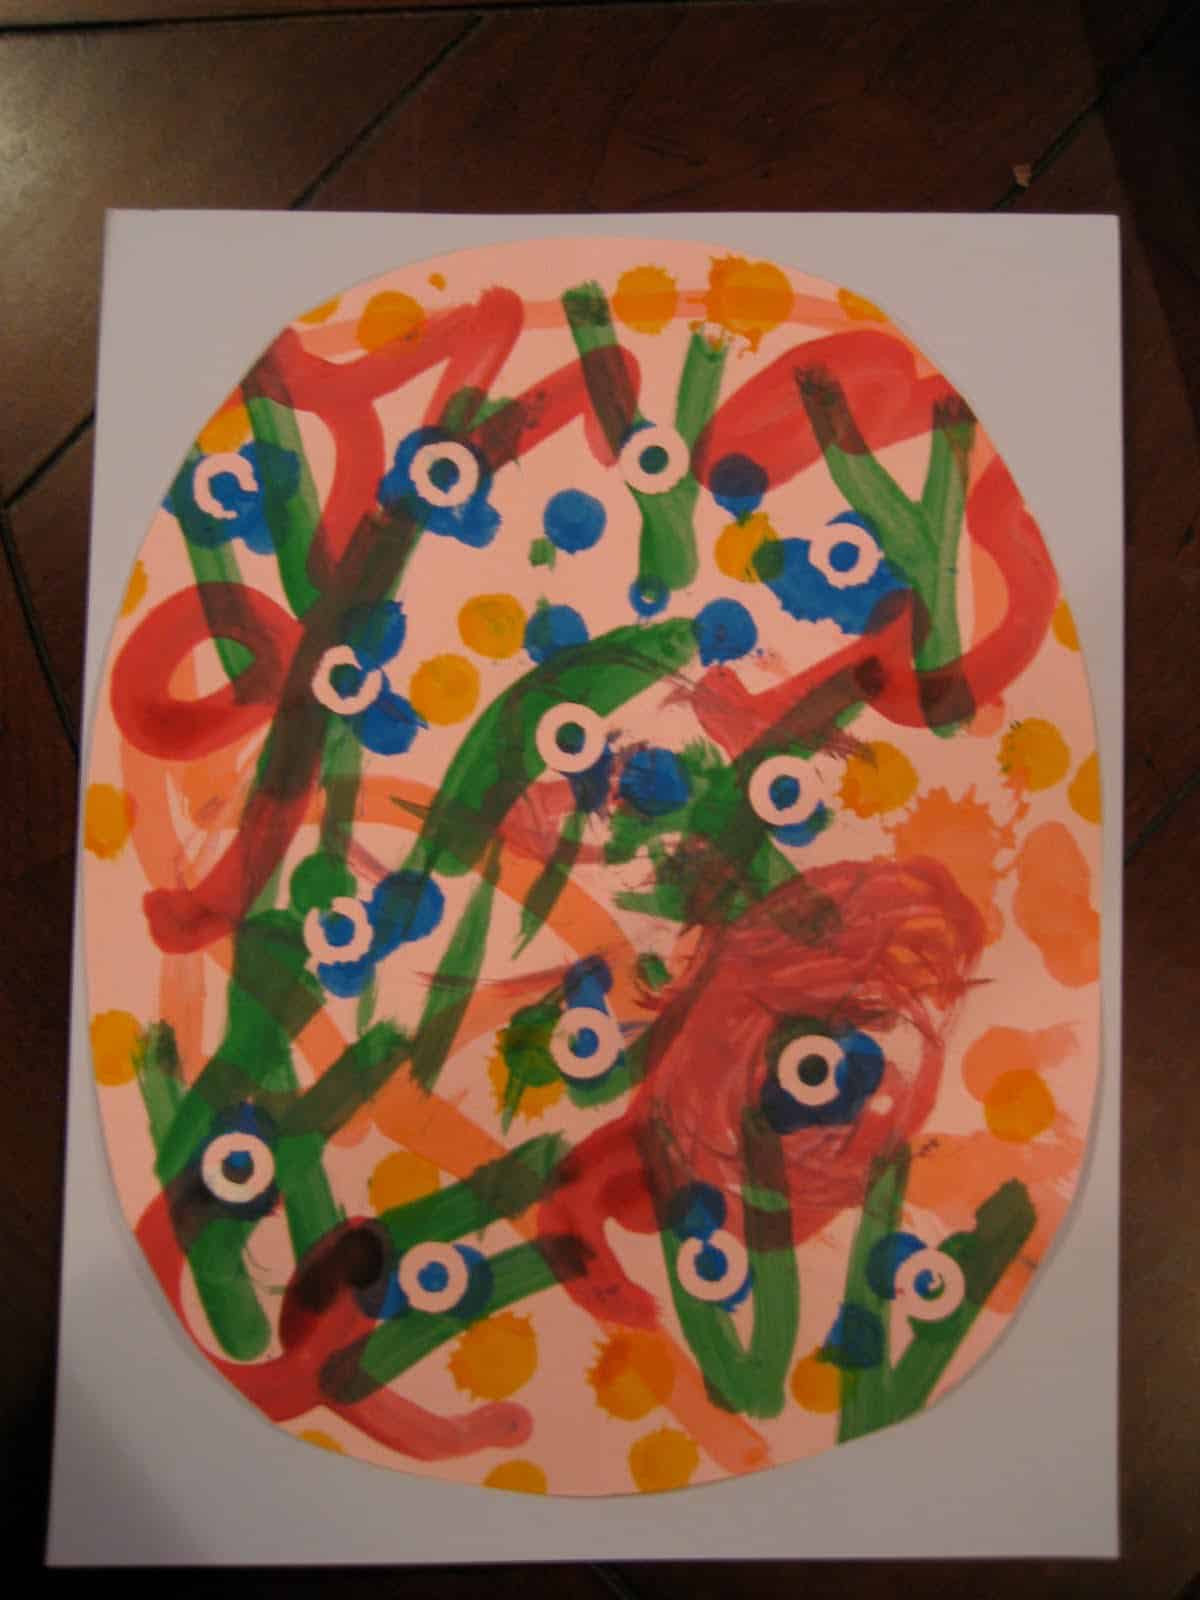
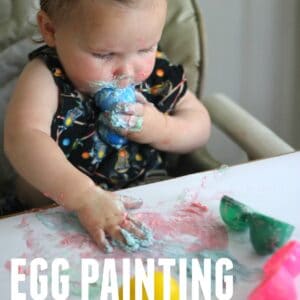
The other day when we found reinforcements for hole punched pages we also decided to make a little Easter Egg craft. It turned out OK... but the process was a lot of fun (mostly because it involved painting)!

Materials Needed: reinforcements, paint (we used our mini Do-A-Dot paints again), two pieces of pastel colored cardstock, and tape or glue.
Directions:
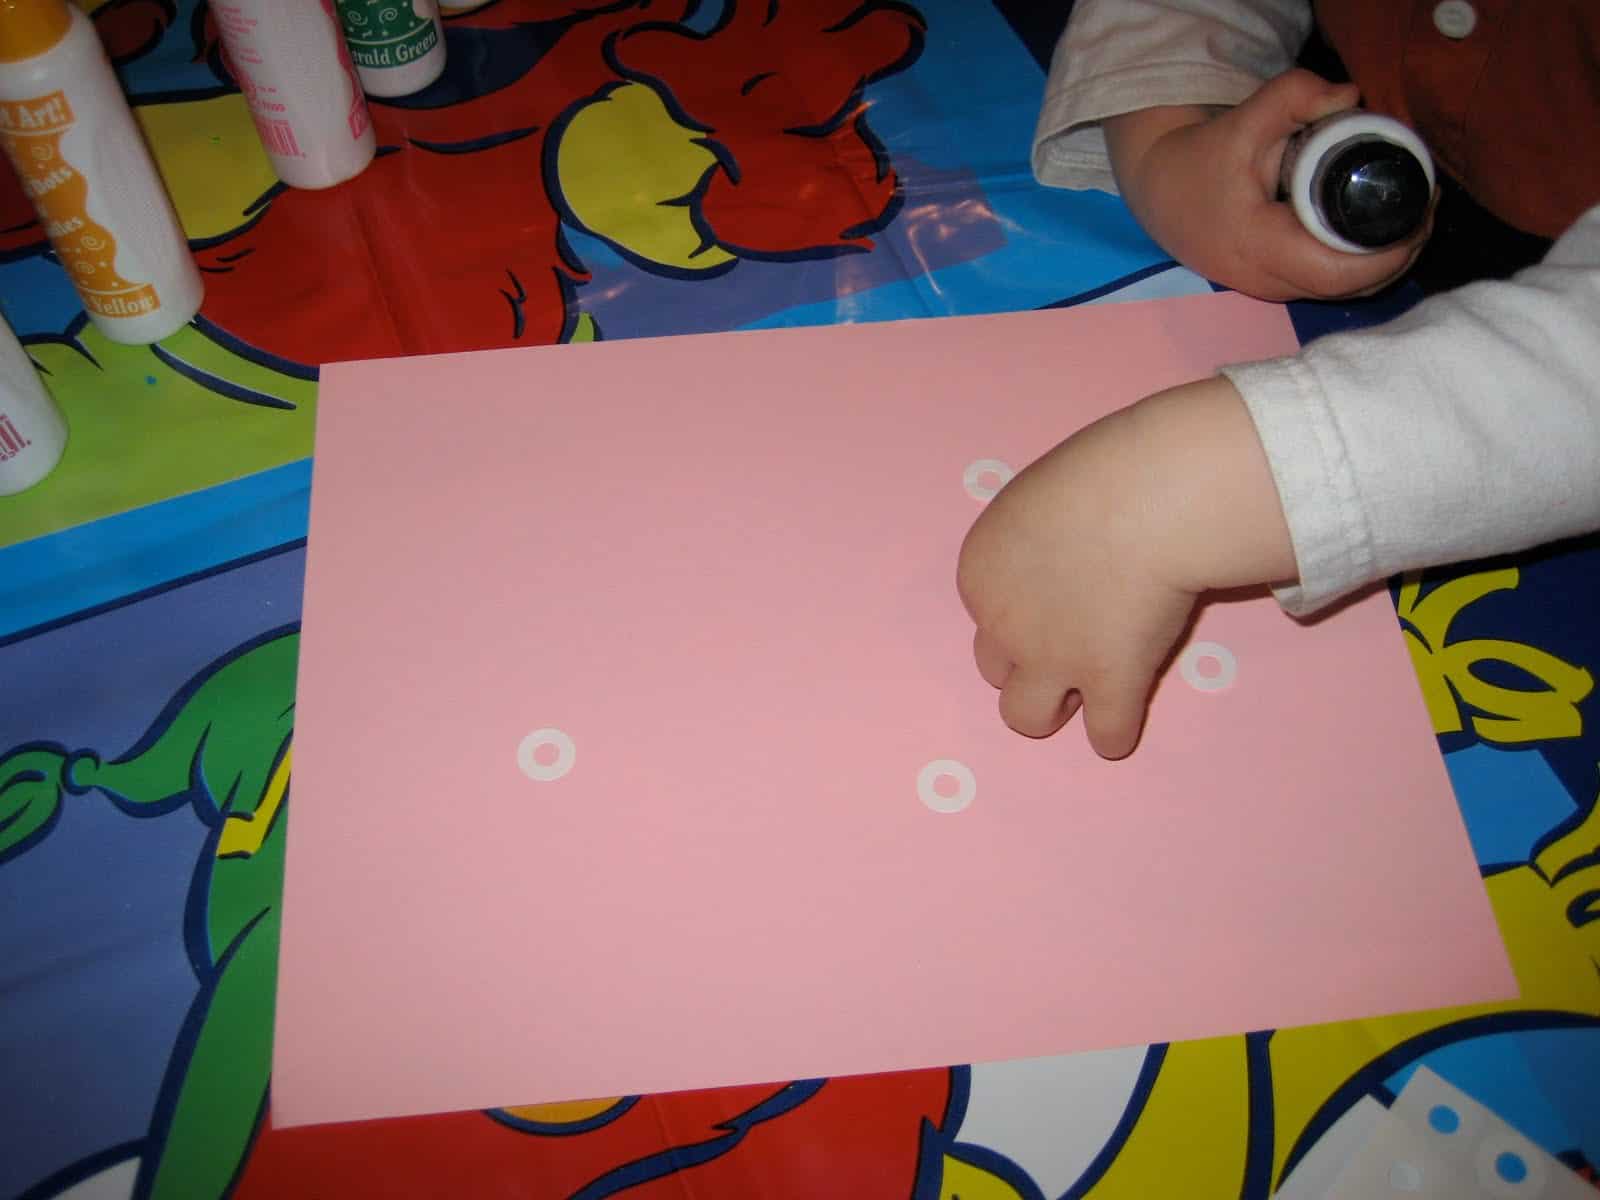
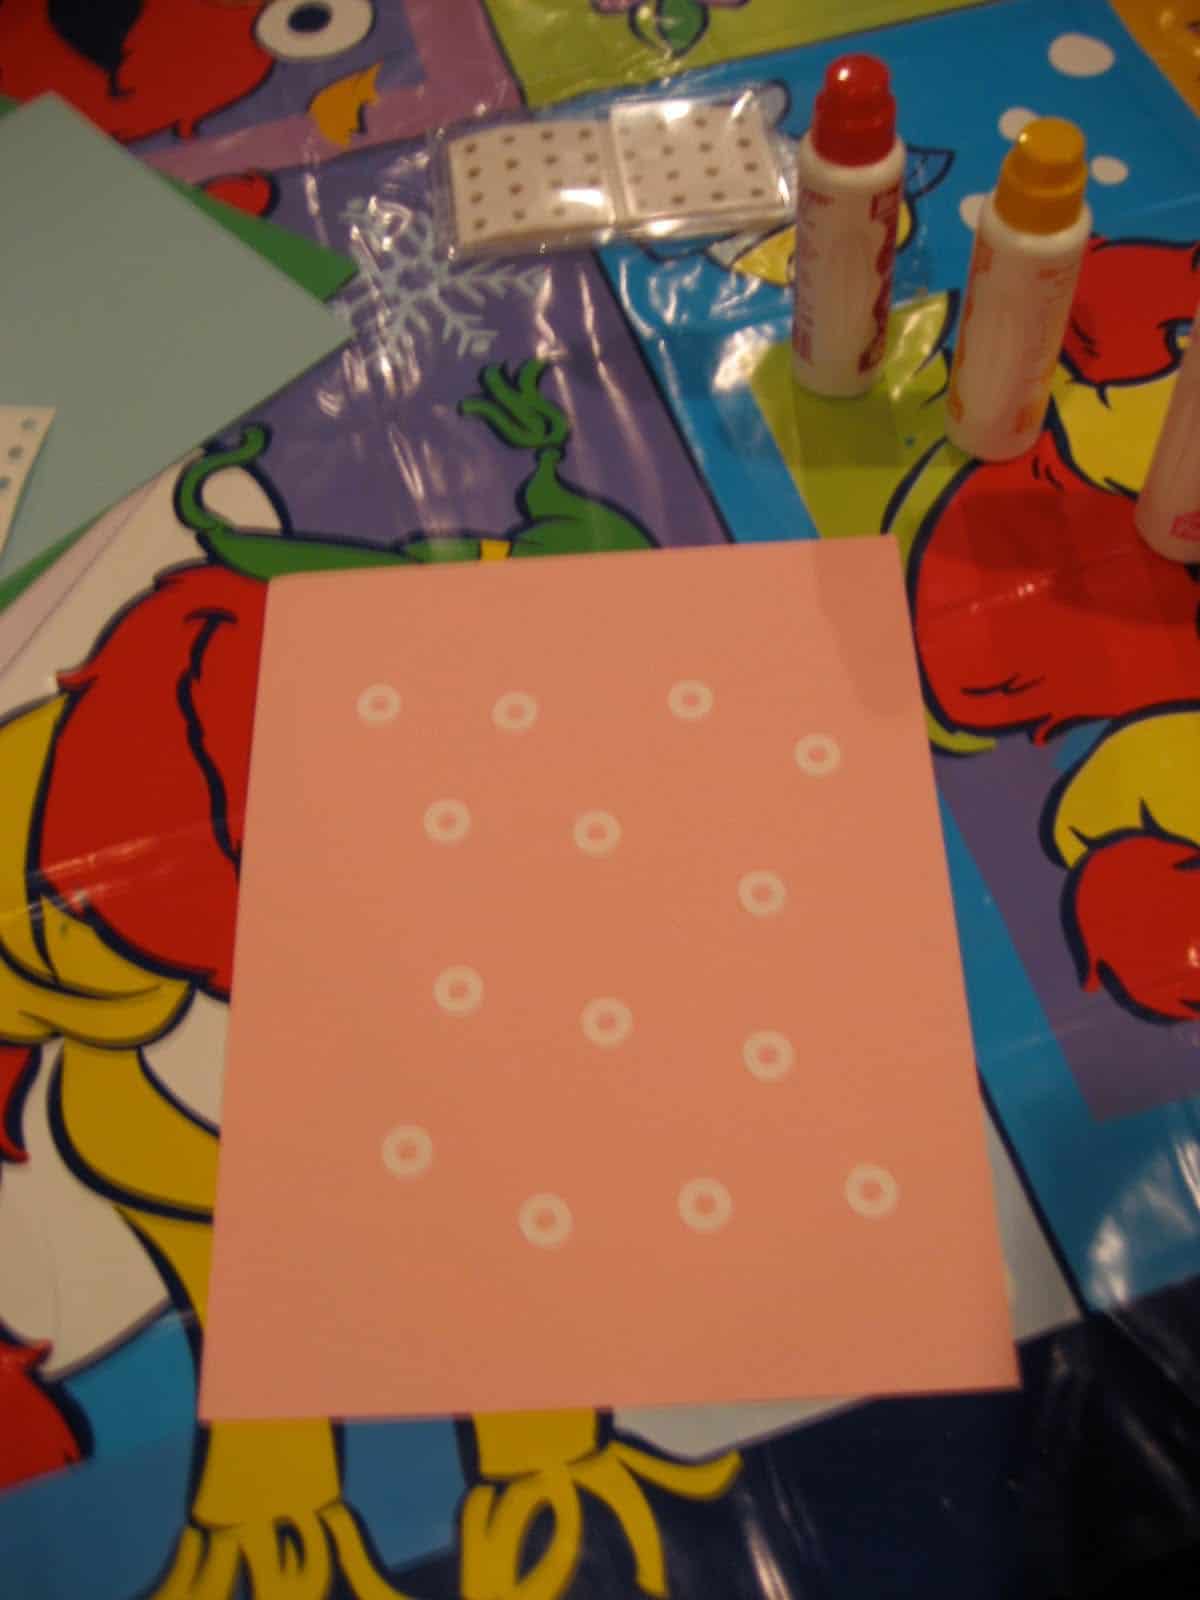
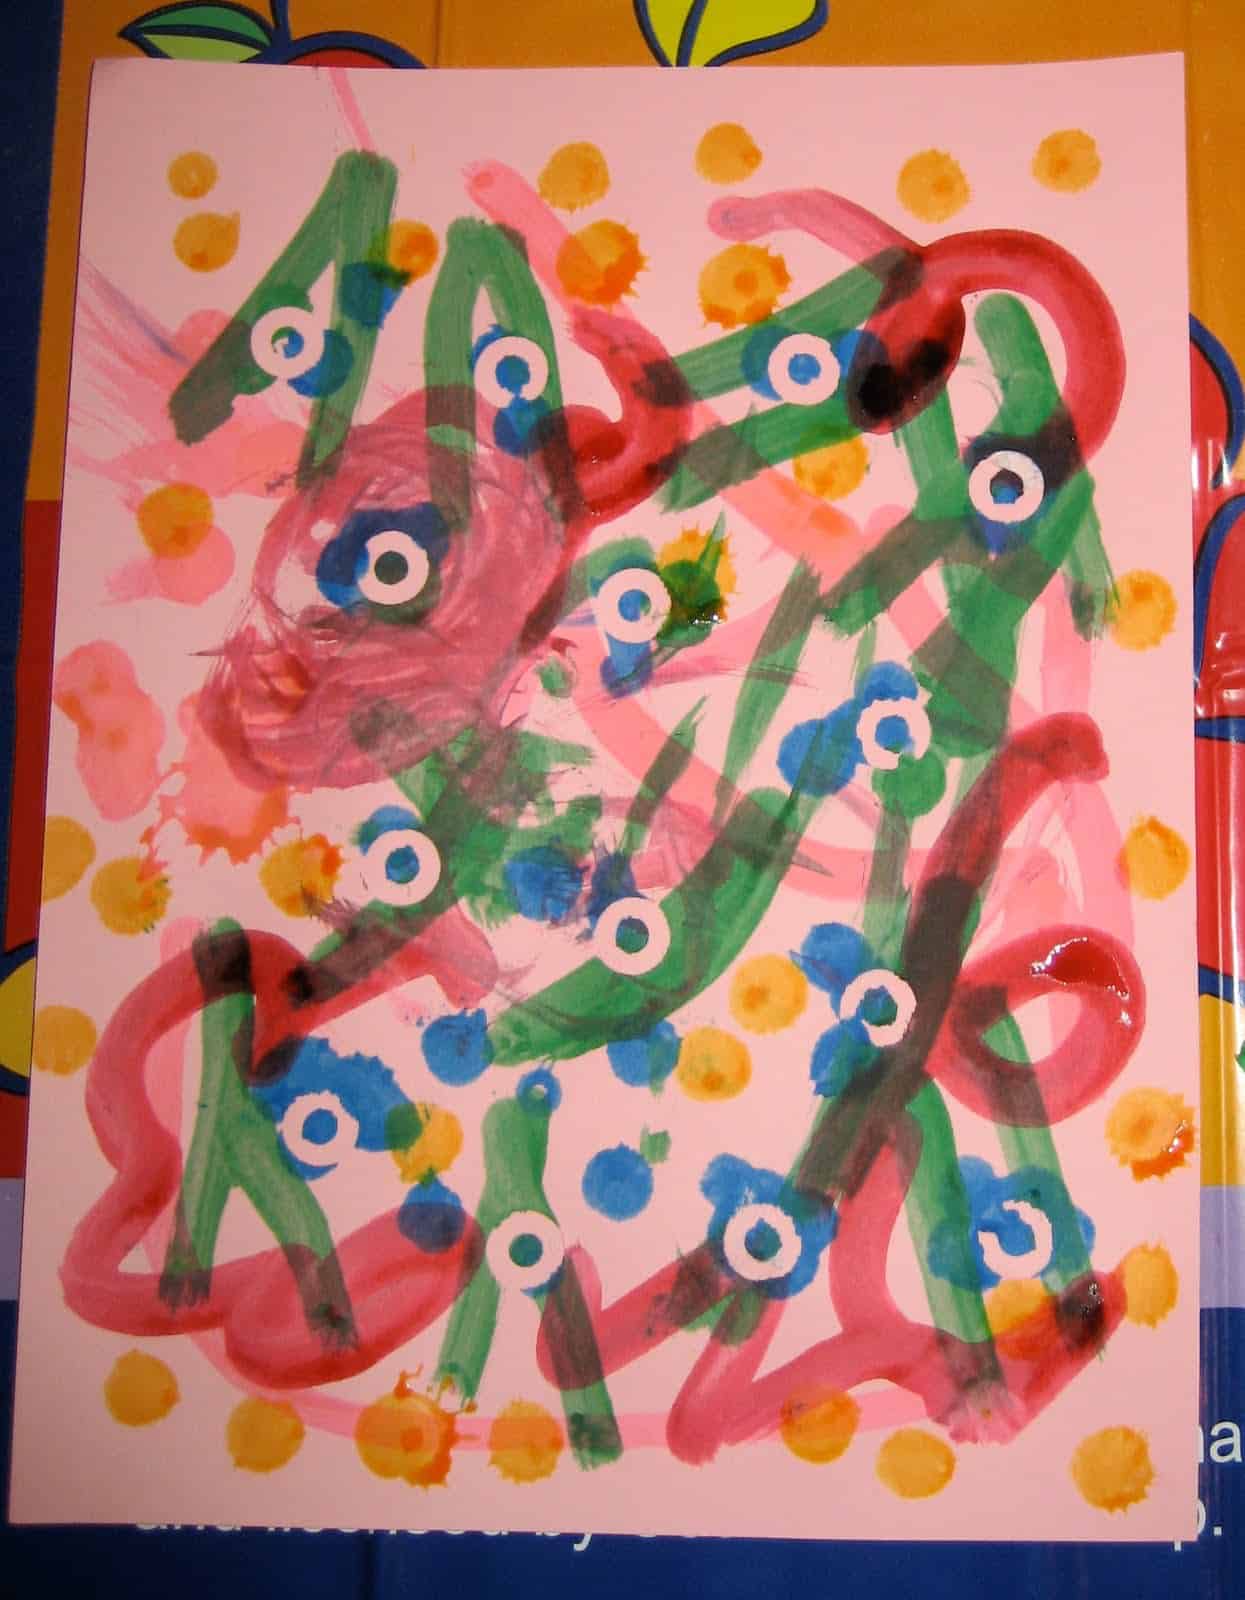
1. Take a piece of cardstock and stick reinforcement dots all over it. I had to peel the stickers off for my son and then I handed them to him and he'd stick them on himself.
2. Once you've covered the paper in stickers, get out your paint...
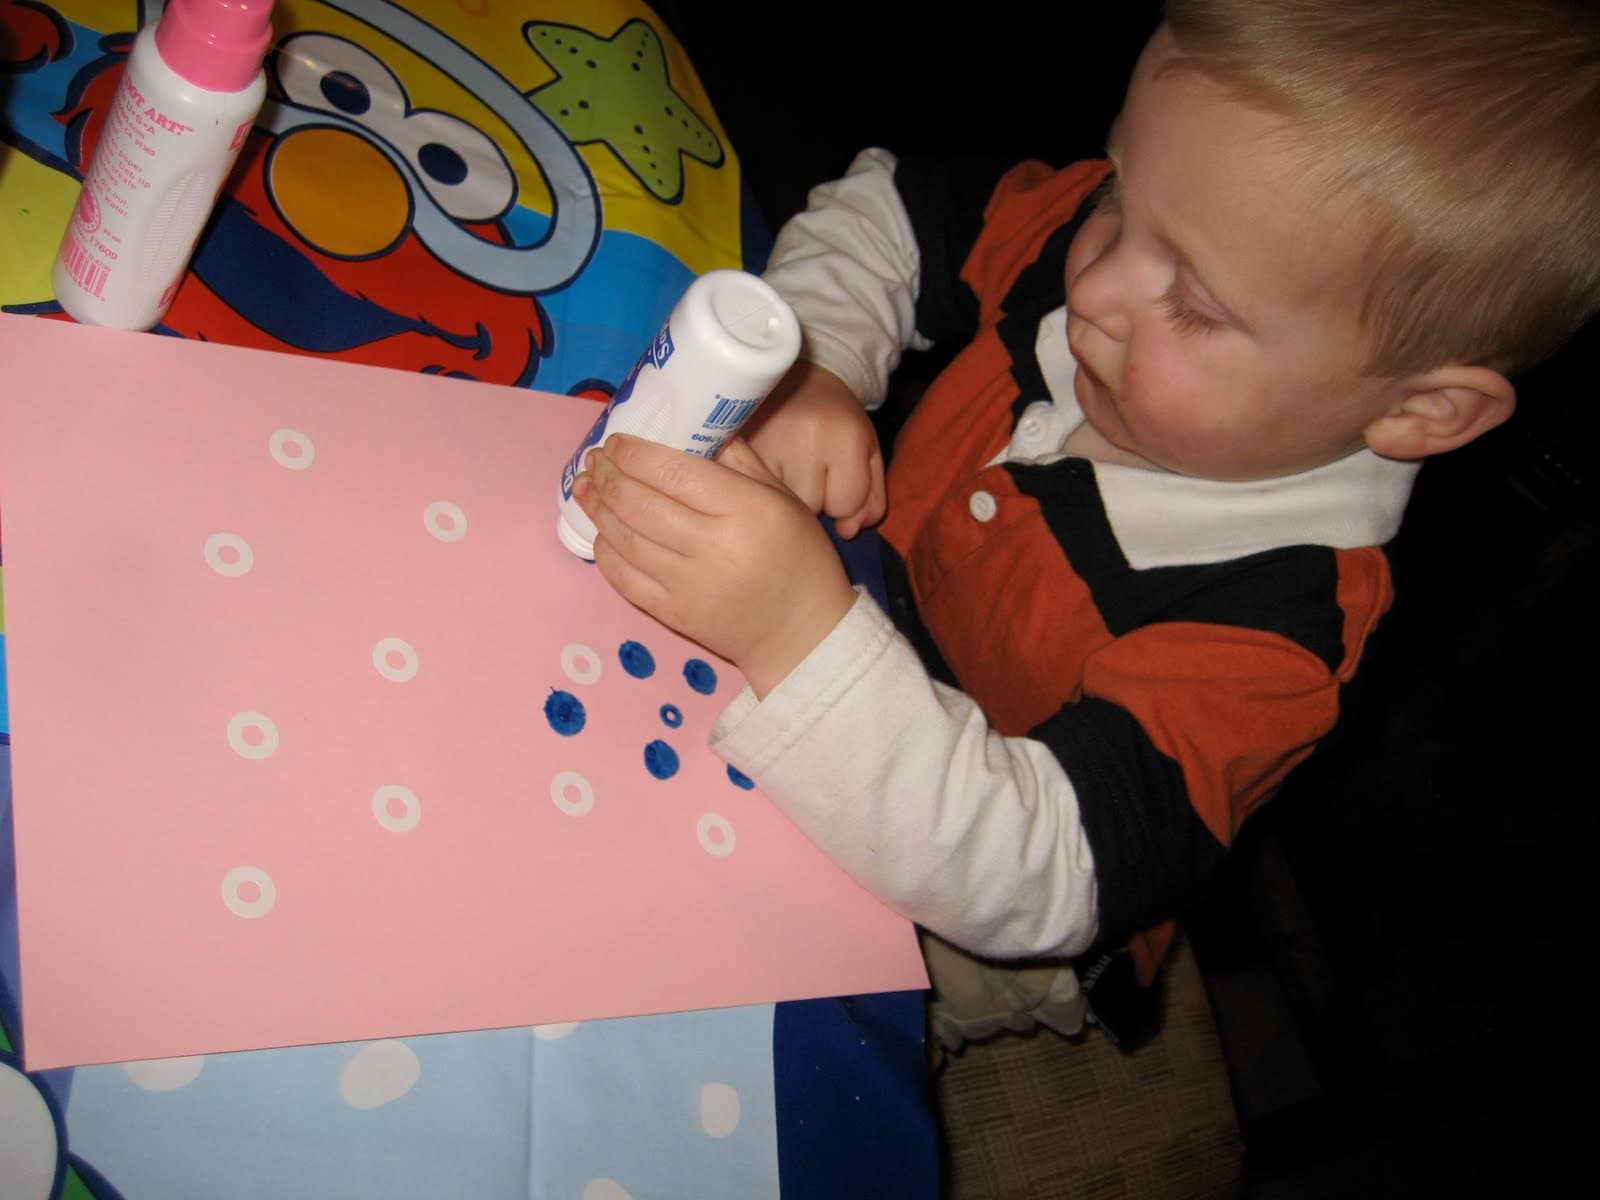
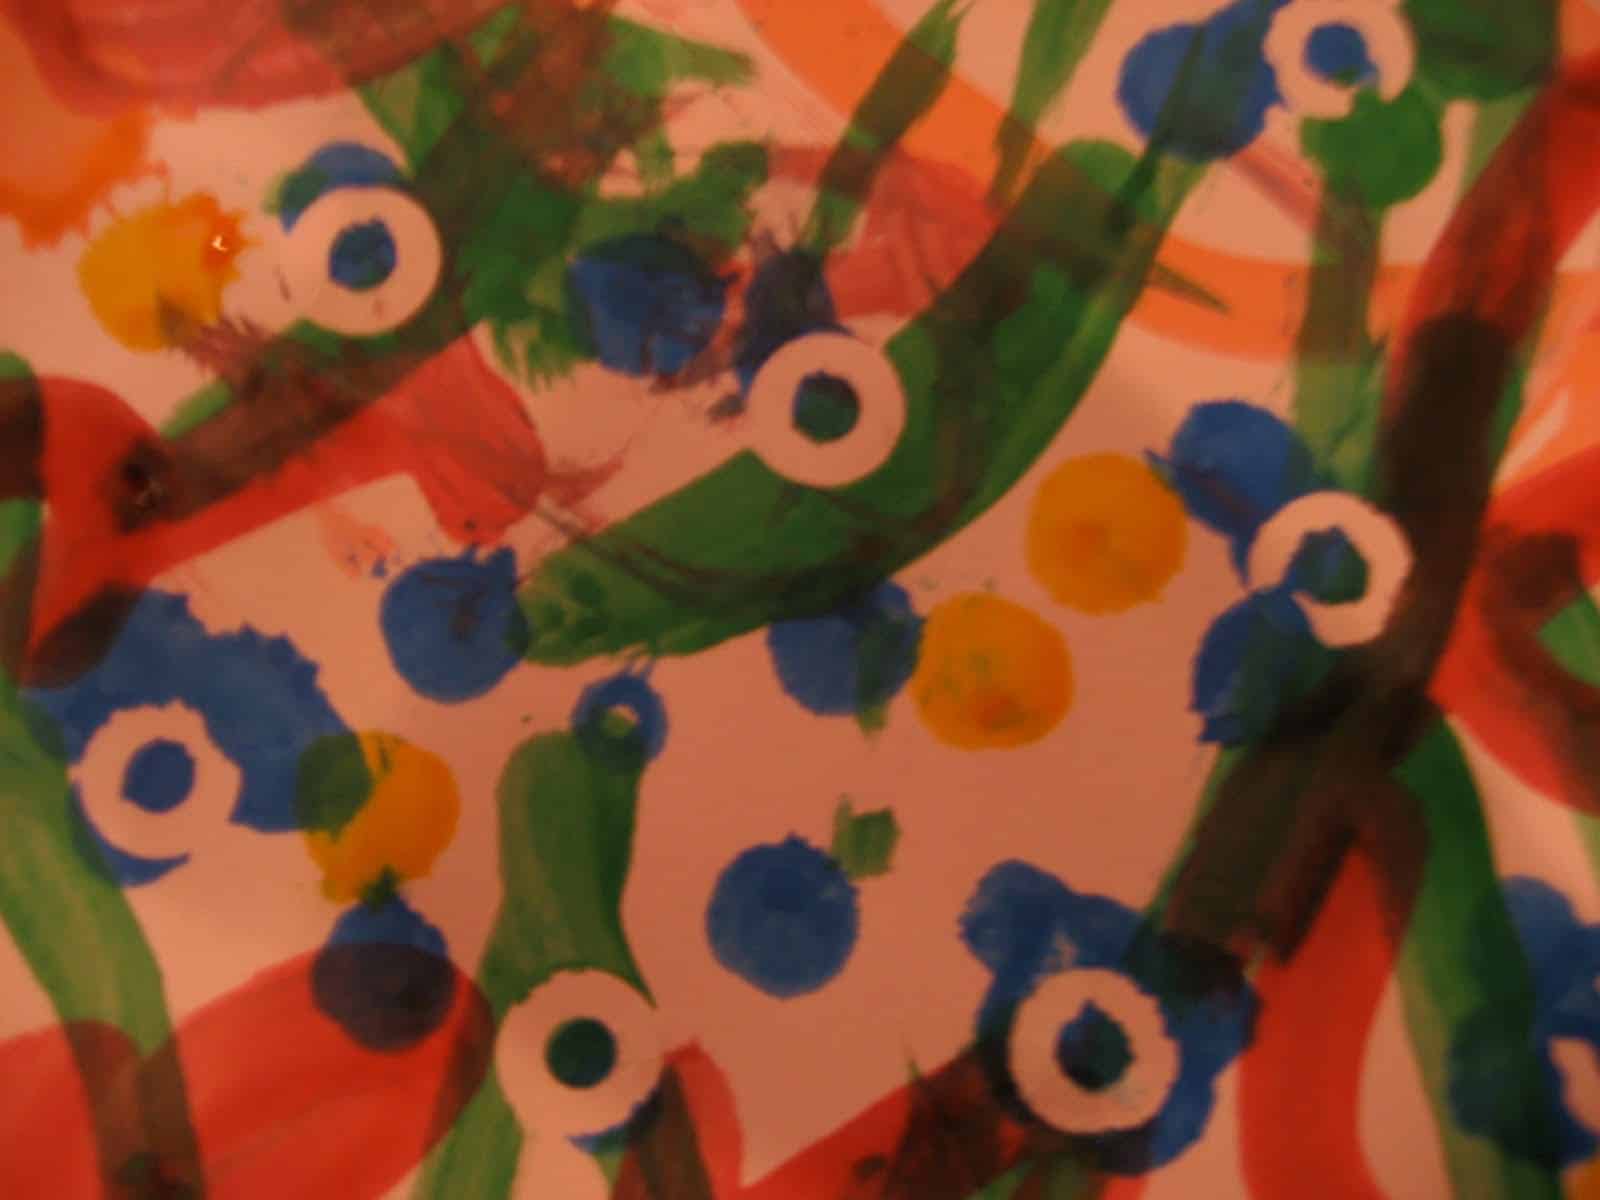
3. Start painting! We tried to dot all the stickers and cover them with lots of colors.
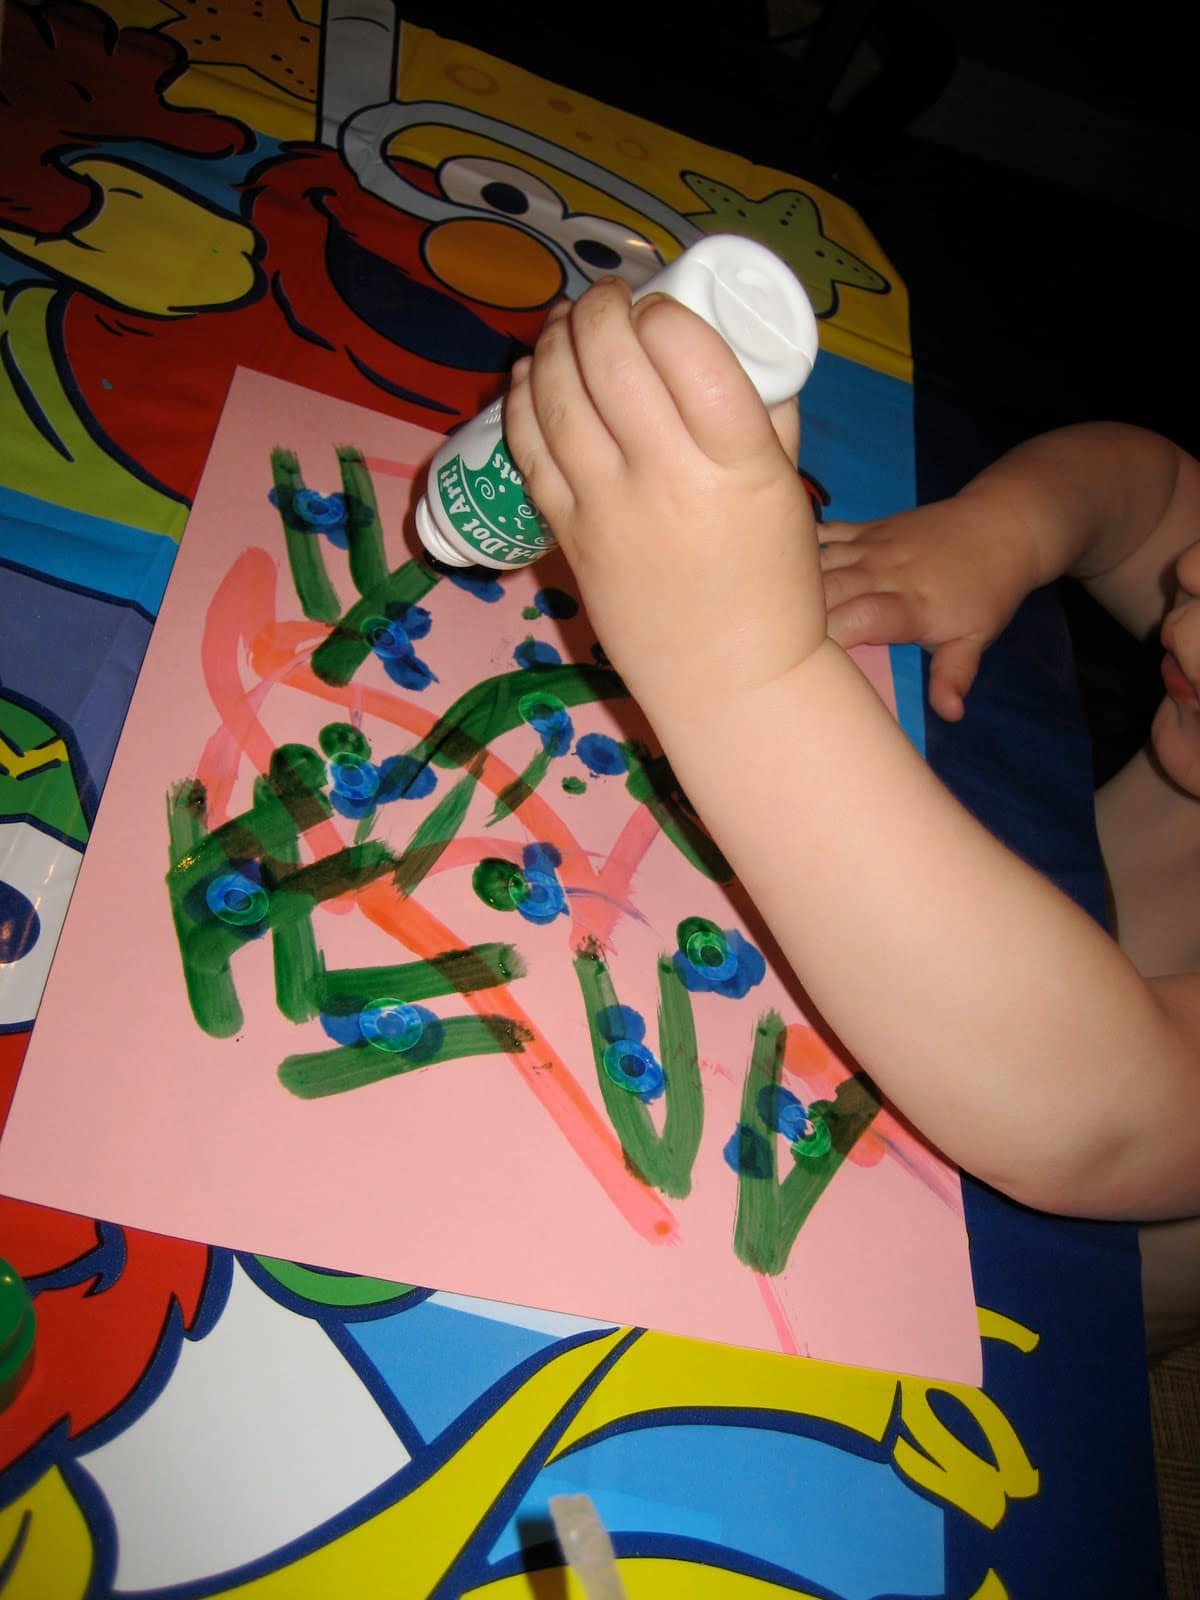
4. Vary it up a bit and try different strokes in addition to dotting. Encourage your child to cover as much of the paper as possible (especially the dots).
5. Let the paper dry and then peel the stickers off. You have to peel them carefully so that you don't peel off any of the paper.
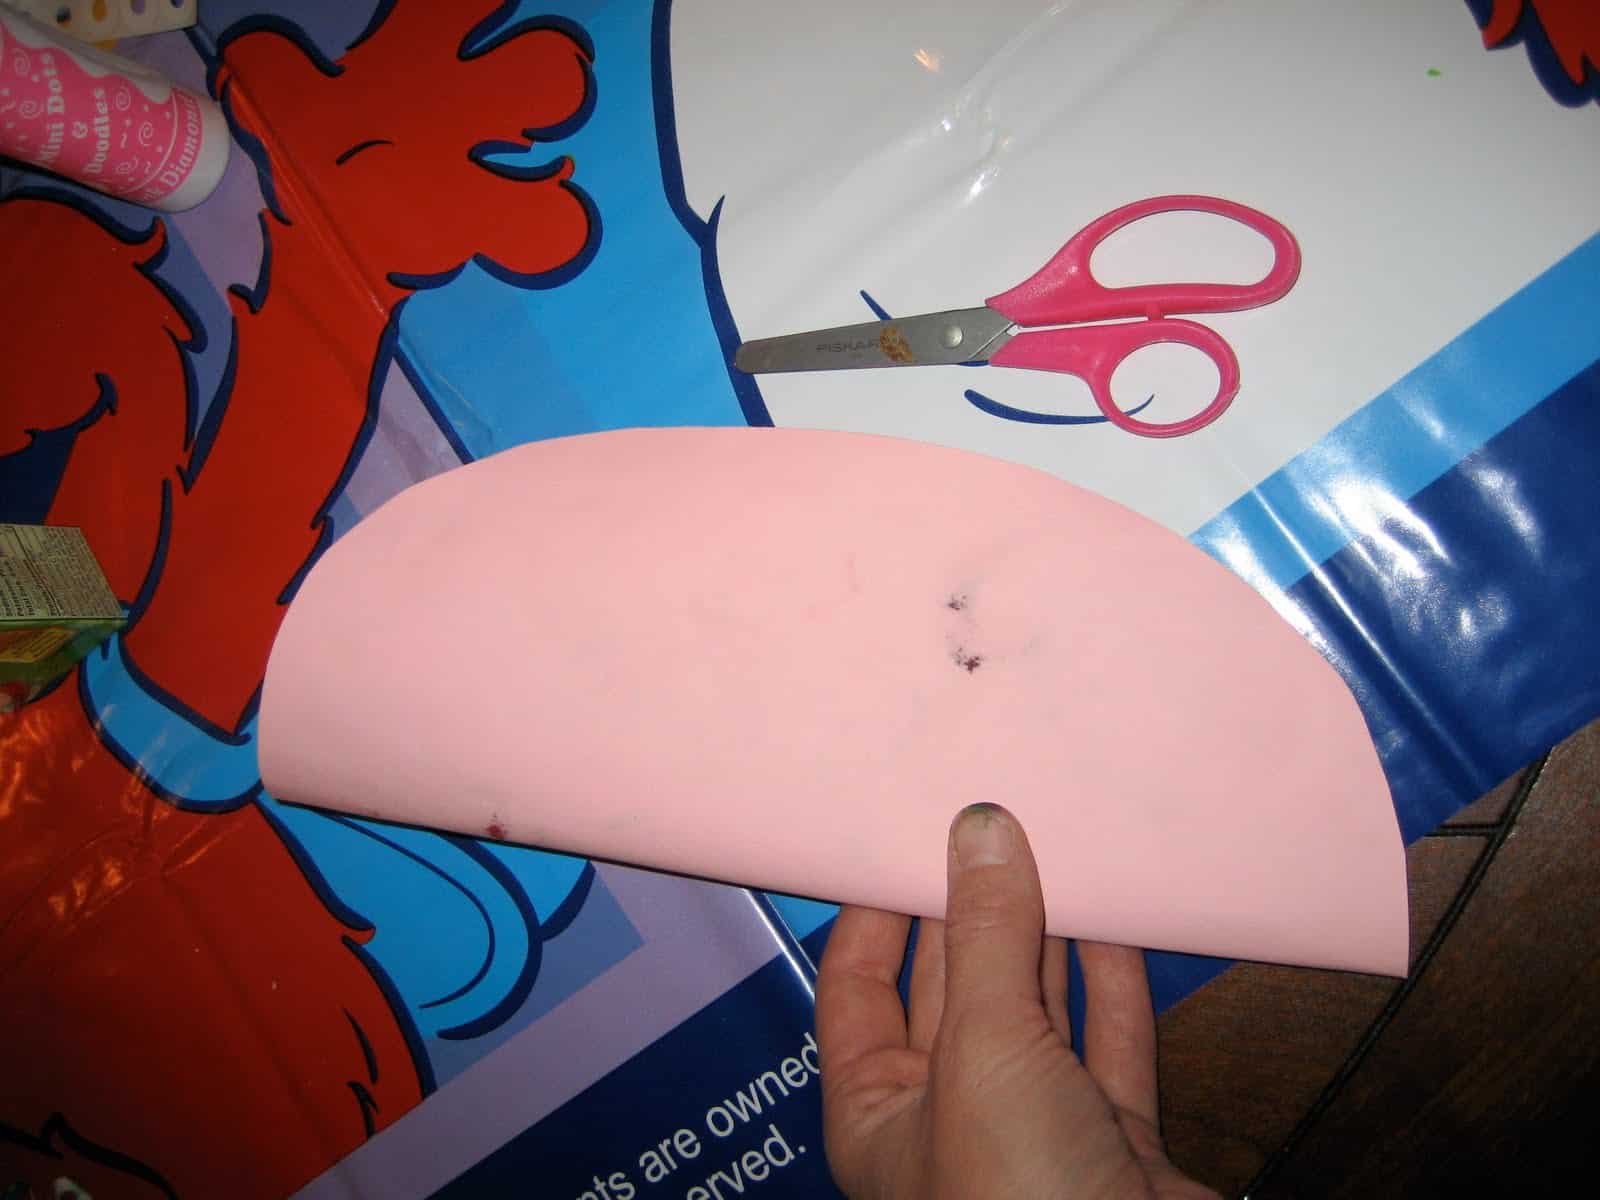
6. Once the painting is dry, cut an egg shape out of the paper. I folded my paper in half and cut it that way. It wasn't the cutest, but turned out OK.
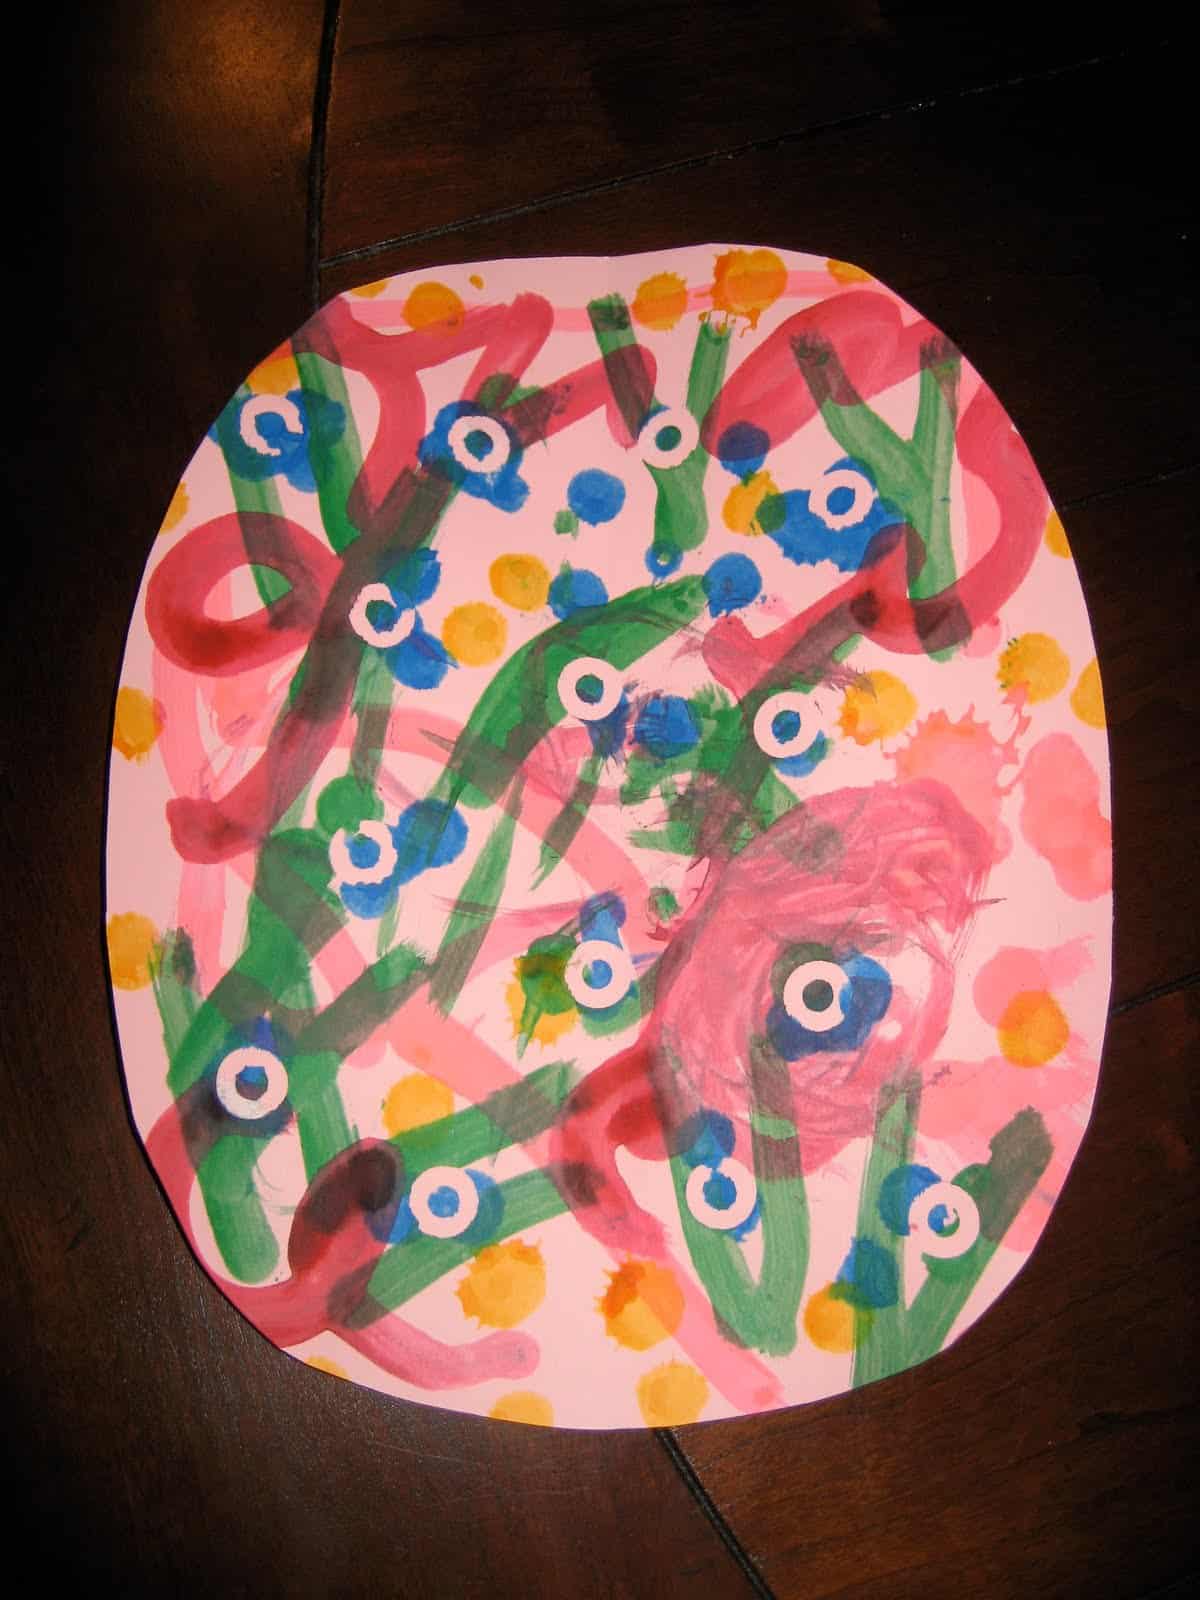
7. Once the egg is cut out, tape or glue it to another piece of cardstock.
Now you have a Sp-EGG-tacular polka dot Easter Egg to display or use to make a card or Easter sign.
I also loved these dyed Polka Dot Easter Eggs and think they would be really fun to make along with this project.


Leave a Comment